This article explains how to use Cloudflare Workers to serve data from a private B2 Bucket. If you would like to allow Cloudflare to fetch content from a public Backblaze B2 Bucket, see the KB article on using Cloudflare Workers to fetch content from a public B2 Bucket.
Introduction
Many customers have expressed interest in hosting static data for their website (ranging from minified Javascript applications to multi-hour 8K video) because of the security, reliability, and affordability of Backblaze B2 storage. One solution to ensuring performance and availability is to route requests through a CDN (Content Delivery Network) such as Backblaze's Bandwidth Alliance partner Cloudflare, taking advantage of Cloudflare's performance and the free data transfer between Backblaze B2 and Cloudflare.
How does a CDN like Cloudflare work?
Cloudflare leverages DNS (Domain Name System) so that content requests come to Cloudflare's servers. Through caching and private high-speed links, Cloudflare ensures high availability and reliability from storage. A website's domain name is registered with Cloudflare (and transferred from its domain name registrar), so that Cloudflare becomes responsible for serving content from that domain. Behind the scenes, Cloudflare allows a website's domain to be aliased to some other domain, so that a user may see images and content from https://www.coffeemaniacs.com when those images and that content is actually being served from Backblaze B2 (https://f345.backblazeb2.com/file/coffemaniacs-storage)
Backblaze Buckets are on the Internet Securely
Although all buckets are addressable from the internet, only public buckets can be accessed by just anybody. By default, Backblaze B2 storage is private, which means that access requires authentication. Backblaze's various integration partners have incorporated this security into their tools to keep Backblaze B2 as user-friendly as possible while still maintaining security.
Website Content from Secure Buckets
Putting these elements together means that customers serving data from their website want to serve from their website; they want to store their photos and videos and all of their digital content in a private bucket, available through (and only through) their website. When hosting a website directly, adding the authentication required to pull data from Backblaze B2 is straightforward. Fronting a website through Cloudflare is slightly more complex: now Cloudflare has to access private buckets to retrieve and cache data, which means Cloudflare has to authenticate its requests to Backblaze B2.
Web Workers for the Win
Cloudflare offers web workers, small Javascript snippets that allow rewriting HTTP and HTTPS requests on the fly. These make it straightforward to add authentication headers to content requests, and authenticate the link between Cloudflare and Backblaze B2. Even better, Cloudflare's web workers can be uploaded directly into Cloudflare's servers making the automation of the process straightforward. Web workers are available at all plan levels (including the free plan), for a nominal charge (please see Cloudflare's site for their pricing and plan). At the free level, only one script is possible, but one is enough to allow Cloudflare access to otherwise private data.
Web Workers, Updates, and Authorizations: Working Together
One solution is to use a Web Worker to rewrite the request URLs on the fly, adding an Authorization parameter. Although an authorization is good for any number of requests, B2 authorizations eventually expire (the longest period of time an authorization can persist is 7 days). Manually updating the authorization each week would be a chore: this is something that should happen automatically. Fortunately, both Backblaze B2 and Cloudflare offer APIs that can automate the process. The procedure here uses a Python script and the B2 APIs to get a new B2 download authorization, good for 7 days from the moment the script runs. After embedding that authorization into a Javascript snippet, the Python script uses the Cloudflare APIs to upload the script. By using a scheduler such as cron on Linux or MacOS, or schtasks on Windows, an administrator can automate running the script every day or two, thus ensuring the authorization code is always current. This article contains the complete script, as well as instructions on modifying it with the right parameters.
Setting up to enable access to your private bucket
Building this connection requires:
- A Backblaze account
- An ApplicationKey and ApplicationKeyID that gives read access to the private bucket
- The name of the Backblaze B2 file server for the bucket
- A Cloudflare account
- A top-level internet domain (such as www.pawneeparks.org)
- Cloudflare Web Worker access
- The Cloudflare API key
- The Cloudflare Zone ID
- A Python3 program to get a refreshed authorization token and upload it to Cloudflare along with the worker code (available at Github). (Once Cloudflare's recently announced Workers KV comes out of beta, we will update this article to store the authorization key in this distributed database.)
- A server running cron (or something similar) to run the python3 update at regular intervals
Guide
Gather the information needed about your Backblaze B2 account
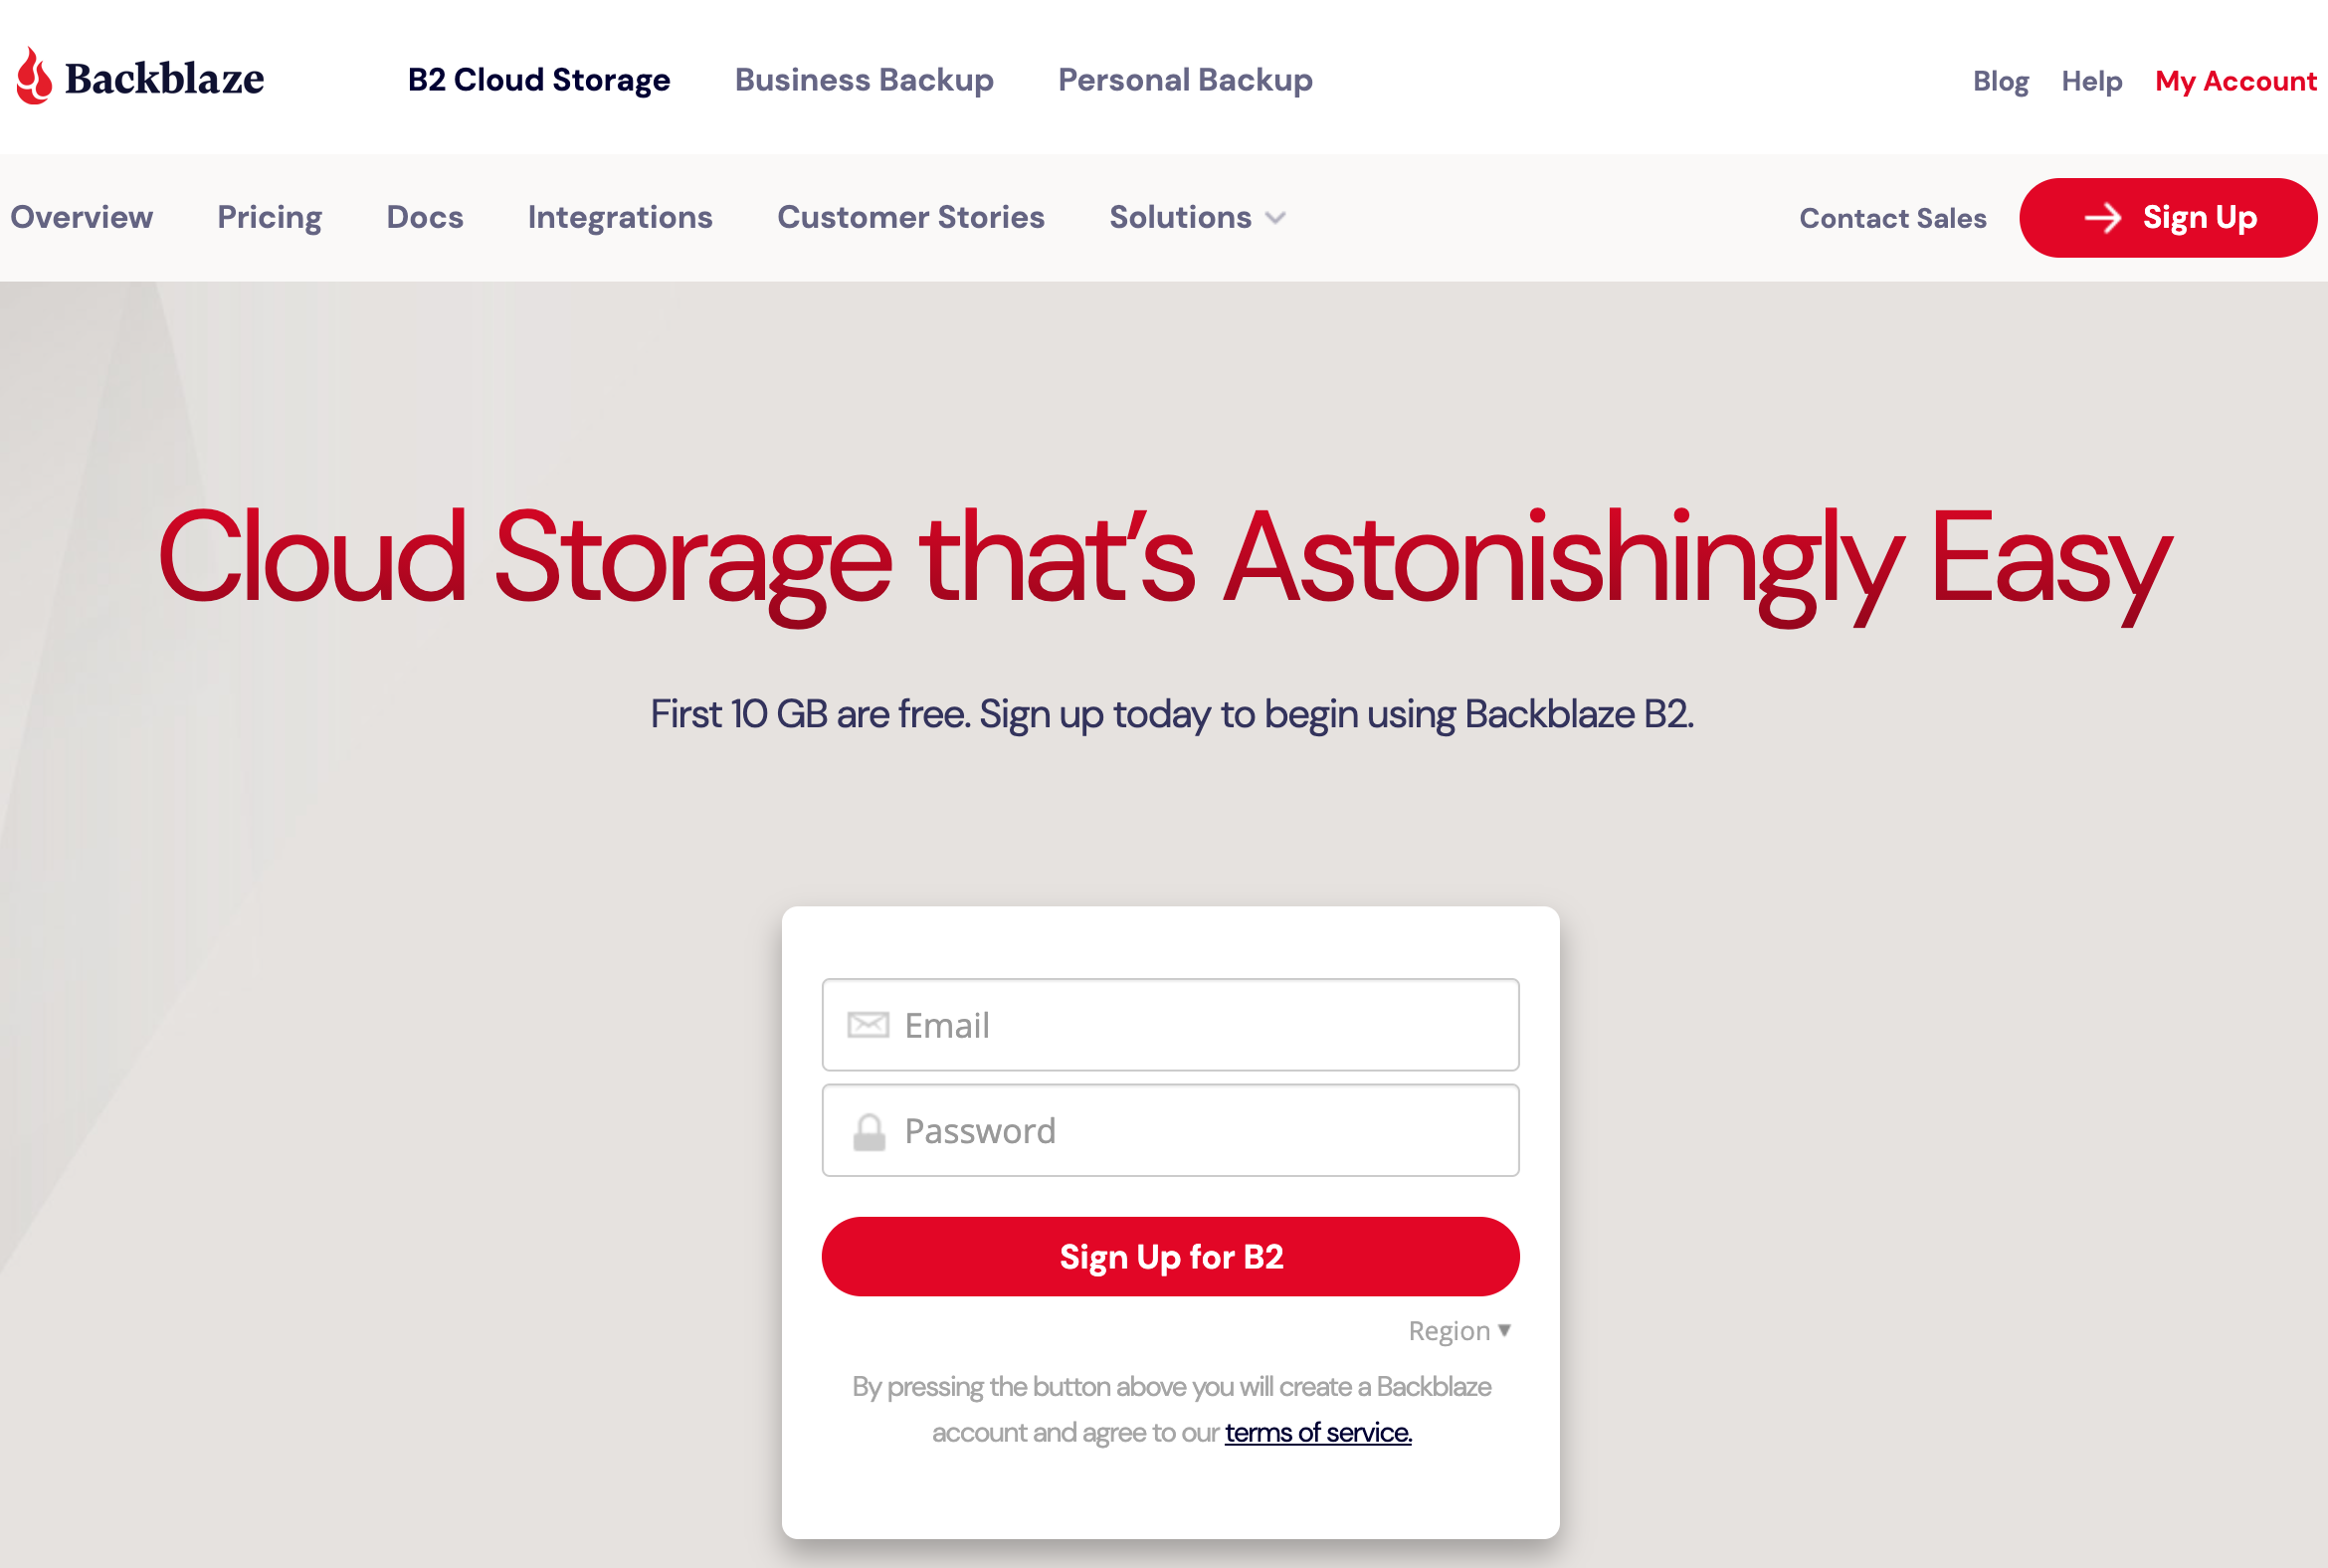
If you do not already have a Backblaze account, sign up for one here. Backblaze B2 includes 10 gigabytes of free storage and does not require a billing method to get started exploring the possibilities.
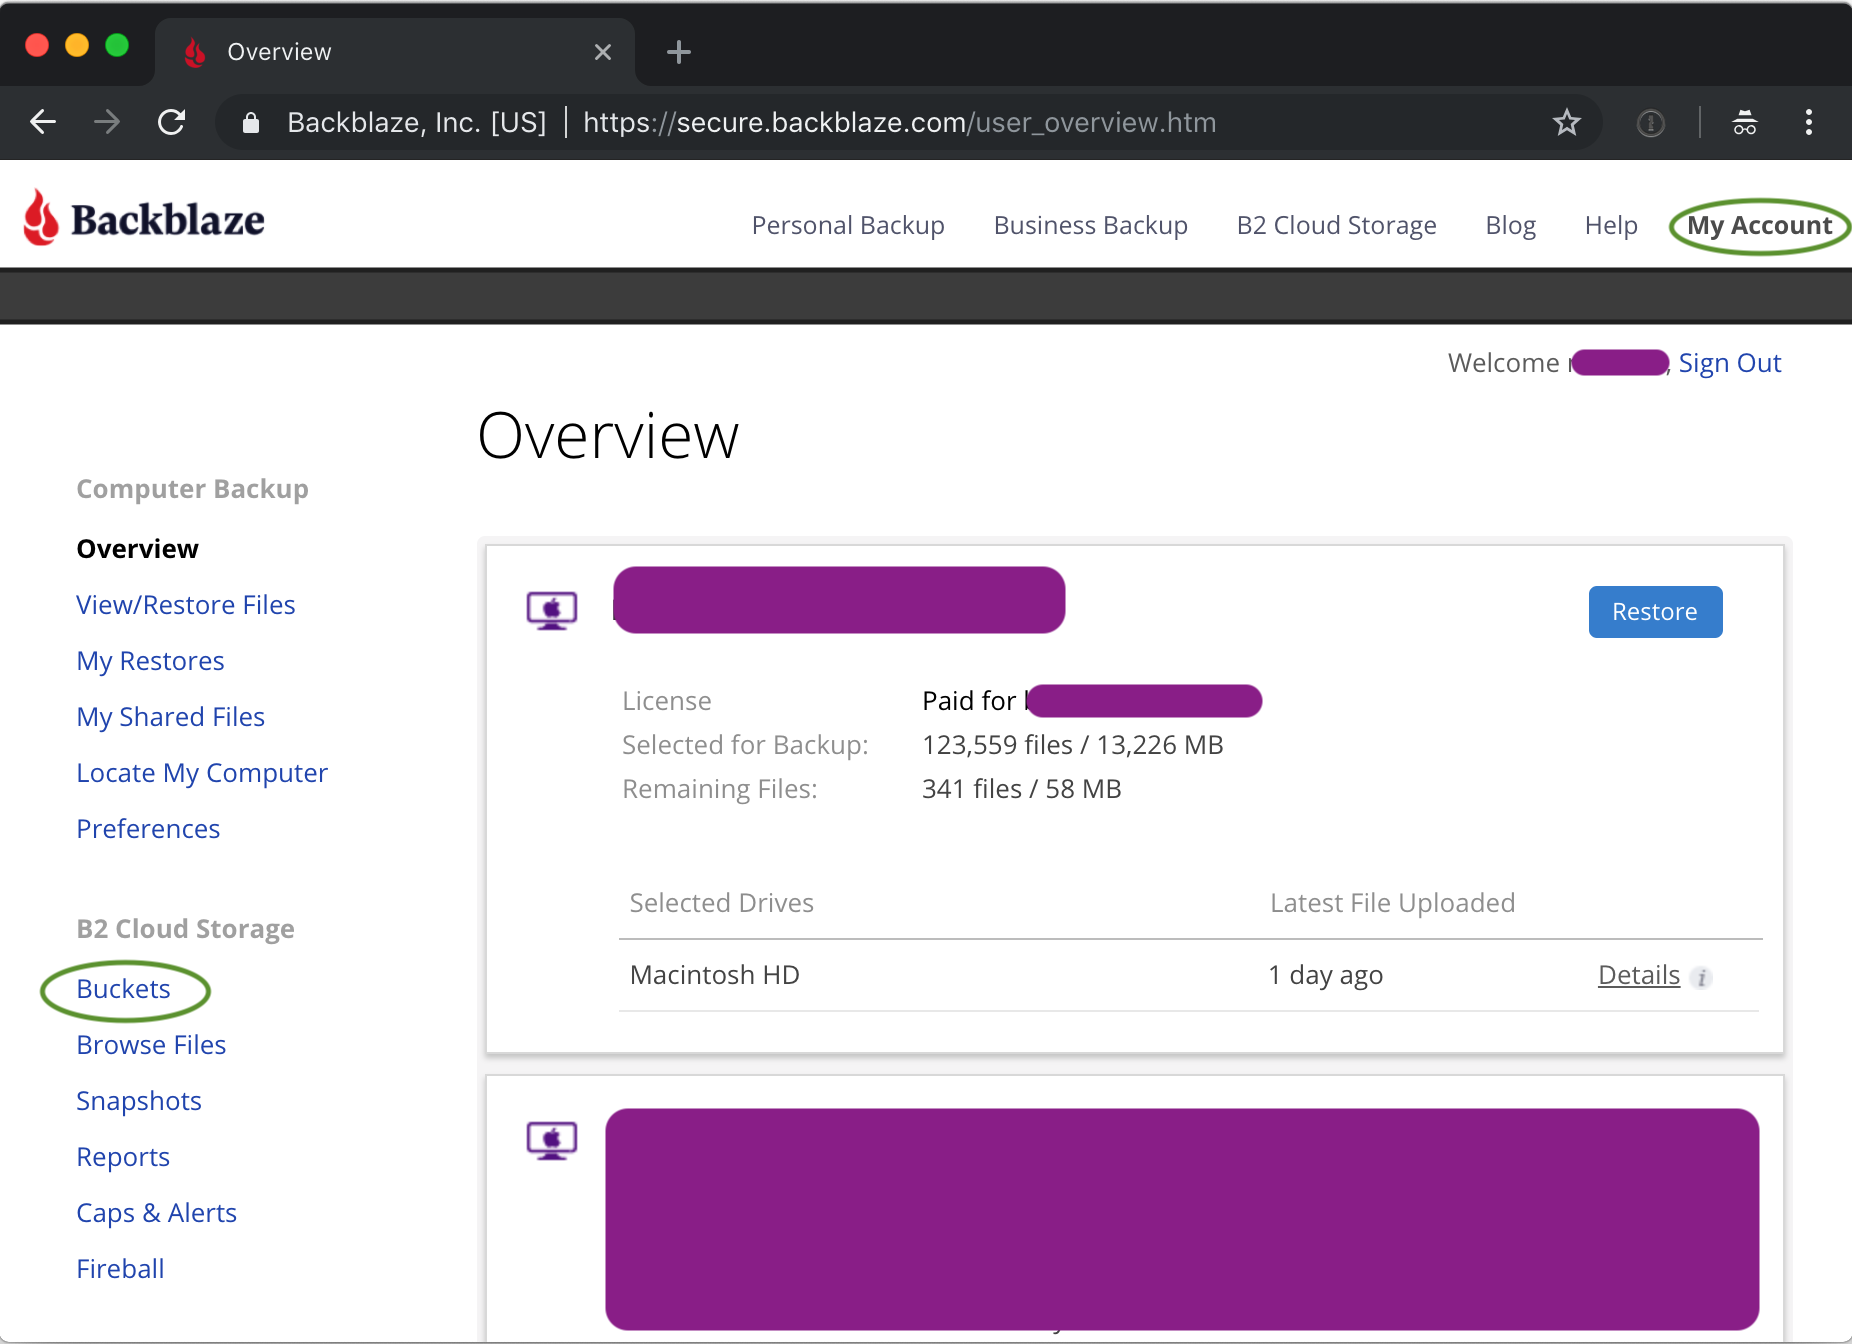
After creating (or signing into) your Backblaze B2 account, go to My Account on the top menu, and then select Buckets in the right hand menu
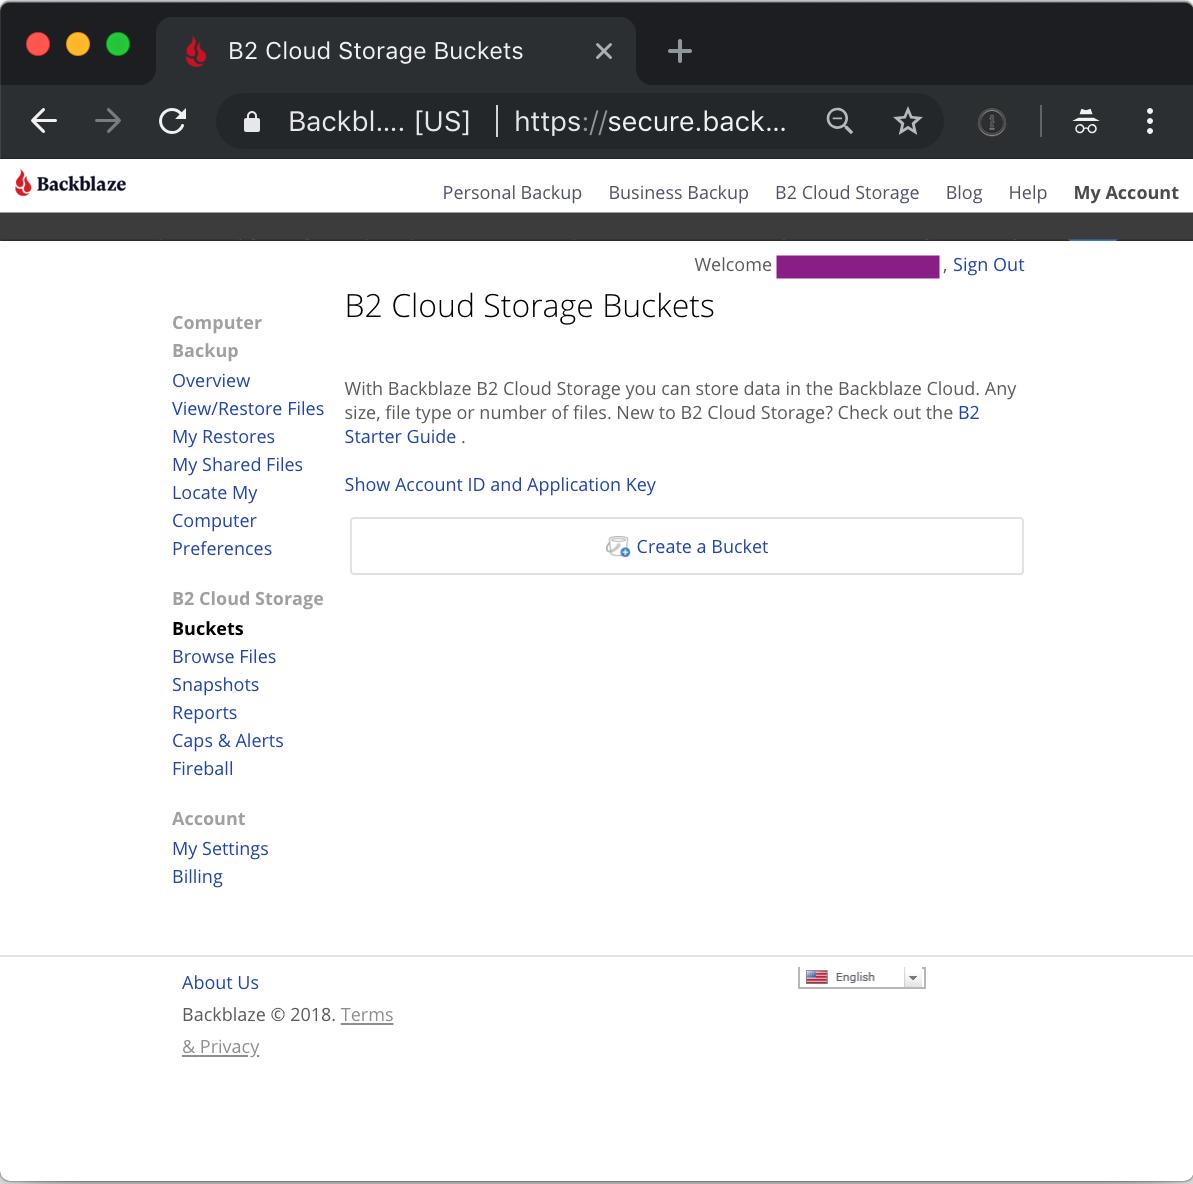
This will open the bucket UI screen, and if this is a new account, it will have no buckets (yet).
Redirecting traffic requires having a bucket. Clicking on 'Create Bucket' brings up the bucket creation dialog.
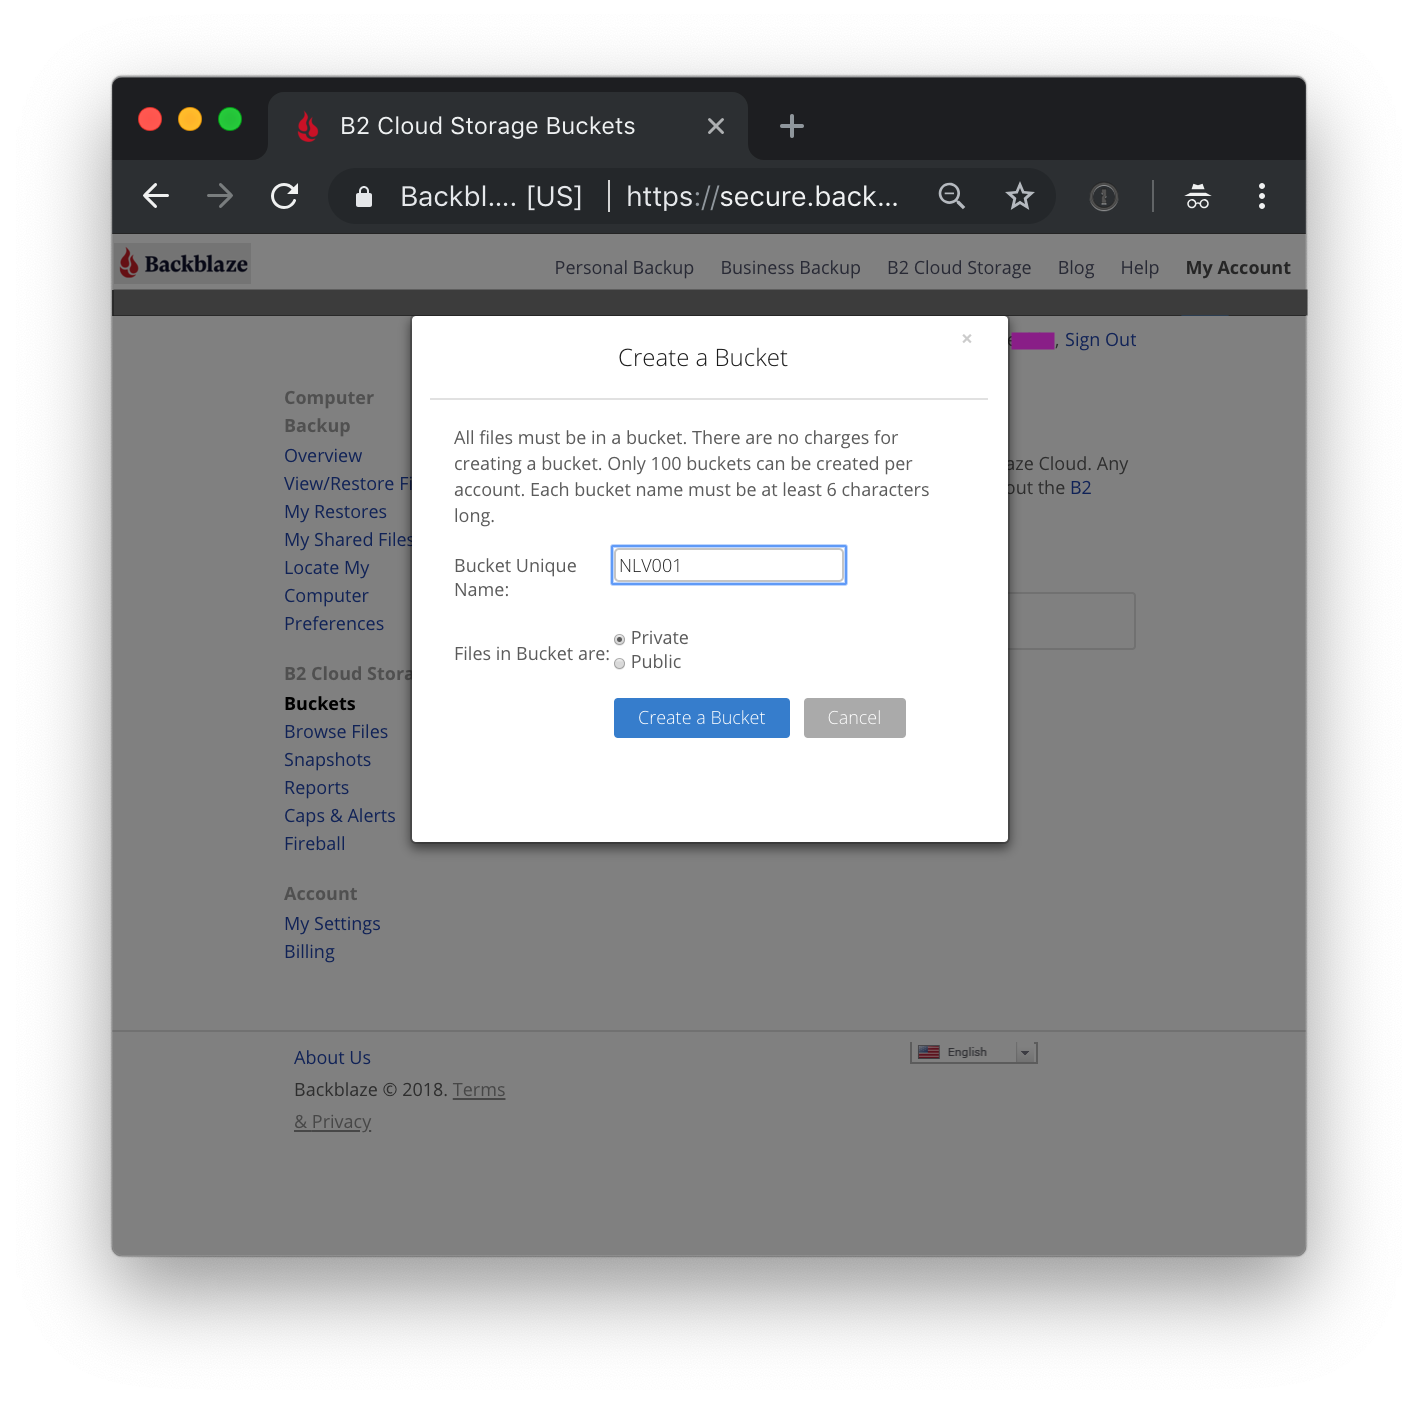
Choose a name (not the one in the dialog). Bucket names must be globally unique across all Backblaze B2 accounts. Choosing a name already in use will return an error; should this happen, simply choose another name. Users of the redirected content will not see this name.
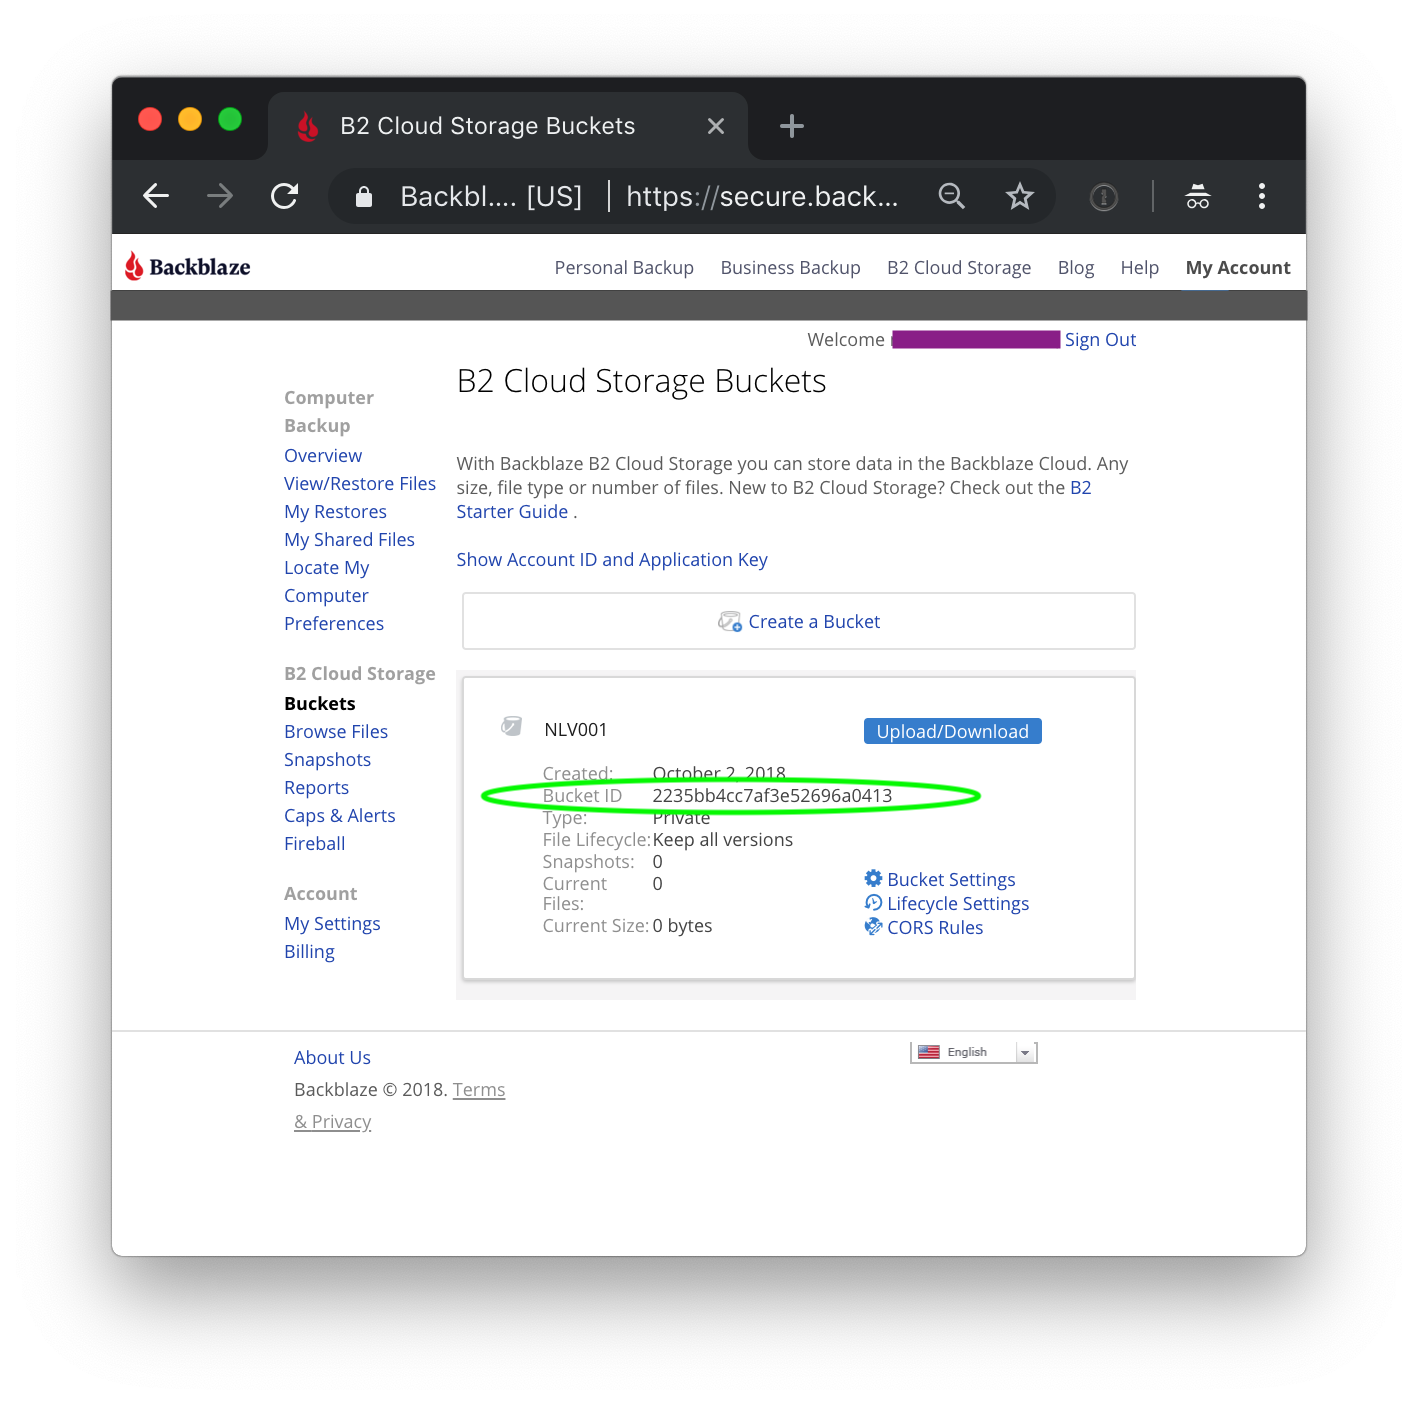
As long as we are here, get the BucketId for this bucket (this is a globally unique identifier). Next, upload a file (it does not matter what). Click on Upload/Download.
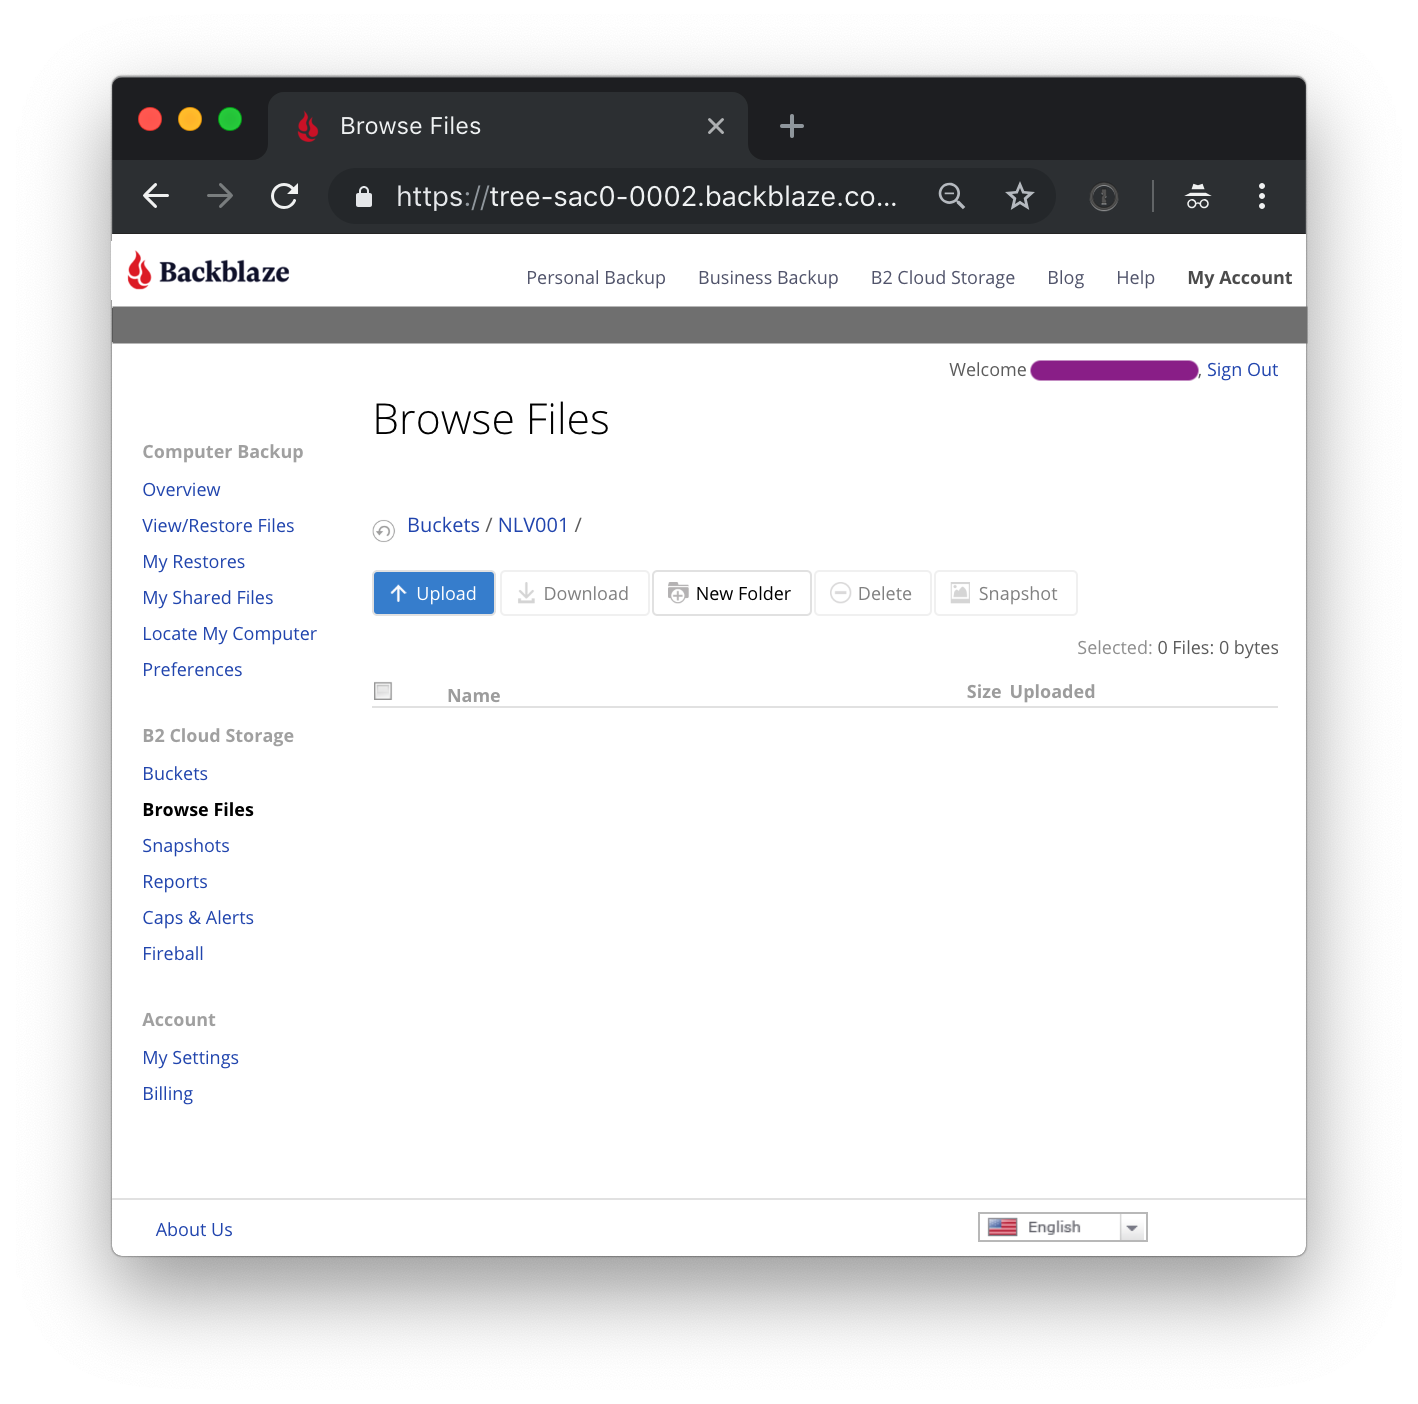
Click on upload, and send a text or HTML file up to Backblaze B2 (we will retrieve it as part of testing the integration) later. This file will be referred to later as uploadedFile.html.
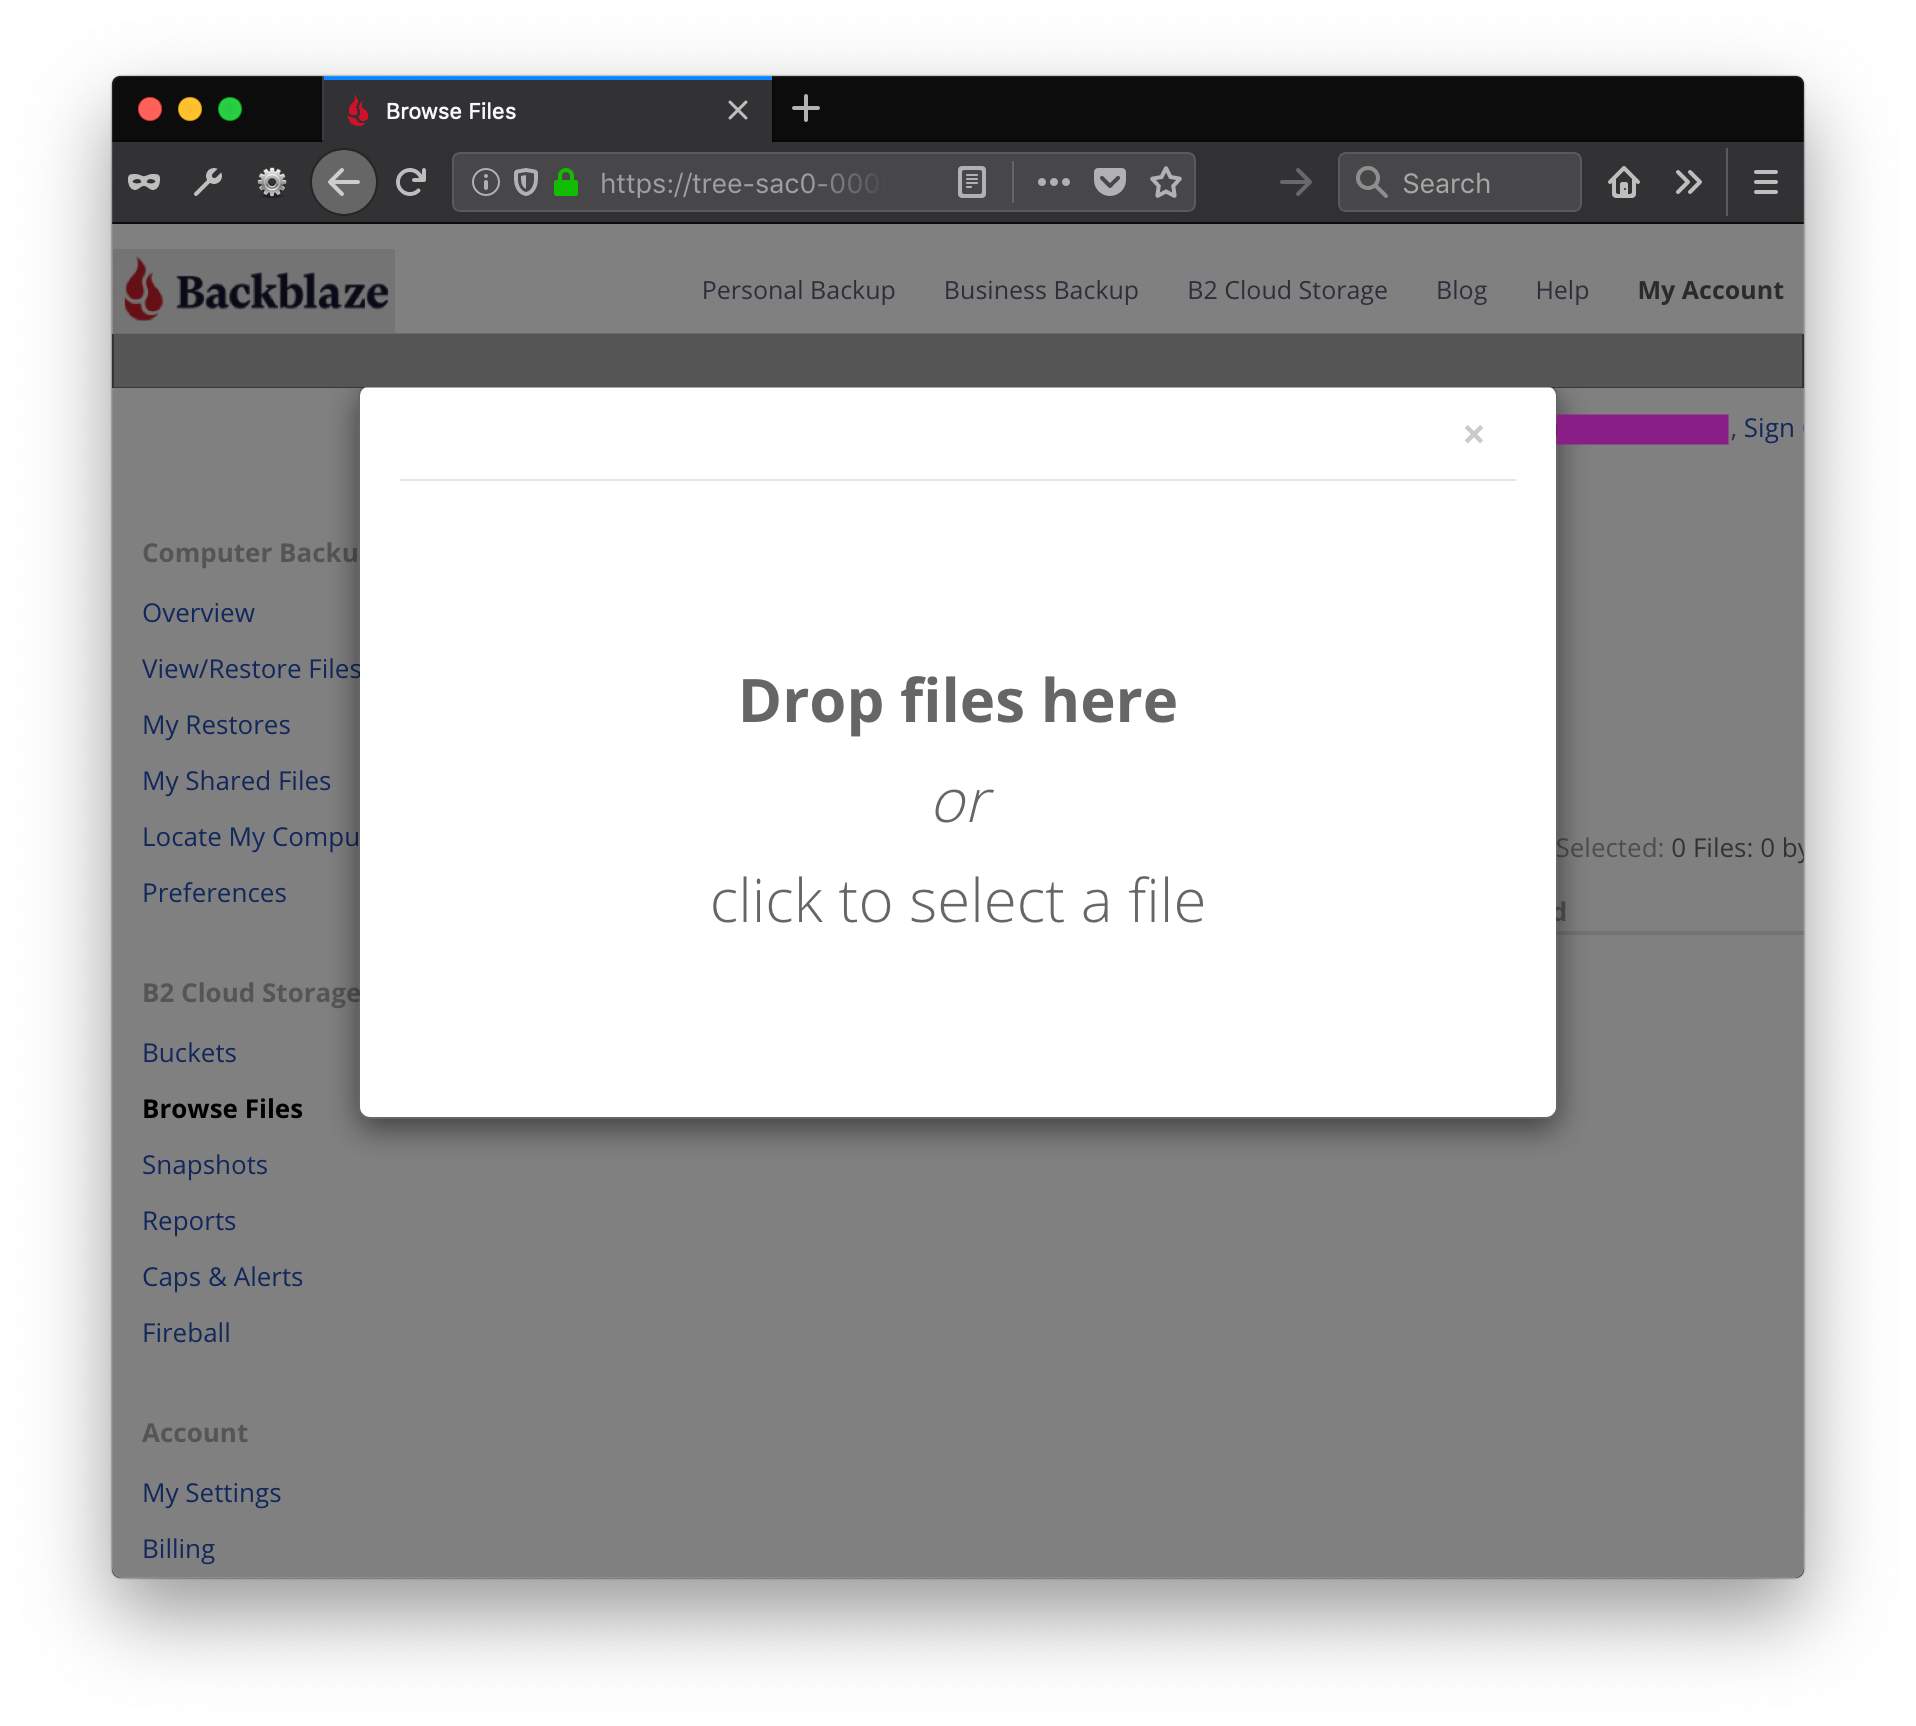
Just drag and drop a file, and upload it to the Backblaze B2 bucket.
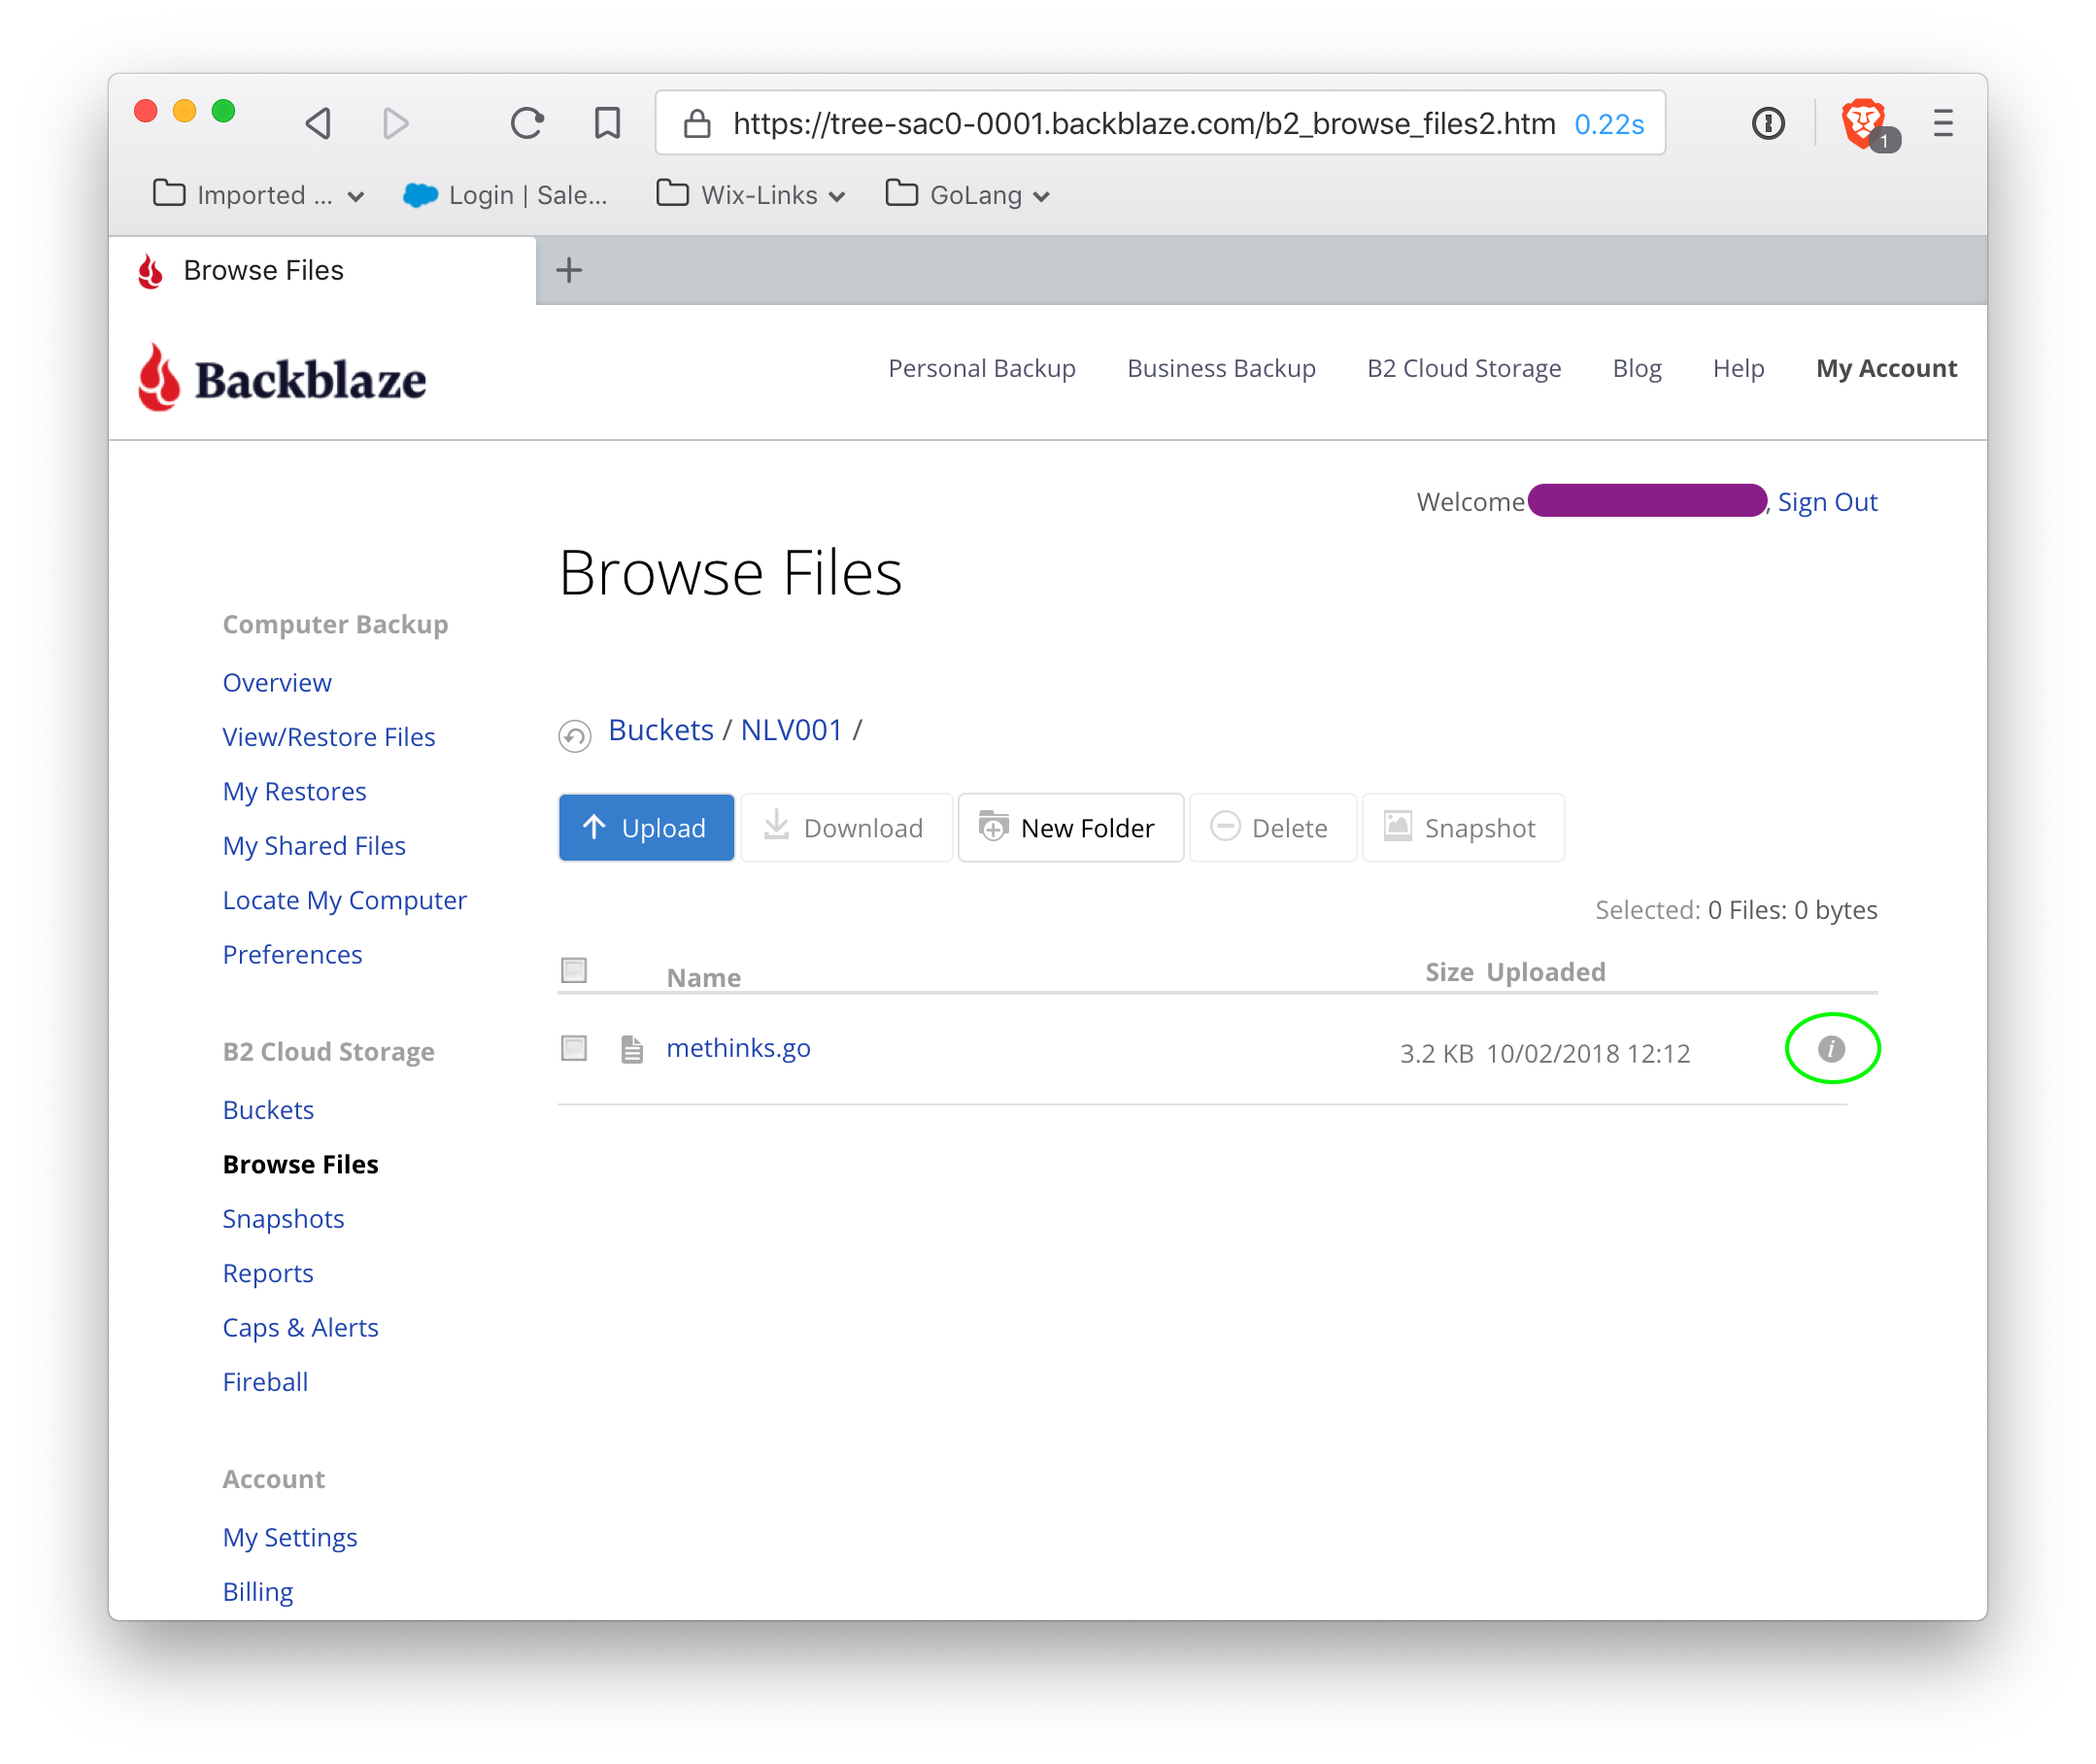
Find the white i in a small gray circle at the far right of the file listing (circled in green), and click on that. It gives information about the file: we are looking for the fileserver for this account (all buckets from this account will utilize this particular fileserver).
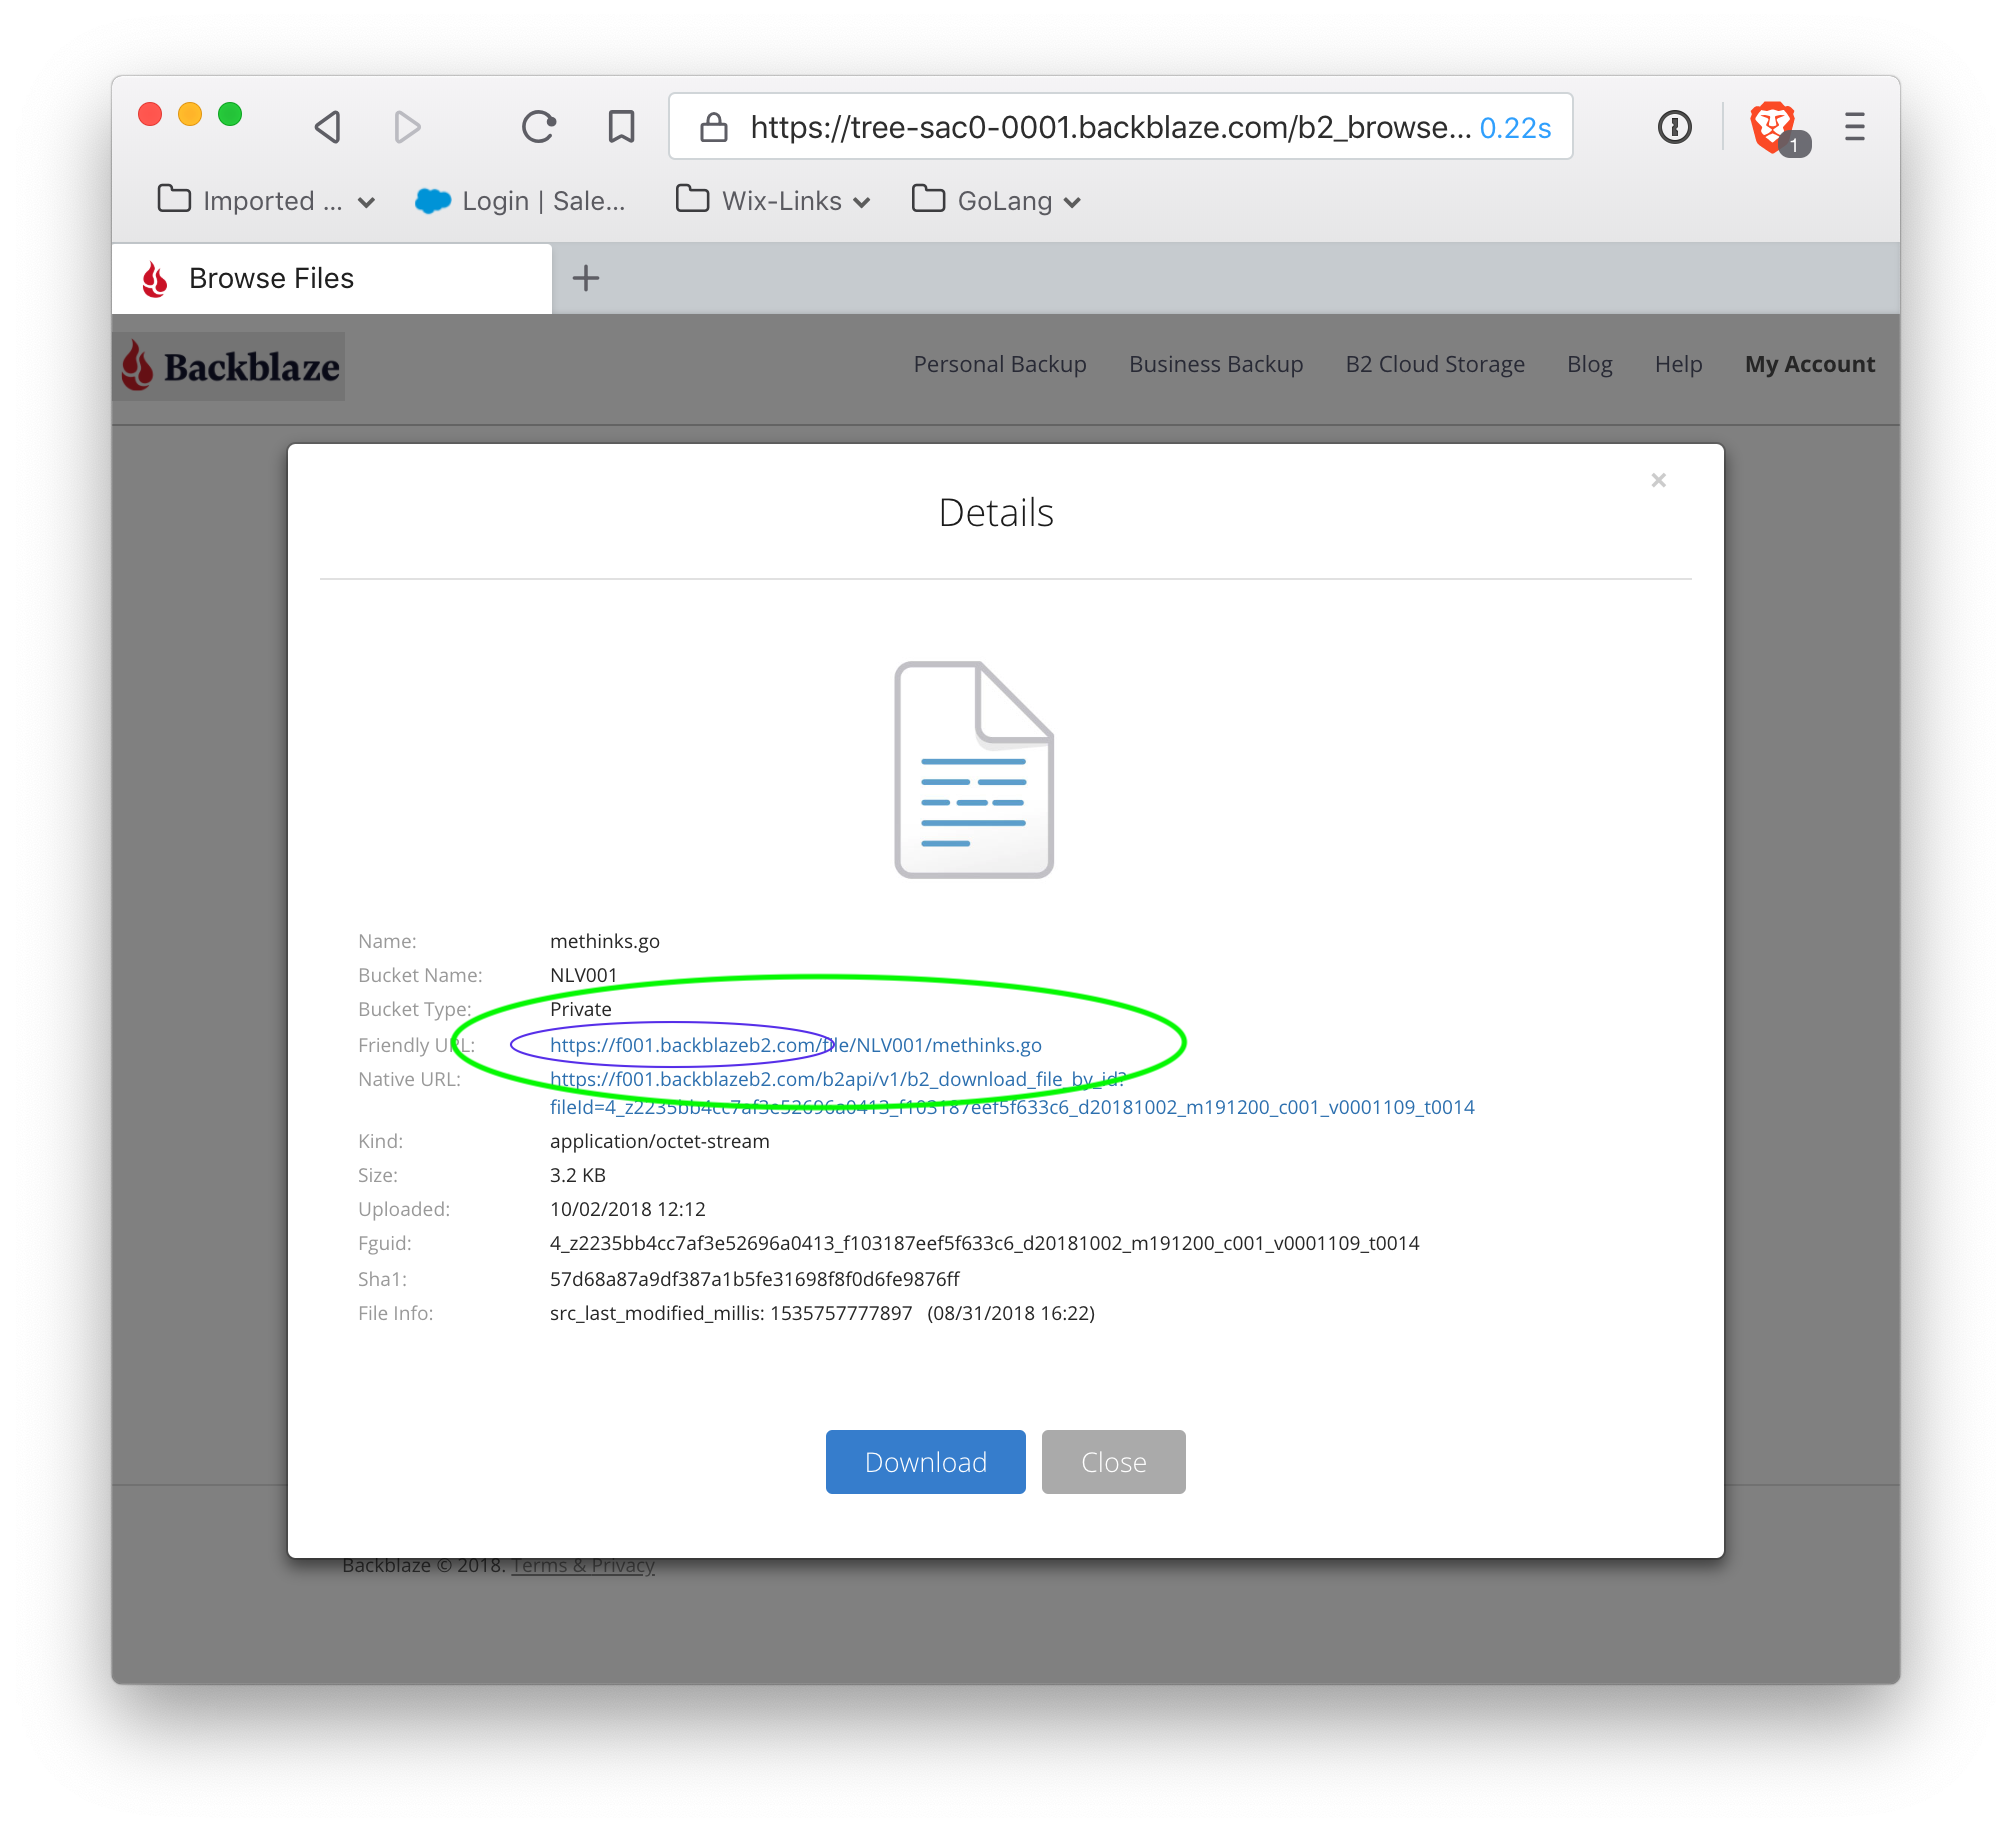
As shown, the fileserver for this bucket is https://f001.backblazeb2.com. Make a note of the fileserver, as this is the top-level domain that is the target of the remap. Also note that the filepath is <fileserver>/file/<BucketName>/filename — this pattern is used to source content through the remapped domain (more detail on this later).
Next, get (or create) an applicationKeyId and applicationKey to generate authorization tokens. Once the file information dialog is dismissed, click on the 'Buckets' menu item in the left-hand menu to return to the main Buckets page. Near the top of the page, is a link to Show Account Key and Application Key.
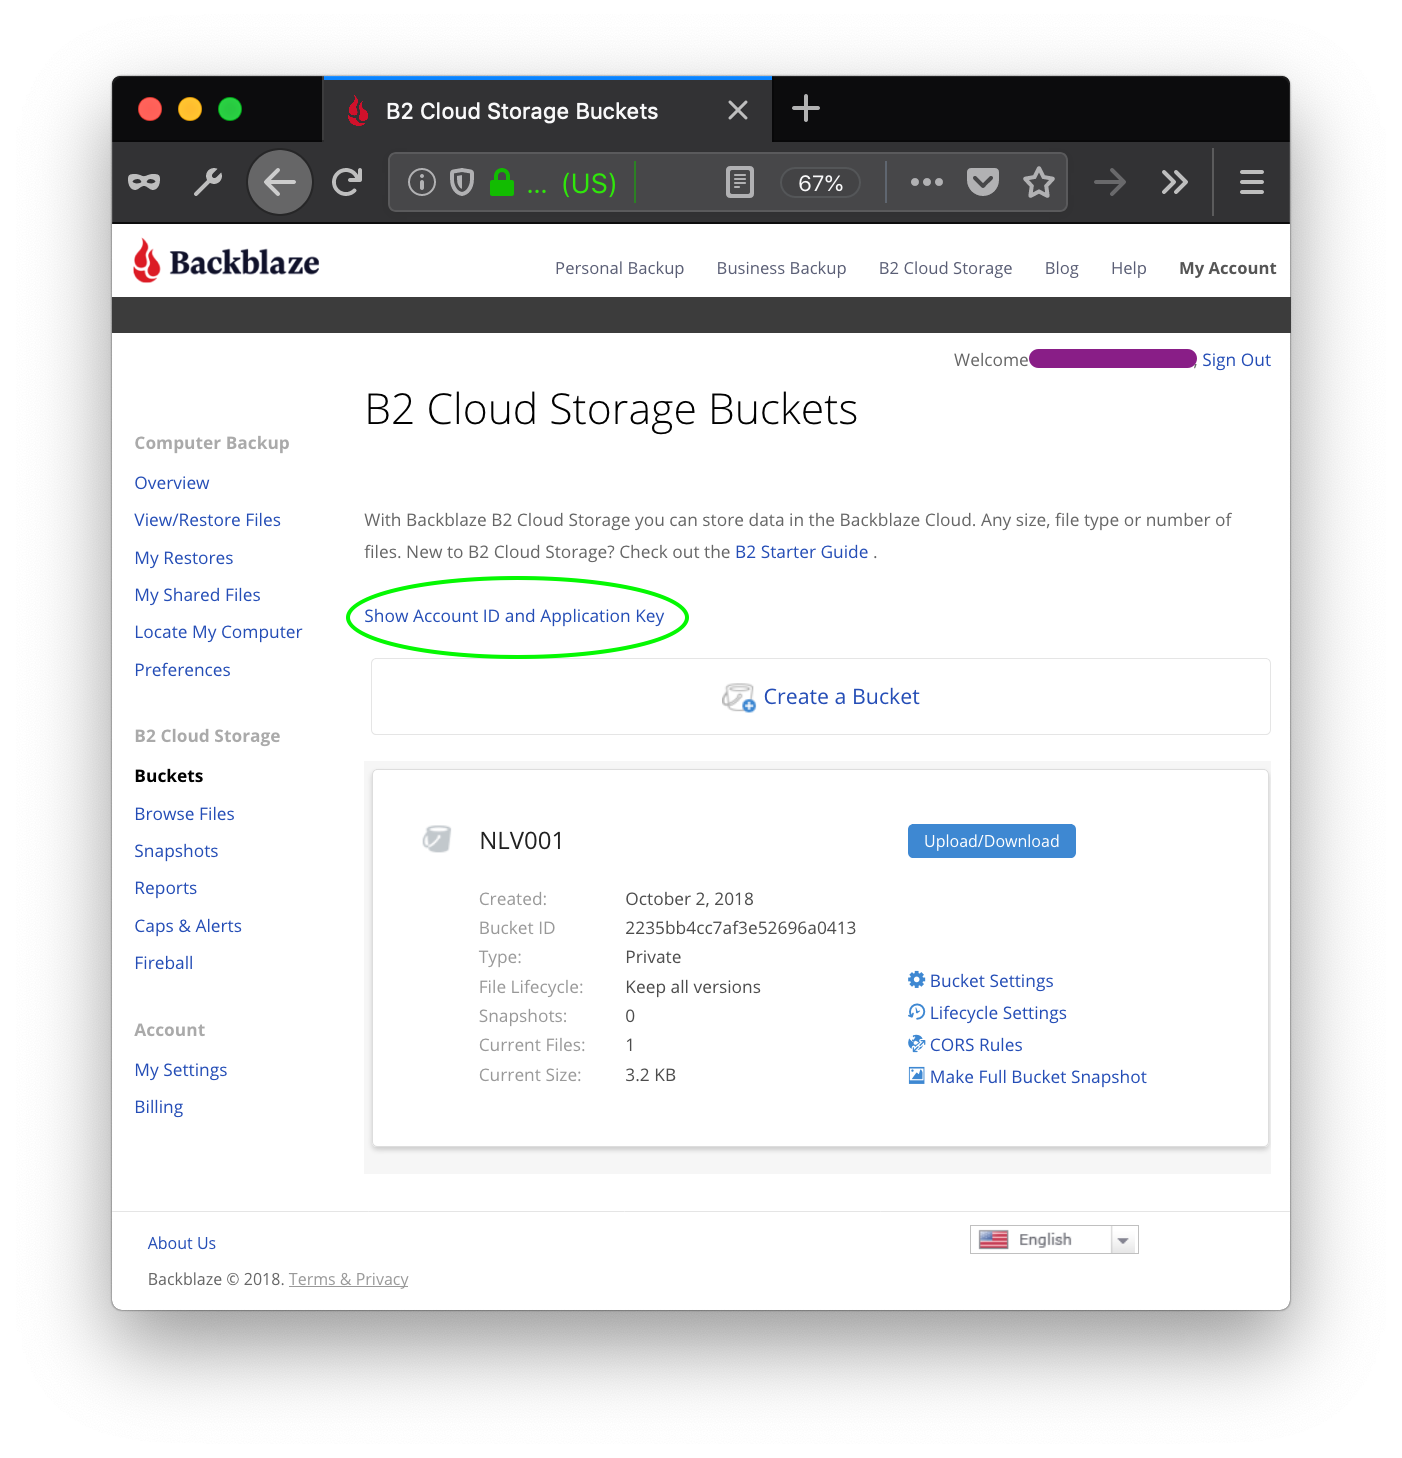
Click on this link to go to the key management.
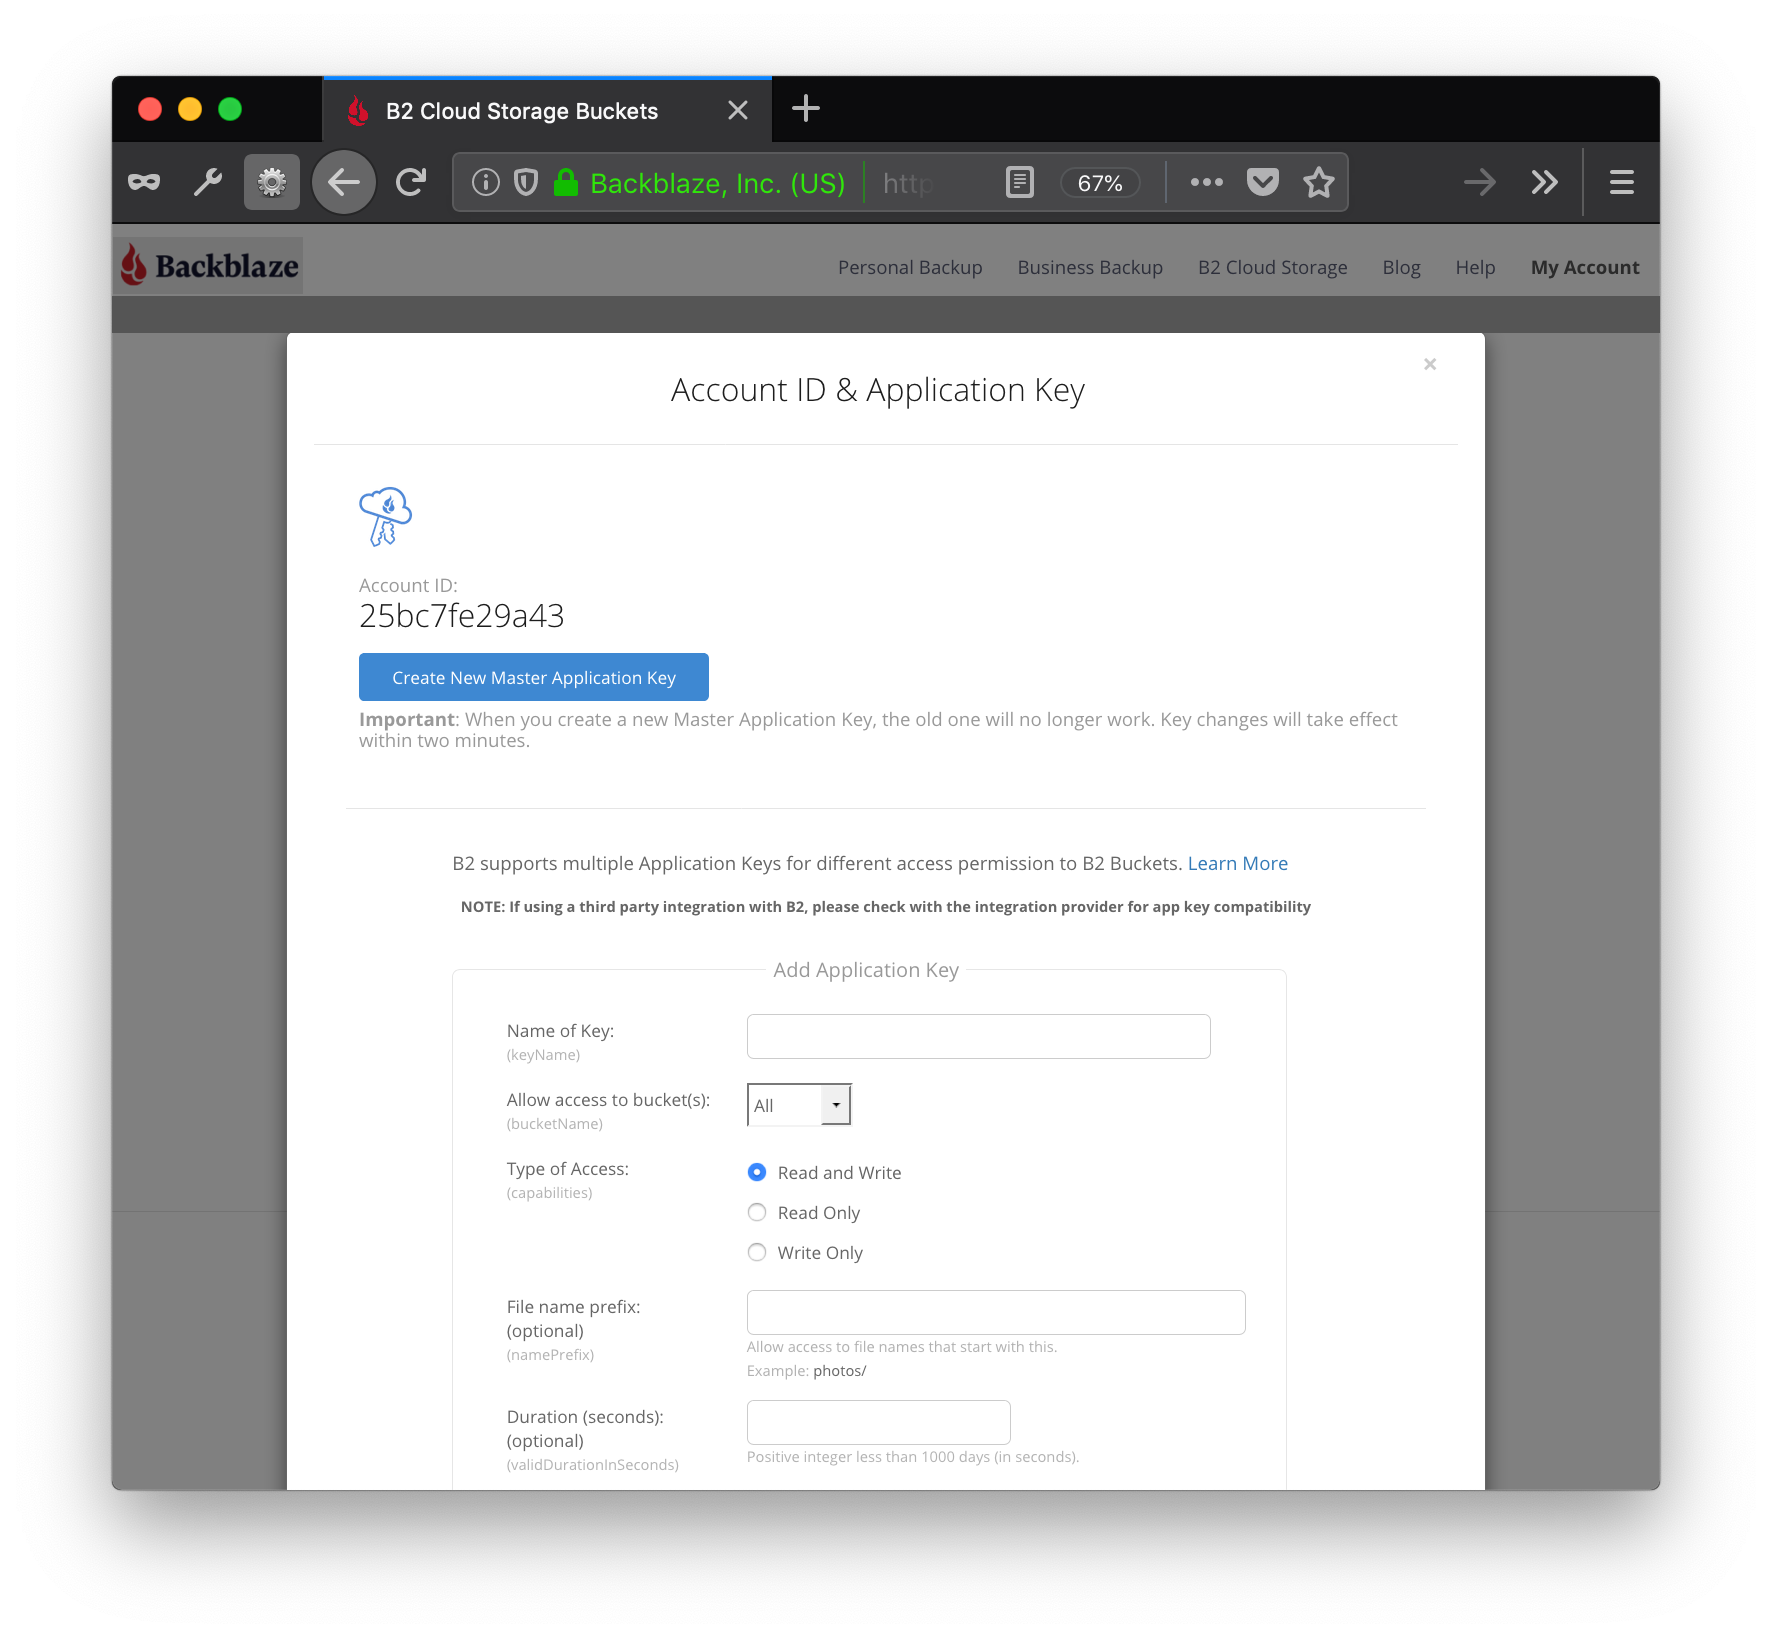
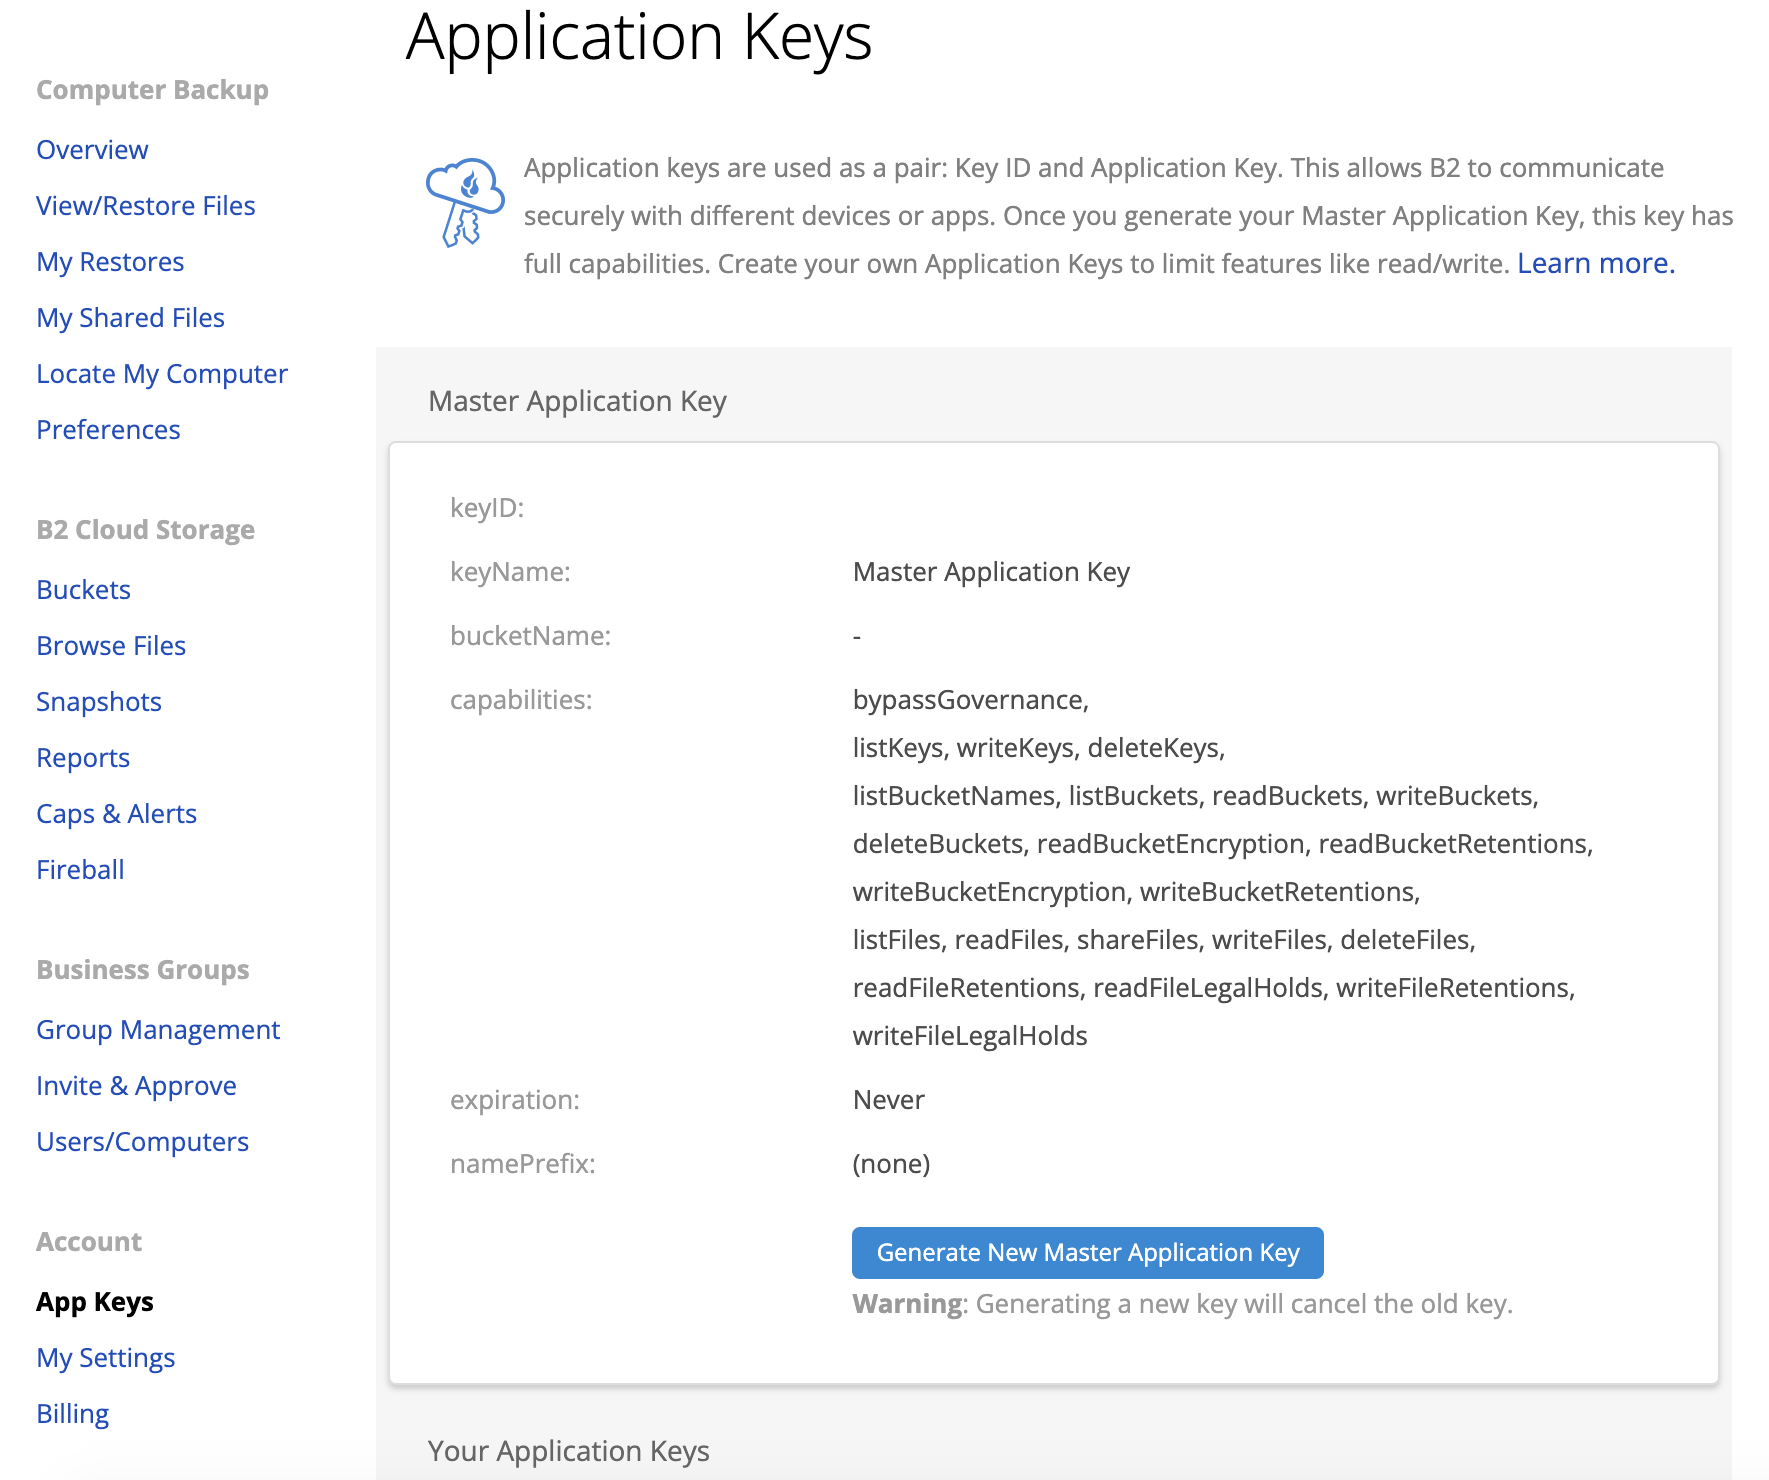
Although it is possible to use the Master Application Key ID and Master Application Key, it is preferable to use a key with less access. Scrolling down this screen a bit gives:
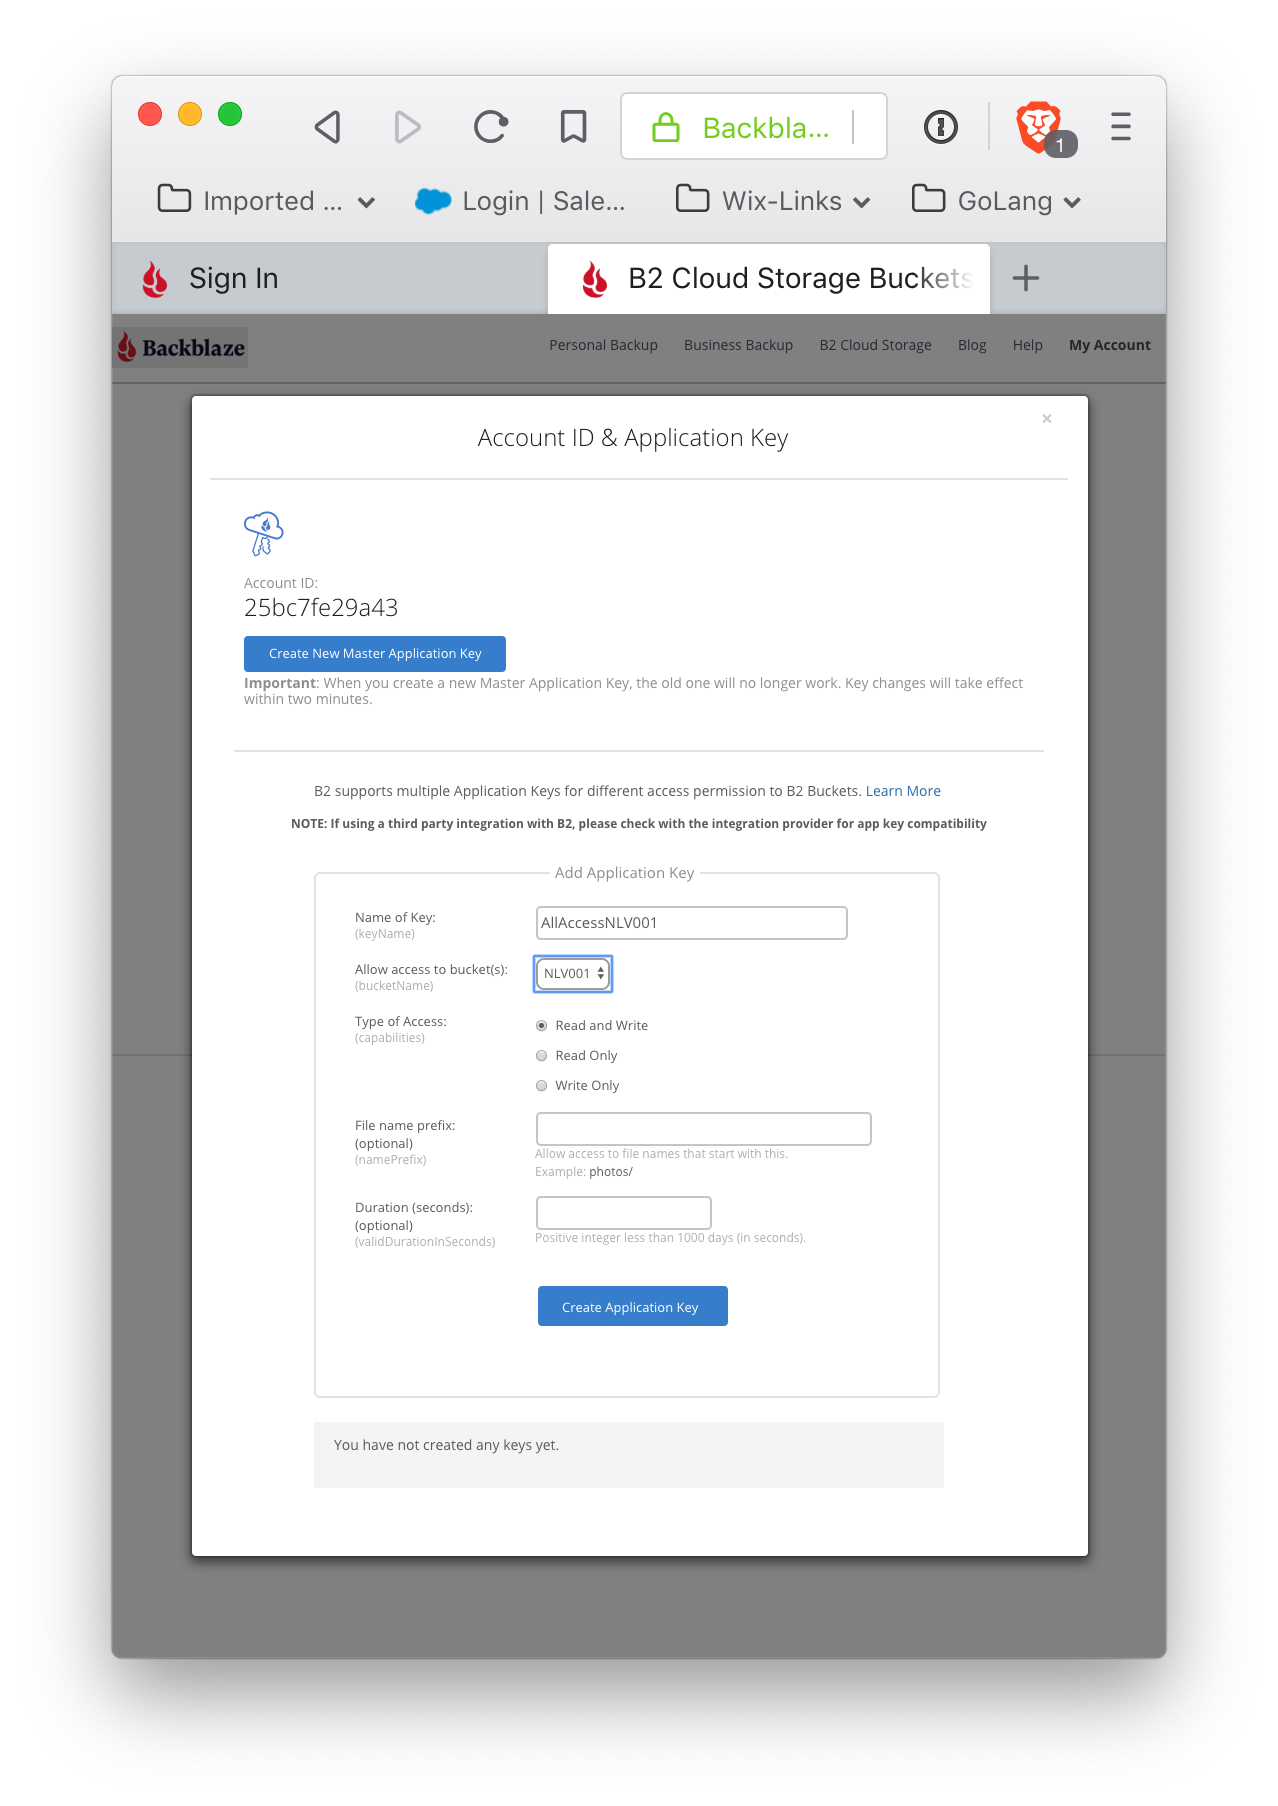
This will create an ApplicationKeyID and ApplicationKey (and this one is scoped to provide full read and write access to the bucket). Please note that the ApplicationKey is displayed exactly once. Although another key can be created with similar permissions, this particular key cannot be regenerated. This key gives access to your bucket, and should be kept securely. Application keys enable a great deal of flexibility in granting access to your stored content.
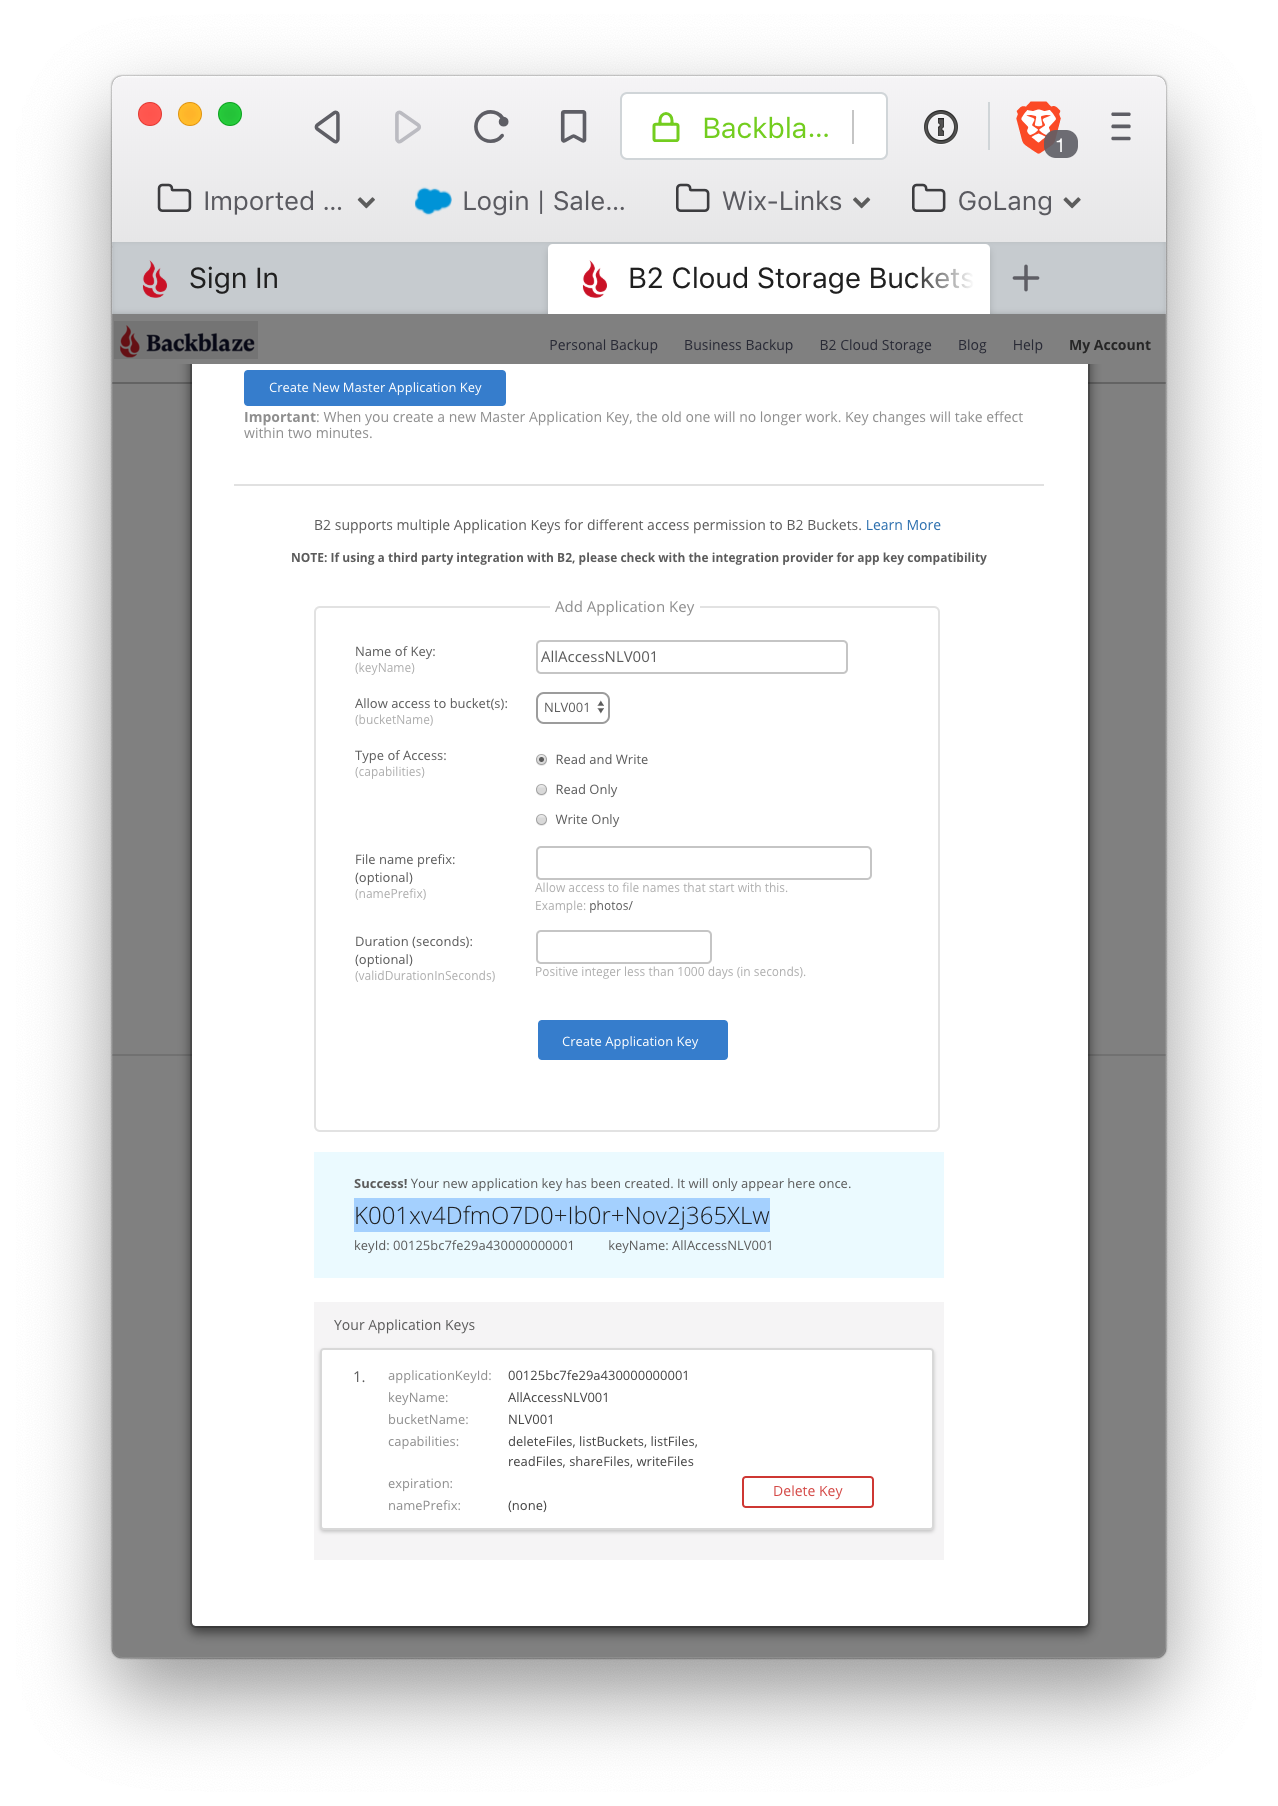
Note the ApplicationKey (again: this is the only time it will be displayed) and the ApplicationKeyId for the bucket. The ApplicationKeyId, along with the KeyName, are listed (as are all keys created for an account).
This is all the information required from Backblaze.
Set up the Cloudflare account
If you do not already have a Cloudflare account, sign up for one at Cloudflare.
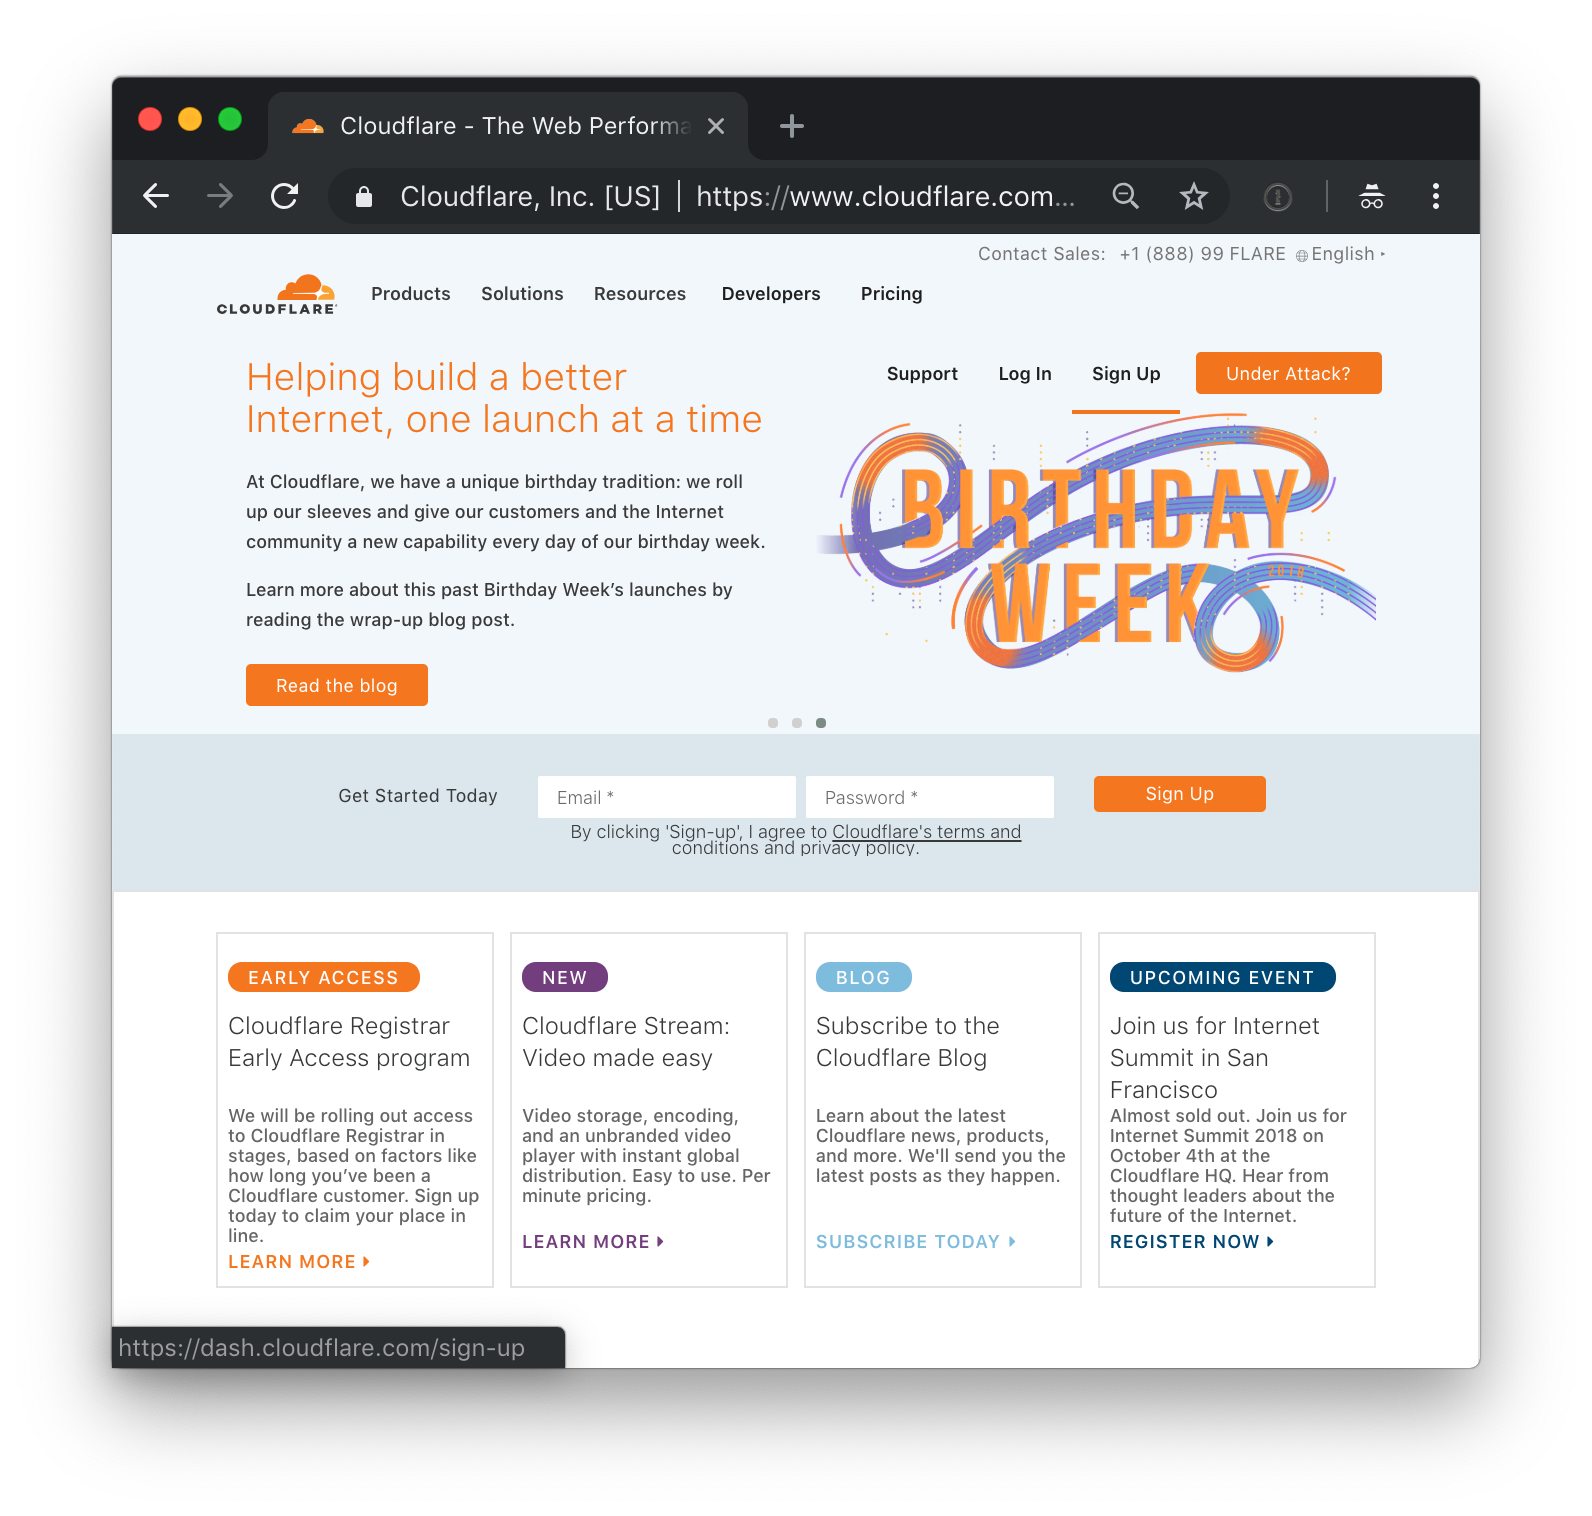
and sign up:
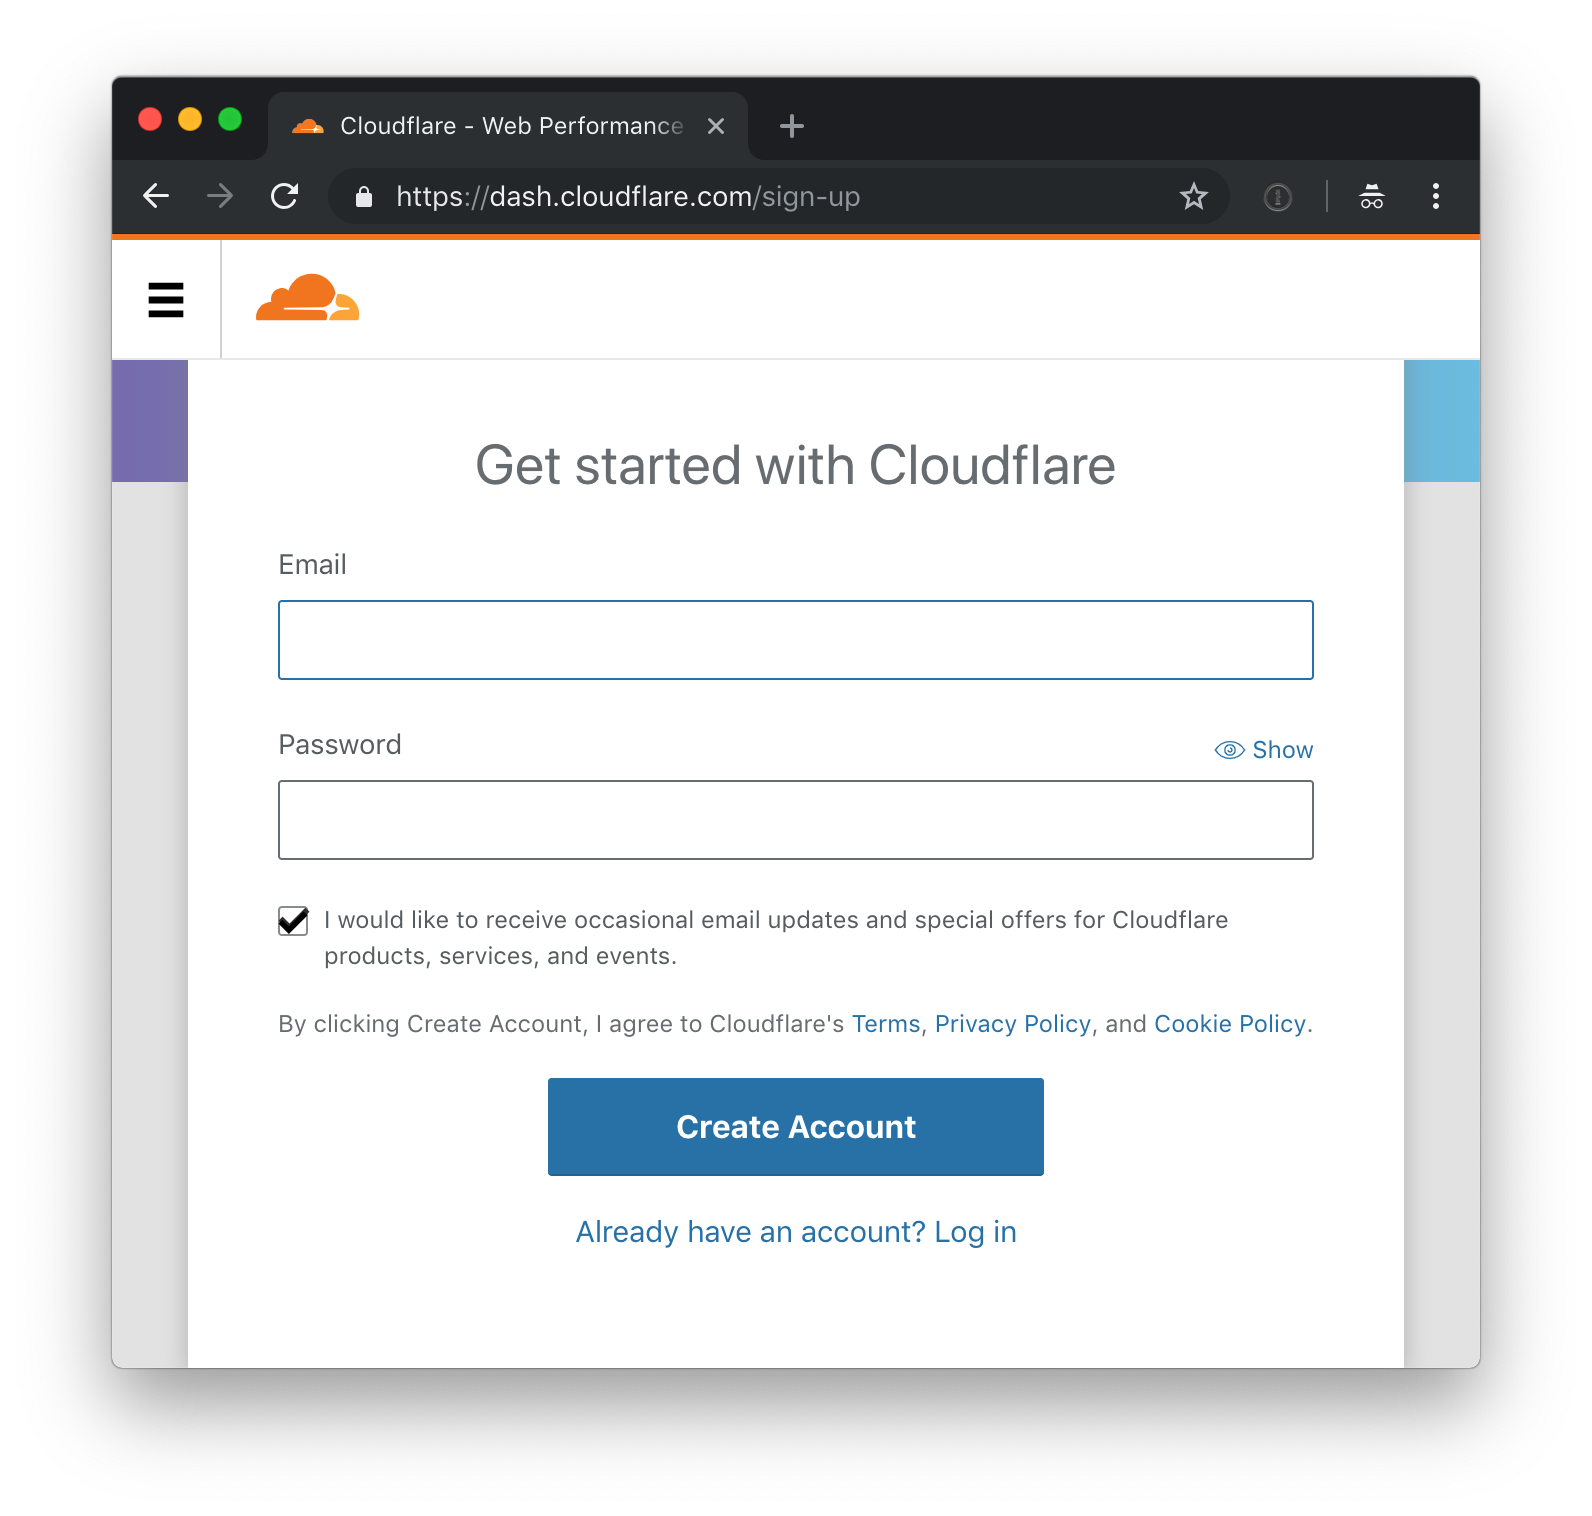
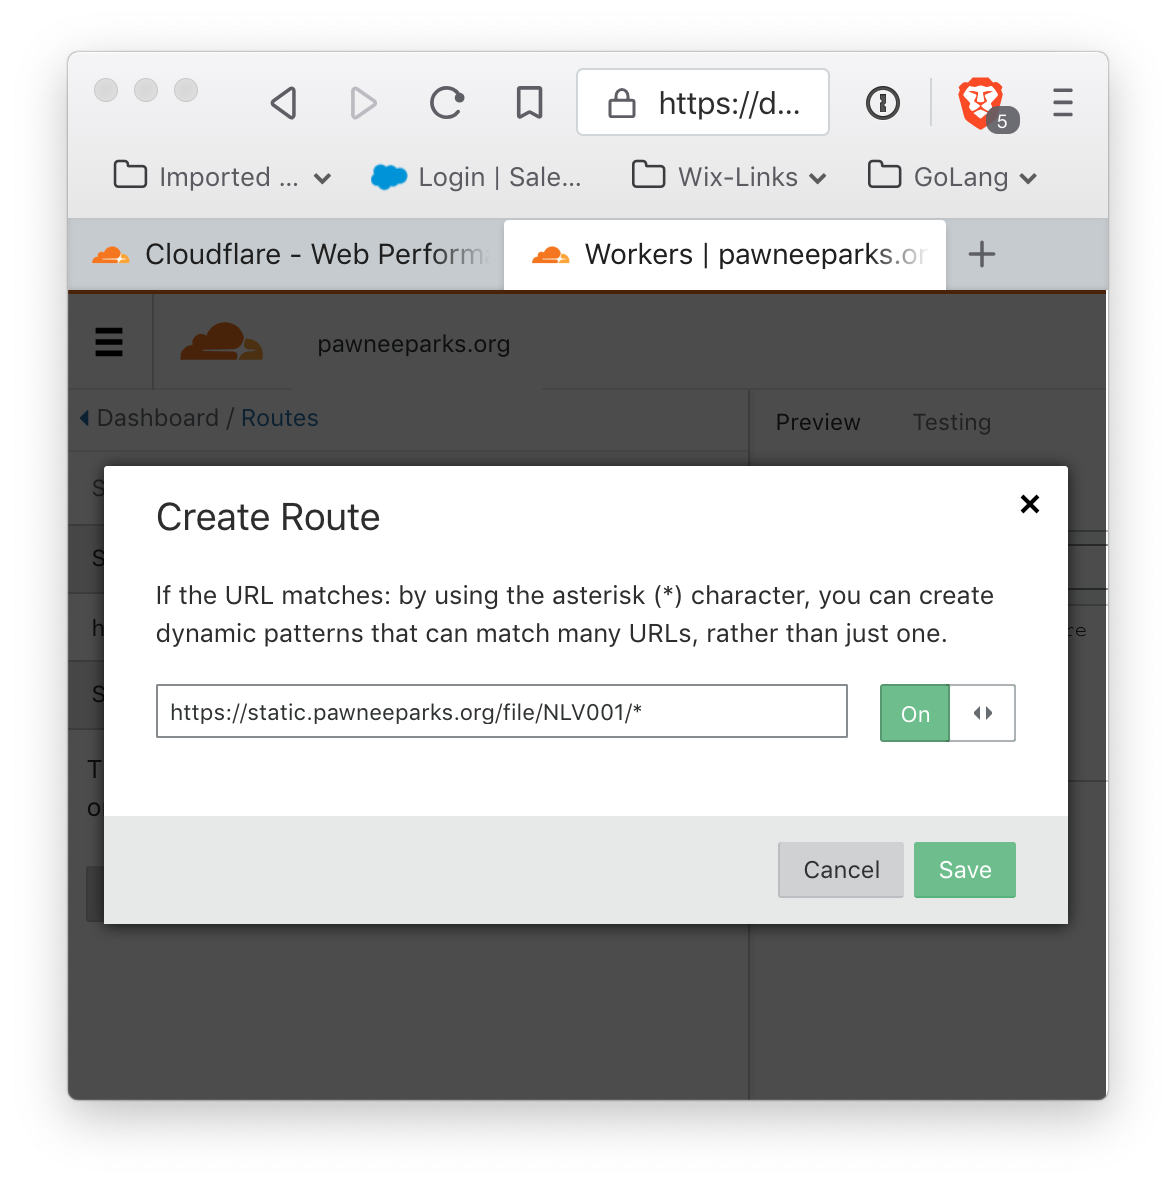
After signing up, register your top-level domain with Cloudflare by going to 'add record'. Ensure the record type is CNAME. This will map your top level domain (here static.pawneeparks.org) to the source that Cloudflare will fetch content from.
Click on 'add record', and then make sure the cloud icon directly to the right of the 'Automatic TTL' choice box and directly to the left of the 'Add Record' button is orange; if it is gray, click it once to change the setting from 'DNS only' to 'DNS and HTTP Proxy'.
The next step requires adding billing information, and a subscription to web workers. After this is accomplished, go the the workers page, and launch the editor.
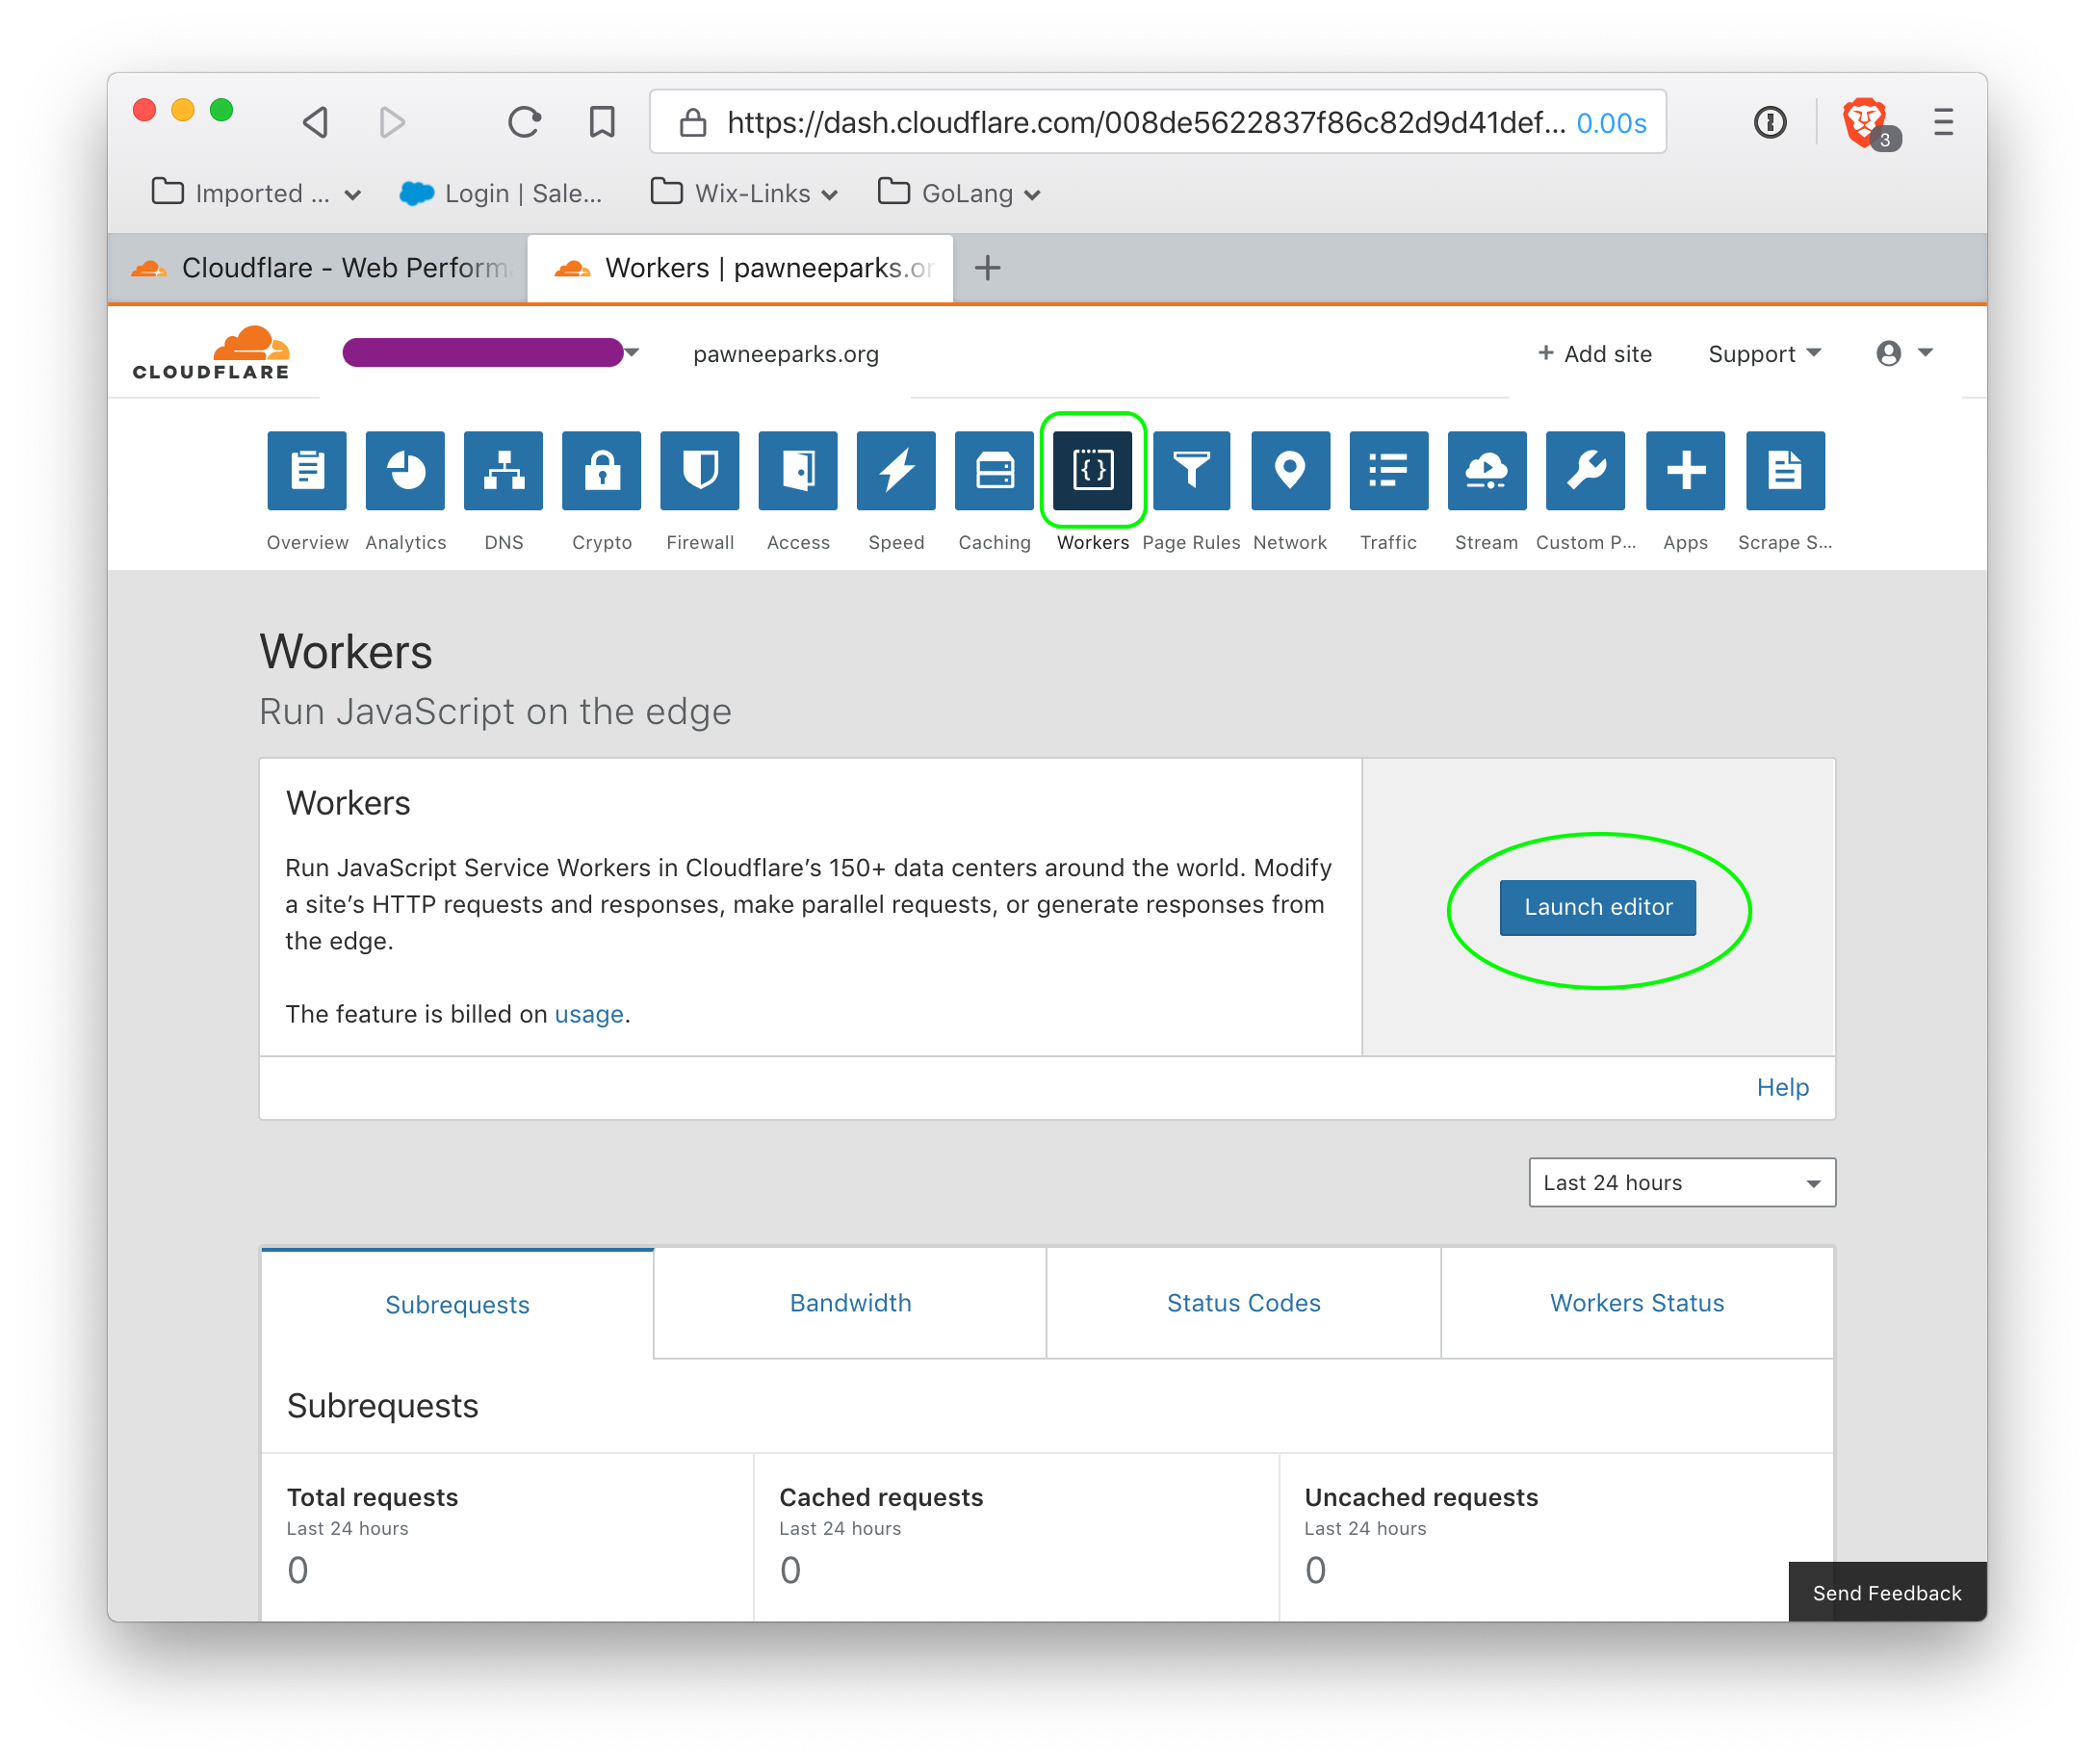 Do not modify the default script (there is no need). However, the script must be saved by clicking the 'save' button (circled in green). Clicking this button may not appear to do anything, but it is absolutely required for the next step, which is to specify the route on which the worker script is enabled.
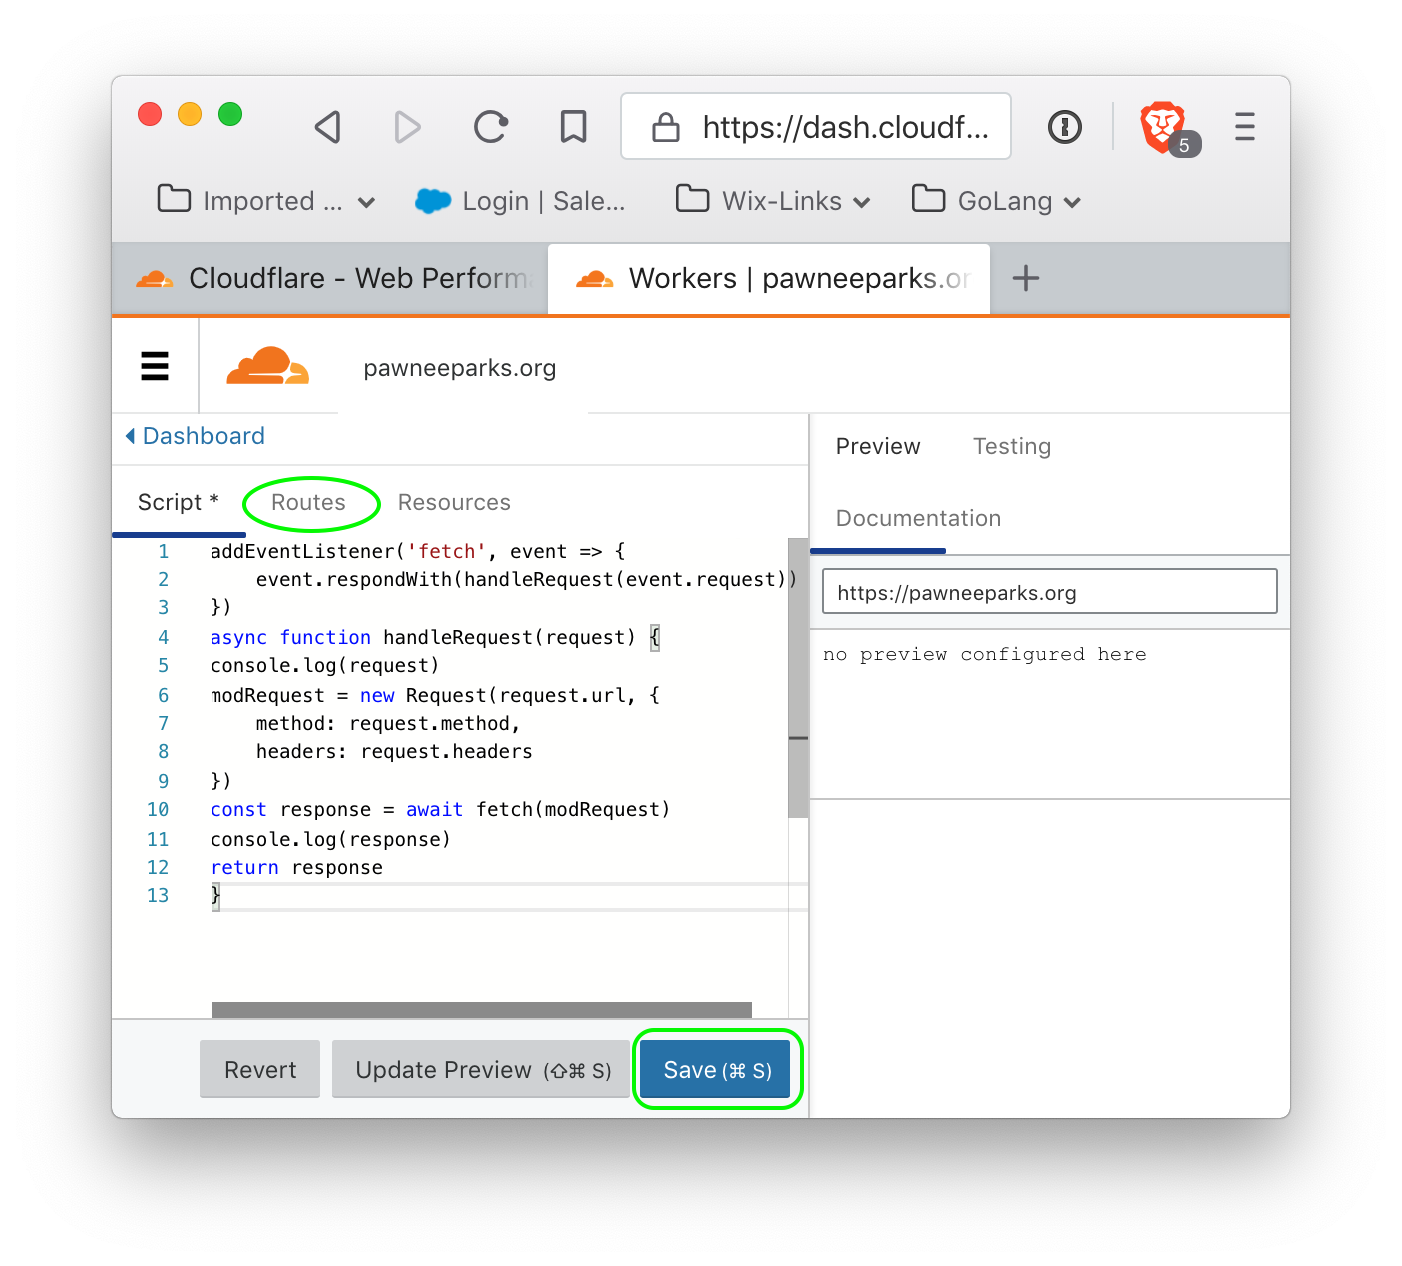
Click on the 'routes' tab (circled in green) to show the routes.
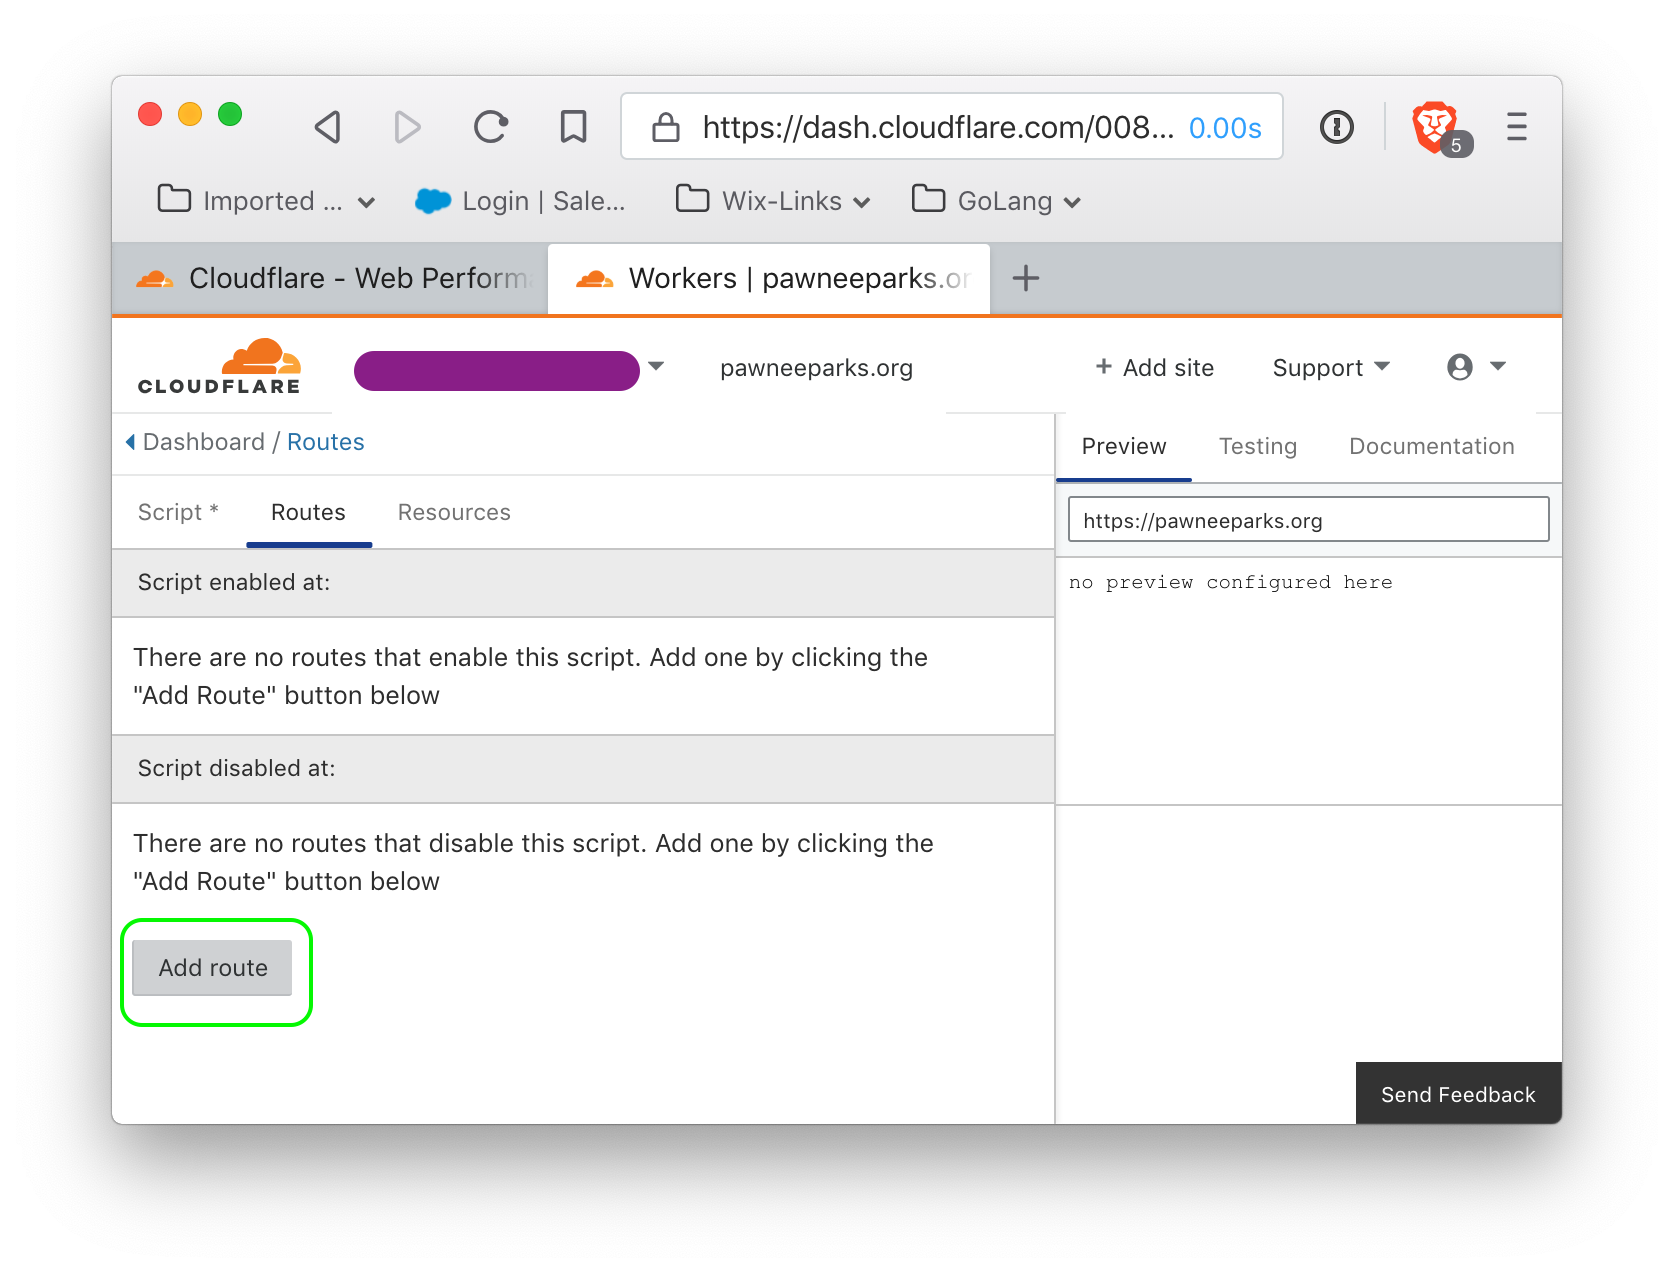 click 'Add Route' to add a route, and it should show up.
and the script will show as enabled for this script:
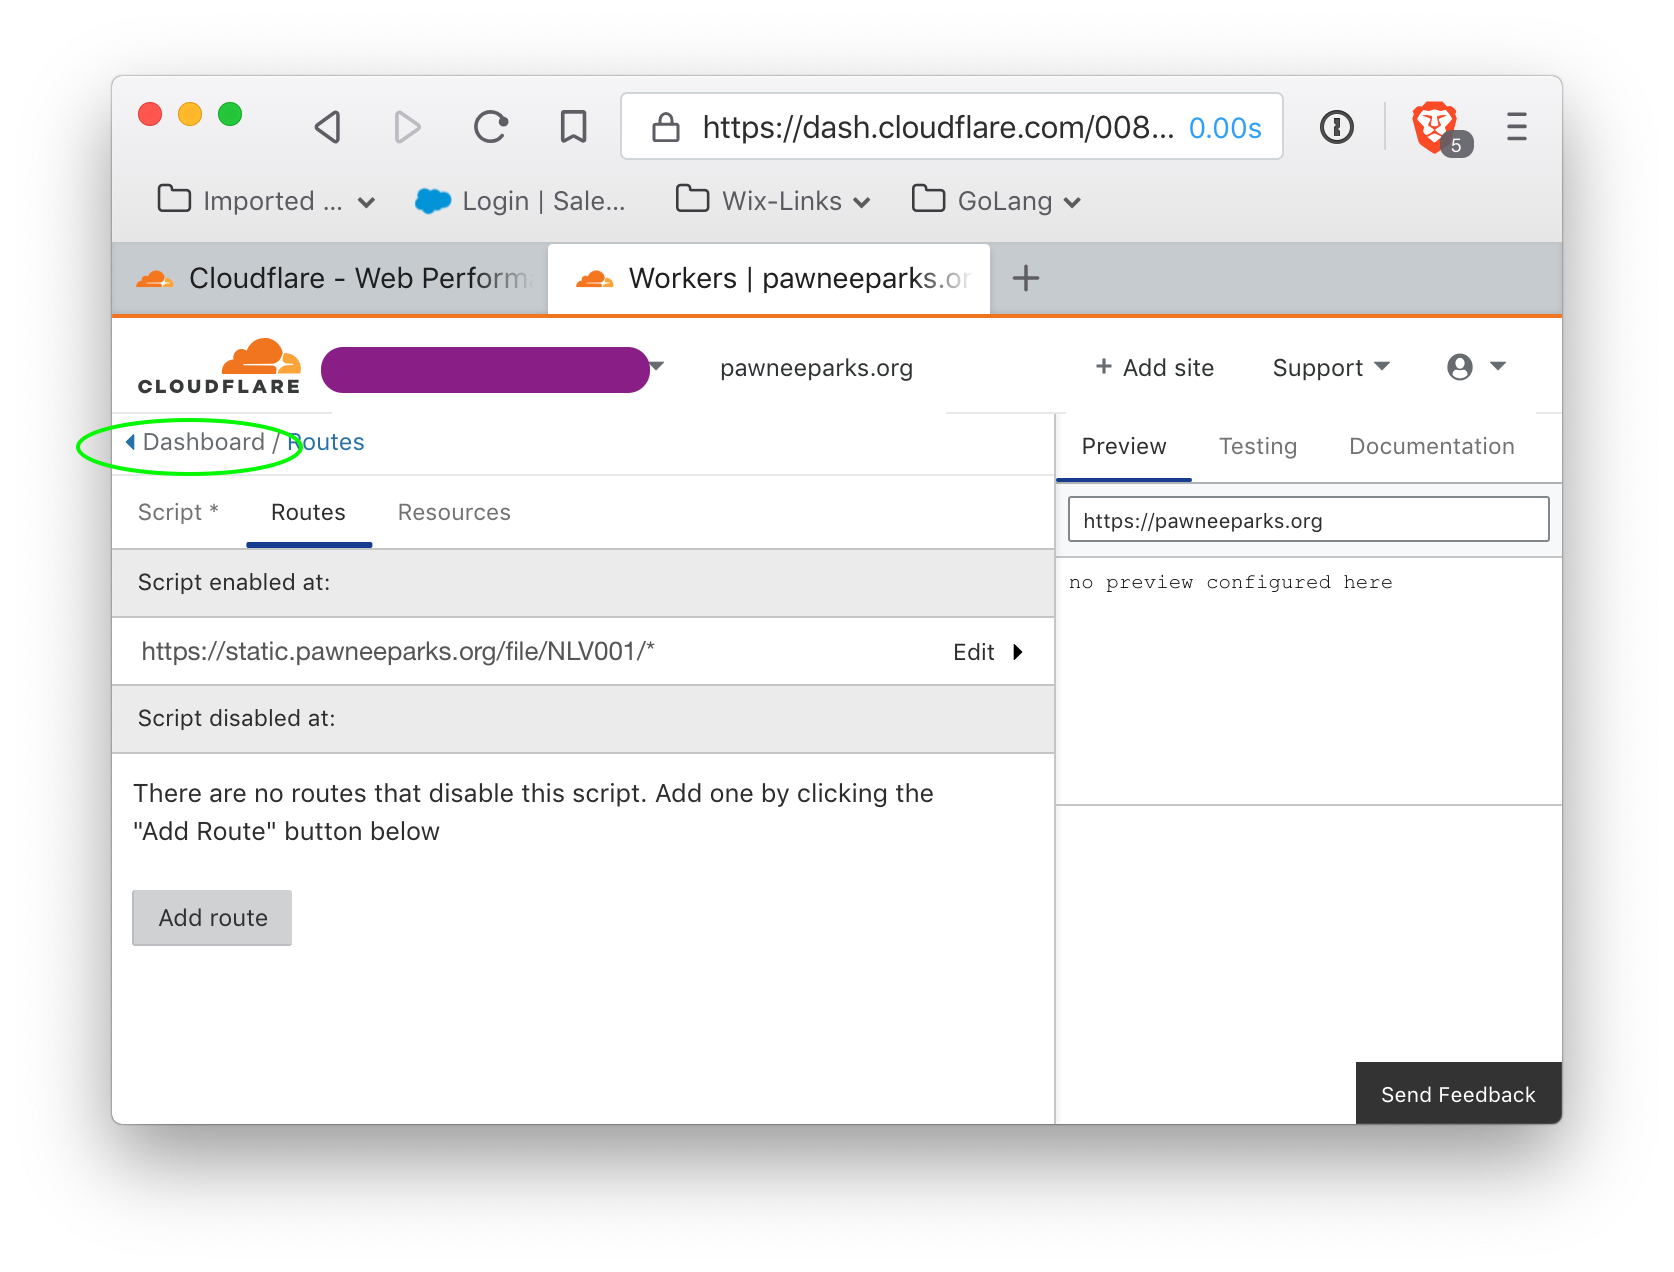
The routing is set up, and the script will be taken care of automatically by python script, but we will need an API key for Cloudflare. Click on 'Dashboard' to return to the main Cloudflare interface, and then go to the Overview.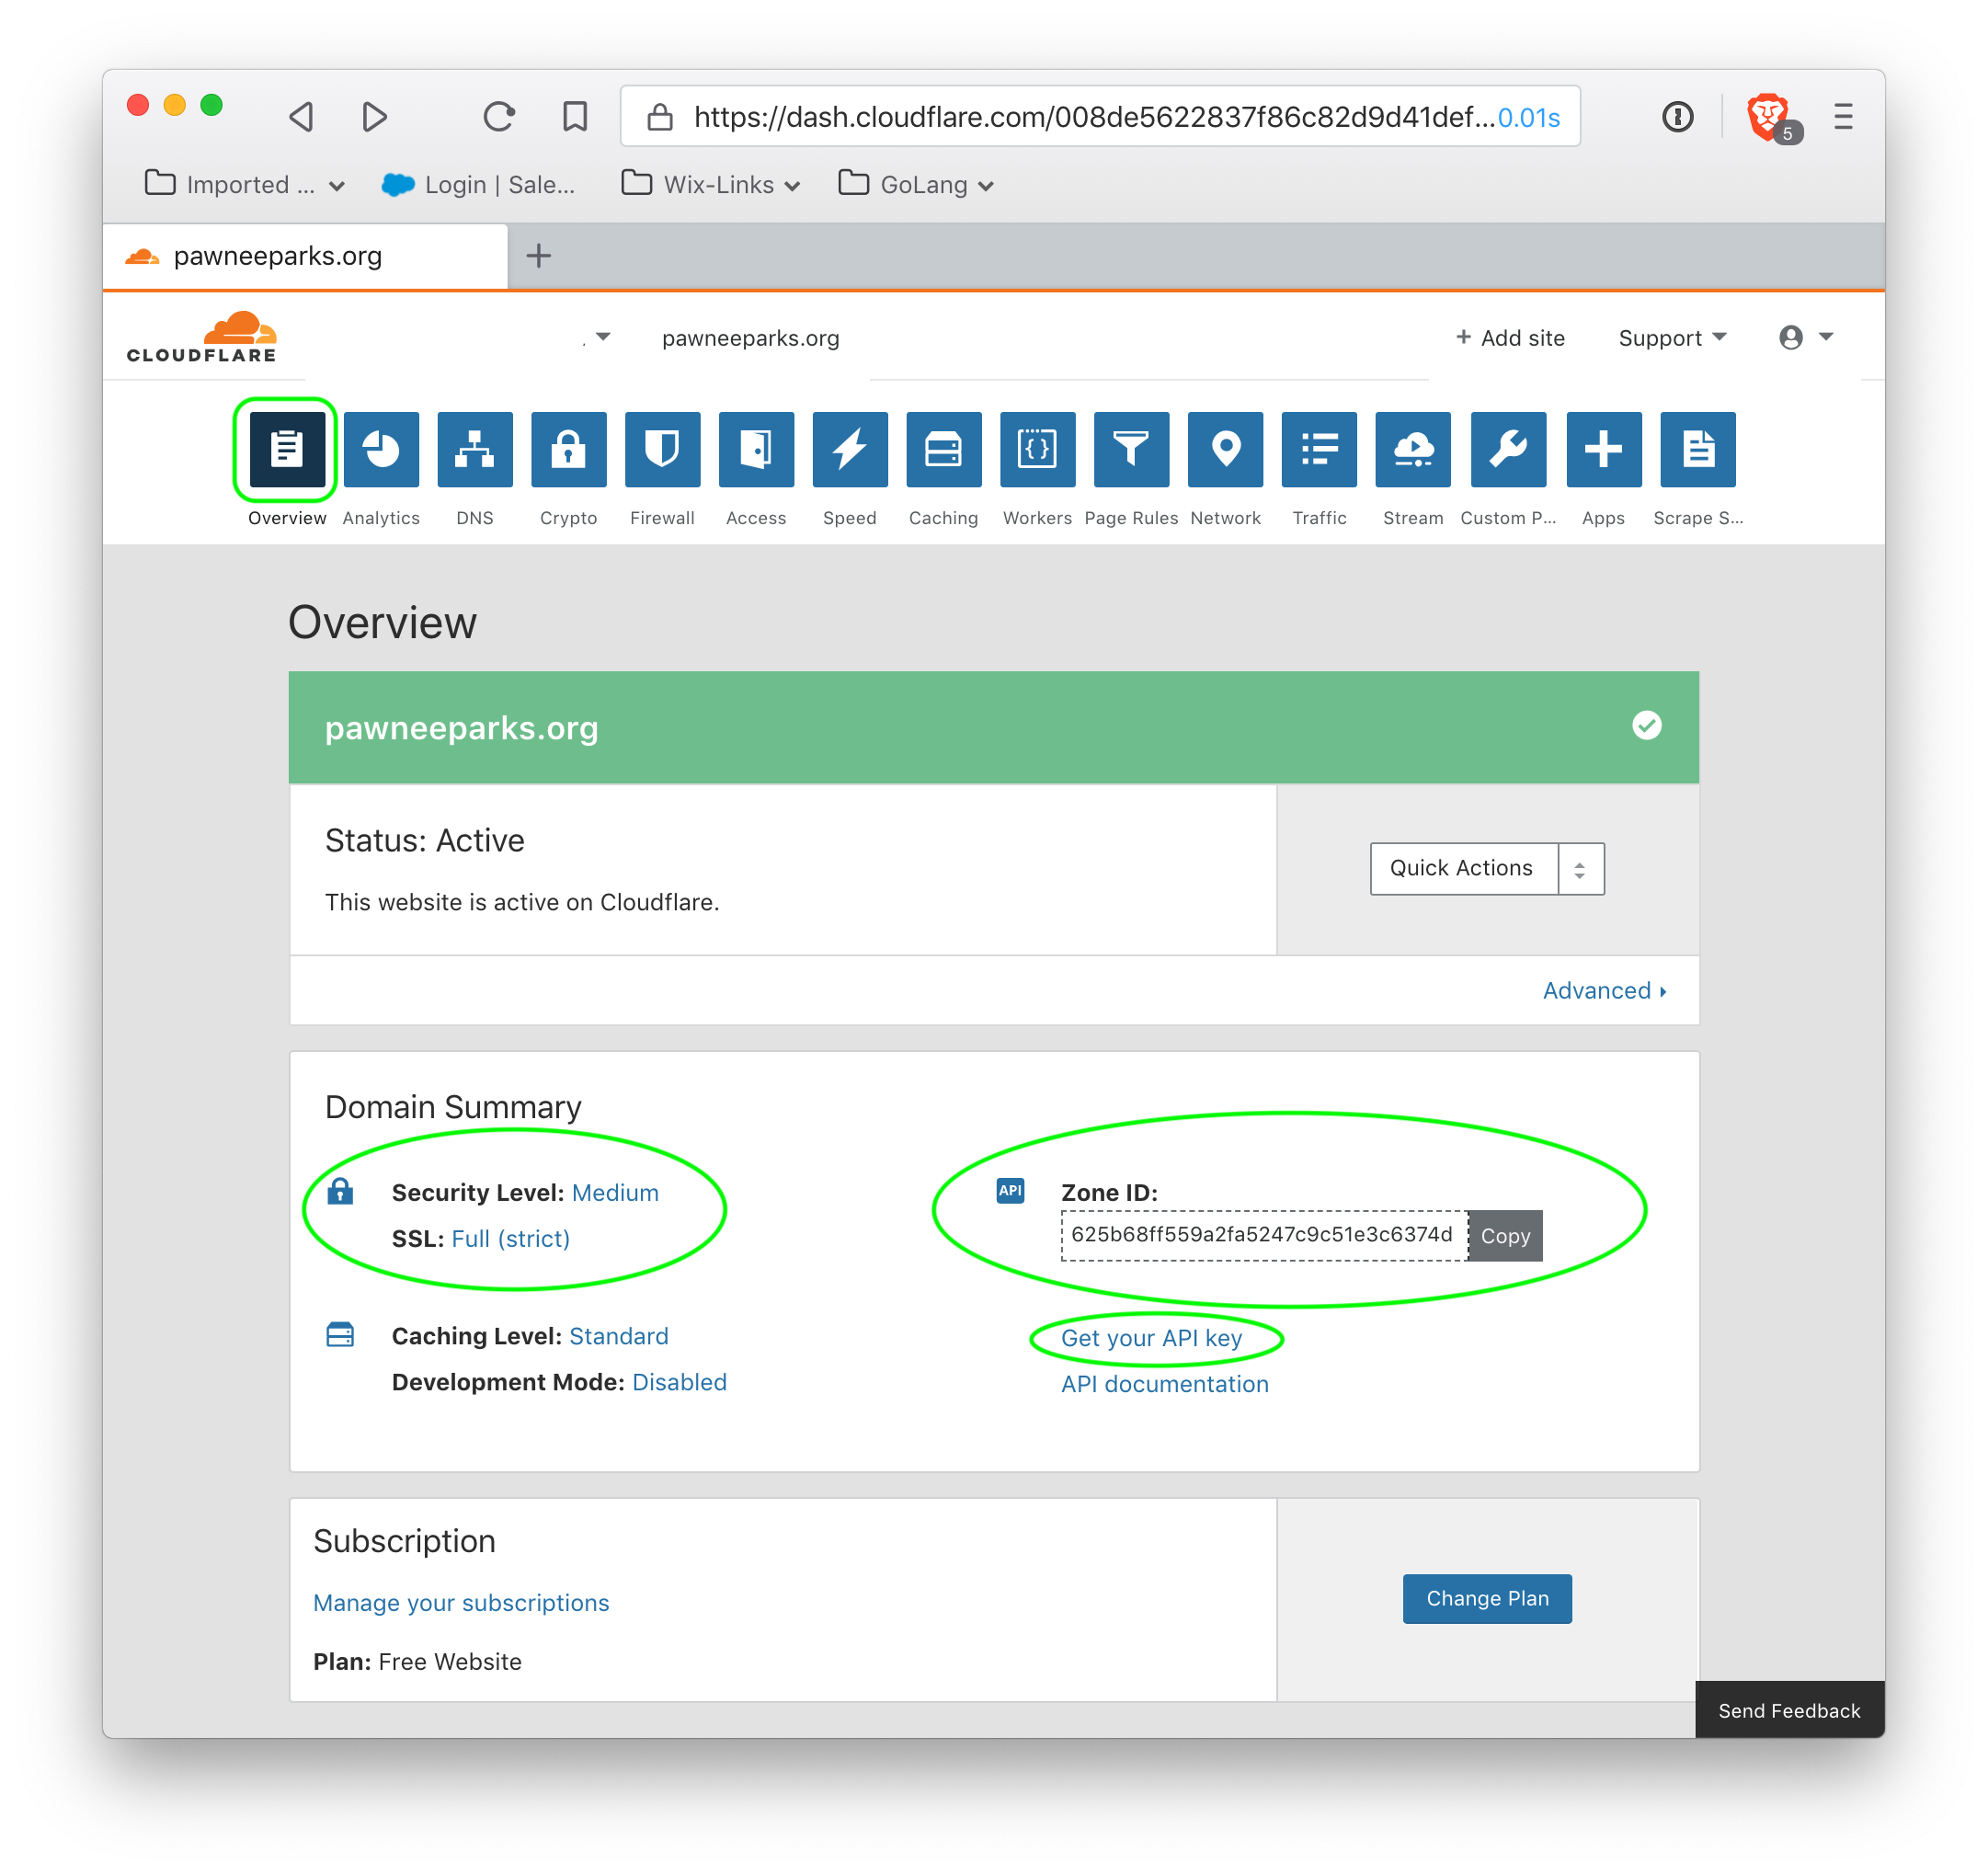
Several things require attention here. First, SSL should be set to Full (Strict) to ensure that Cloudflare verifies certificates from Backblaze B2 storage. Next, the Zone ID is required to upload our worker script, as is the API key. After noting the Zone ID, click on 'Get your API key'.
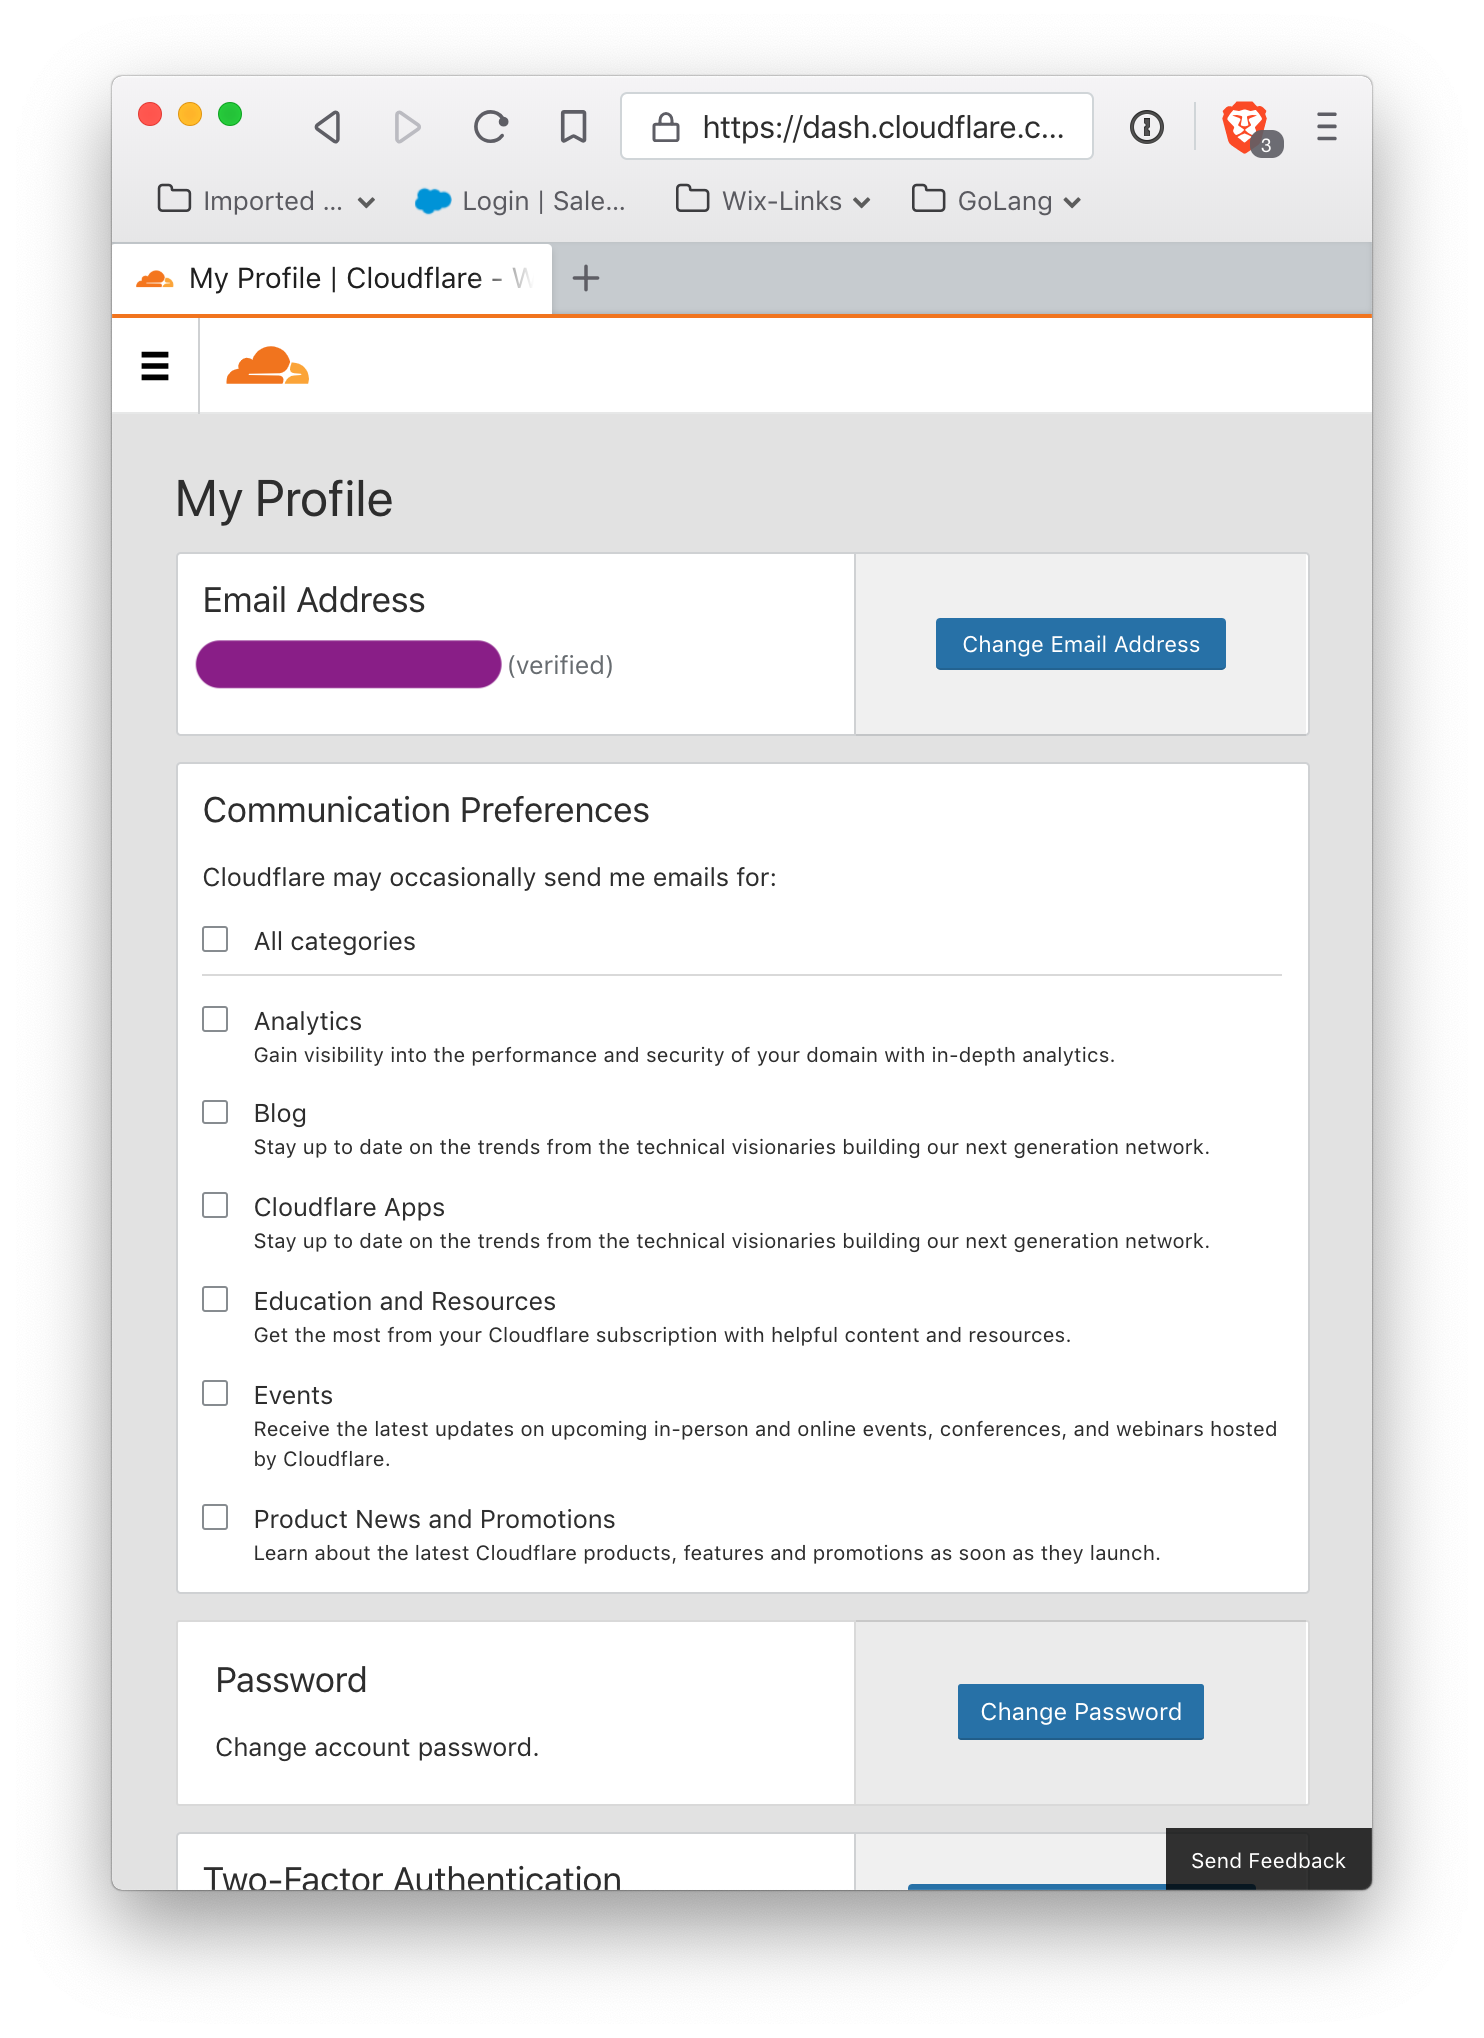
and scroll down to the bottom of this page. The final section is API Keys. The required information is the global API key. Click View to display the API key, and make note of it. Cloudflare will require account verification.
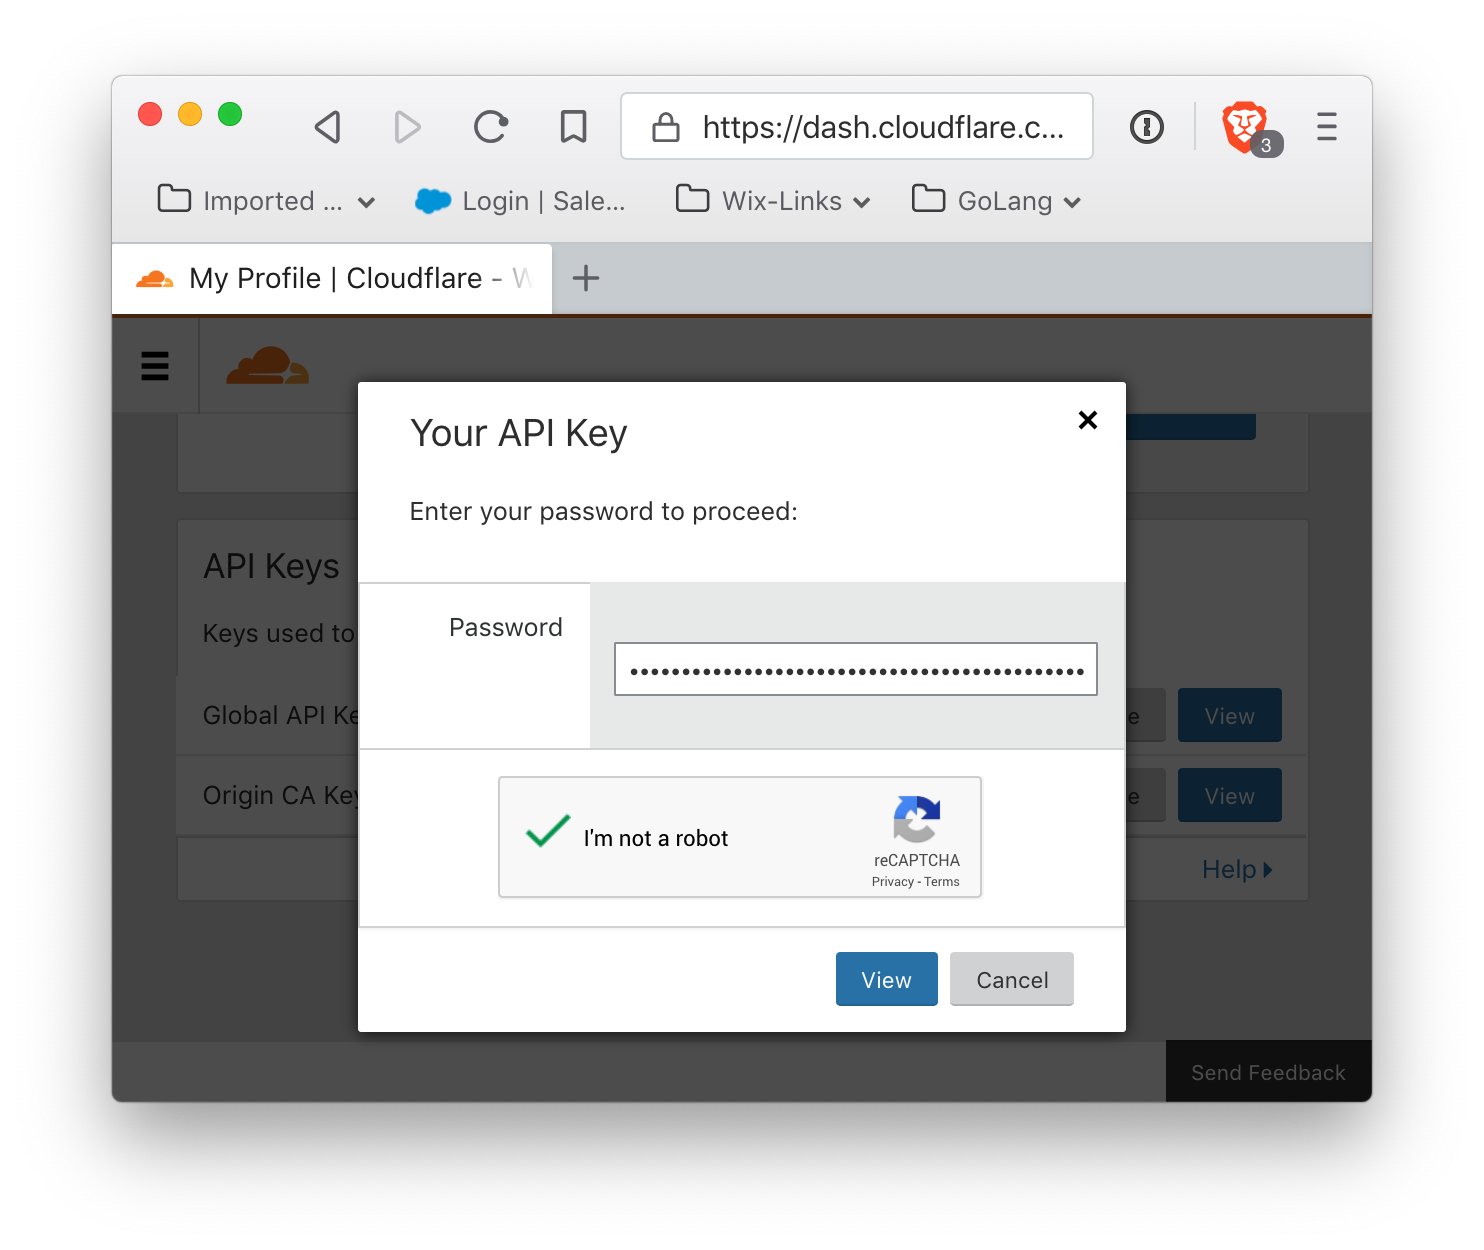
It will reveal your API key:
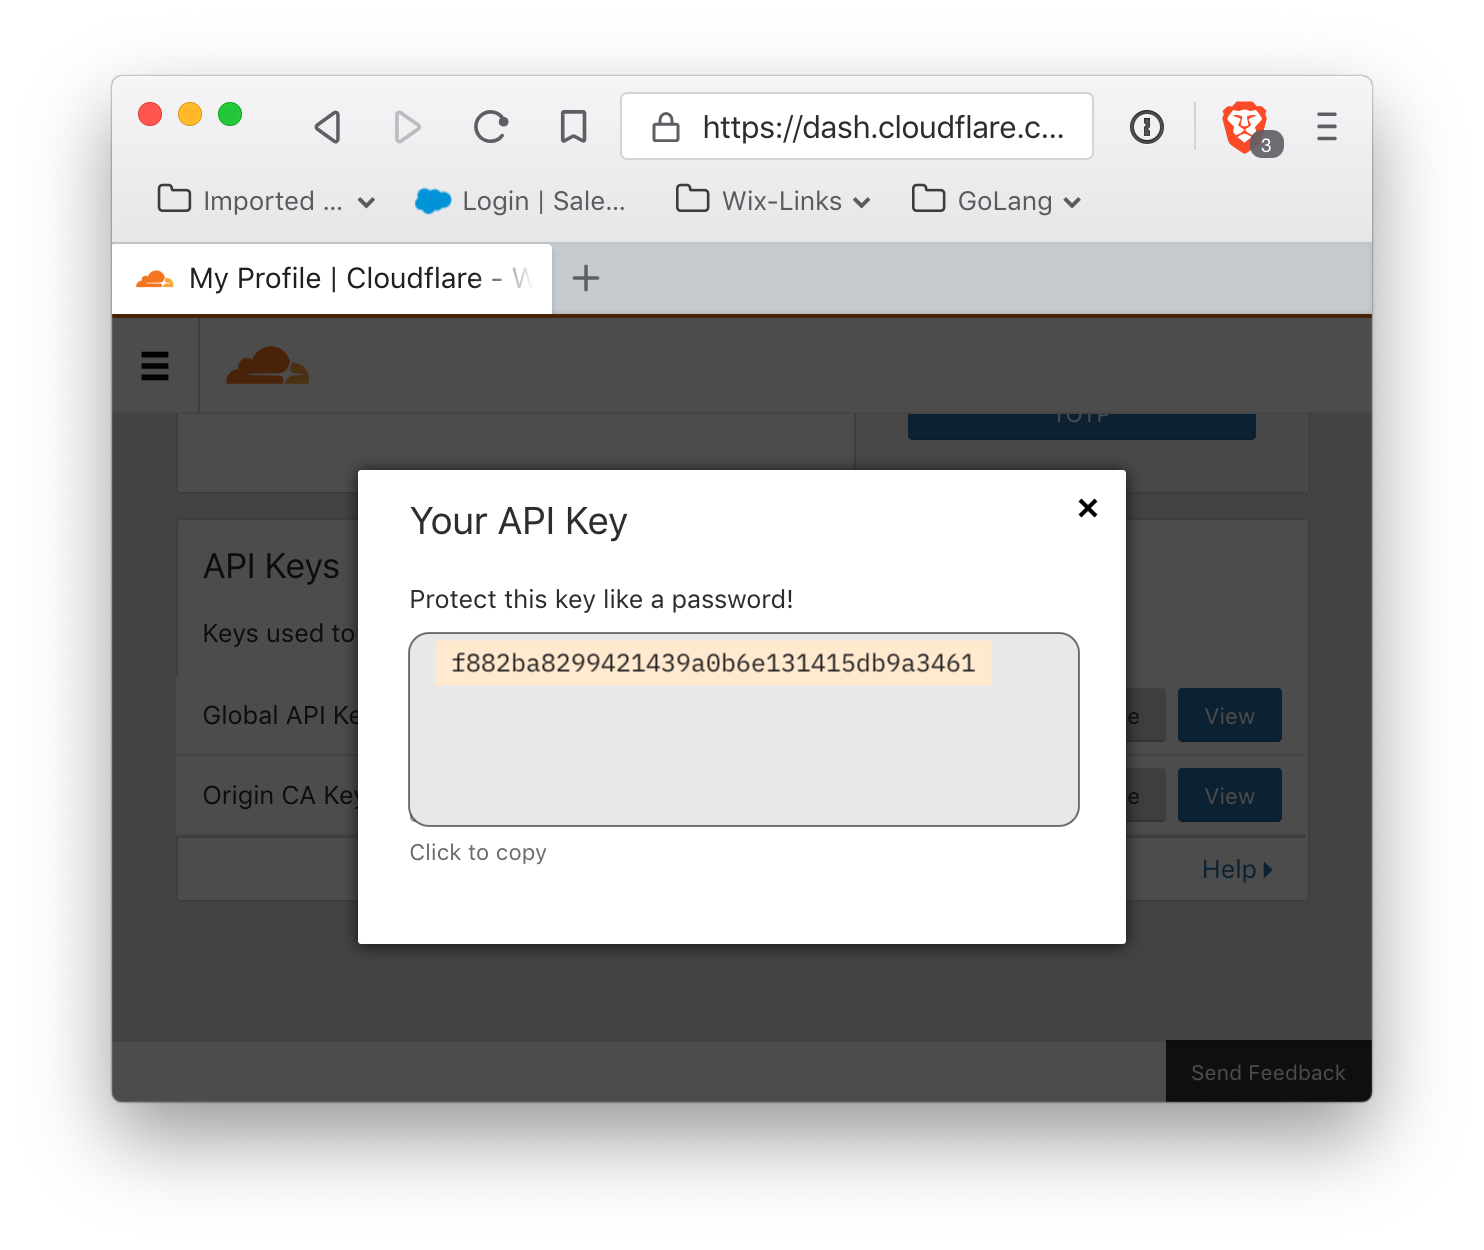
Please note: under no circumstances display your API key in a public forum.
Setting up the authorized web worker with Cron
Since Backblaze B2 authorization tokens expire, feeding a CDN requires updating the authorization token. The simplest way to do this is to replace the entire worker script with a new one, where the authorization token is hard-coded into the Javascript. To make this easier, here is a script which, given the identities, identifiers, and keys, will get a new authorization token from Backblaze, embed it into a web worker script that will add the token as a header to incoming requests, and then upload the script to Cloudflare. By default, the script's authorization tokens are valid for one week (the maximum possible time). If this script is scheduled to run once a day, then the script can be missed for five days before the authorization token expires.
Setting up a Python script to run at regular intervals is beyond the scope of this guide, as is setting up a Python3 environment. This is the Python3 script to get a B2 authorization token and upload a web worker to authorize Cloudflare requests to the private bucket is available.
This script requires some customization, as a number of values are specific to the user.
- cloudflareEmail
- The email address registered as the account owner in Cloudflare
- bucketSourceId
- The hexadecimal bucket identifer for the source bucket in Backblaze B2
- bucketFilenamePrefix
- The filename prefix (if any) for which the B2 ApplicationKey is valid
- cfZoneId
- The Zone ID for the Cloudflare account
- b2AppKey
- This is the Backblaze B2 Application Key to authorize access to the Backblaze B2 bucket. This is the secret key that is displayed exactly one time and never again.
- b2AppKeyId
- This is the Backblaze B2 Application Key ID. It is also a long string, but it is displayed in the list of existing keys.
- maxSecondsAuthValid
- The number of seconds for which the authorization is valid when created. The default script value is a week, which is the maximum time-to-live of any authorization token. The valid time may be set to a smaller value. However, this should be weighed against how often the cron job will run. If the cron job runs once a day, then if it is skipped for a day or two or even five, the authorization remains active if the authorization token lasts for a week.




 Do not modify the default script (there is no need). However, the script must be saved by clicking the 'save' button (circled in green). Clicking this button may not appear to do anything, but it is absolutely required for the next step, which is to specify the route on which the worker script is enabled.
 click 'Add Route' to add a route, and it should show up.


