Installing the Backblaze Computer Backup Client via Microsoft Group Policy
Distributing software to tens, hundreds, or thousands of desktops can be a monumental task. Fortunately, numerous tools exist to simplify the procedure. Microsoft’s Group Policy management system for Windows Domains can simplify the procedure.
Overview
The procedure is as follows:
- Gather required information
- The Backblaze Backup Client MSI installer can be downloaded from https://secure.backblaze.com/update.htm
- The MSI is available from some small type near the bottom of the screen
- The GroupID identification for the Backblaze group
- A GroupAuthenticationToken for the Backblaze group
- The Backblaze Backup Client MSI installer can be downloaded from https://secure.backblaze.com/update.htm
- Use Microsoft’s ORCA editor to specify MSI properties
- Find and download the ORCA MSI table editor
- Use ORCA to specify the GroupID and GroupAuthenticationToken for the MSI
- Create an installation policy of the MSI and the ORCA-created modification (.MST) file
GroupID and GroupAuthenticationToken
These can be found by logging onto the Admin account for the Backblaze group, and going to Group Management.
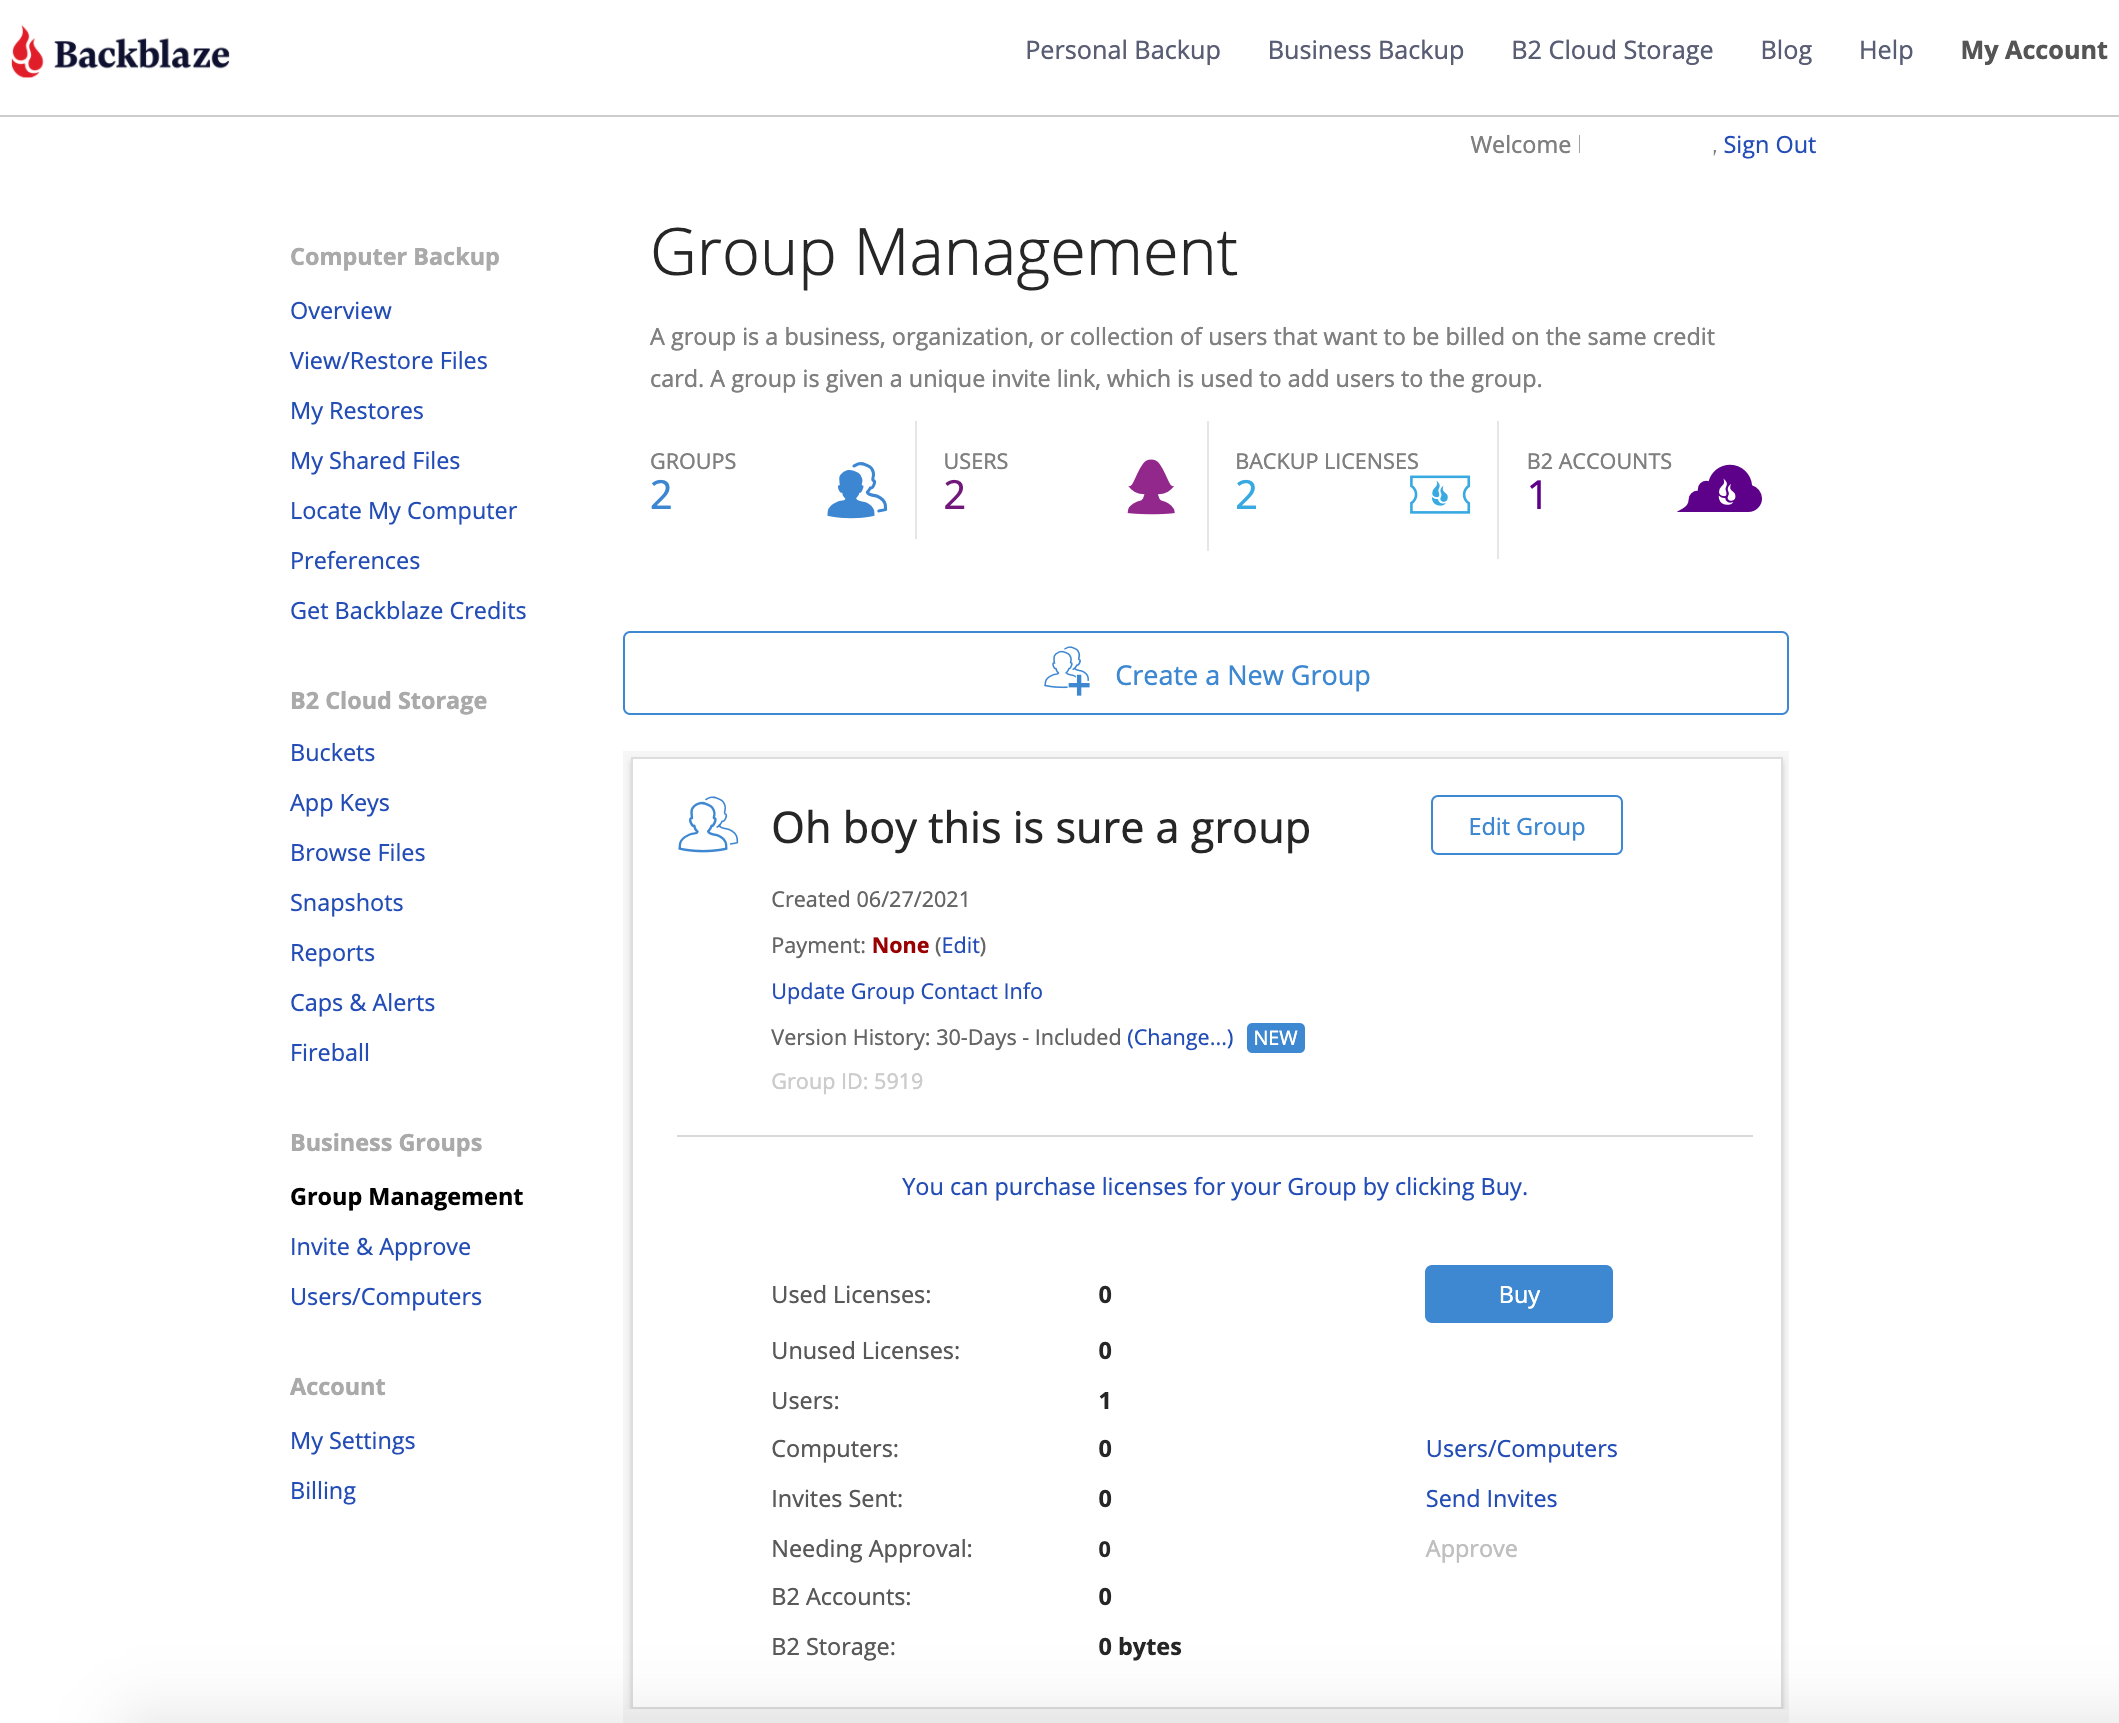
Select Send Invites
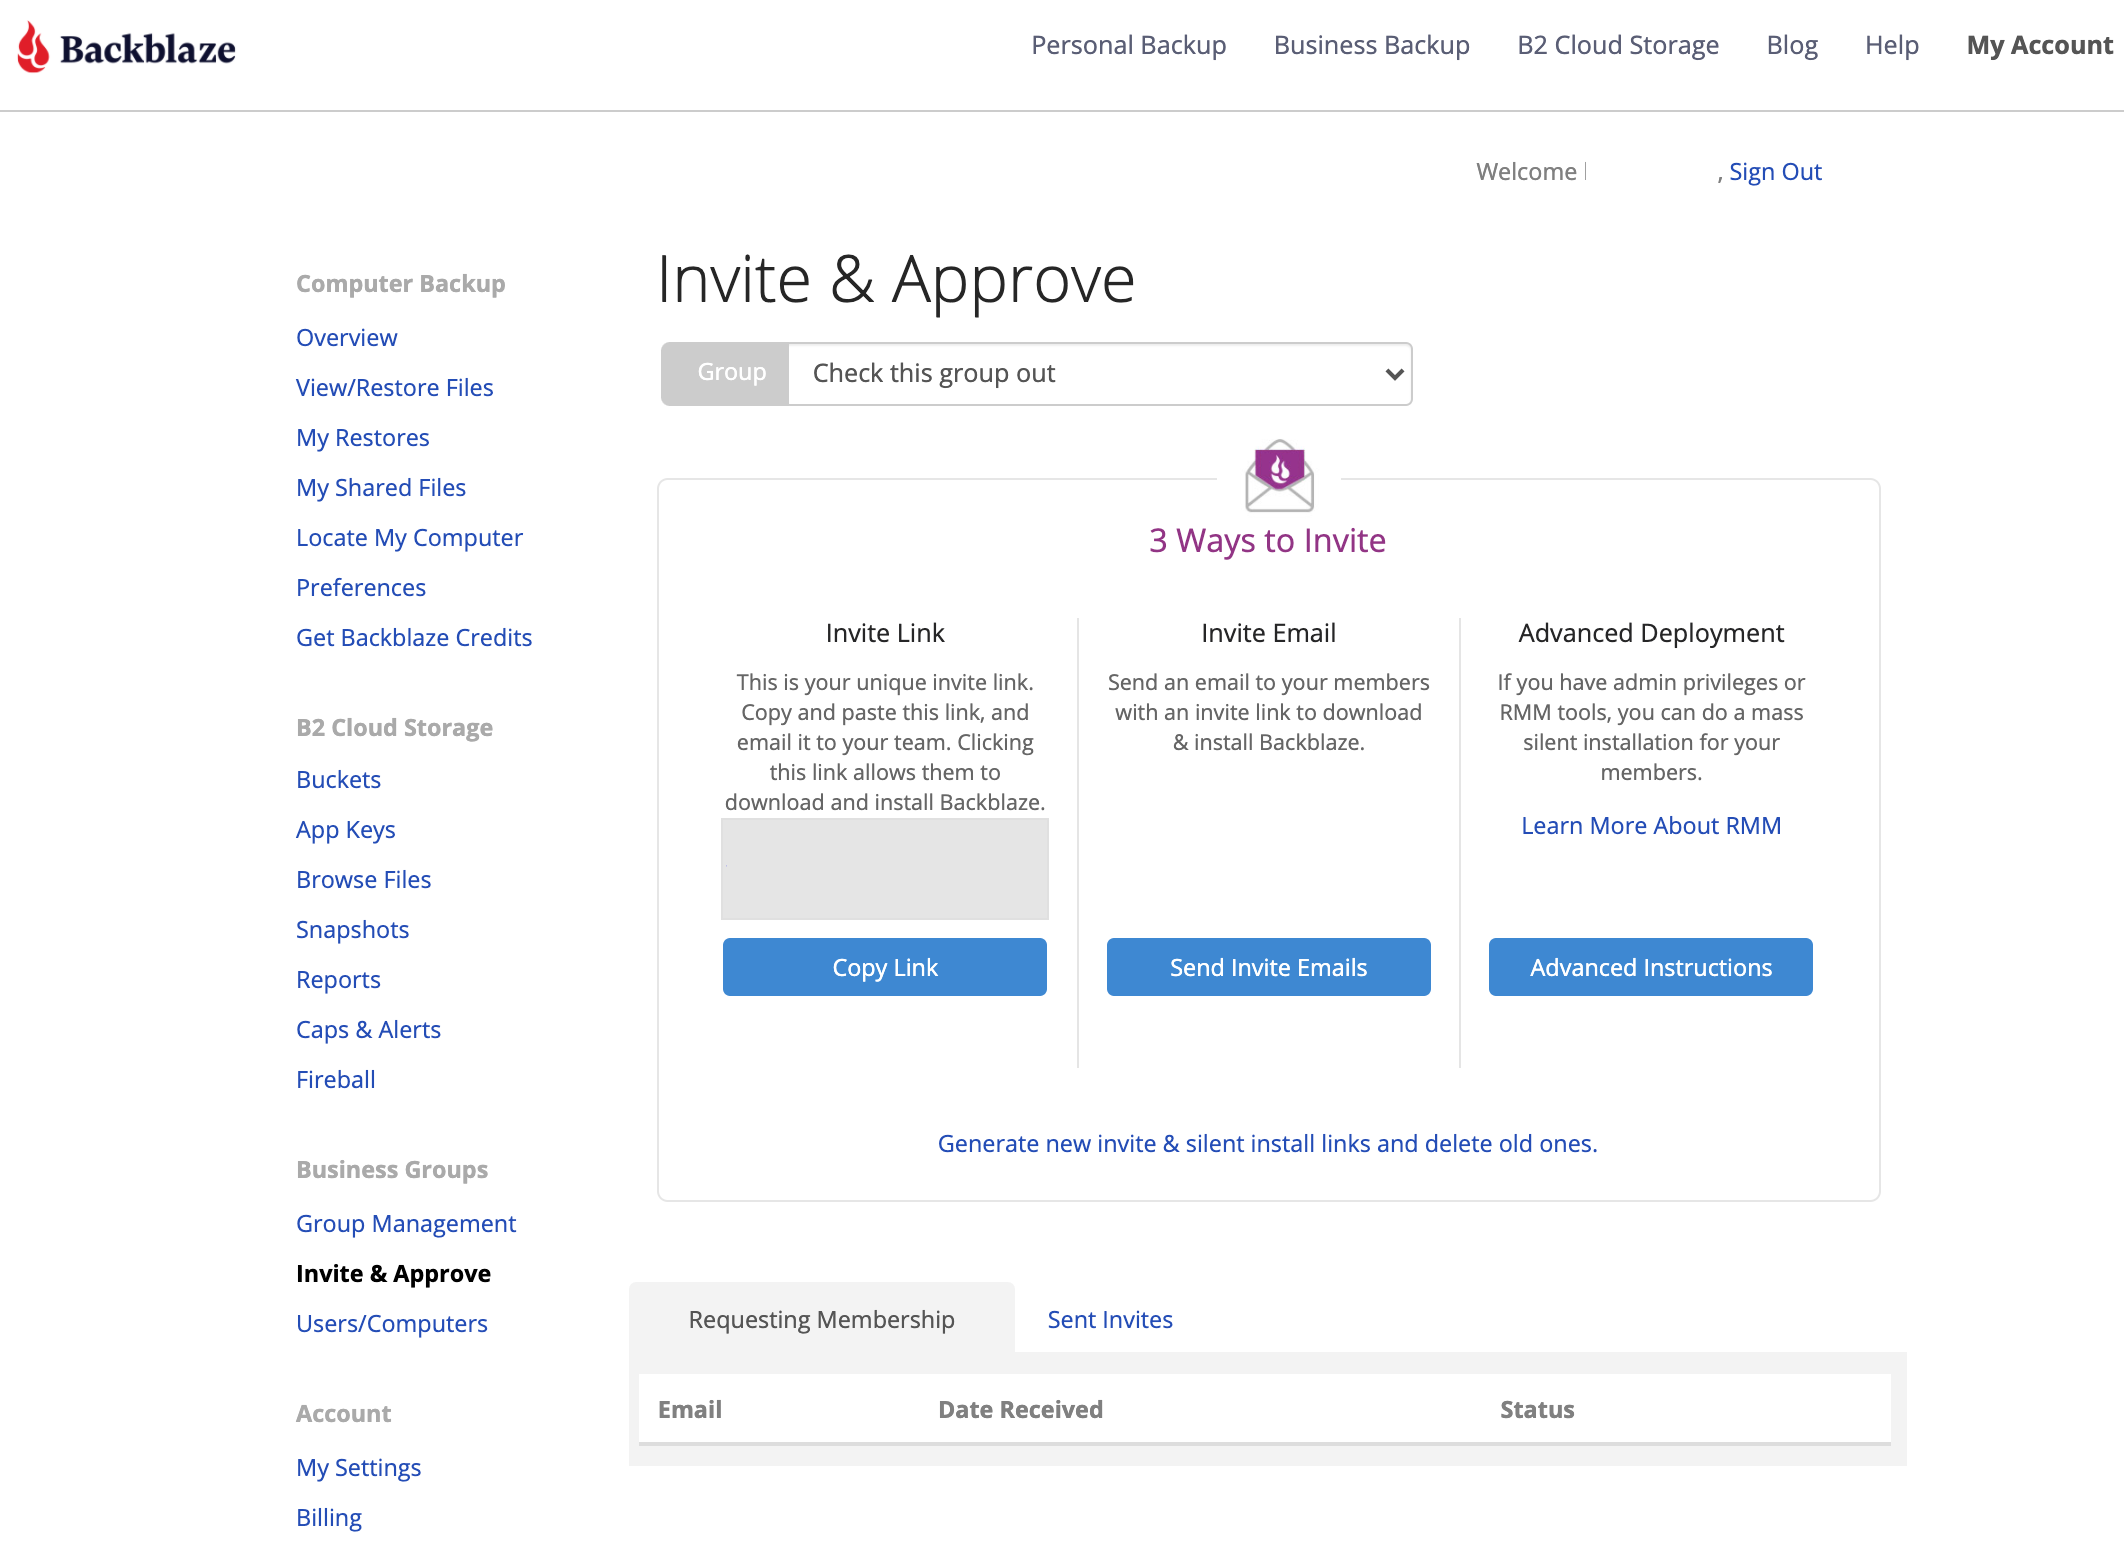
and click on Advanced Instructions. This brings up a helpful screen:
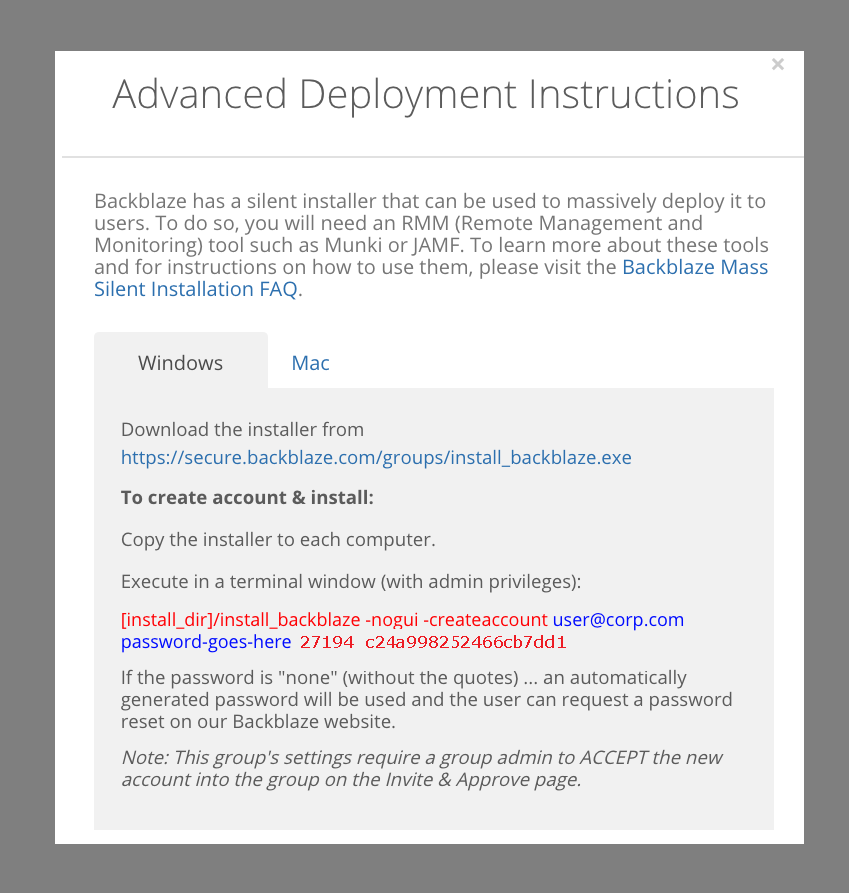
which lists the parameters required. The GroupID and the GroupAuthenticationToken are the last two parameters on the command. In the above example, the GroupID is 27914, and the GroupAuthenticationToken is c24a998252466cb7dd1.
Copy and paste these values into a text file or somewhere safe; copy/paste is less susceptible to transcription error.
Setup the MSI and MST File
The MSI was downloaded from Backblaze; the MST is produced with the help of the ORCA editor. Start the ORCA editor, and use File→Open to open the Backblaze MSI file.
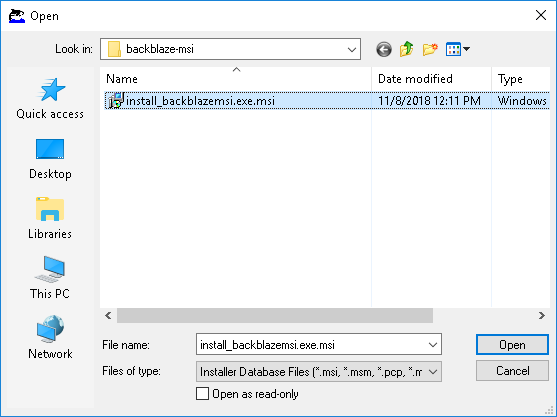
Select the Properties table.
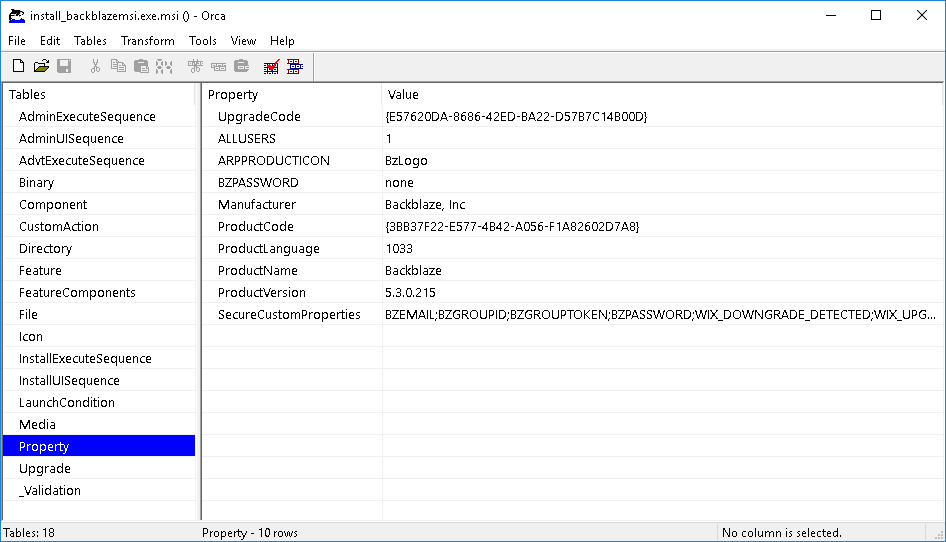
Start a new Transform by going to Transform→New Transform.
Use the Table->Add Row command to add the BZGROUPID property, and the GroupId value (27914).
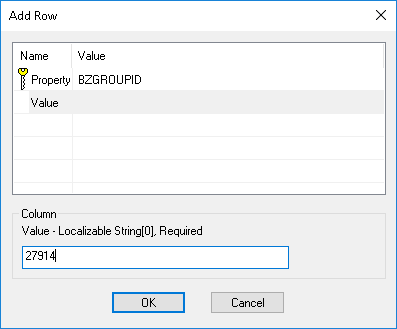
and then do the same with BZGROUPTOKEN, setting that to the GroupAuthenticationToken value (c24a998252466cb7dd1).
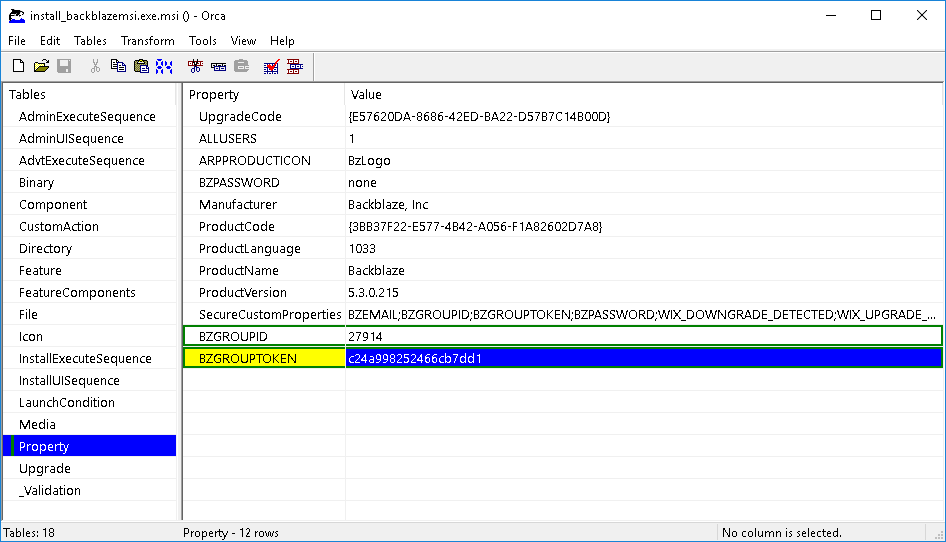
Save this transform by going to Transform→Generate Transform. In this example, this transform is saved as backblaze-demo.mst.

Save the transform. Close the transform by going to Transform→Close Transform, and then exit ORCA.
Setting up the Group Policy
From Administrative Tools, select Group Policy Management.

Find the Group Policy for the domain (the domain for this example is pawneeparks.org).
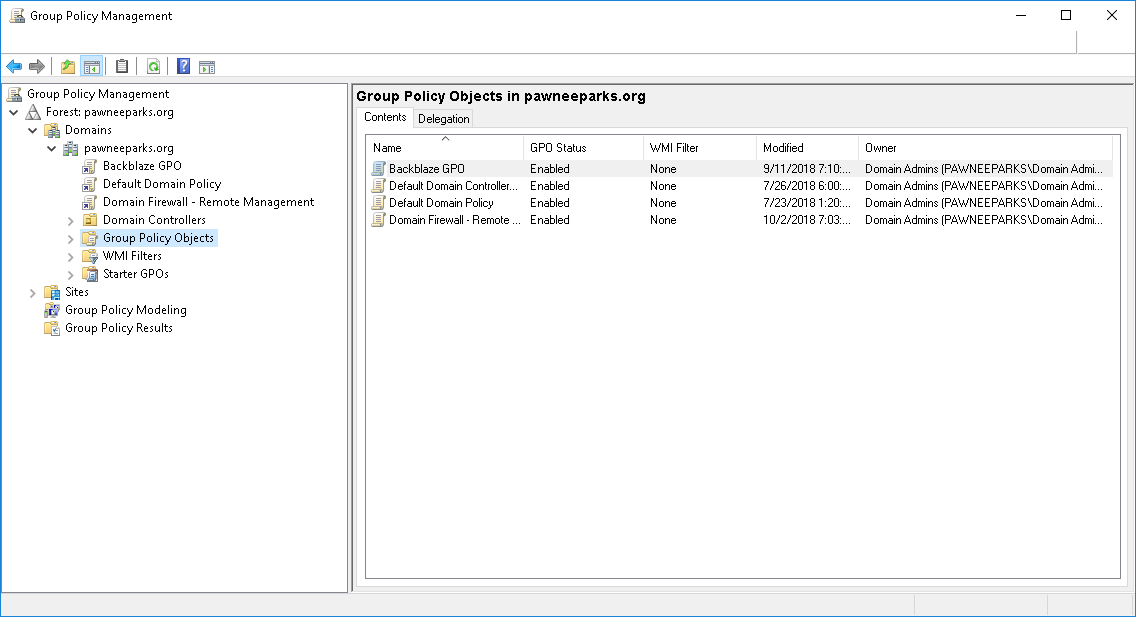
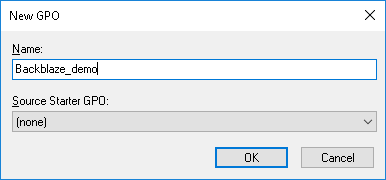
Select the Group Policy Objects, and right-click to bring up the context menu. Create a new policy object (this demo’s is named backblaze-demo).
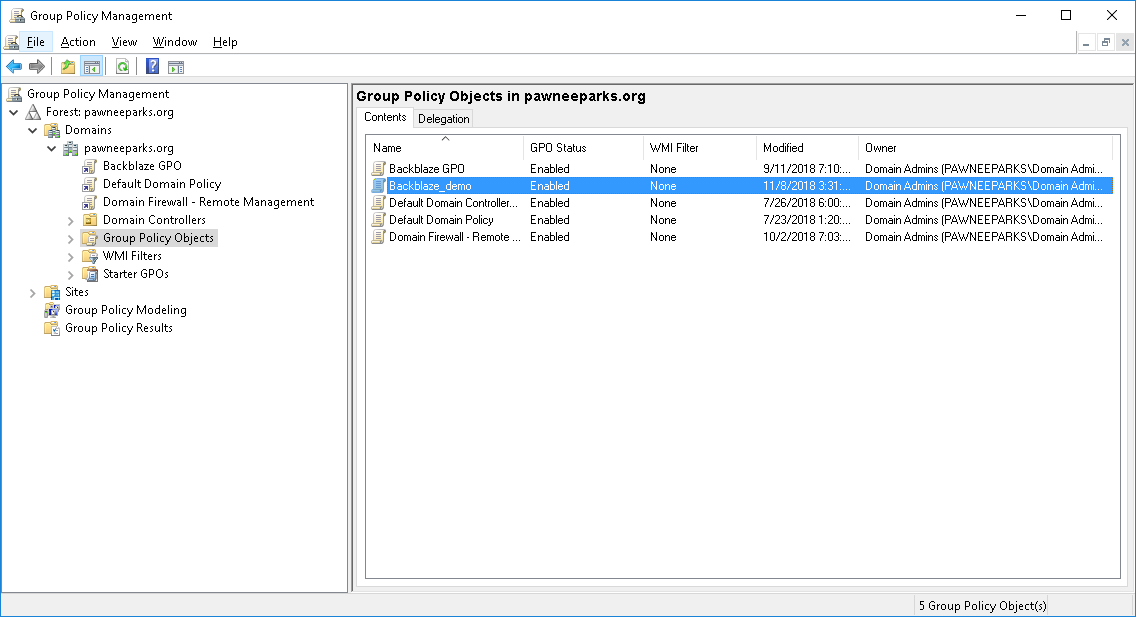
Select the new policy in the right-hand pane, right-click for the context menu, and select Edit.
This bring up the Group Policy Editor. Navigate to Software Installation under User Configurations.

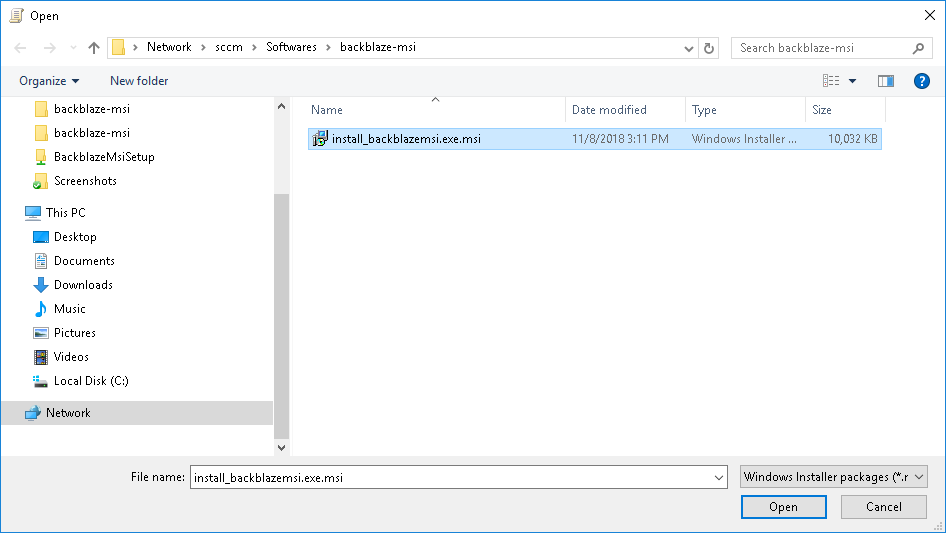
Right-click to bring up the context menu, and select New Package. Choose the Backblaze Installer.
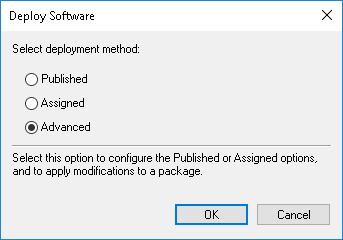
At this point, it asks how to deploy. Because there is a modification file, choose Advanced, and click OK.
The editor will then offer the Properties box. Select the Modifications tab, and add the backblaze-demo.mst file created in the previous step.

Click OK, and then close the Group Policy Editor.
As users log on over the next few days and update themselves with the DC (domain controller), their machines will execute the policy, installing the Backblaze Computer Backup Client.
