Automatically Creating Full-Disk Permission for Backblaze
With the advent of Apple Mojave, Apple has added security to parts of the computer it considers sensitive or critical. Applications that require sensitive access to these parts of the system now require additional permissions. Full disk access, something that only a low-level disk maintenance tool or backup clients require, needs these permissions.
Silent install now requires an additional component, a custom policy configuration that grants the Backblaze computer backup client full disk access.
Fortunately, JAMF has created a tool to make this straightforward.
Download and unzip the JAMF configuration tool
- From https://github.com/jamf/PPPC-Utility/releases, download the current version of the PPPC tool.
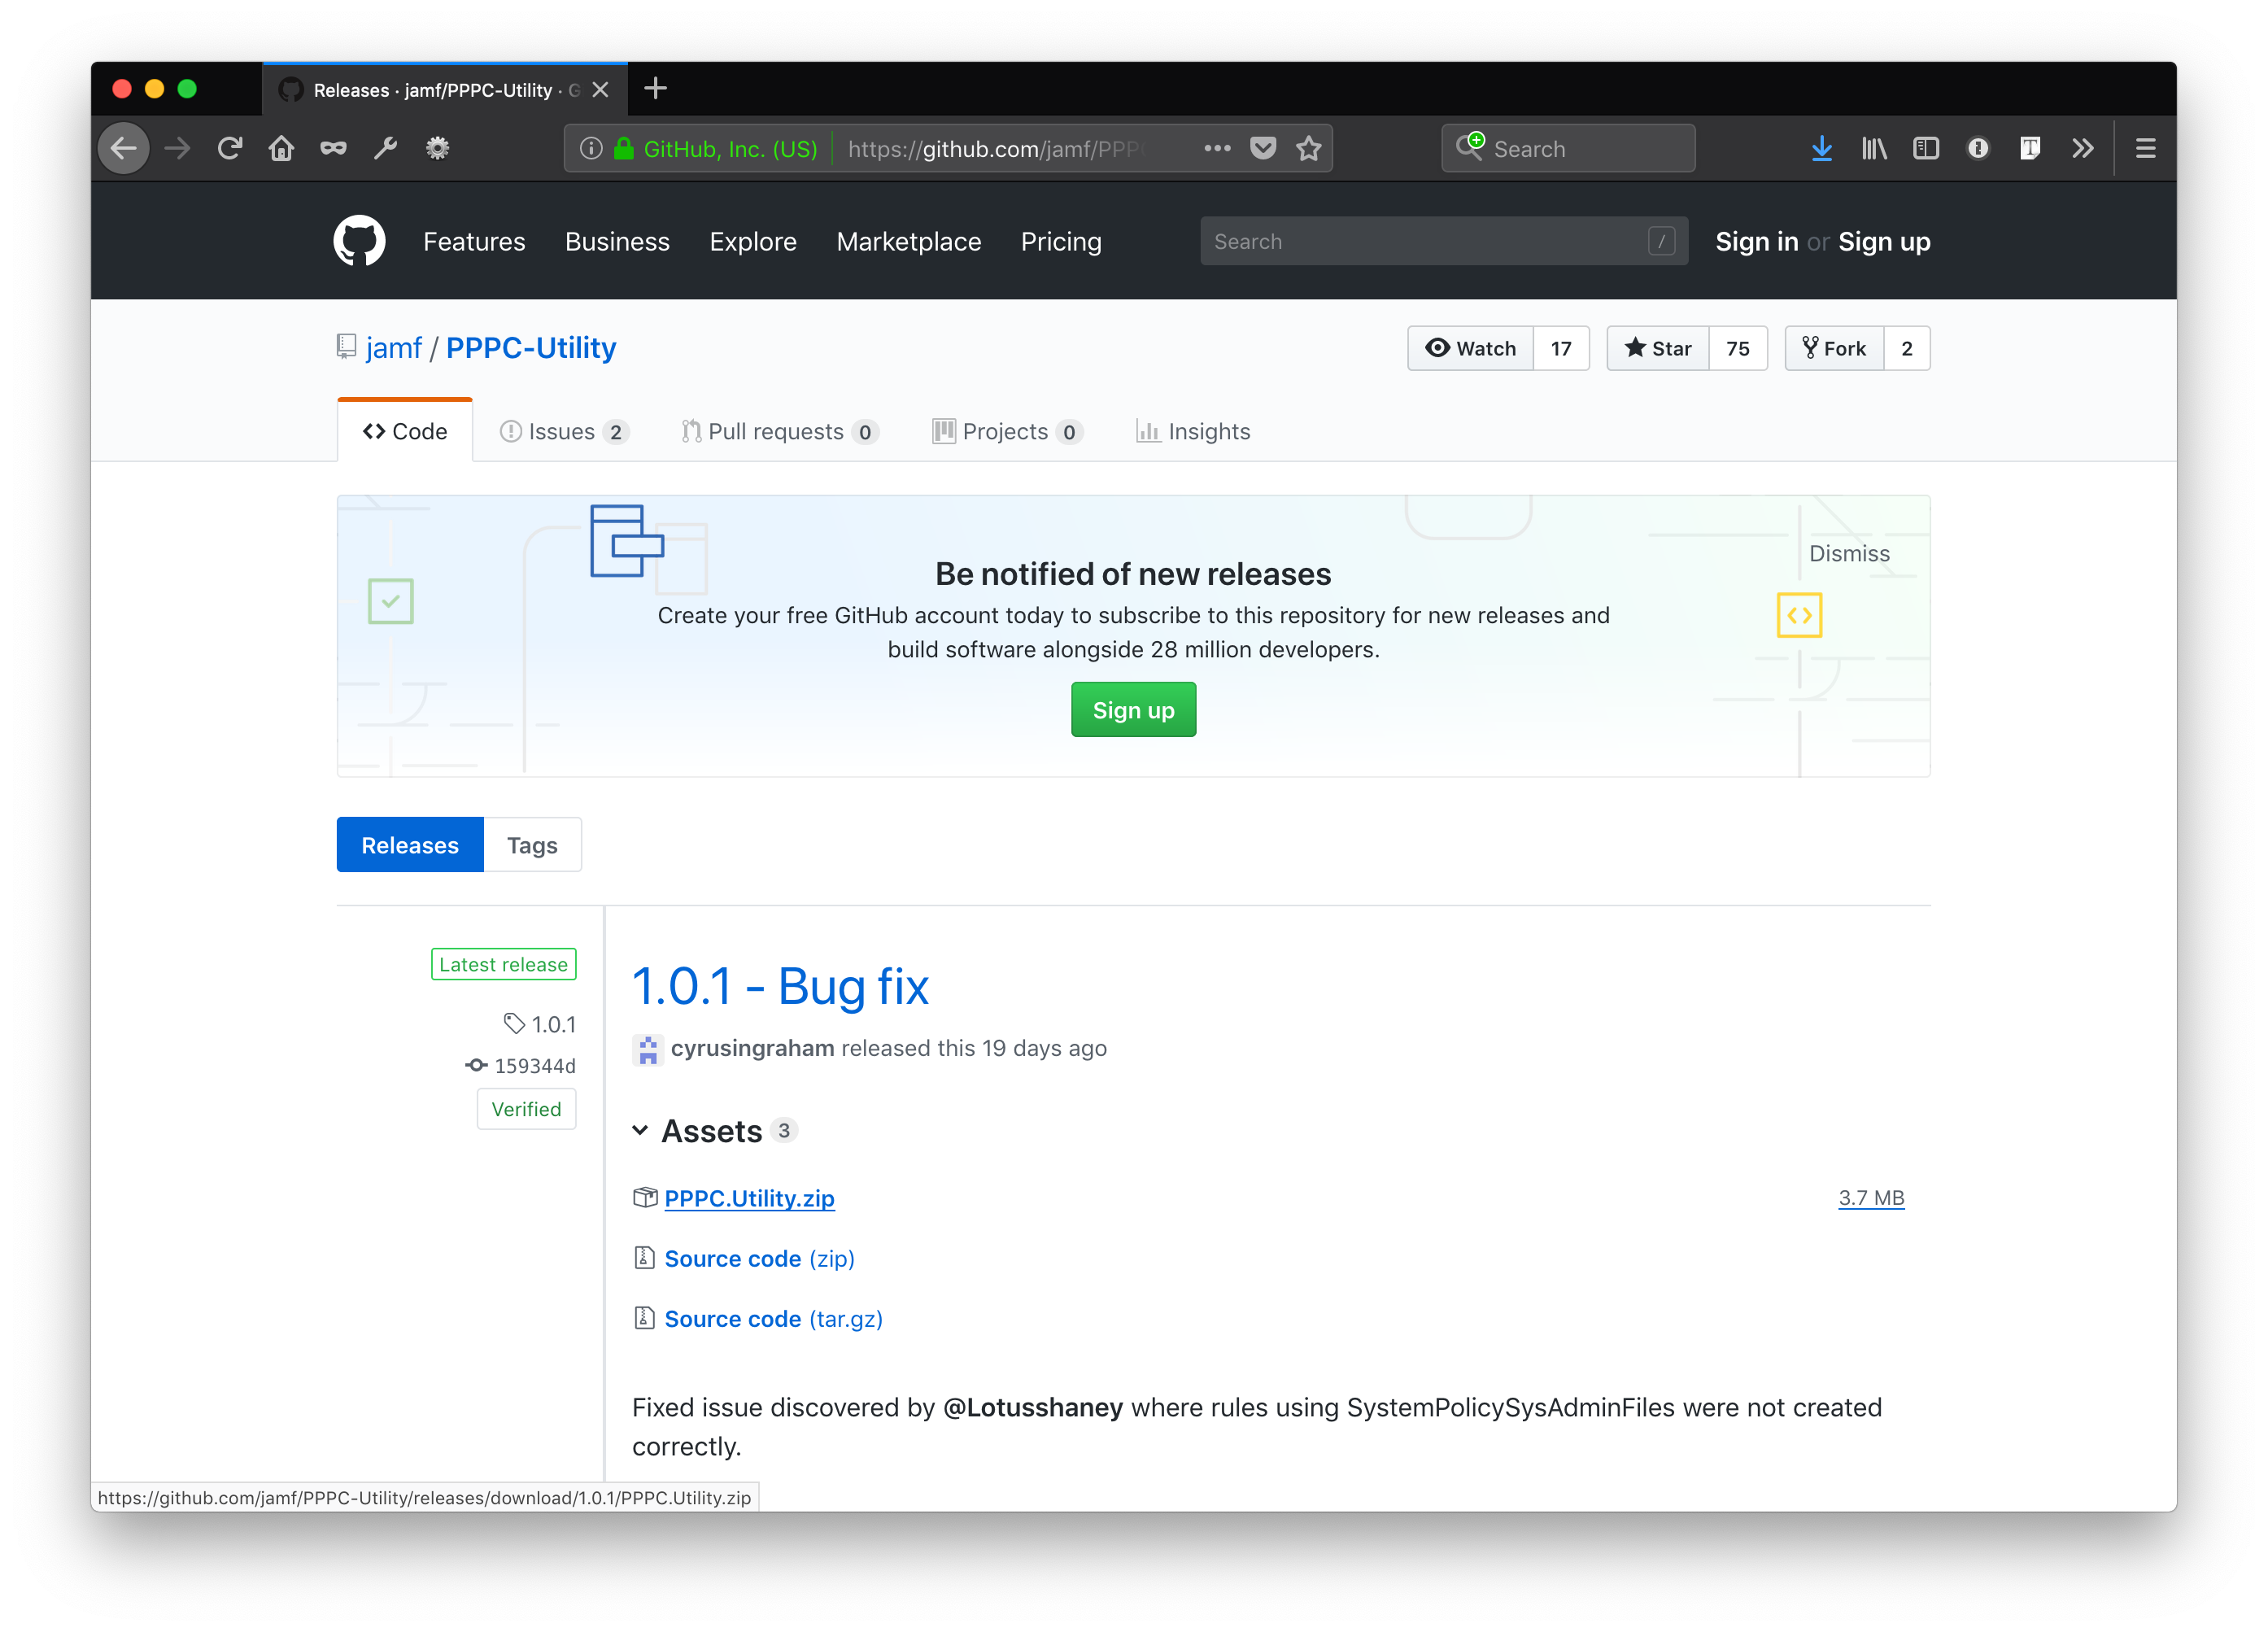
2. Open the Finder, and in the downloads directory, find the downloaded ZIP file.
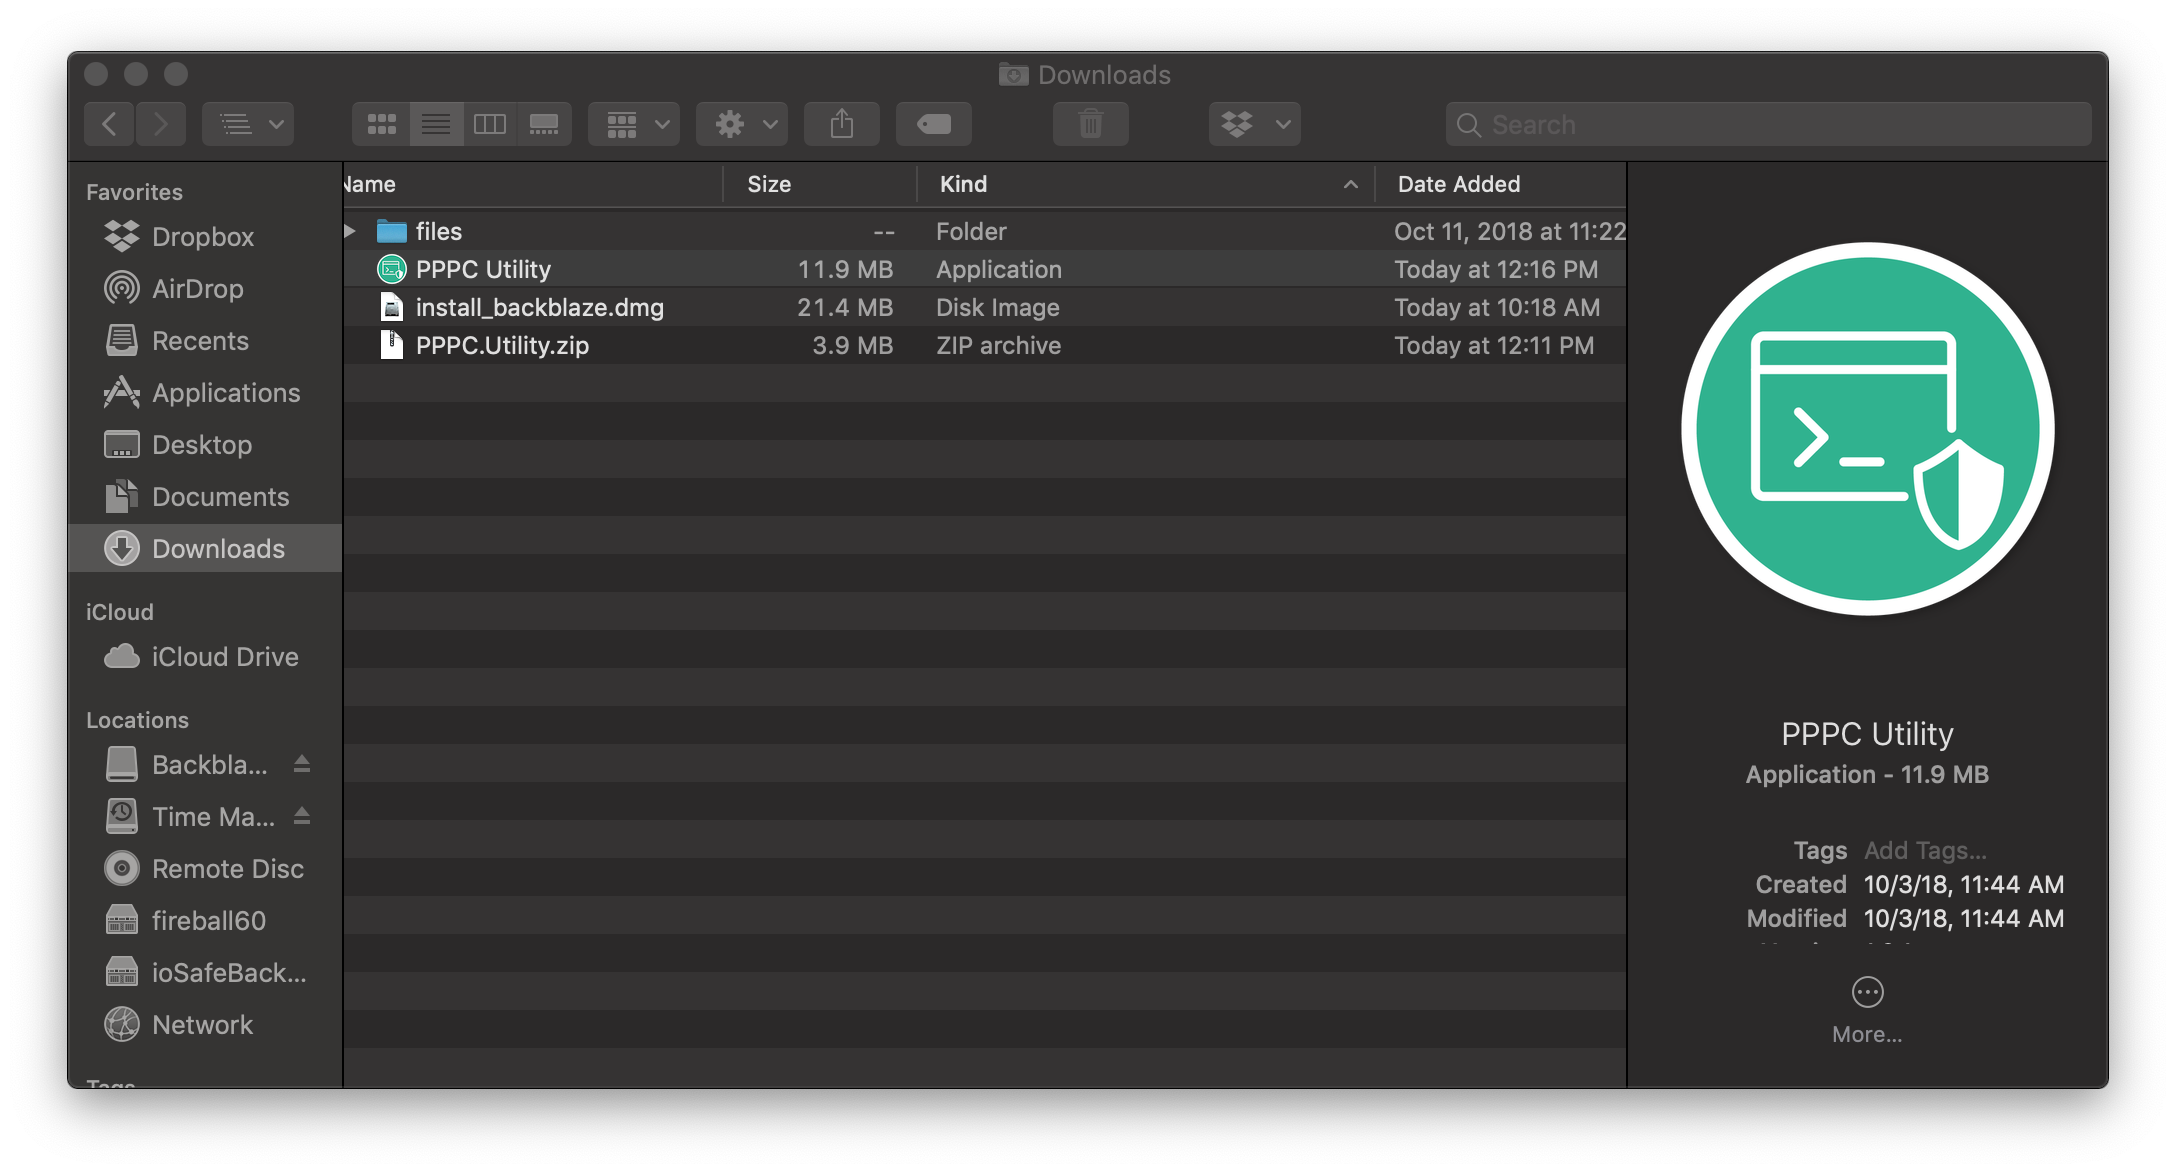
3. Right-click on the .ZIP file, and select Open to extract the file with the Archive Utility.
4. The application will now show up in the Downloads folder
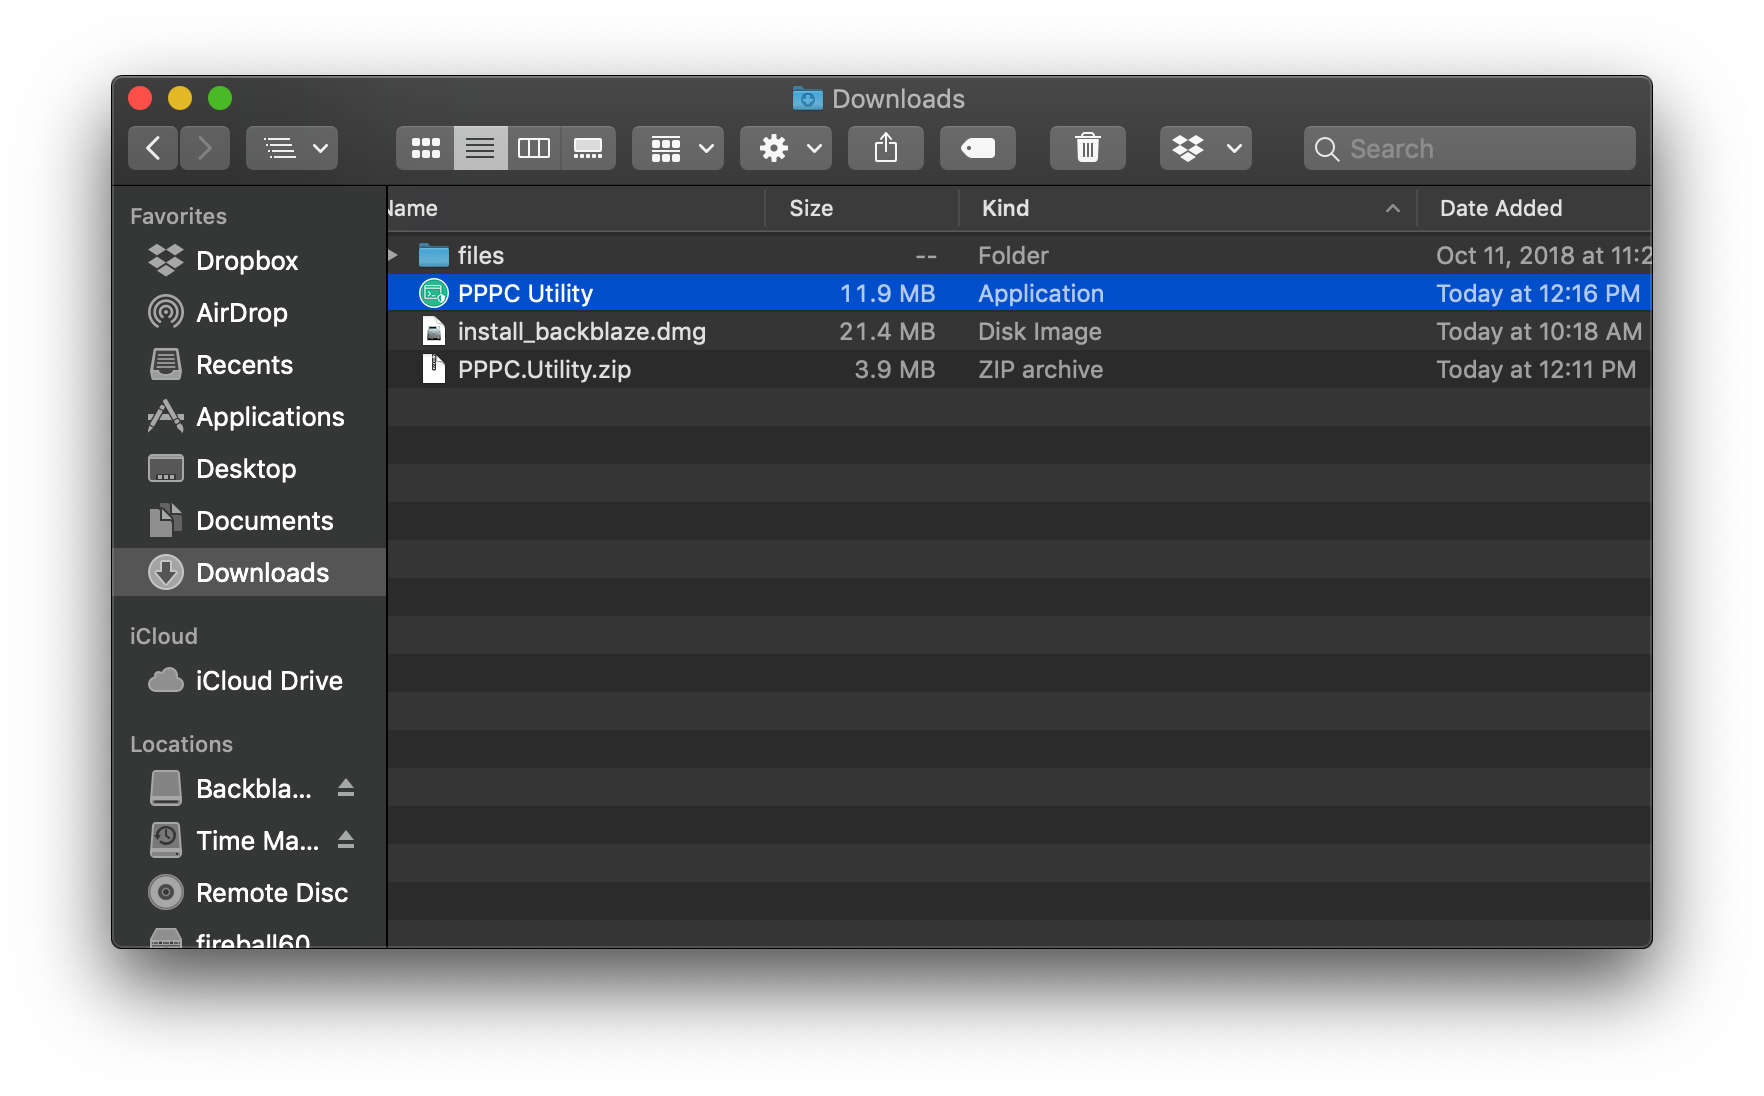
This application will be required later in the process.
Get the required program from the Backblaze Installation .DMG file
1. Get the latest Backblaze installation package (.DMG file), and mount it. (The most current file is always located at https://www.backblaze.com/mac/install_backblaze.dmg.)
2. Double-click on the .DMG file to mount it.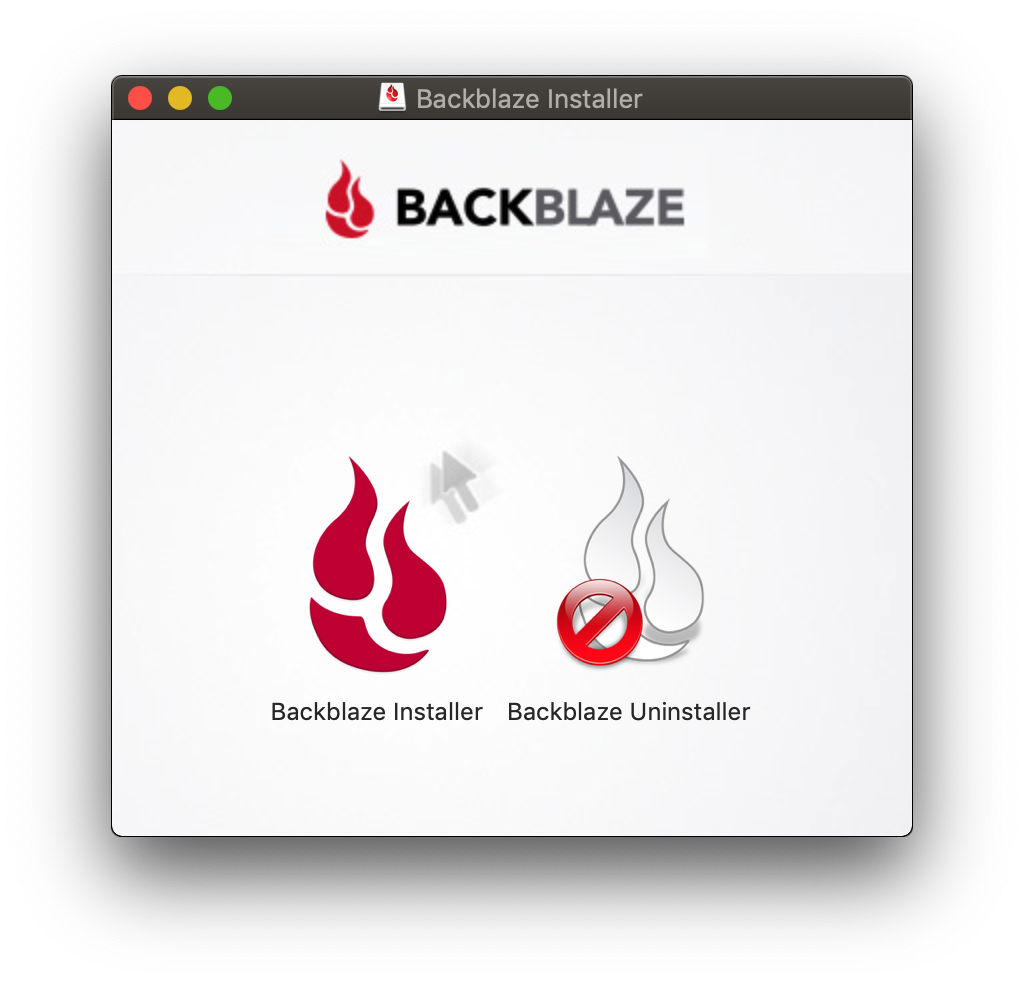
3. Right-click on the Backblaze Installer, and select Show Package Contents to open the package in the Finder.
4. From within the Contents/Resources folder, drag the bzprefpanelauncher.zip file to the desktop. 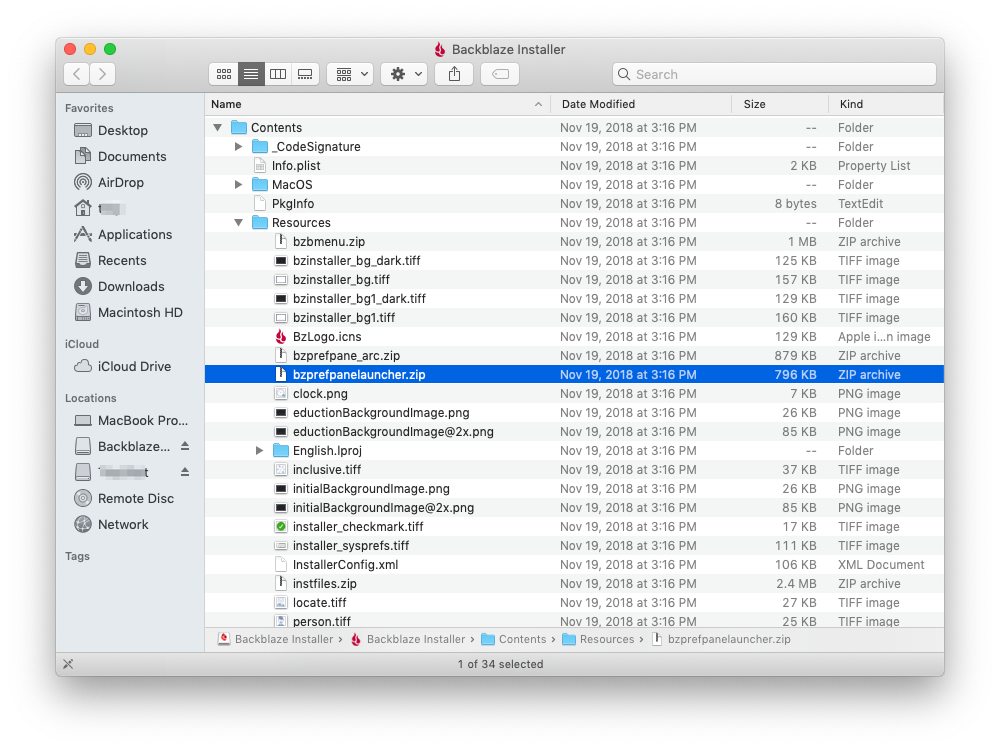
5. Right-click on the bzprefpanelauncher.zip, and select Open to extract the file with the Archive Utility.
6. This leaves a file Backblaze on the desktop, with the red Backblaze icon.
Use the JAMF PPPC Utility to Create and Upload the Policy
1. Open the Jamf PPPC utility downloaded in the first part of this tutorial.
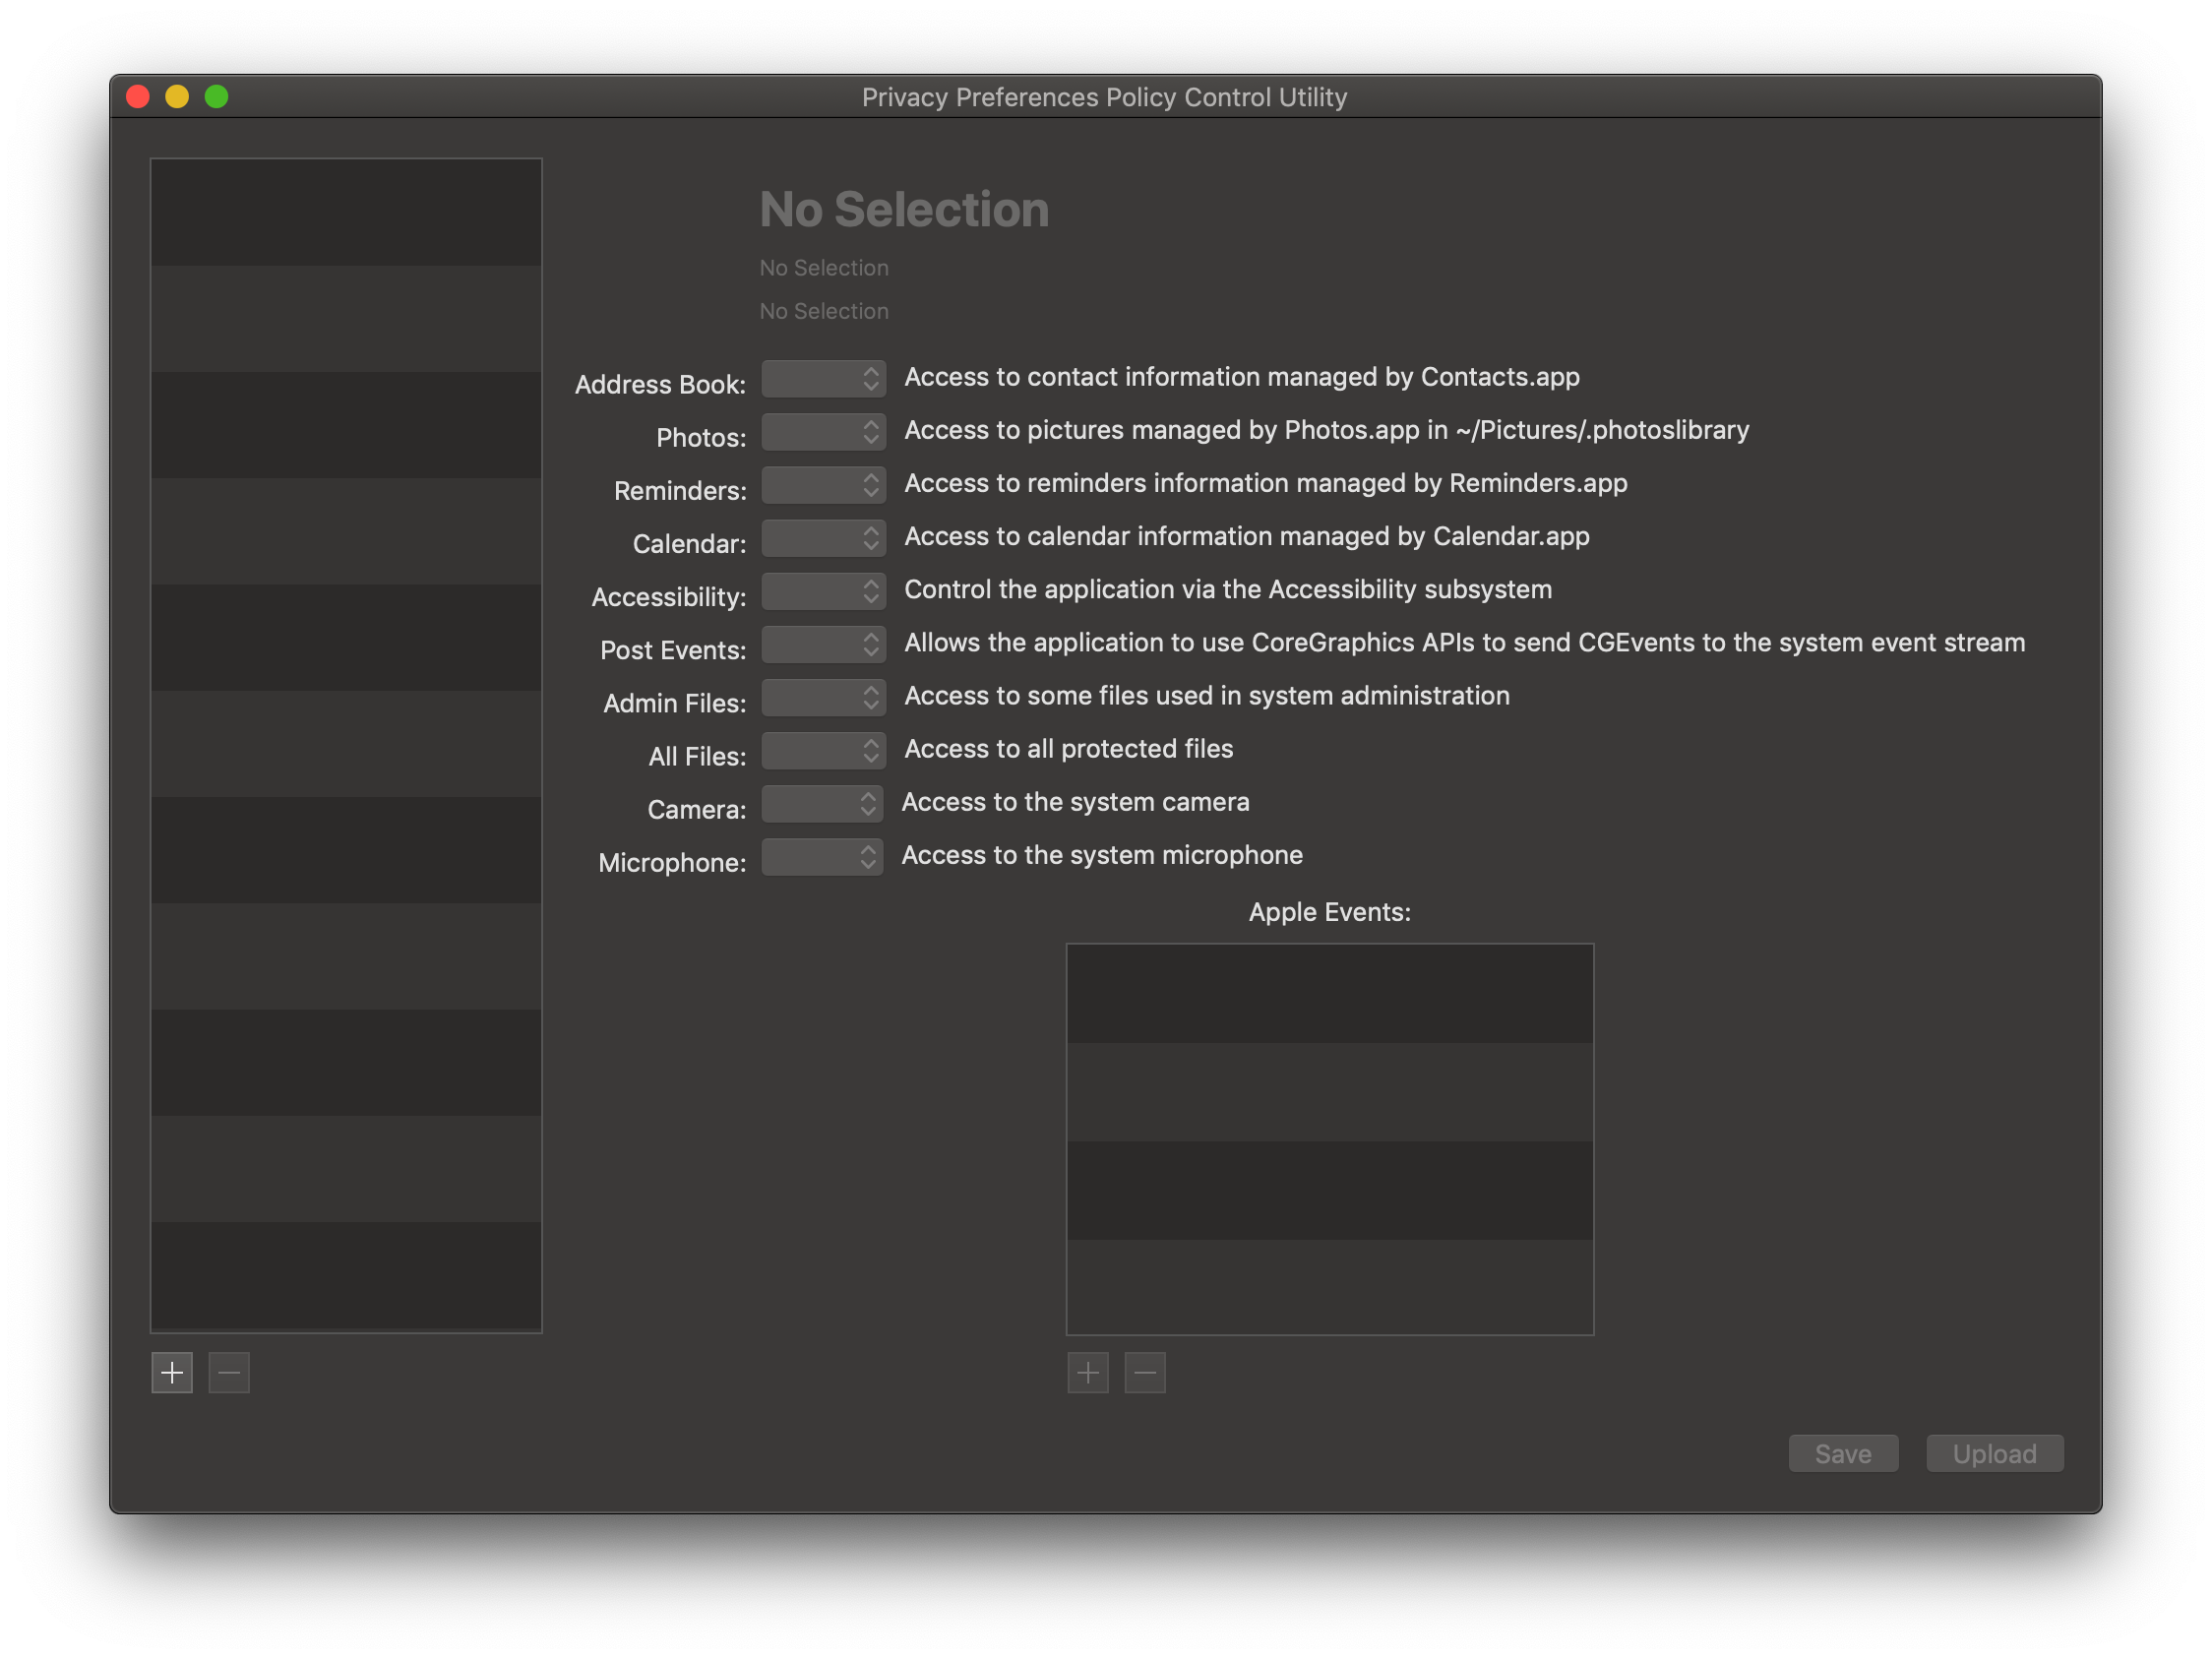
2. Click the + icon in the lower left (underneath the empty list). Show the desktop, and select the Backblaze application.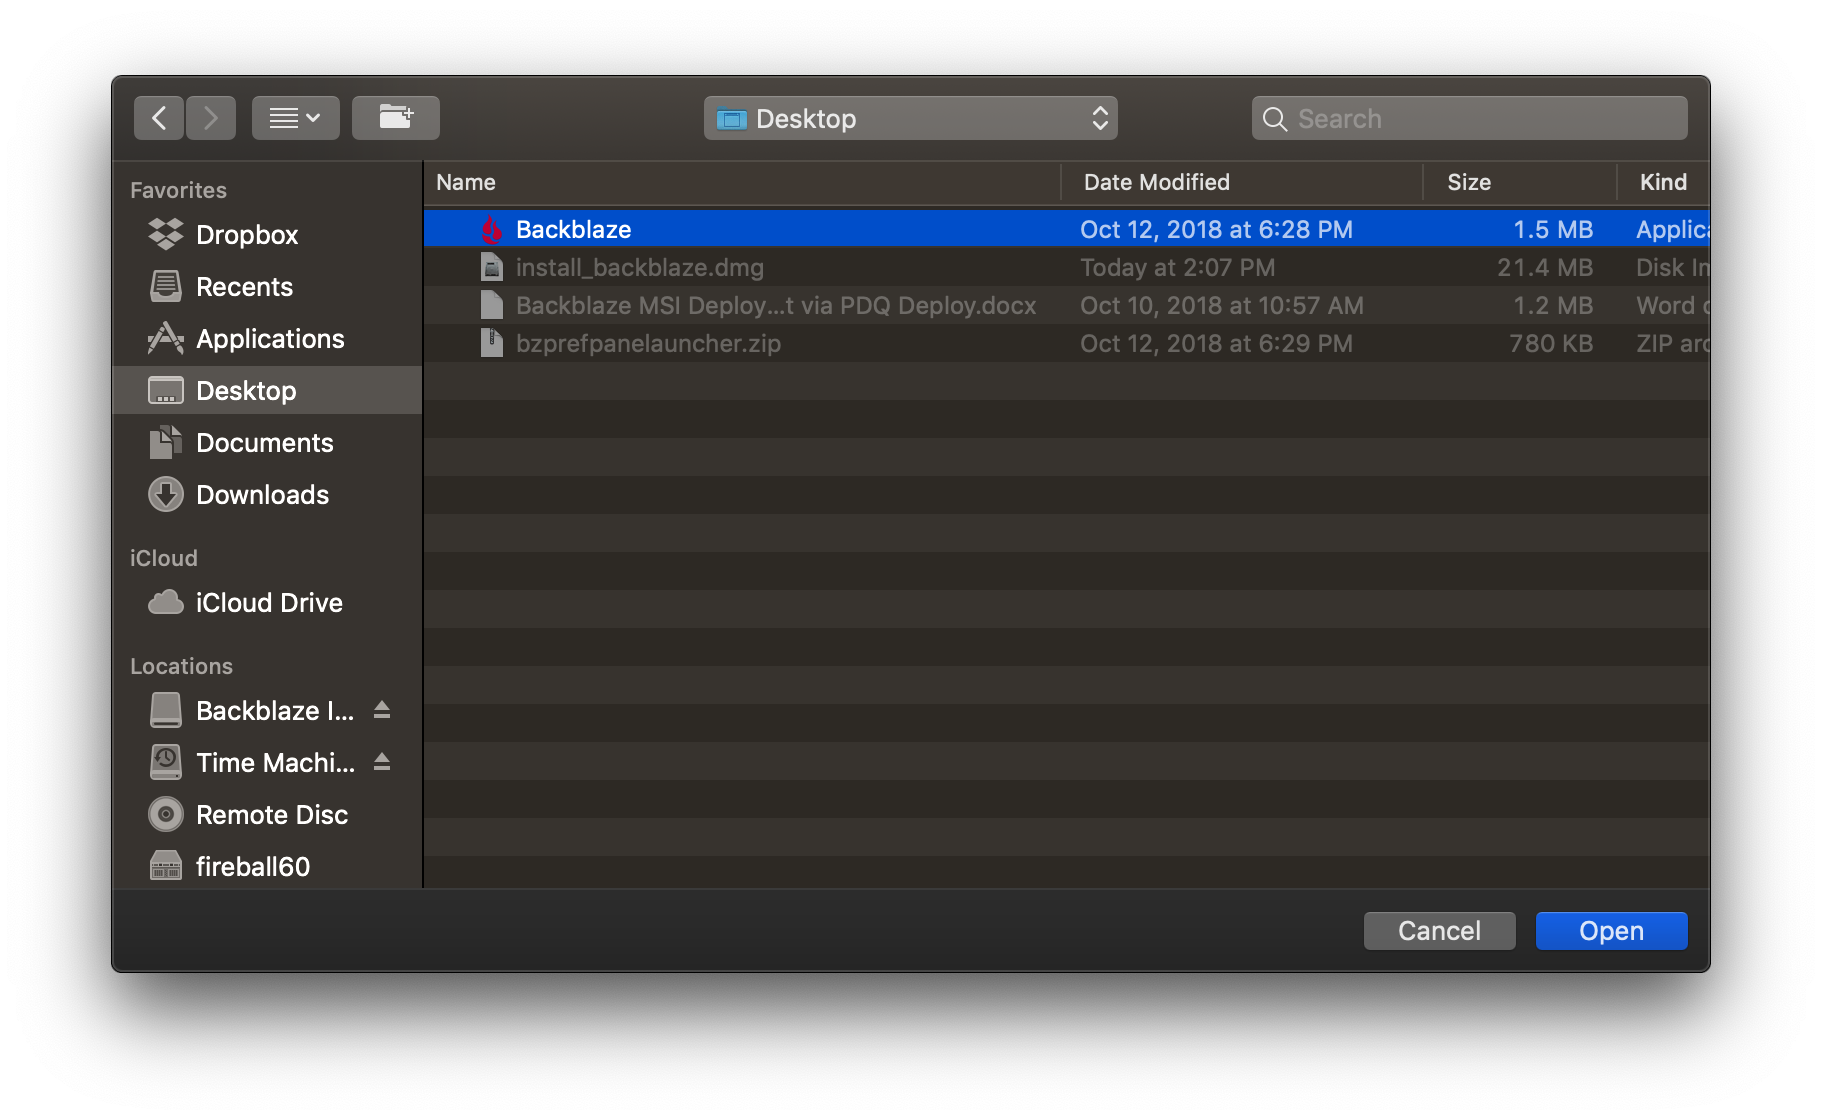
3. Find the All Files permission, and set it to Allow.
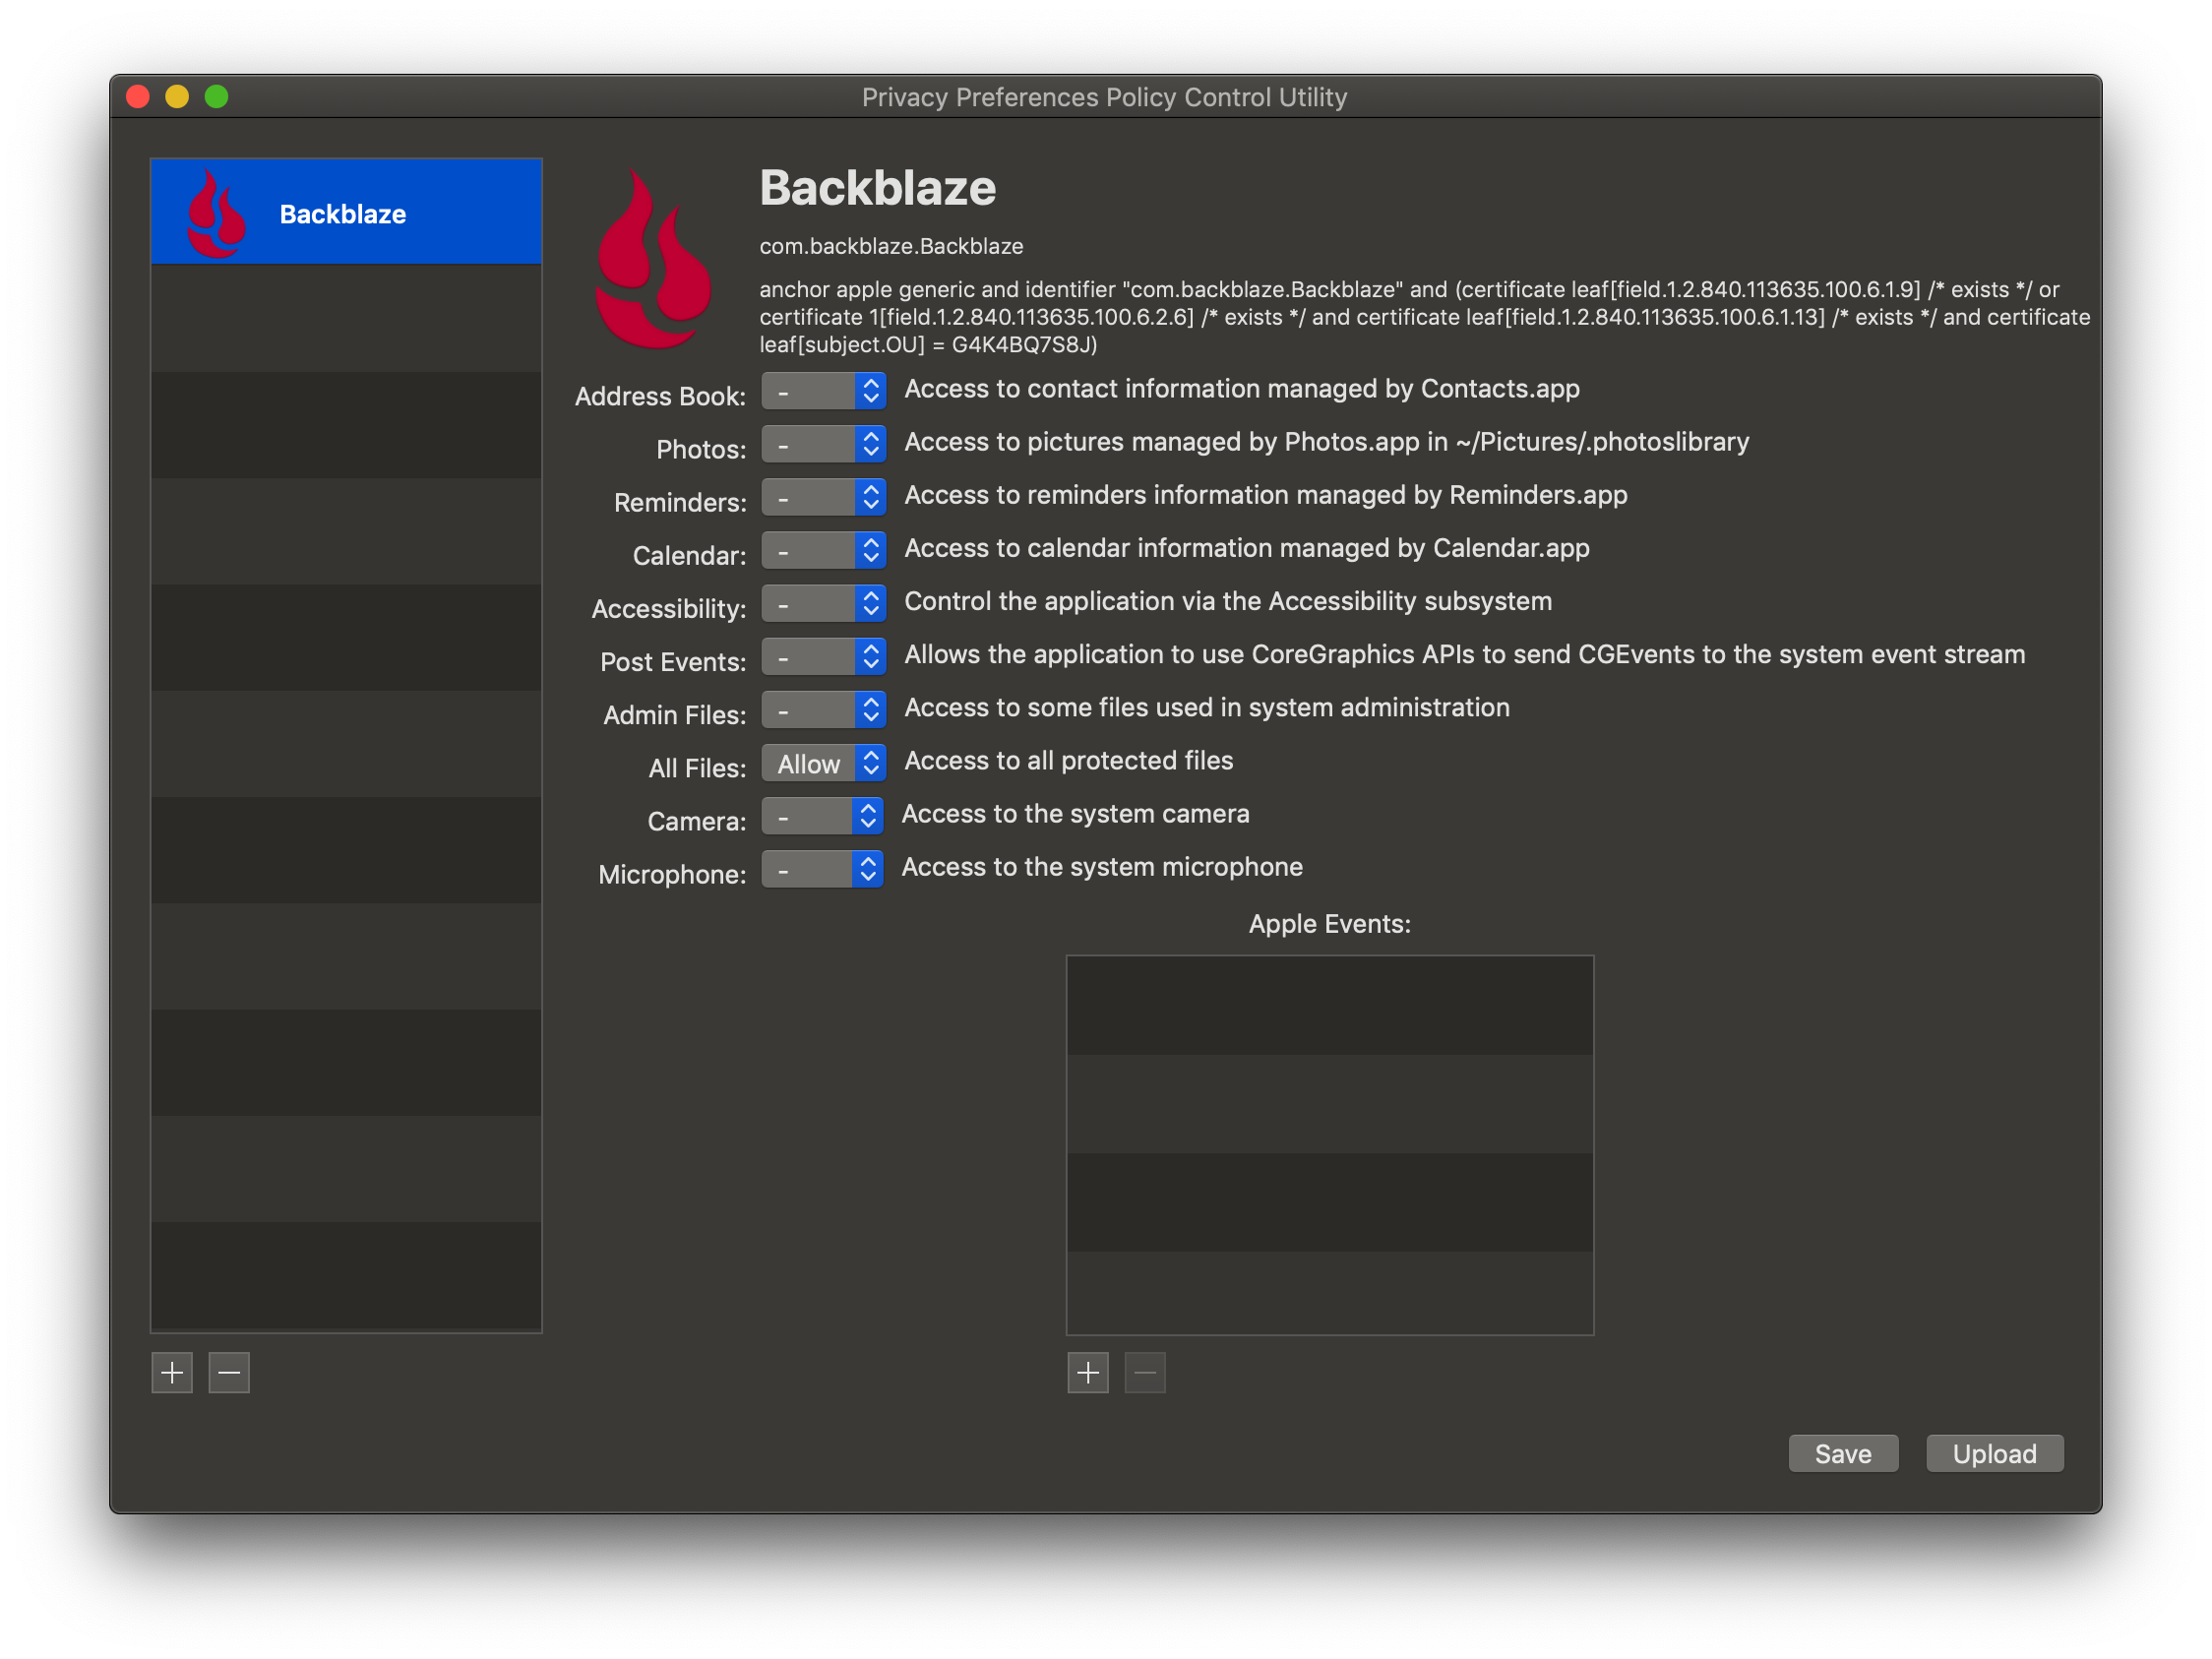
4. In the lower right-hand corner, click on the Save button. 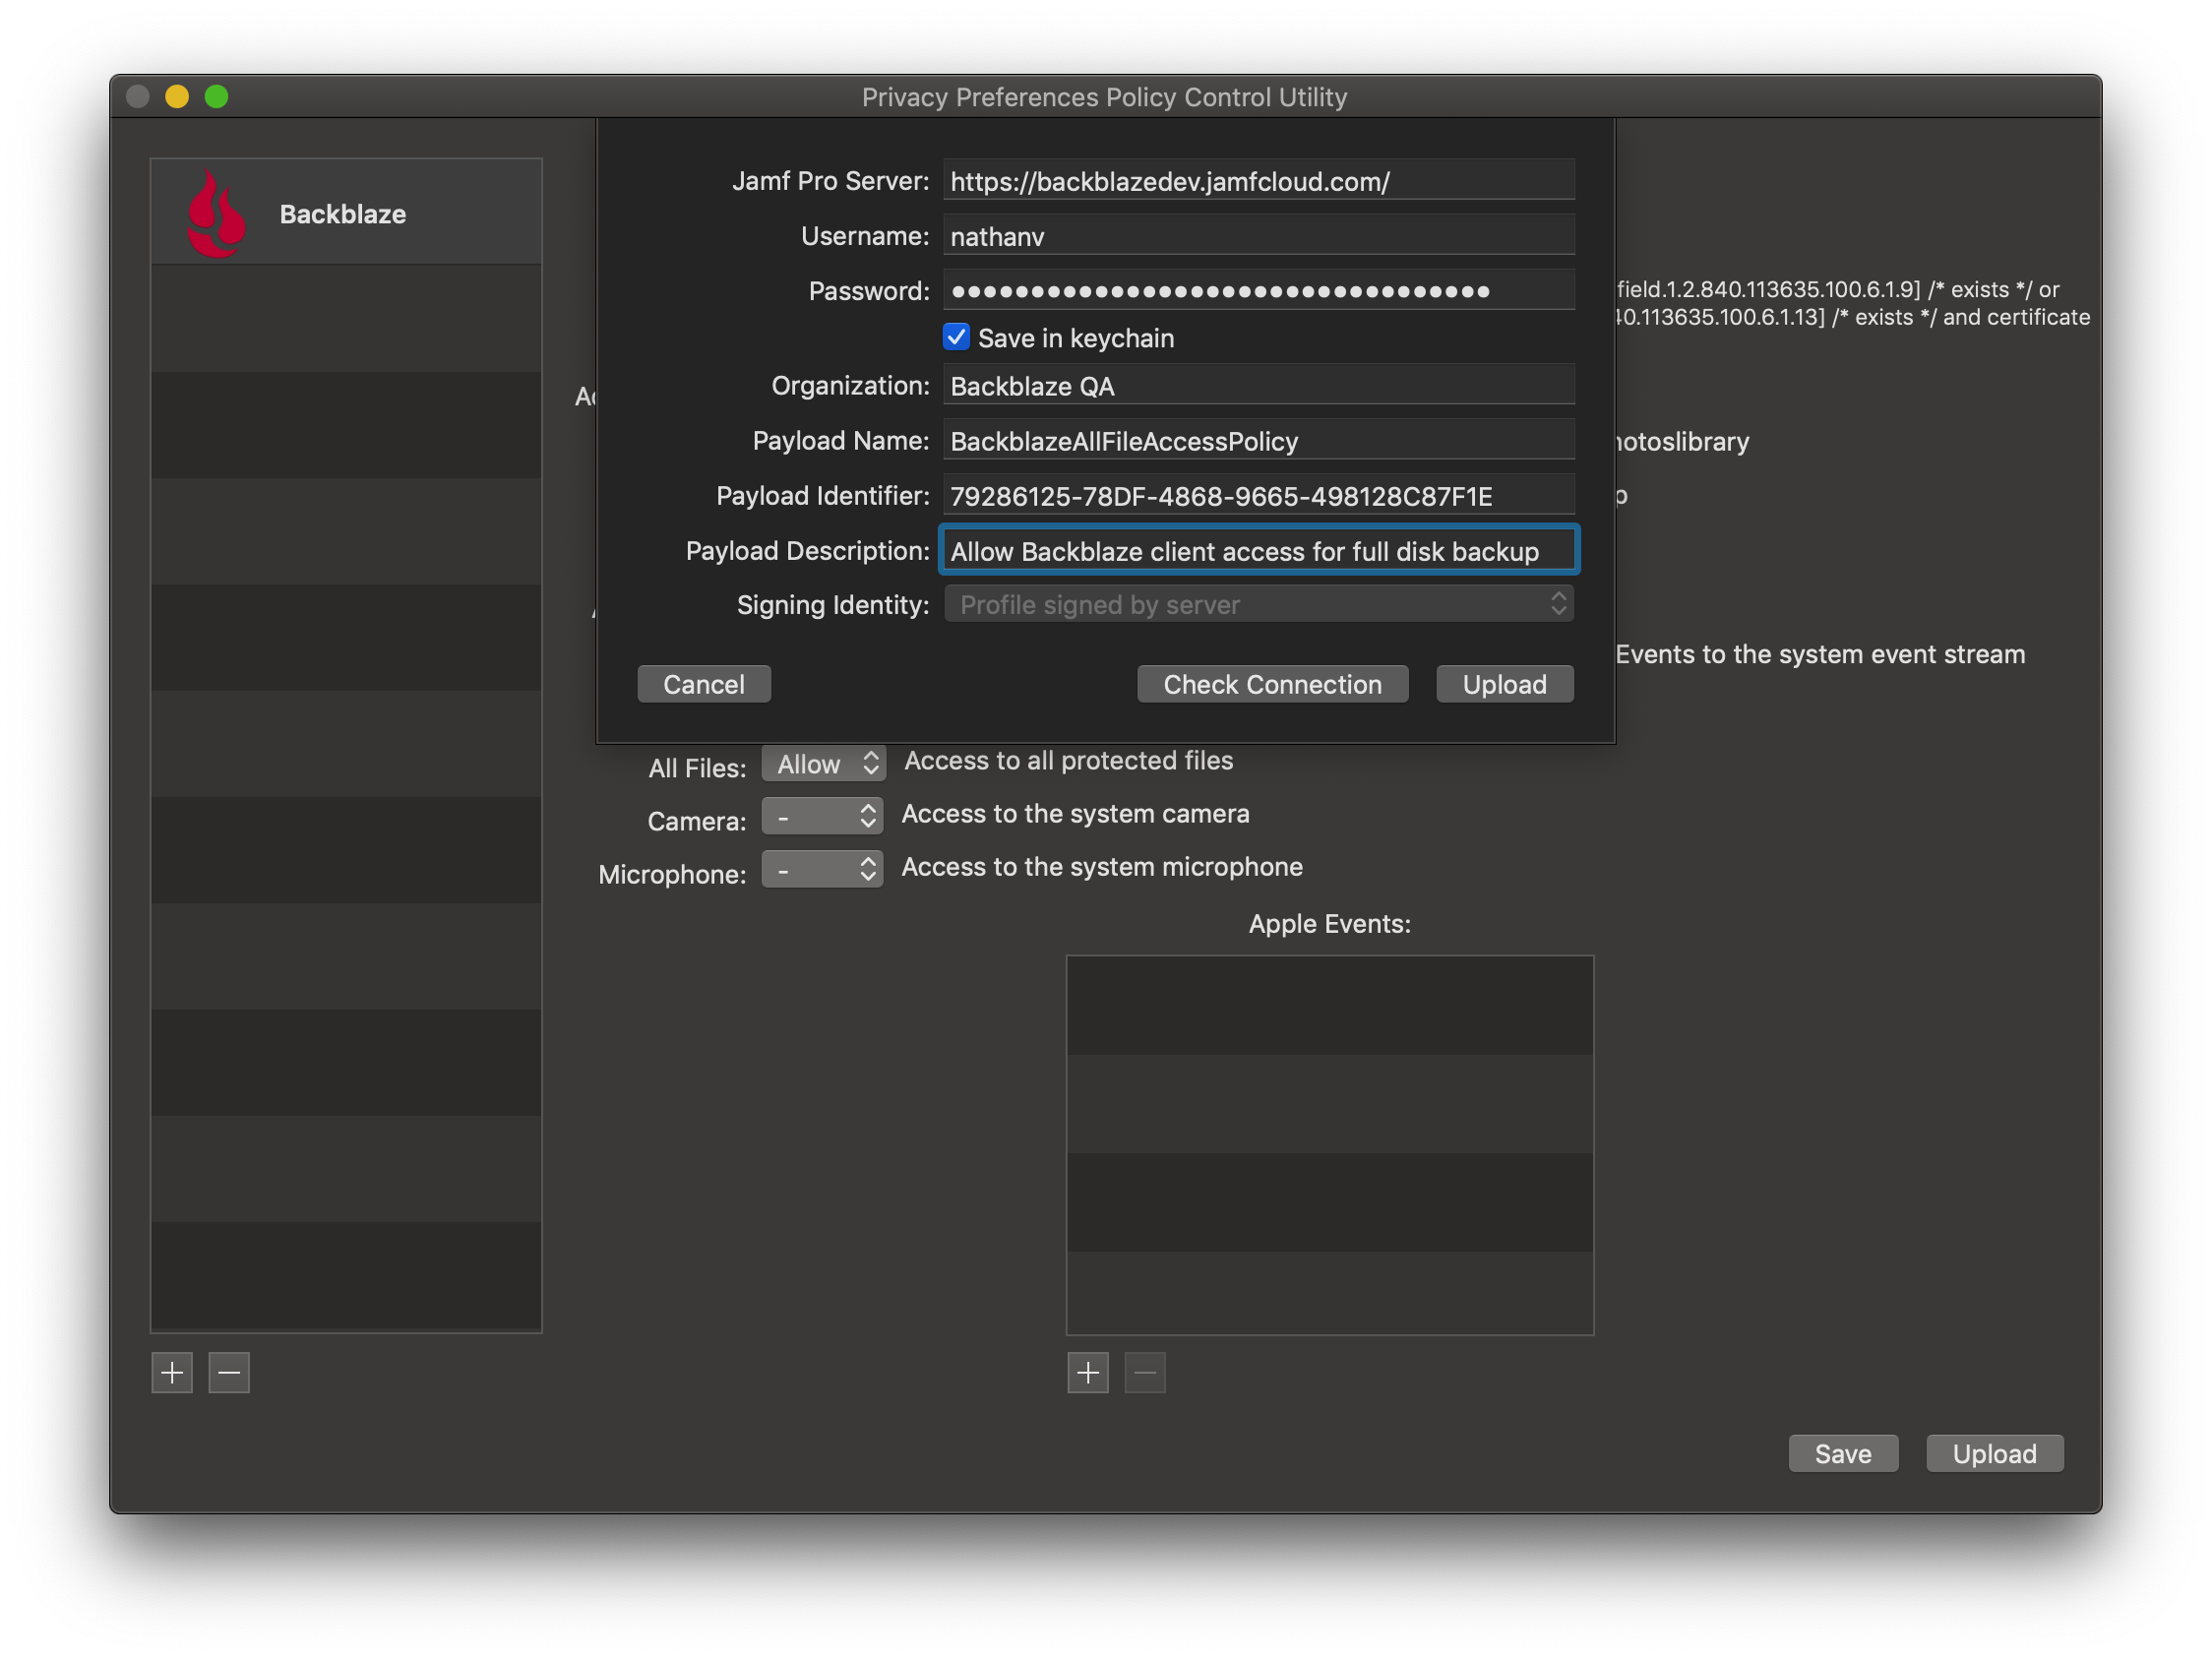
5. Fill out your JAMF server, username, and password, and select Test Connection; the JAMPF PPPC utility will fetch the remainder of the configuration information from the JAMPF server
6. Upload the policy to the JAMPF server.
Configure all computers to have the new policy file
1. Log onto the JAMPF server, and go to Configuration Profiles under the Computer tab.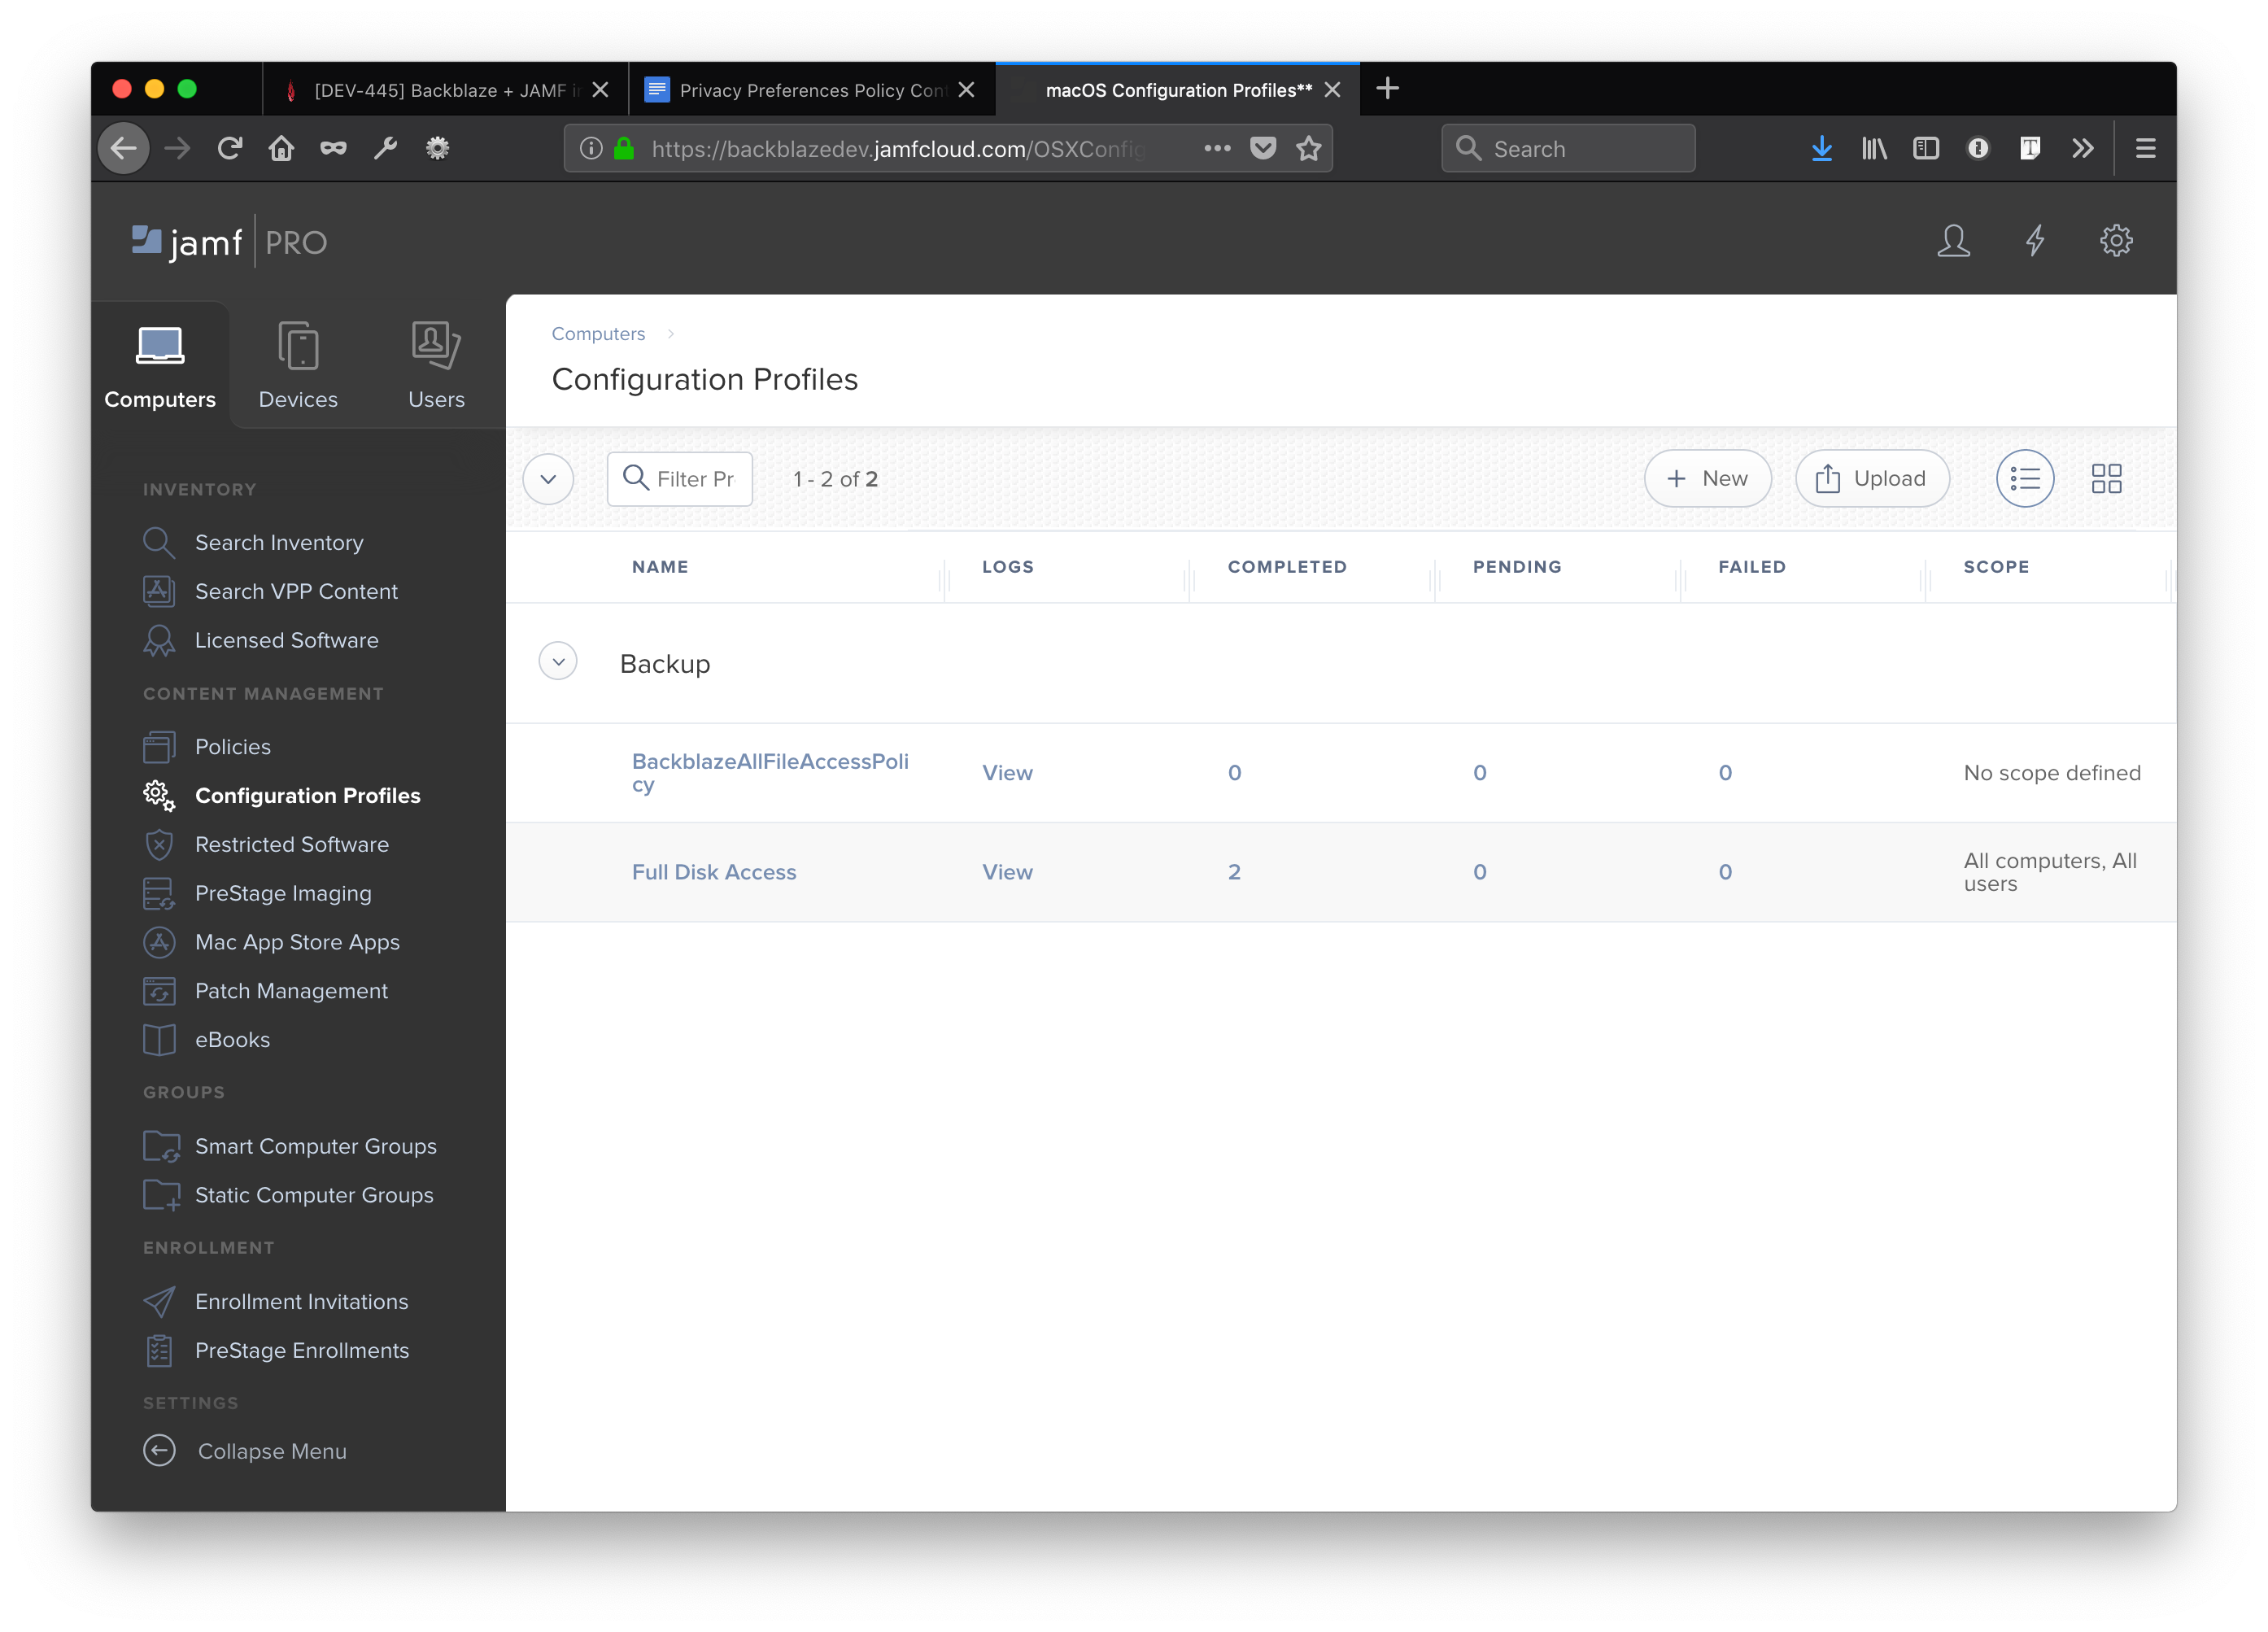
2. Select the newly uploaded policy. From the Options tab, Click the Edit button to make changes.
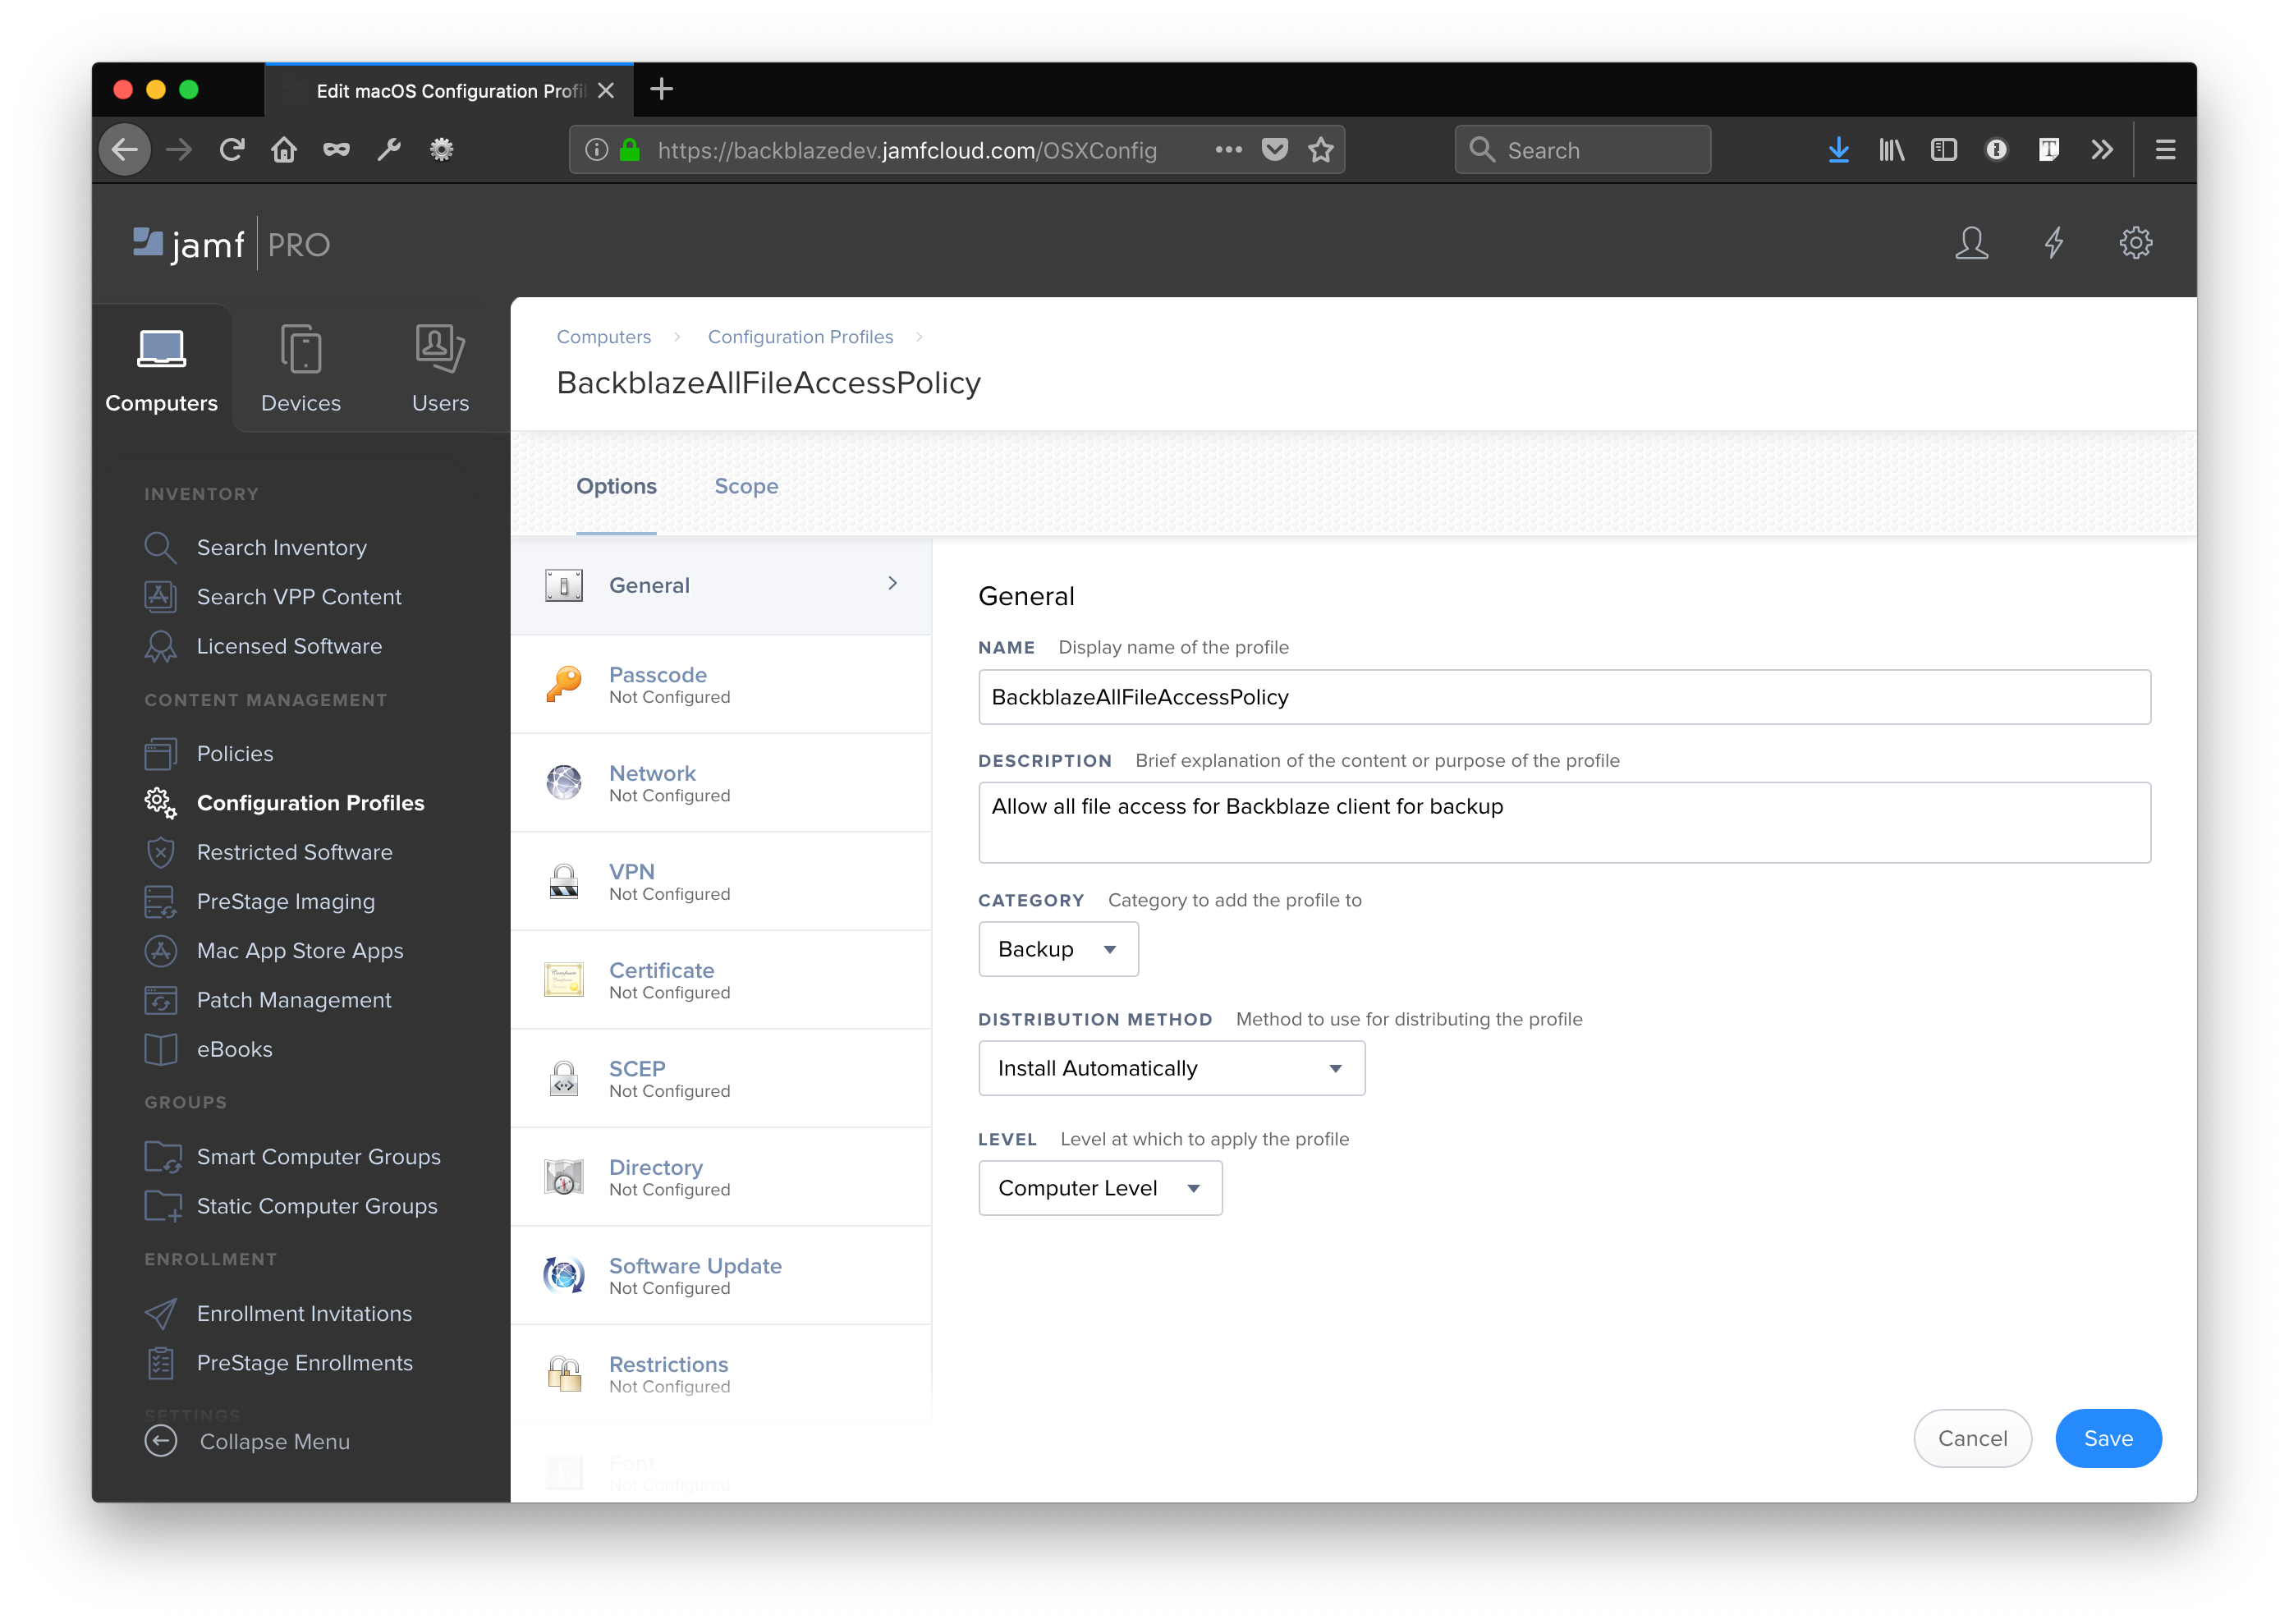
Backblaze recommends pushing this policy out to All Computers. When completed, use the Save button to confirm the changes to this profile.
3. Next, go to the Scope tab, and click Edit
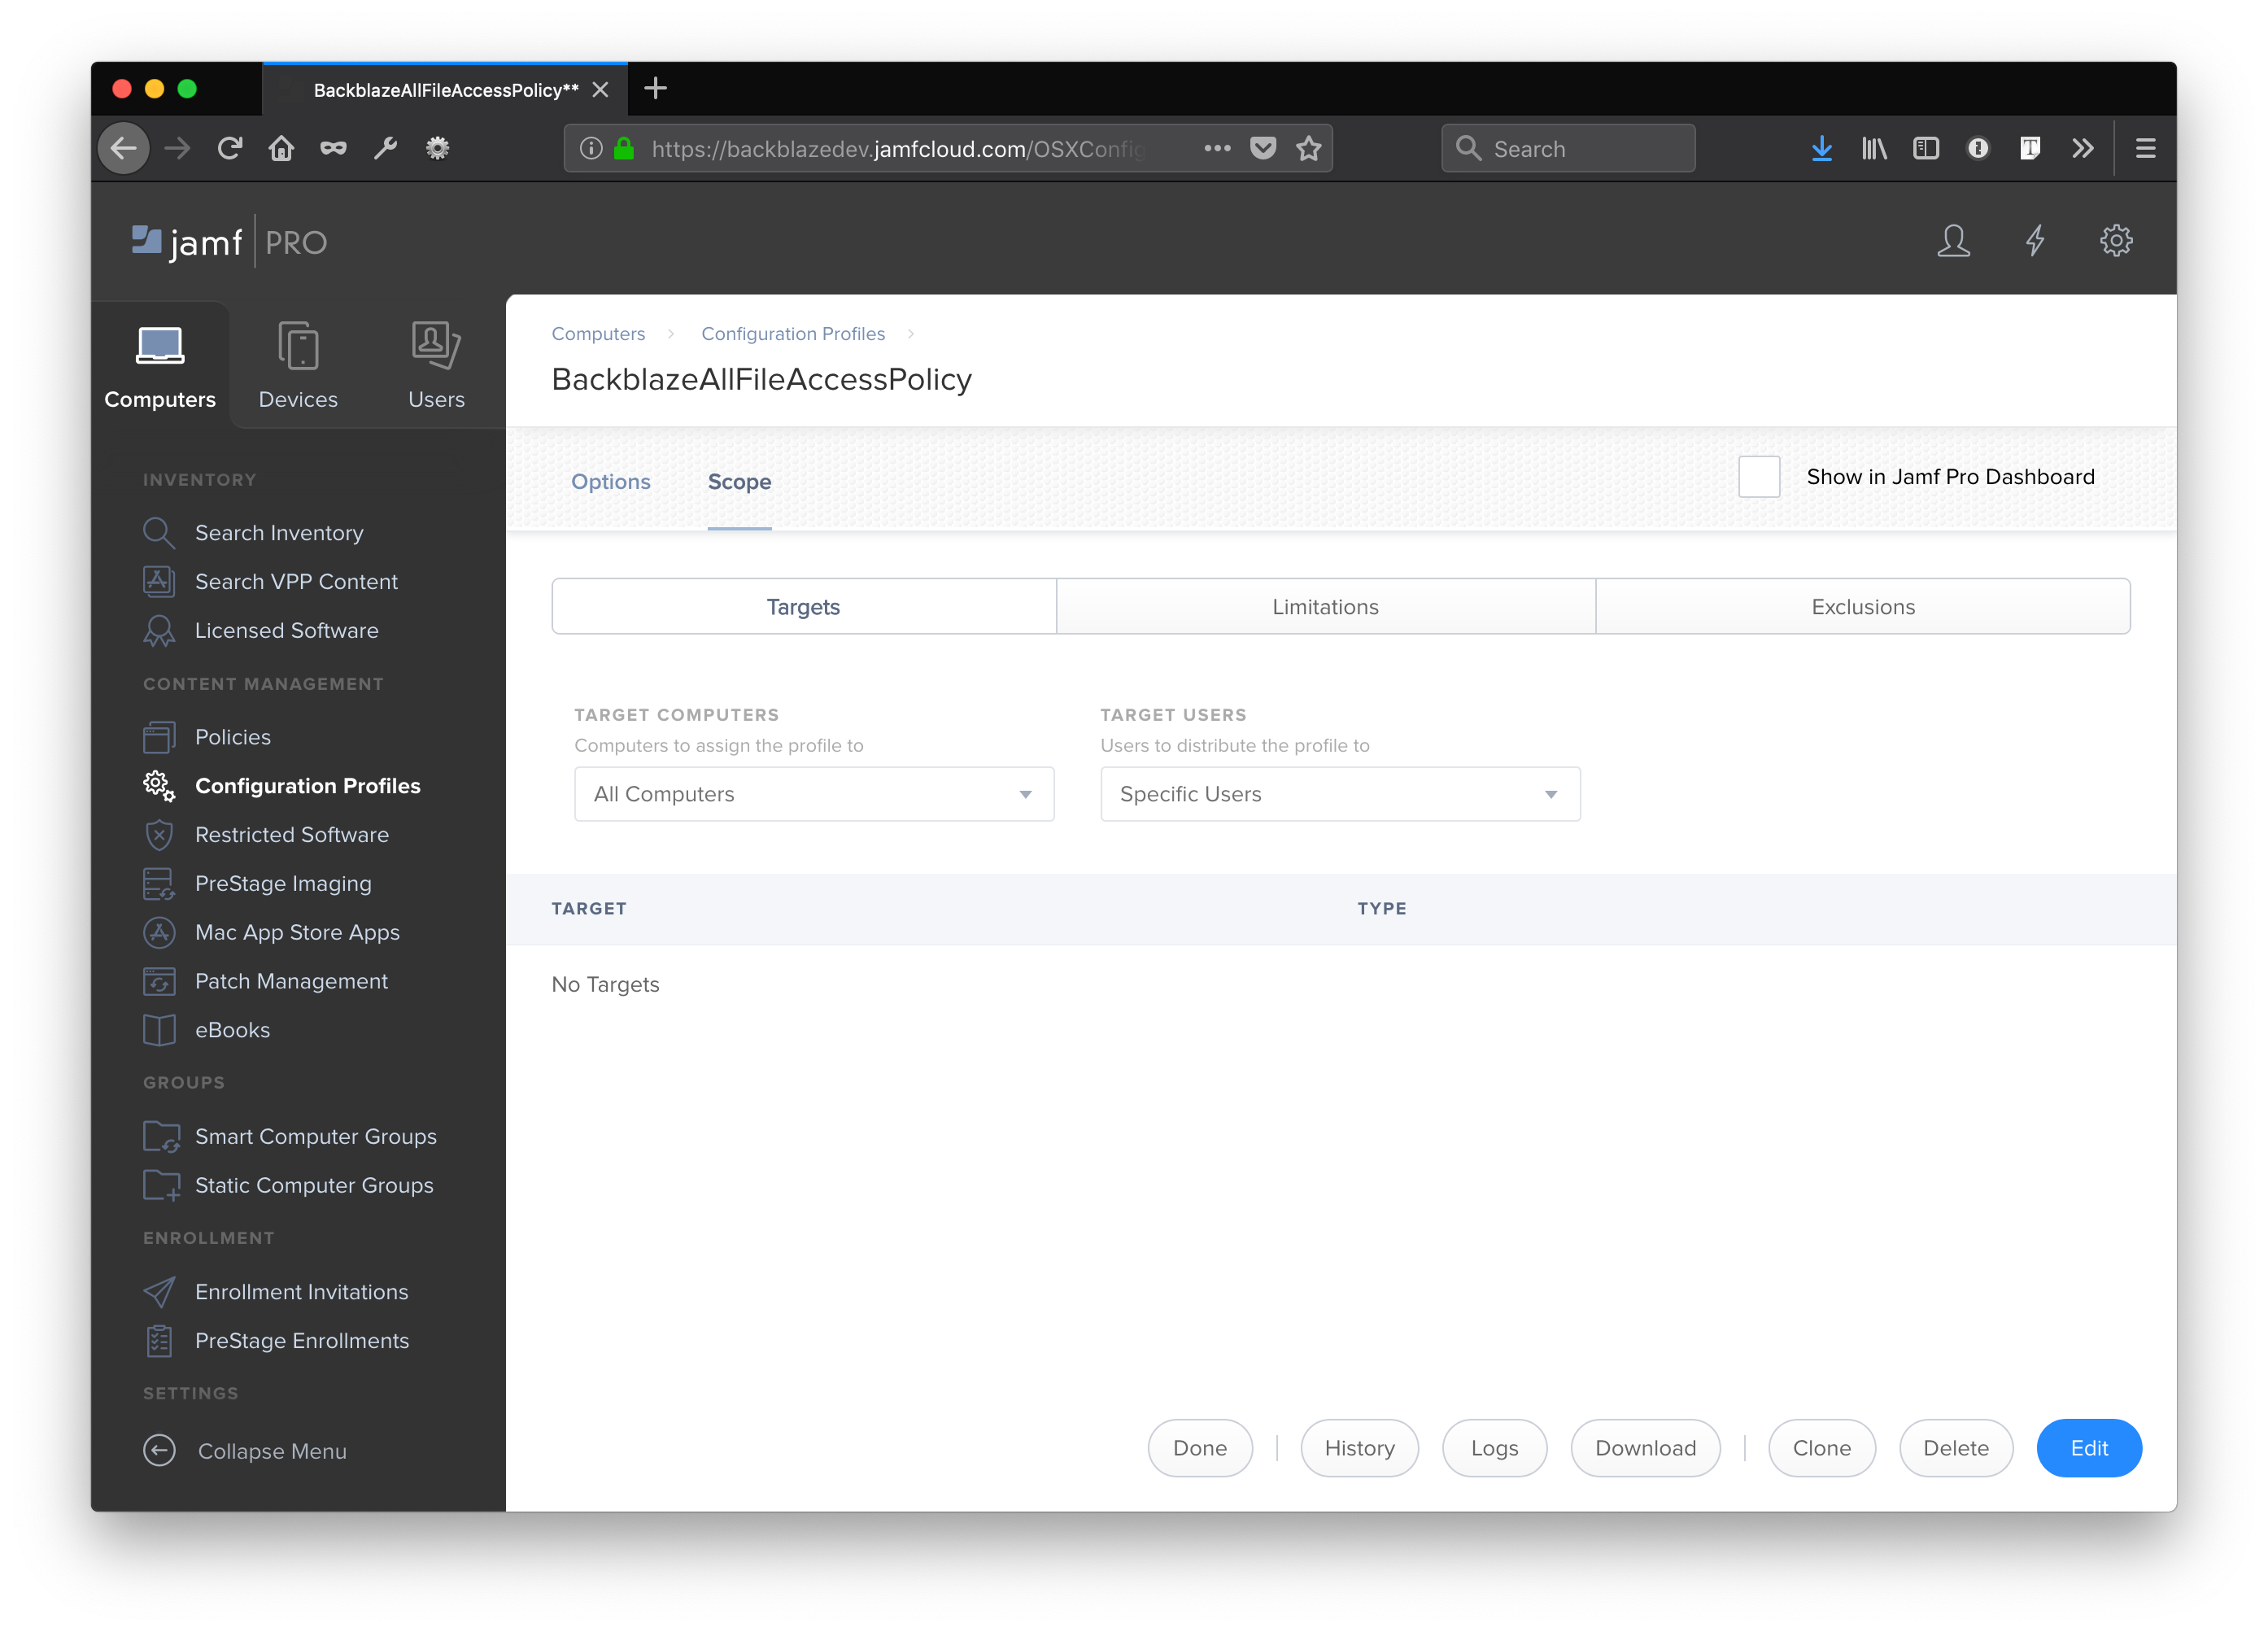
4. Save to confirm the changes.
Install the Backblaze Computer Client per the JAMF Instructions.
Over the next hour or so, depending on when computers request an update from the JAMF server, they will receive the new policy. Once a computer has the new policy, the Backblaze client may be installed as per the instructions at https://help.backblaze.com/hc/en-us/articles/115002603173-Backblaze-Mass-Silent-Install-with-Jamf-Mac-
