Some users may want to keep data across multiple regions while managing them from a single account. Our Business Groups feature will allow you to do this by adding these account to a Group that you are the admin.
While this guide features B2, the process is the same for Personal Backup as well.
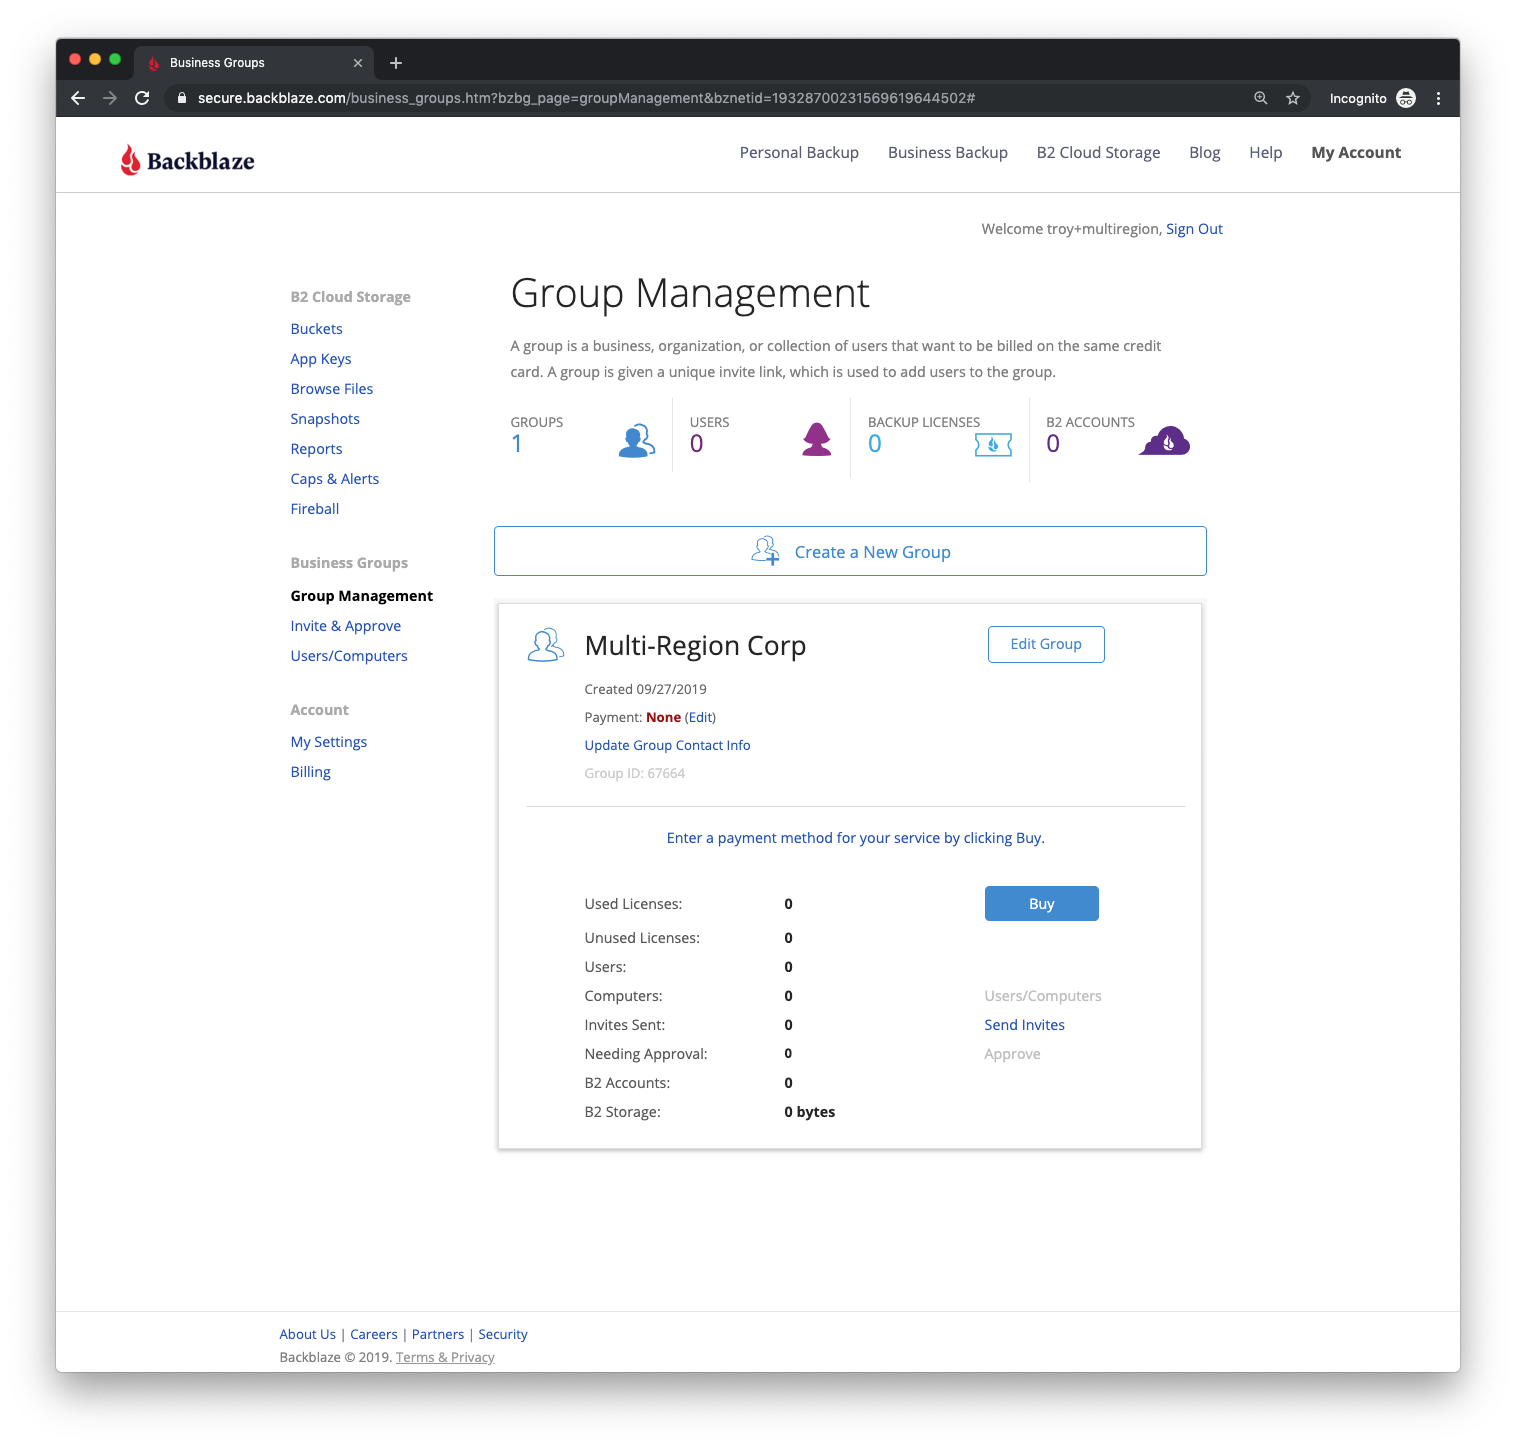
First, you'll need to enable and create a Group on your account. In this example, we've created a Group called "Multi-Region Corp"
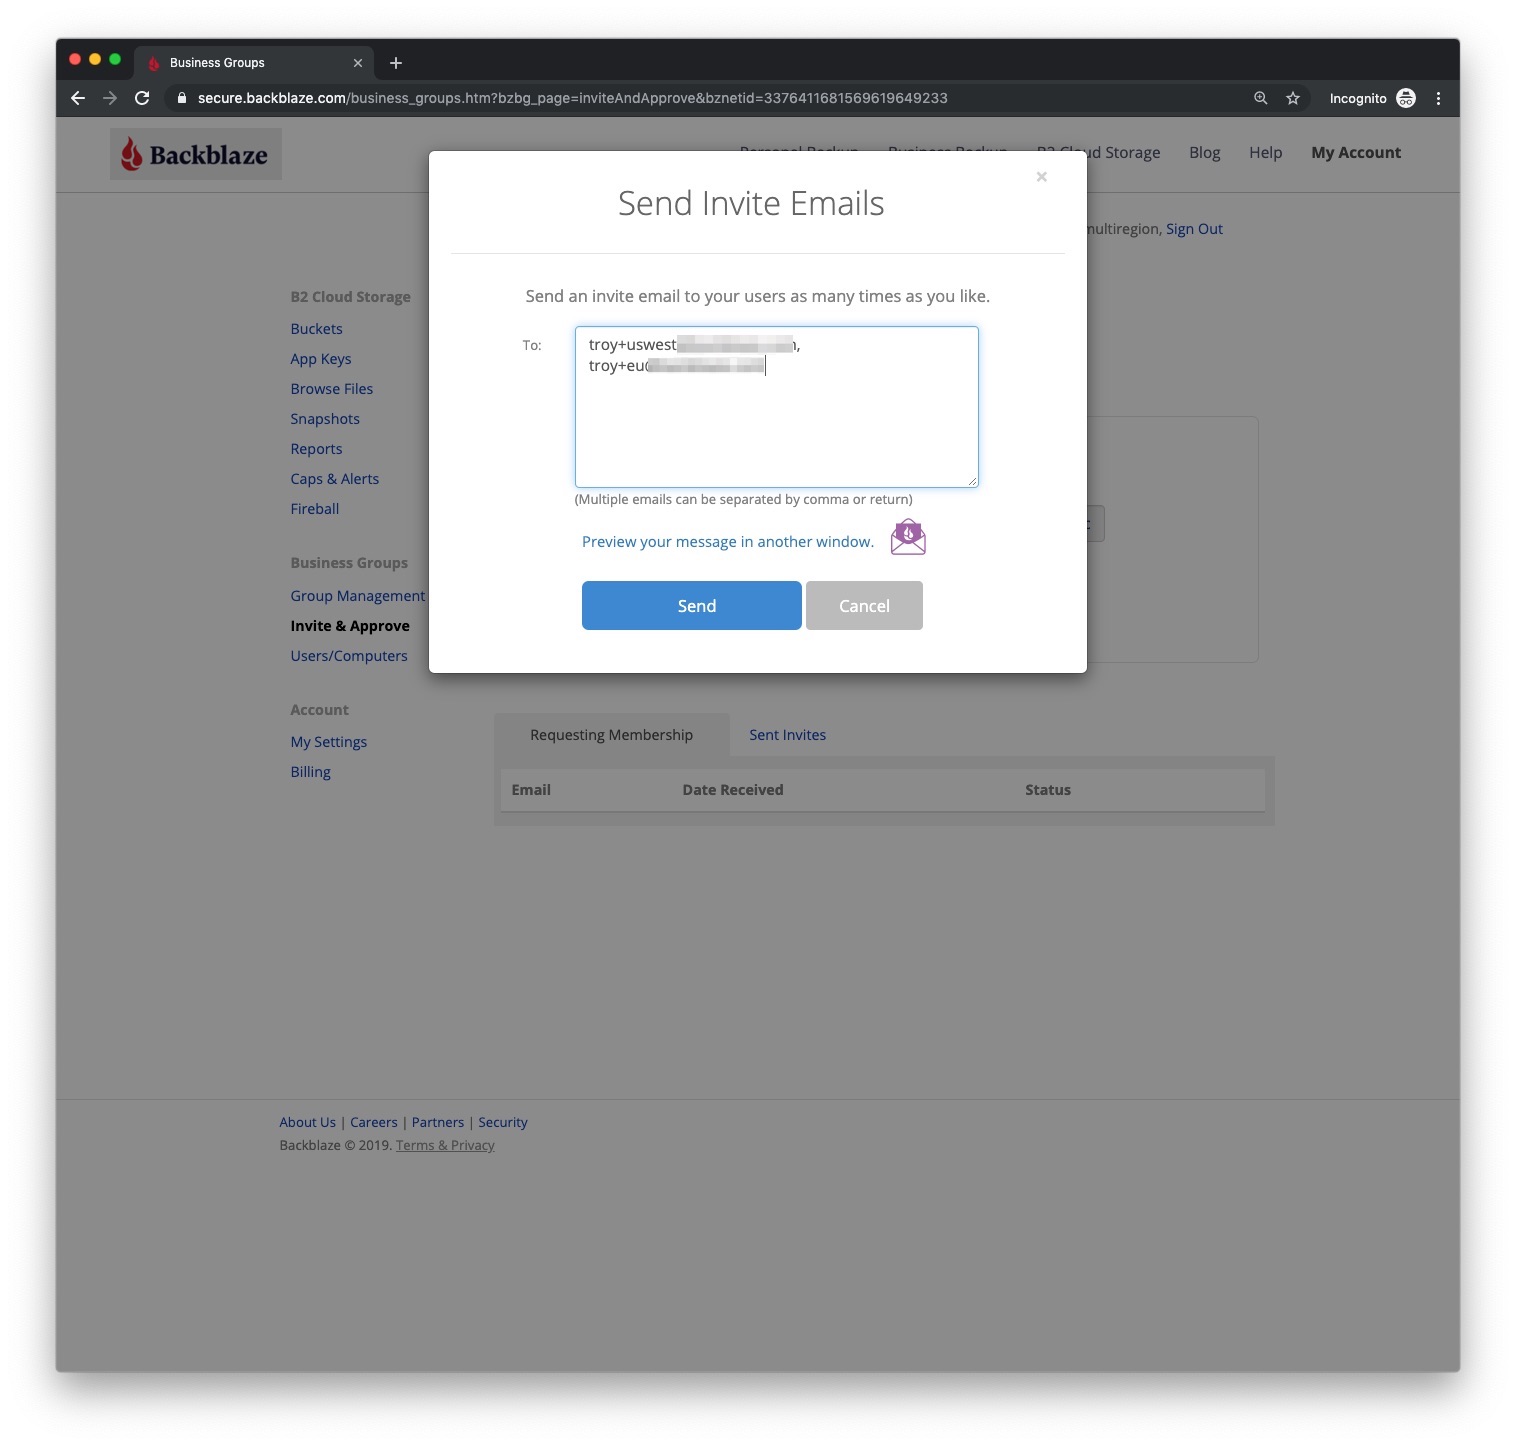
Next, you'll need to send invites to the email addresses you'd like each region to be under. If you do not have any other physical users and would like to simply keep data in different regions, you can use an alias for your existing email. (If you have a Gmail or Gsuite account, you can use the '+' trick outlined here).
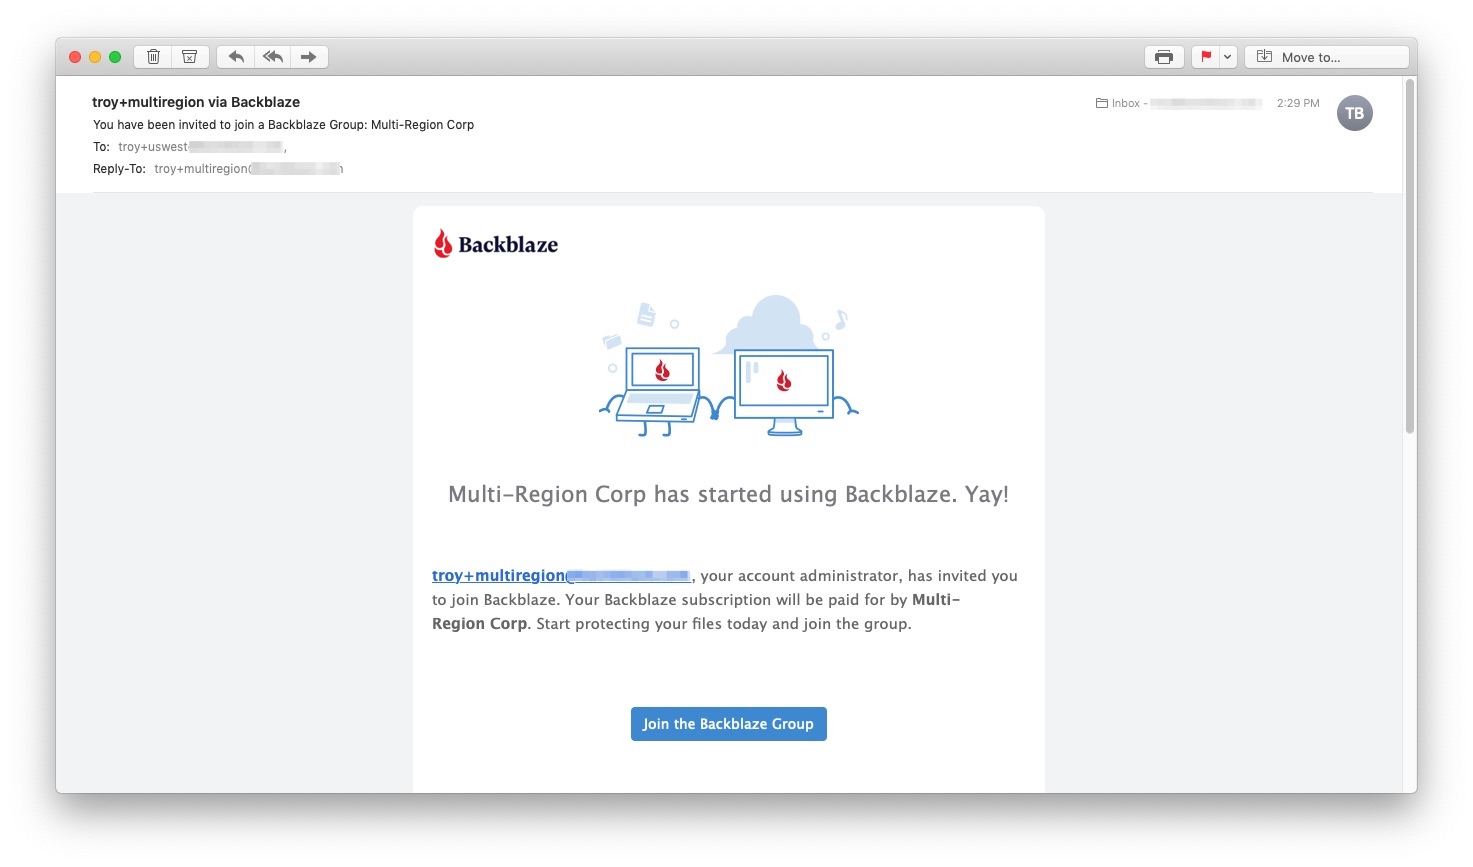
Each address will receive an invite email with a button to accept the invite and create their account.
Upon clicking the button you will be directed to a page to create the account and join the Group. When prompted to enter a password, you will have the opportunity to choose the region for this data to reside in. Select the region you wish here.
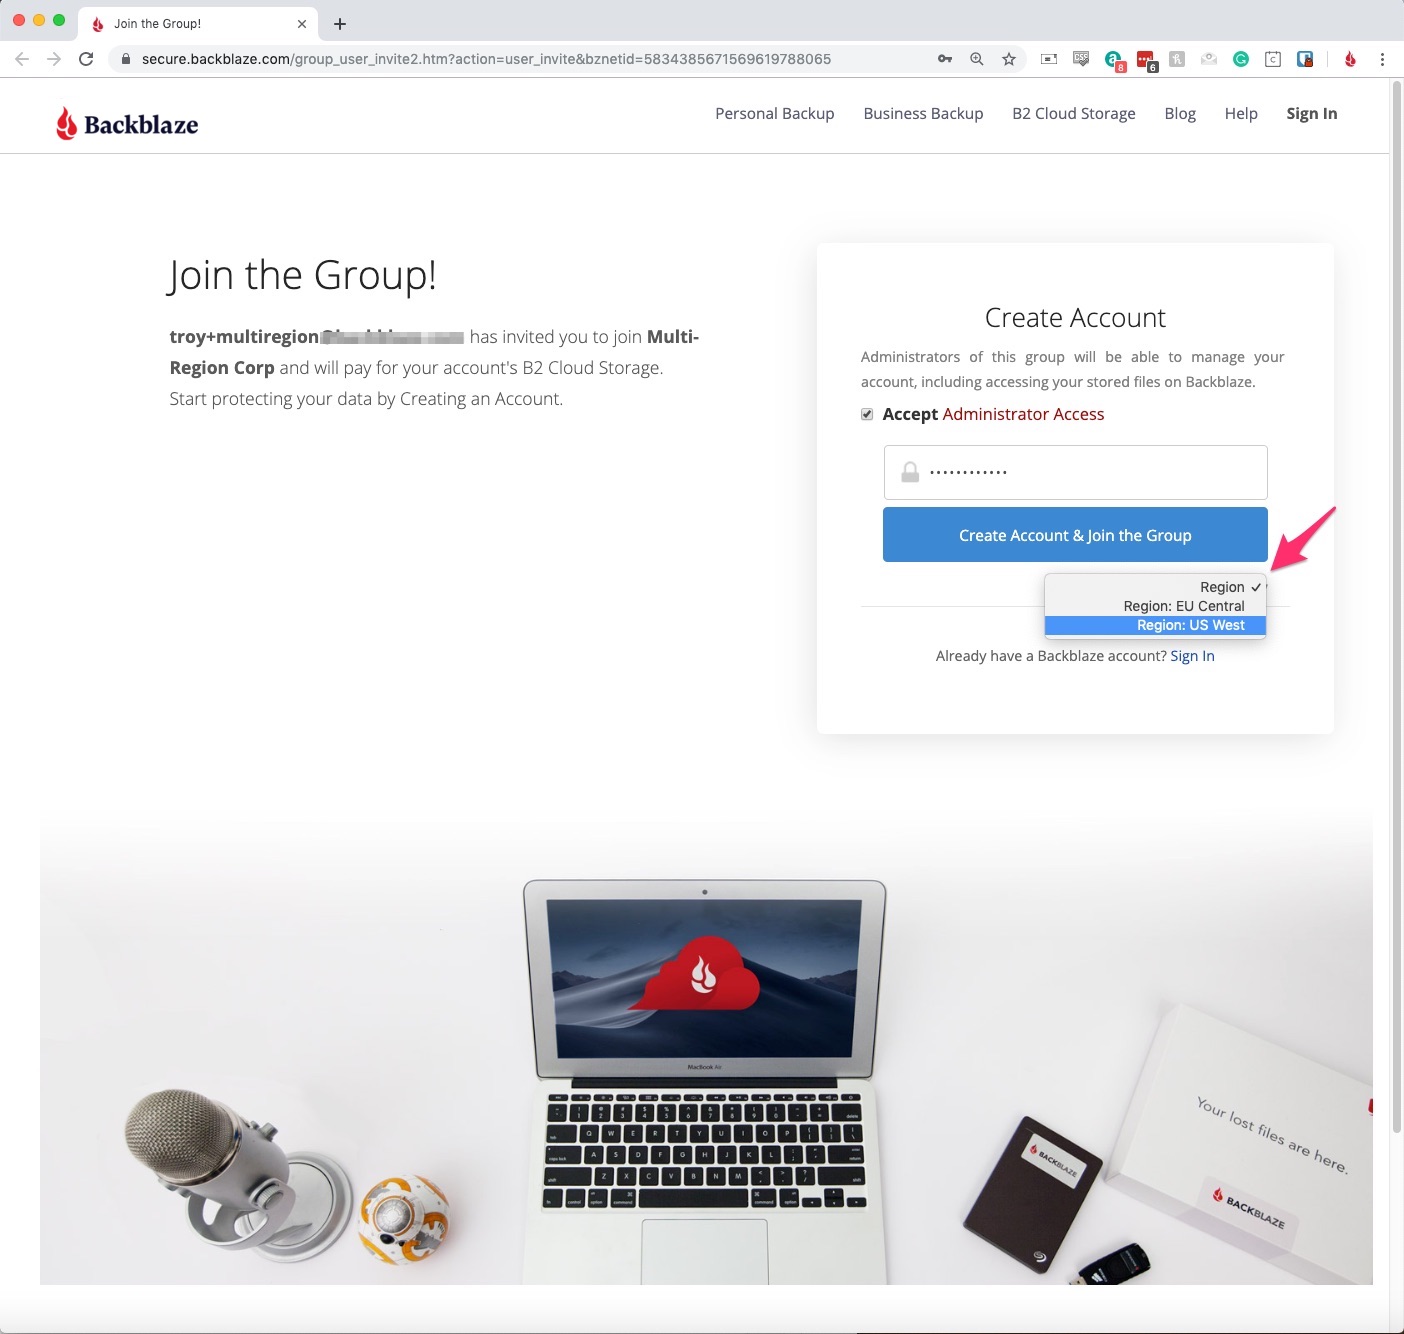
For this example, we've created two accounts - one in US West and one in EU Central.
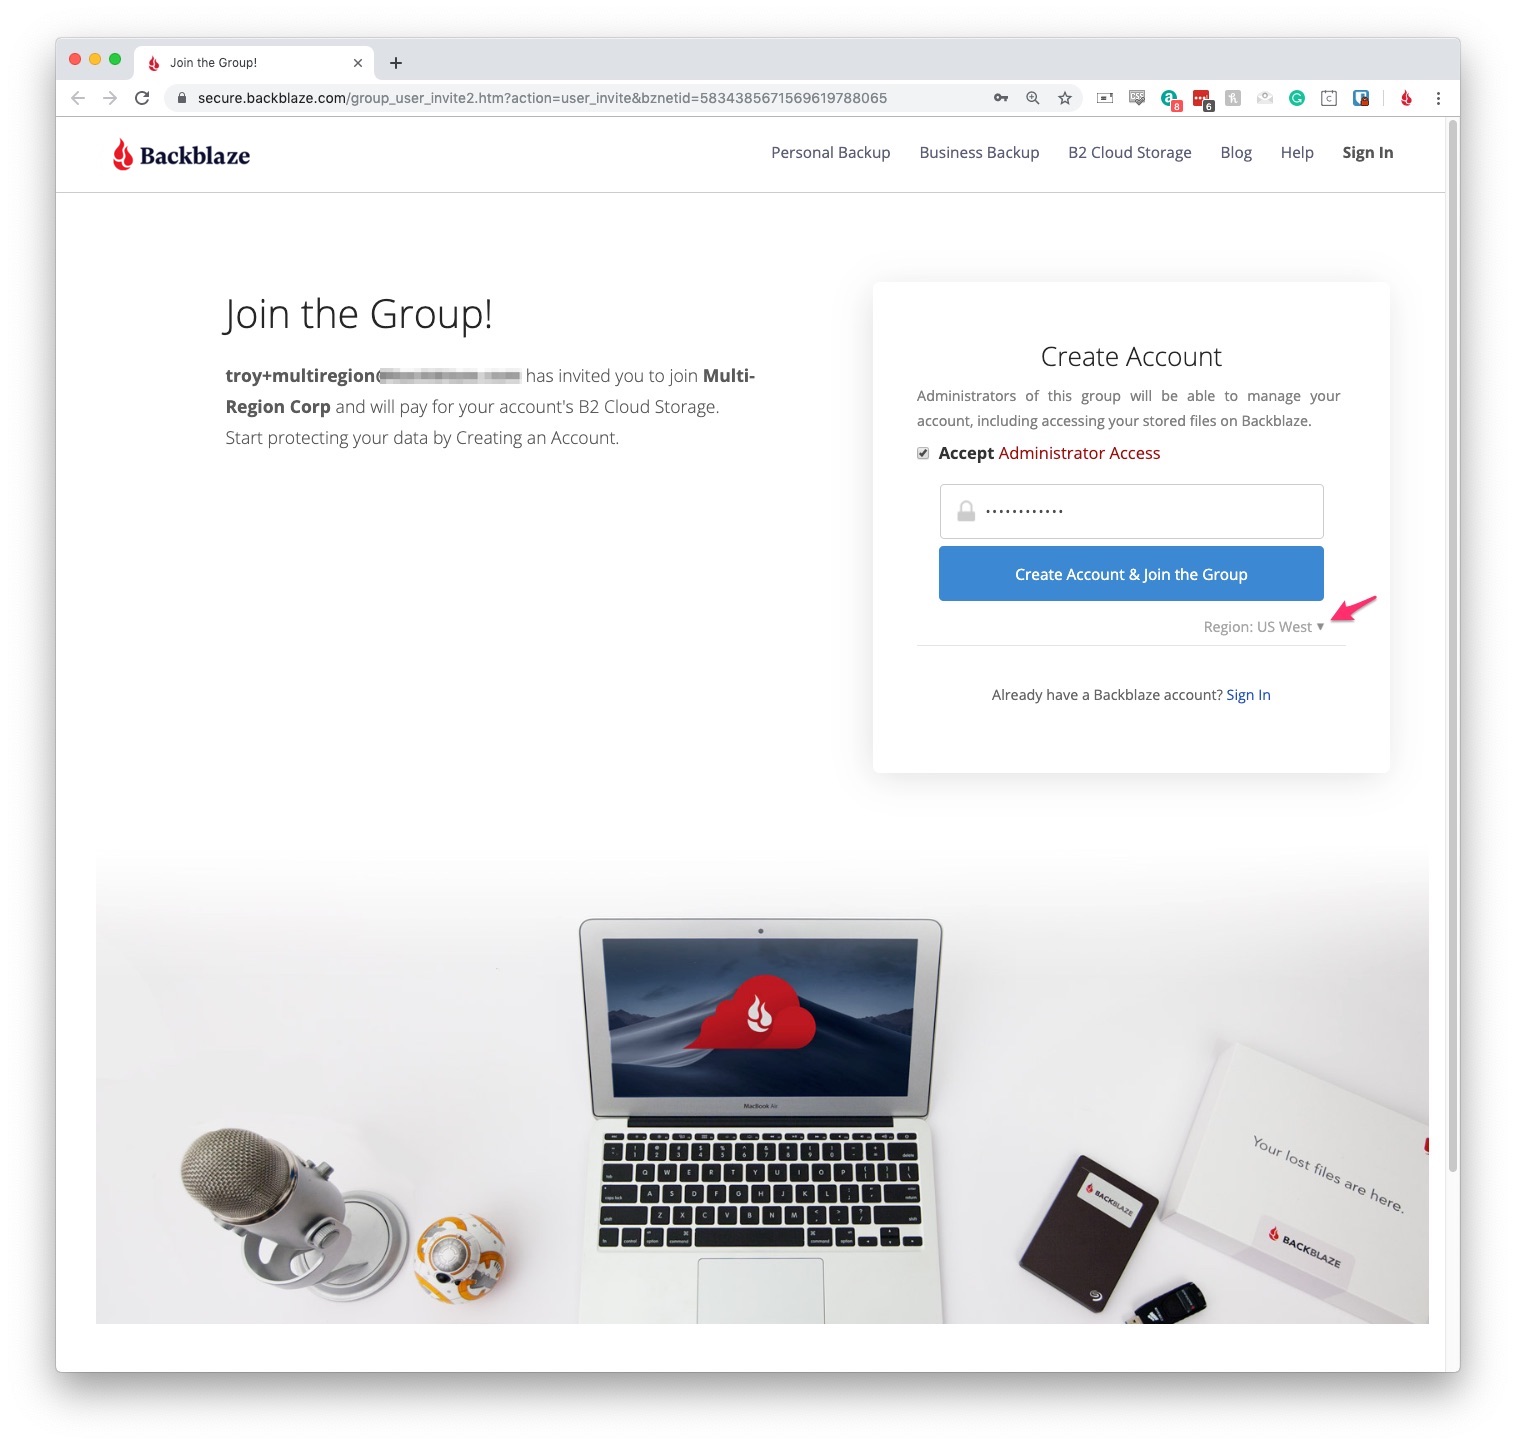
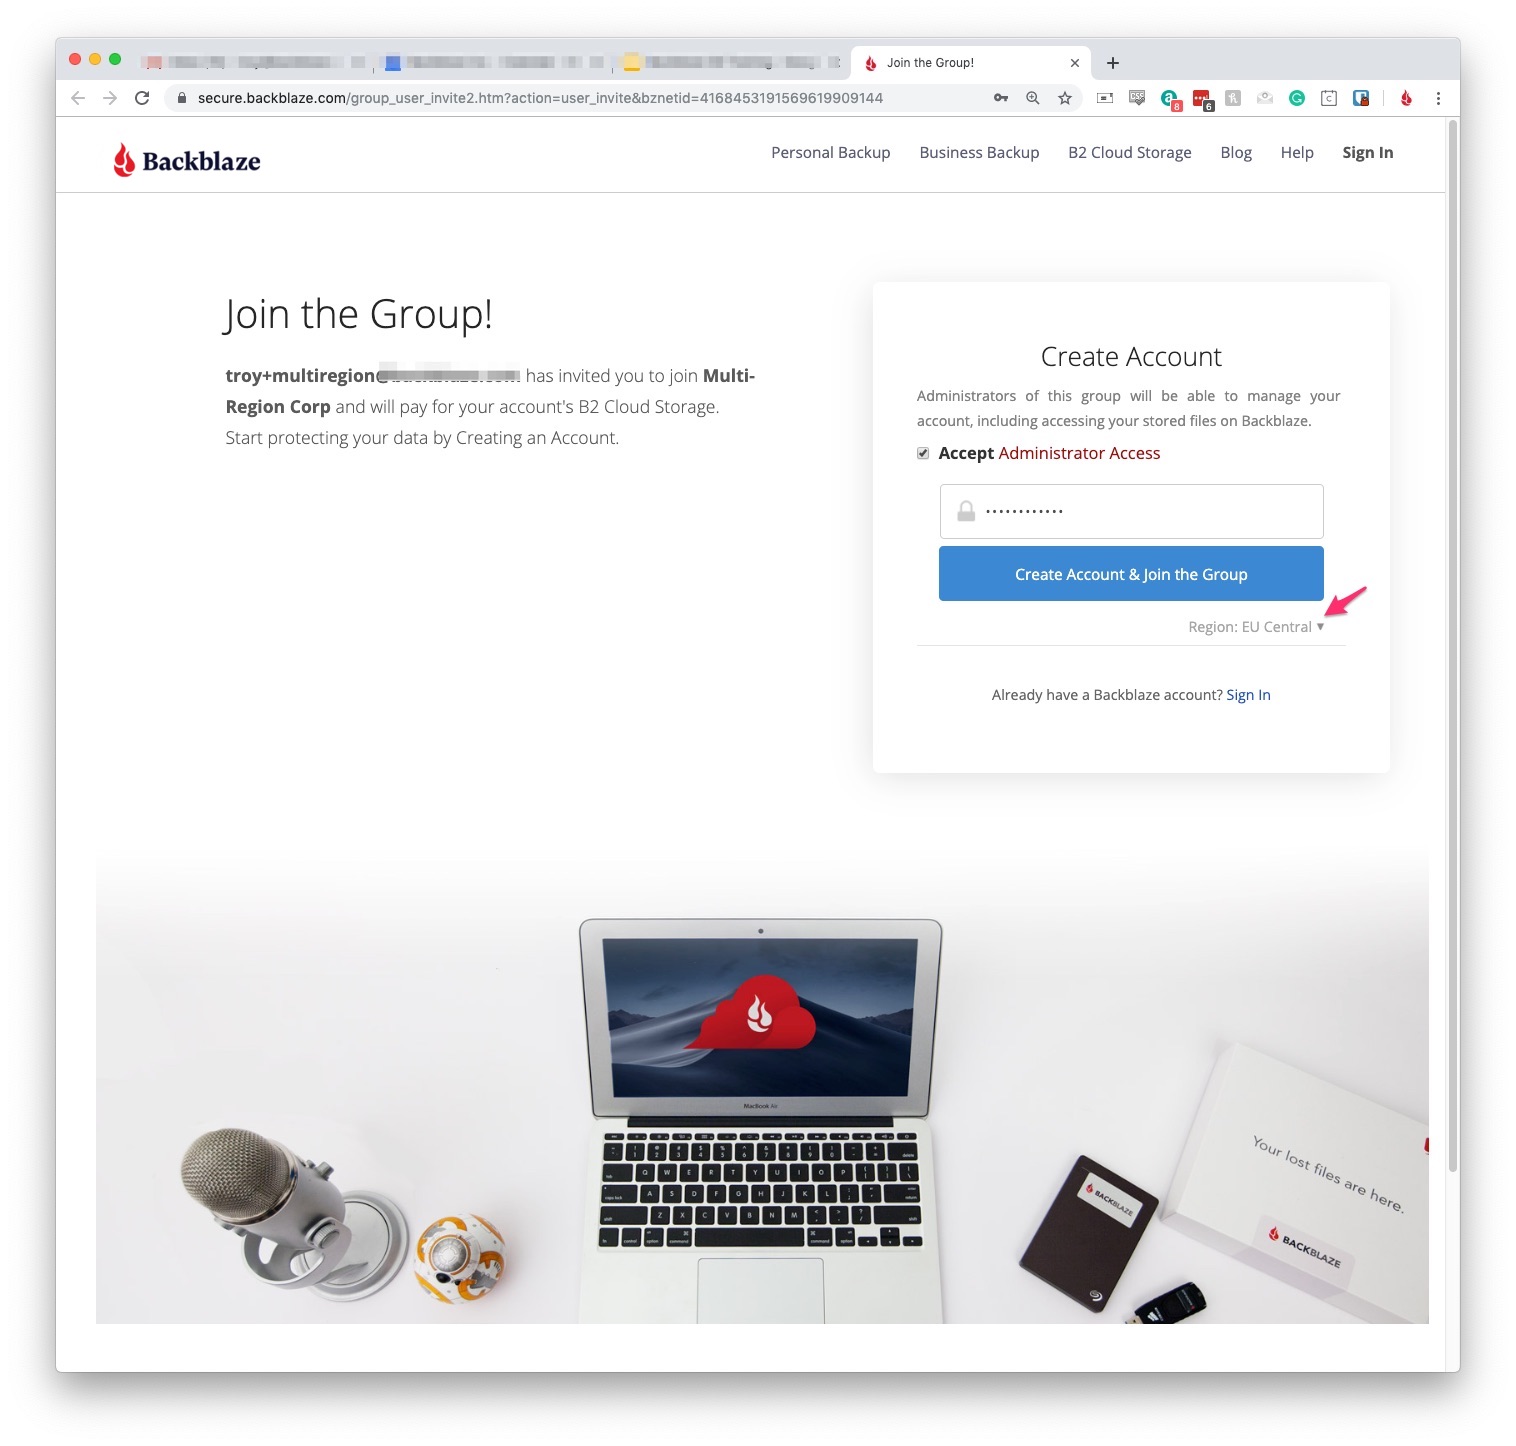
(If you've already created the accounts in different regions you can click the Sign In link rather than creating an account.)
You can verify which region the data will be stored in by navigating to the My Settings page of each account you've created at the bottom of that page.
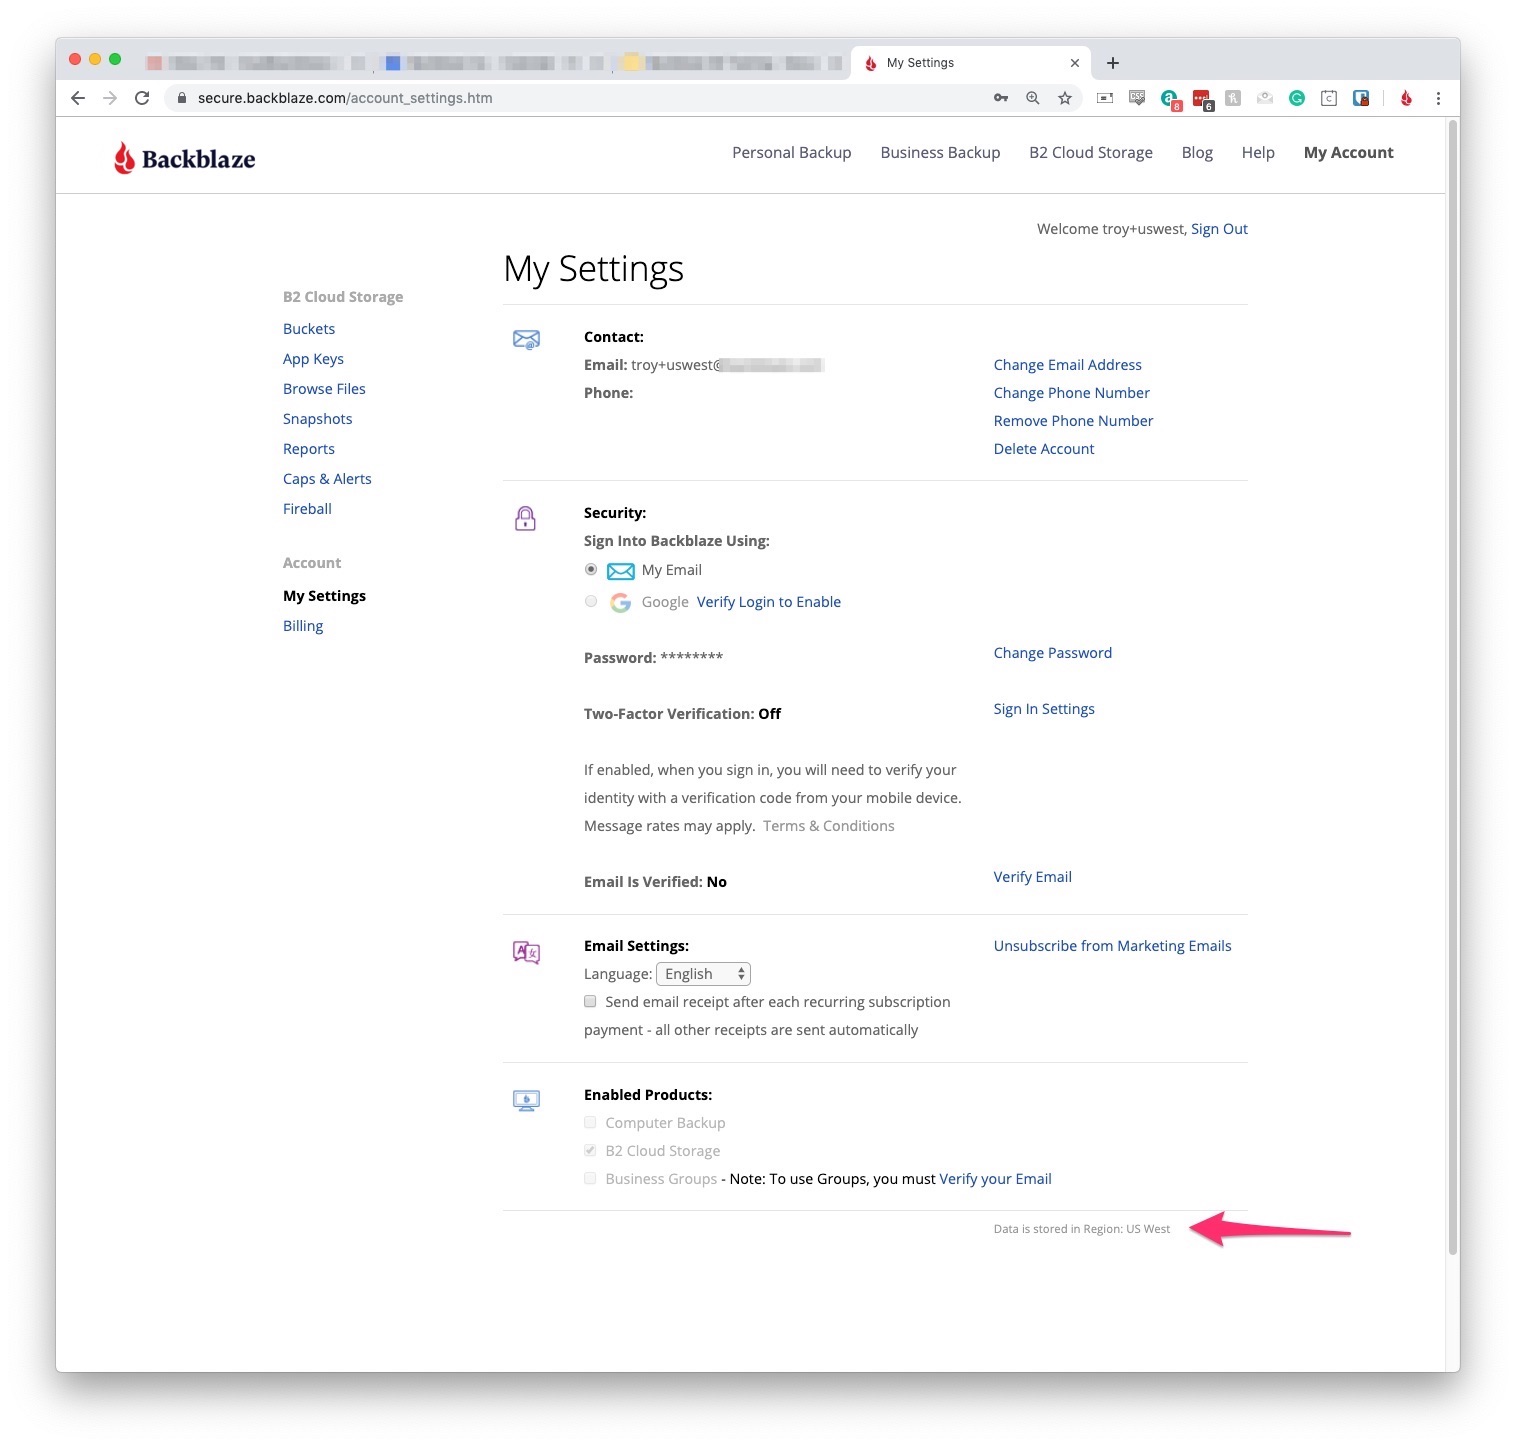
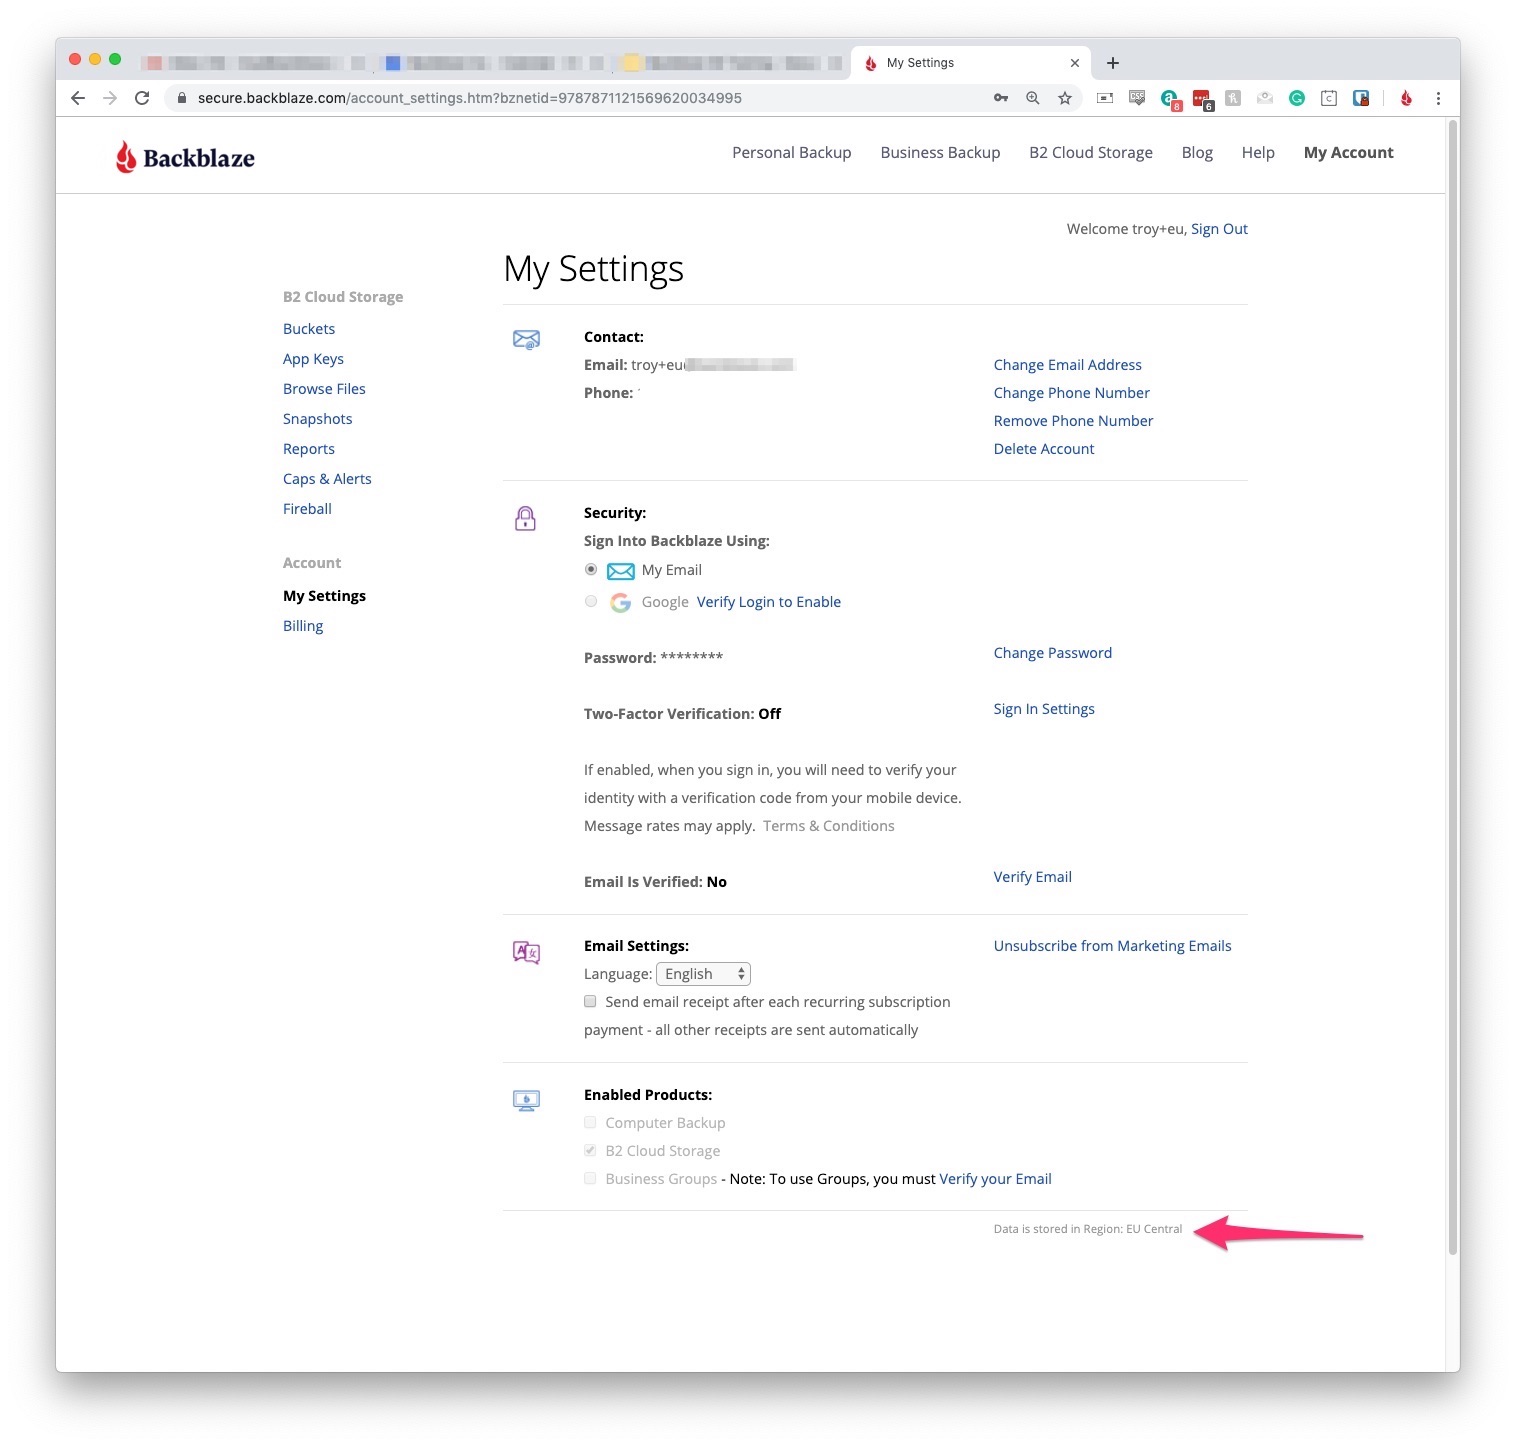
At this point you can upload the data you like to their respective account - all data uploaded to a particular account will remain in the selected region.
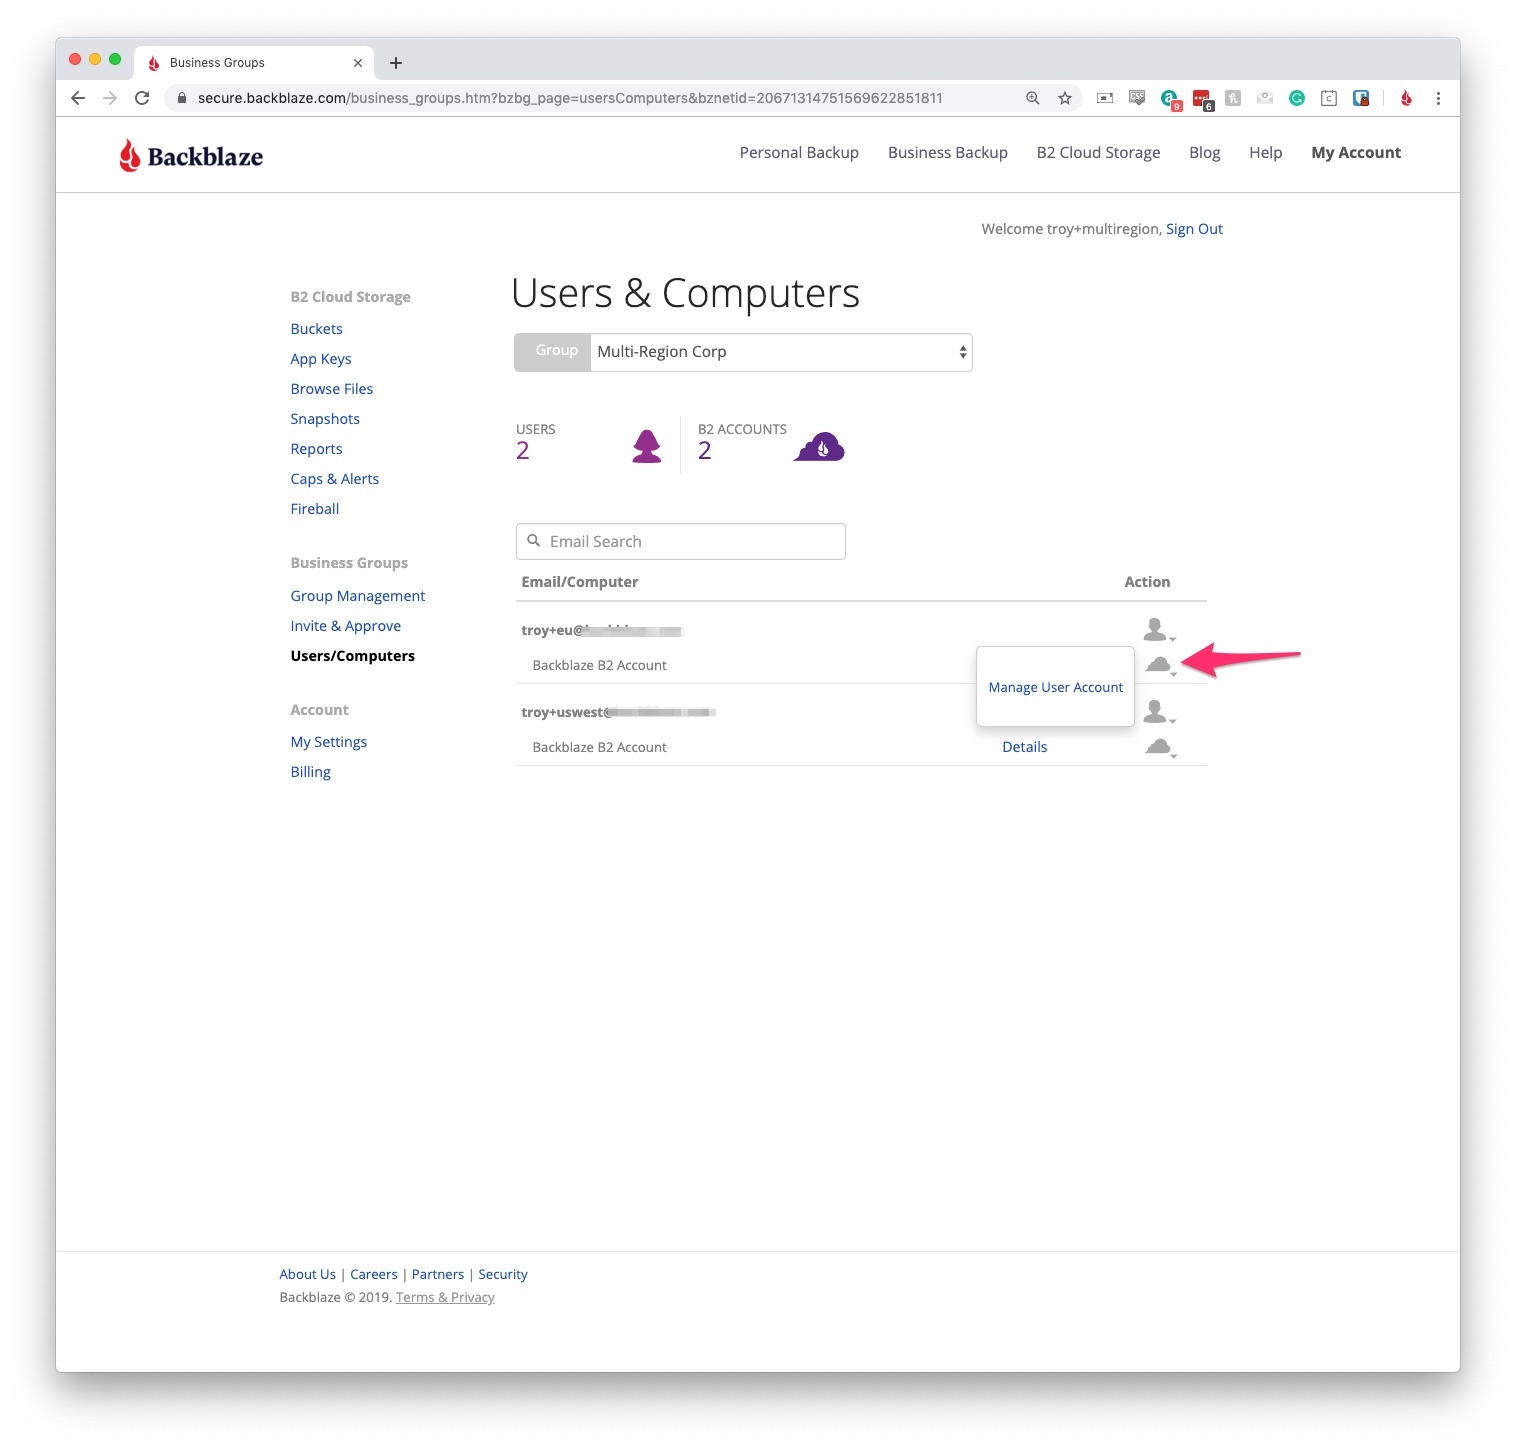
Once you log back into the Admin account, you should now see each account listed in the Users/Computers page.
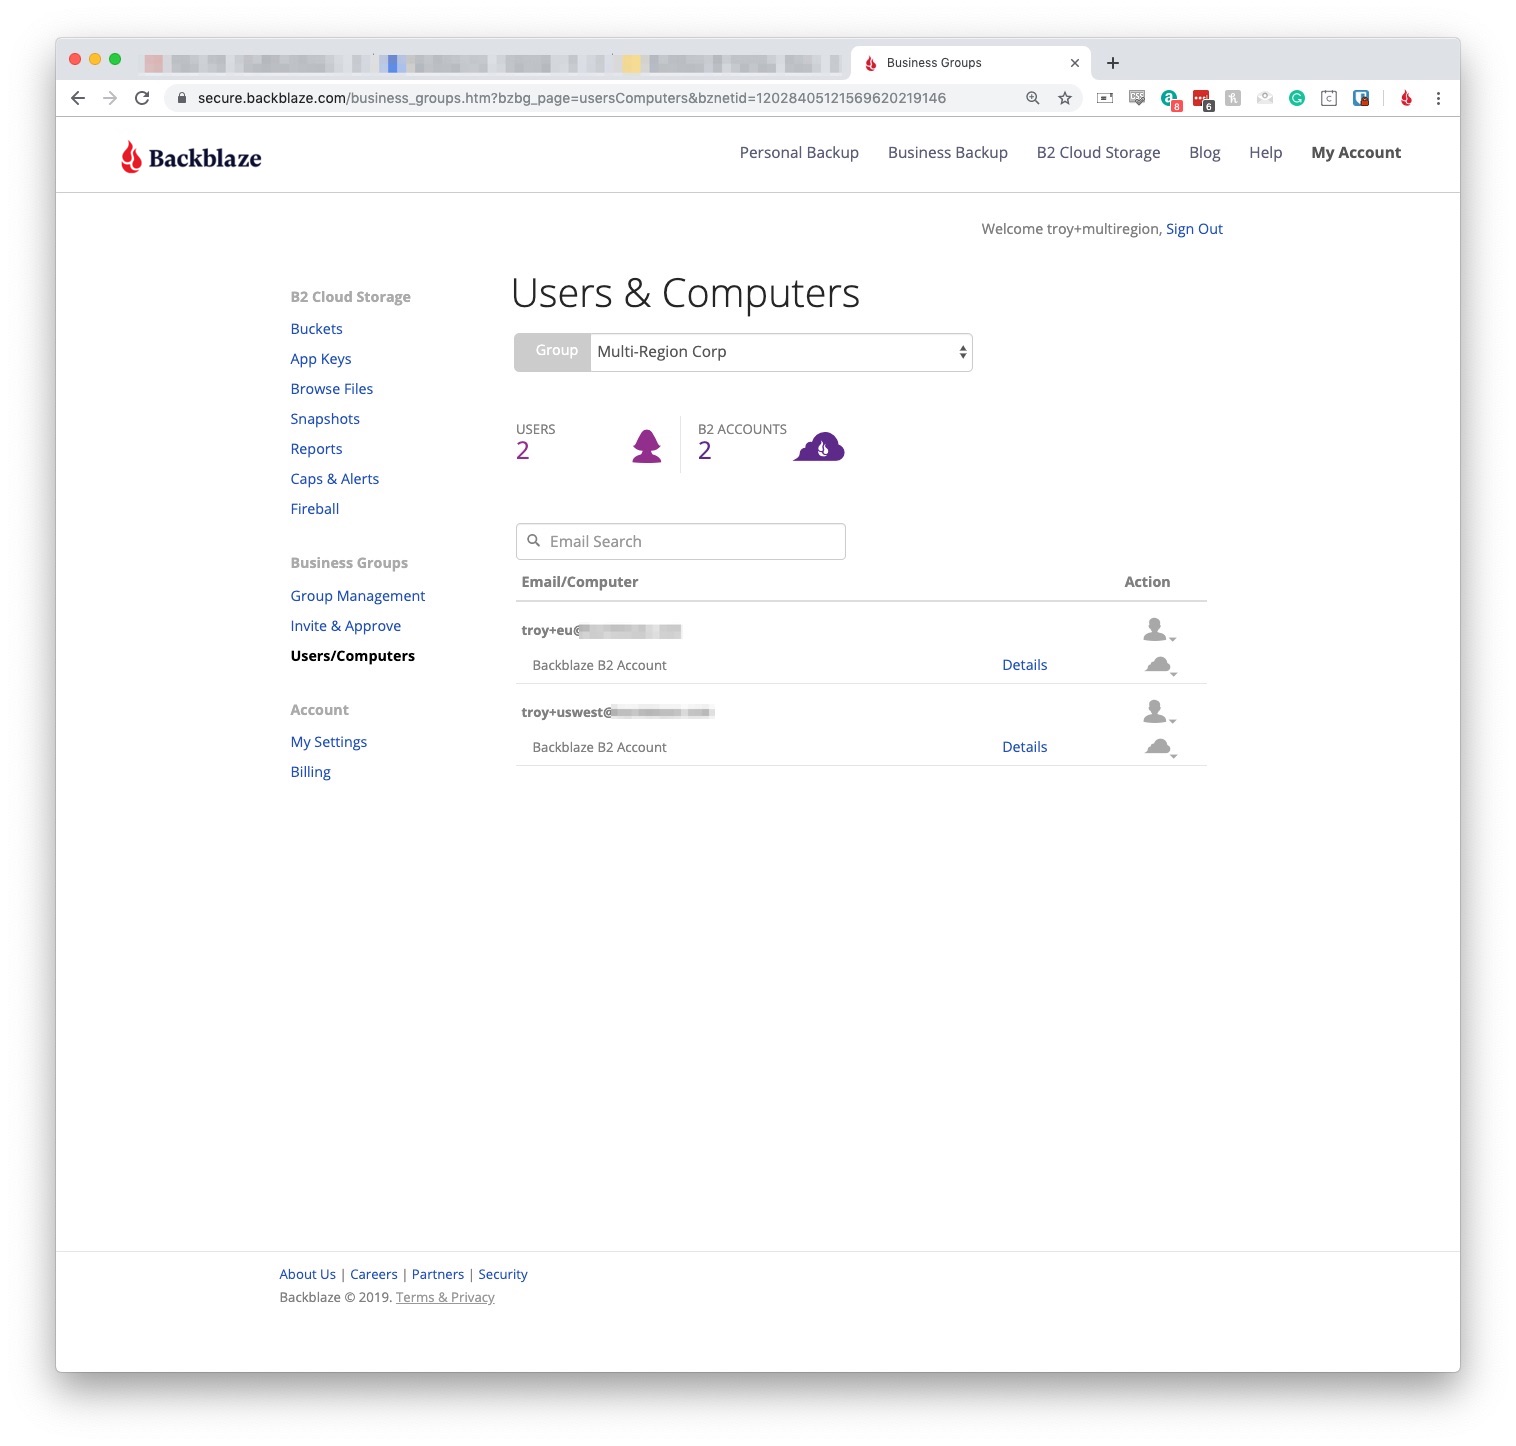
As long as you have enabled Administrator Privileges, you can now access each account from your Admin account. Should you need to go into one of the accounts, you can do so via the cloud icon next to that user.
