To create a Business Group you will need to verify your email address and enable Business Groups under your account if you have not already done so.
Create A Group:
Once Business Groups has been enabled, your left-hand navigation will show a new Business Groups section. Navigate to the ‘Group Management’ page and click ‘Create a New Group’. A Groups Wizard will appear and walk you through the quick 3-step process.
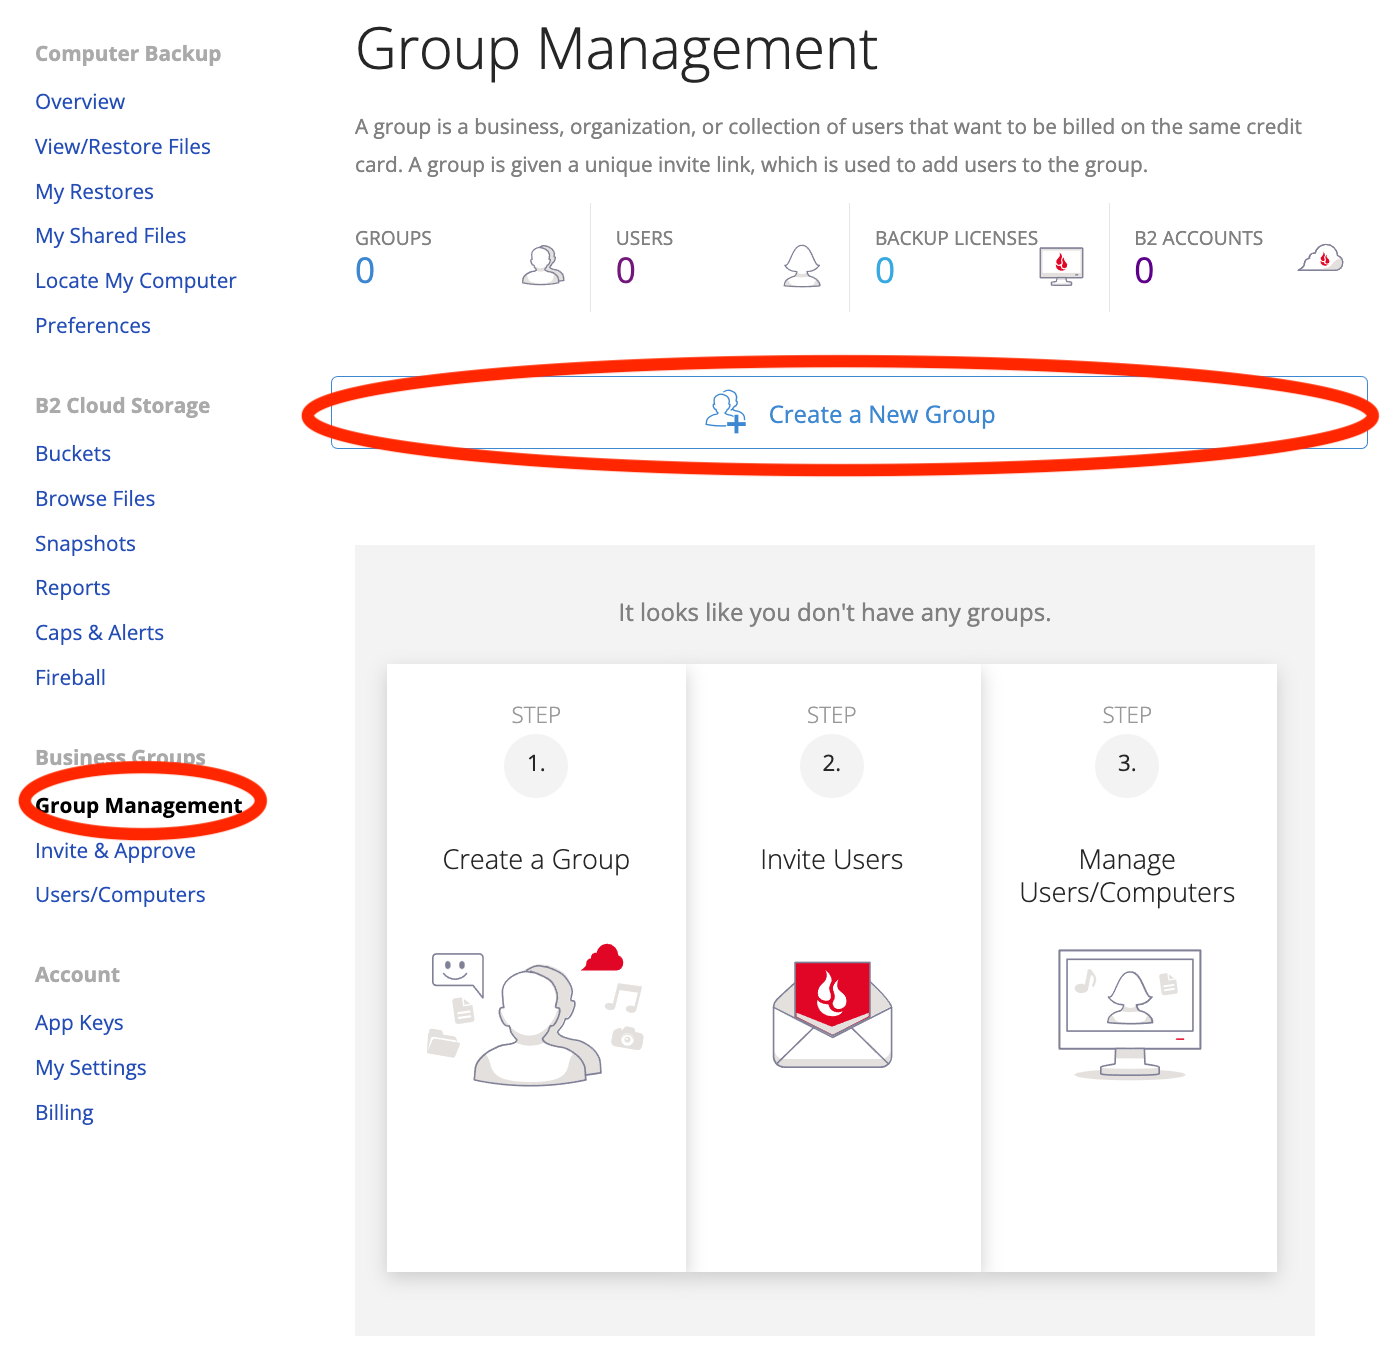
Step 1:
Name your Group: We recommend using the name of the organization or the group of people who you wish to create this Group for (i.e. CoolCorp-Marketing, CoolCorp-Finance, etc…)
Select your products ('This Group provides members with'): Here you will select the product or service that the Group will pay for. You can have a Group to encompass Backblaze Online Backup, Backblaze B2 Cloud Storage, or a Group that pays for both. You can also enable Extended Version History at the time of group creation, to learn more about Extended Version History, please see here. You can always add a product or service to a Group at a later time, but you cannot remove one. Please note that a Backblaze account can only be a member of one Group at a time.
Determine your Administrative Privileges: This setting dictates what kind of access Group Administrators will have to Group members’ accounts. There are two types of Groups:
- Unmanaged (Select OFF) - Group Administrators pay for Backblaze services, but cannot view or restore files on a Group member's behalf, nor can they delete a member's backup or change the members account settings.
- Managed (Select ON) - Group Administrators gain managing rights, including: accessing B2 content, creating restores and changing account settings (i.e. requesting a password reset, changing email address, etc…).
Click 'Create Group and Next to continue to step 2.
Step 2:
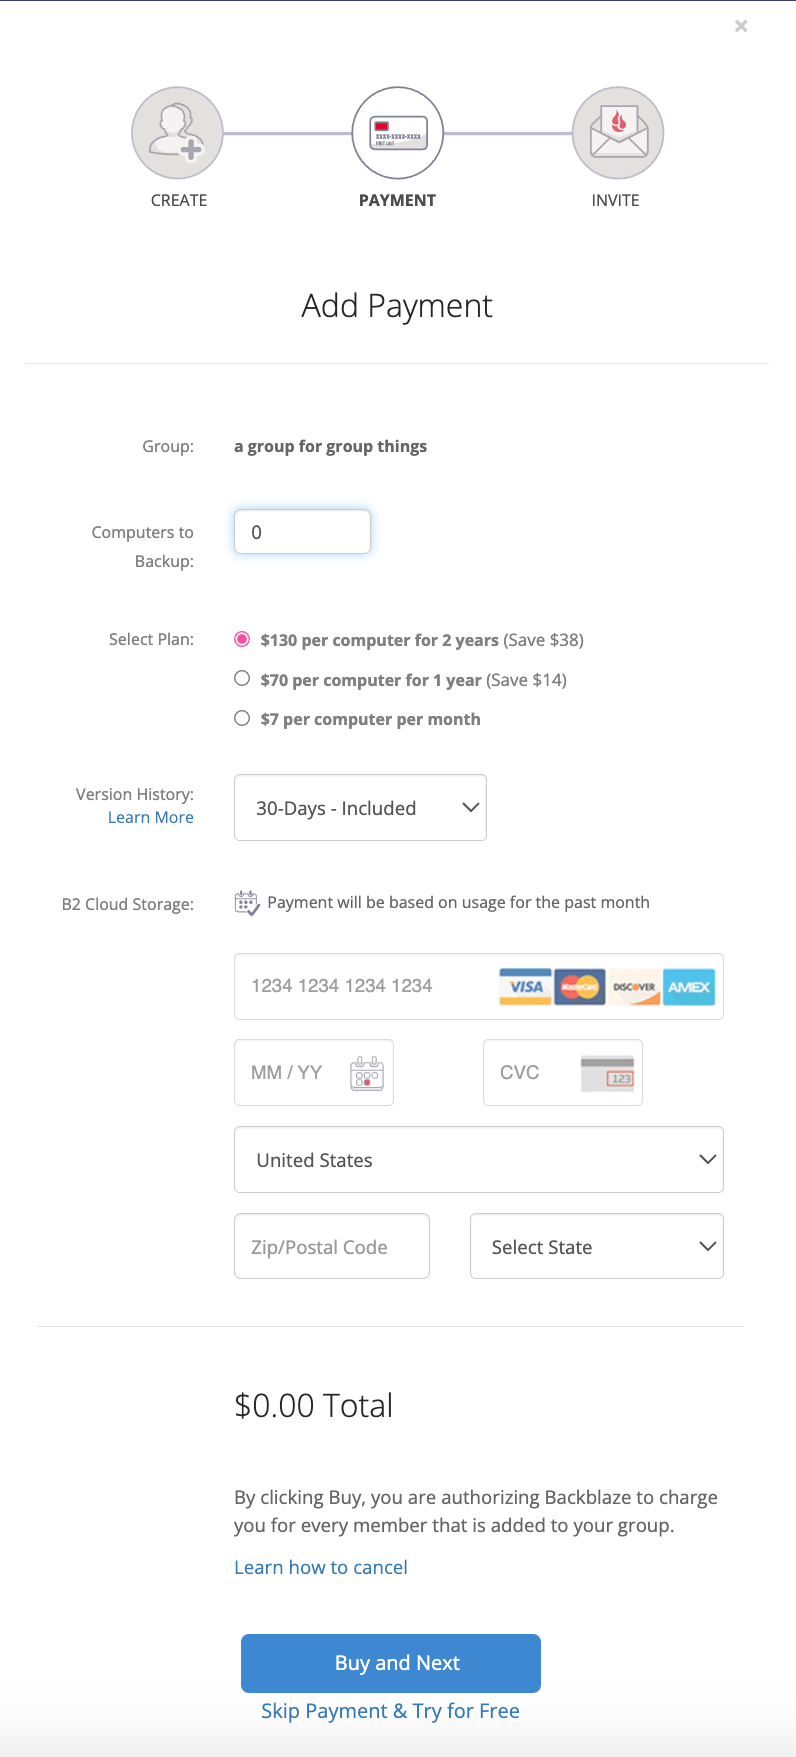
At this point, you have the option to either select a subscription and purchase licenses, or you may skip this step for now to move forward under a 15-day free trial.
Note: If you'd like to purchase now but do not know how many licenses you will need, you can leave the 'Computers to Backup' at zero and Backblaze will charge you one-by-one as you add backups to your Group.
Click 'Buy and Next' or 'Skip Payment & Try for Free' to move on to the 3rd and final step.
Step 3:
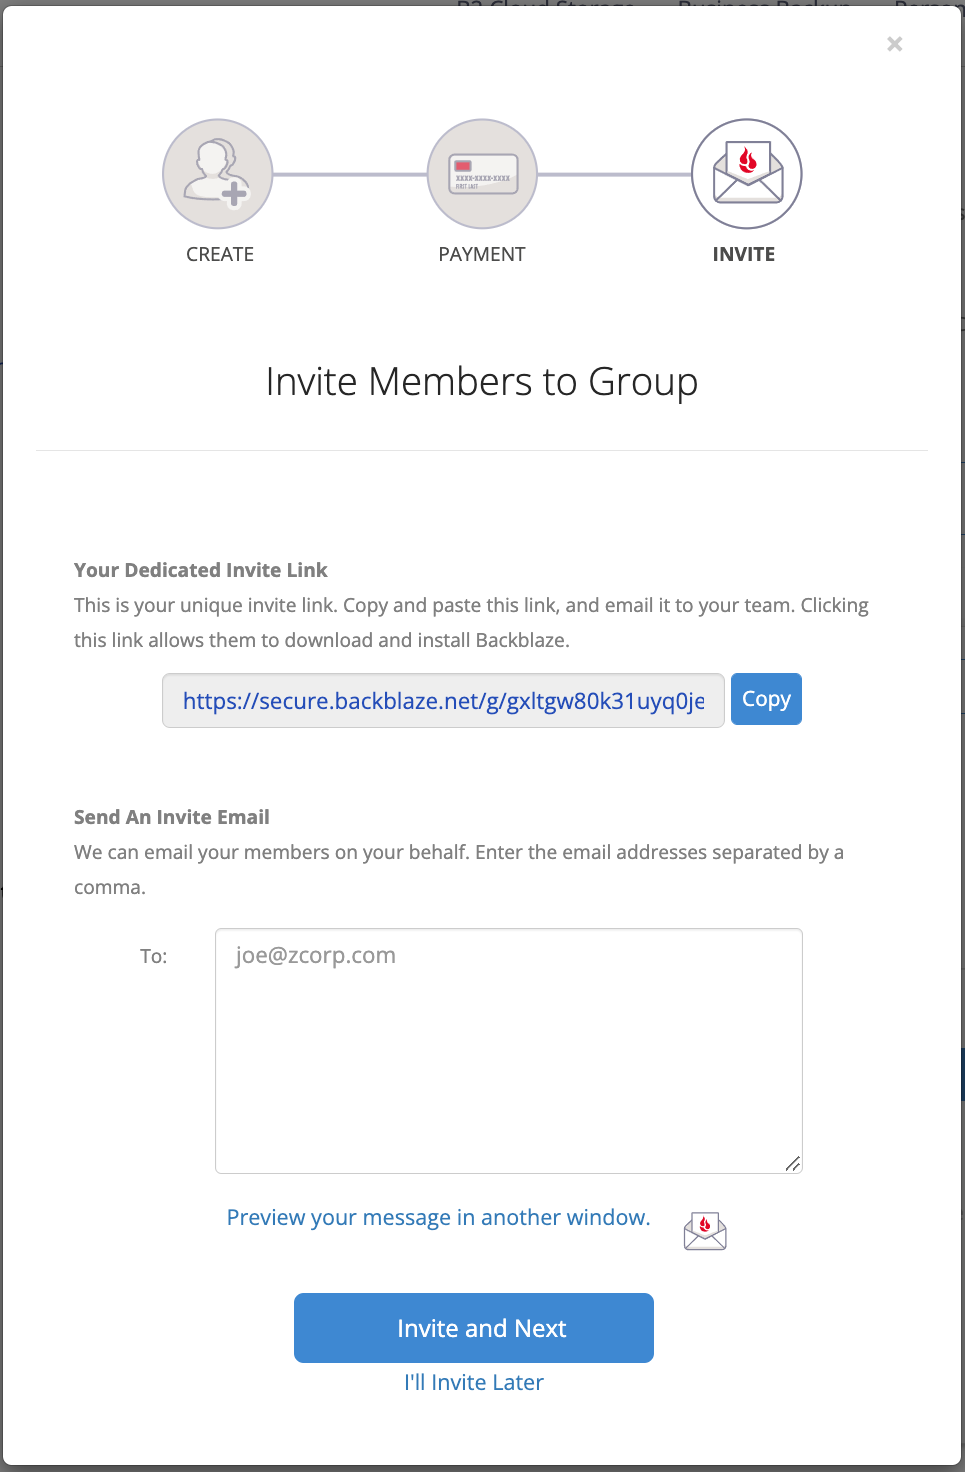
Invite Your Members: The last step in creating your Group is to invite your members.
You may enter email addresses into the box provided and Backblaze will send an email invitation, which you can preview on this screen. Alternatively, you can copy the Group's unique invitation link and distribute it in any way that you find appropriate. Please visit our Adding Members to a Group FAQ for more information on different invitation methods.
Click 'Invite & Next' or 'I'll Invite Later' to finish creating your Group.
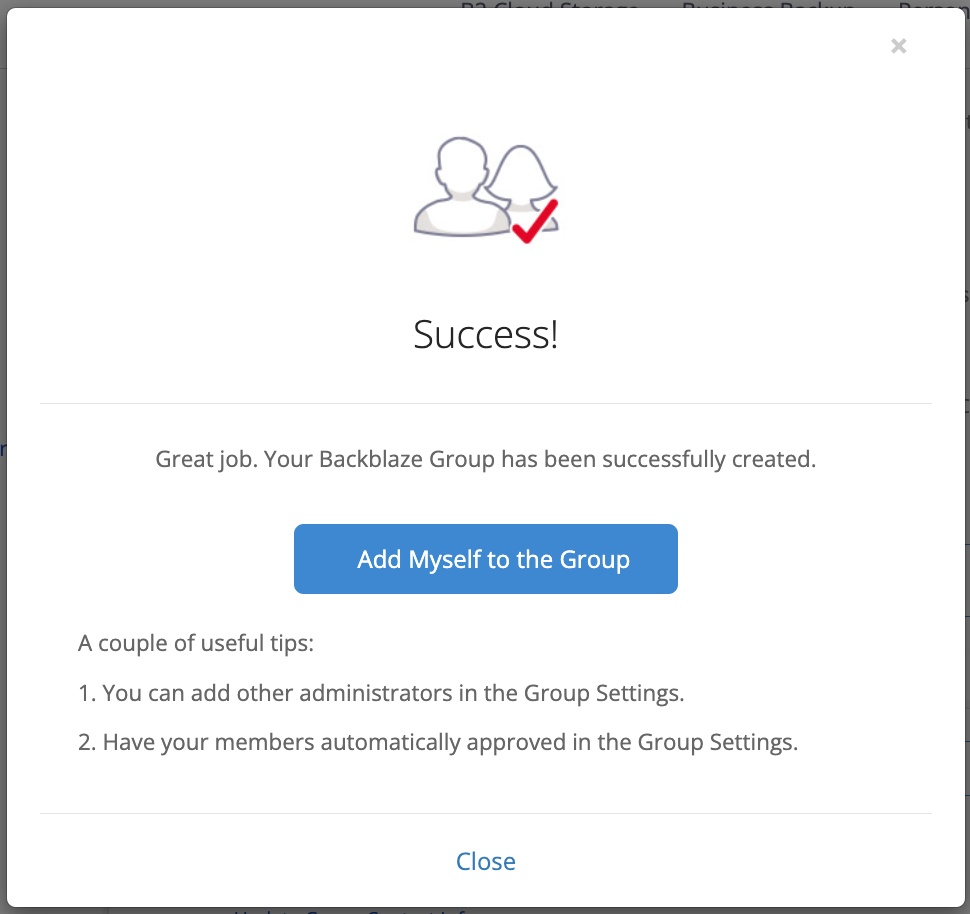
If you do not already belong to a group you will be given the option to join the group you have just created at this point.
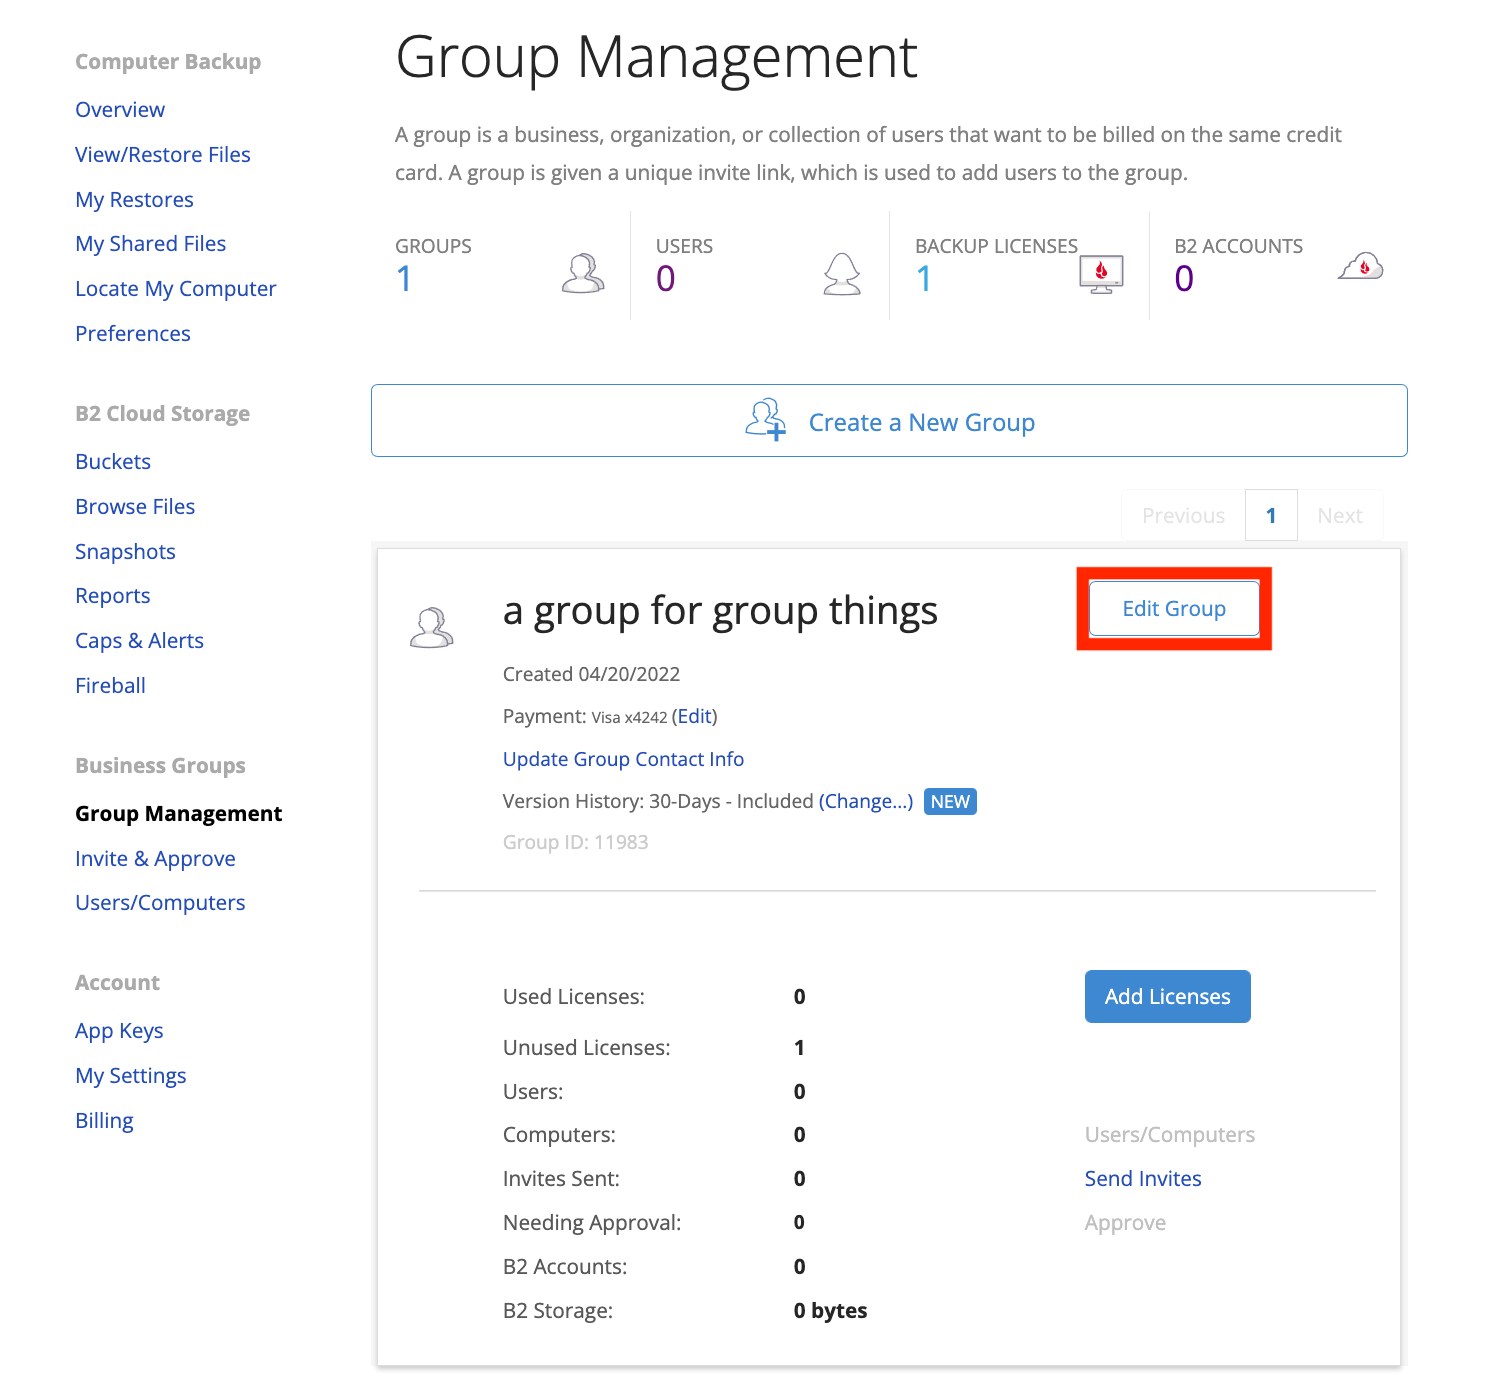
You will now see your newly created Group displayed on the Group Management page.
Editing Your Group
You can click on the Edit Group button at any time to edit information, settings, and add additional administrators.

Group Settings:
Admins:
Administrators have equal rights and can change group settings, and add/remove other administrators.
Group Single Sign-On (SSO):
Backblaze currently allows users in the following authentication domains to use single sign-on:
- Google GSuite
- Microsoft Office 365
SSO credentials that works with the providers above can also enable access to Backblaze. For more information about using SSO with Backblaze, please visit our SSO FAQ.
Automatically Accepted Domains:
Add domains (coolcorp.com, rad.biz, smart.edu, etc…) to this section if you would like to automatically allow emails within that domain to join your Group without needing Administrator approval.
Automatic Approval Policy:
Enabling this setting will allow anyone from any domain to be automatically accepted into this Group. Administrators can remove Group members at any time.
Member Backup Summary Emails:
Backblaze automatically sends each user a weekly or monthly summary of their backup. You may choose to disable this feature and members will not receive email backup summaries.
Emails to Group Administrators:
Backblaze automatically sends a weekly or monthly backup summary of all backups in their Group. You can choose to have the User Stats CSV report attached to this automatic email. Please note, this report can be accessed and downloaded any time by visiting the Users/Computers page.
A walk-through video on all of the above is available on YouTube here.
For help with other modifications to a user's accounts, or actions that be taken as admin, please refer to our guide: Administrating a Group Account
Articles in this section
- How to Disable Groups on an Account
- How to add services to a group
- Backblaze Business Associate Agreement (BAA)
- Licenses and Groups
- Locating your Group's Administrator from your backblaze account
- Which Users Have Granted Backblaze Full Disk Access?
- Deleting a Backup for a Managed User
- Enabling Groups on Your Backblaze for Business Account
- Enabling Groups on an Existing Account
- Dissolving a Group
