
Introduction
Vultr, our new compute partner, unlocks a whole new world of possibilities when it comes to integrating B2 into your technical stack. Through this partnership, developers can now take advantage of no egress fees moving data from Backblaze B2 to Vultr, and no egress overage charges between our clouds. This guide will go over the simple steps required to enable this relationship.
This guide assumes you already have a Backblaze B2 account. If not, create one with this link to get your first 10GB stored free!
New Vultr Customers
1. Use this link to access the Vultr website
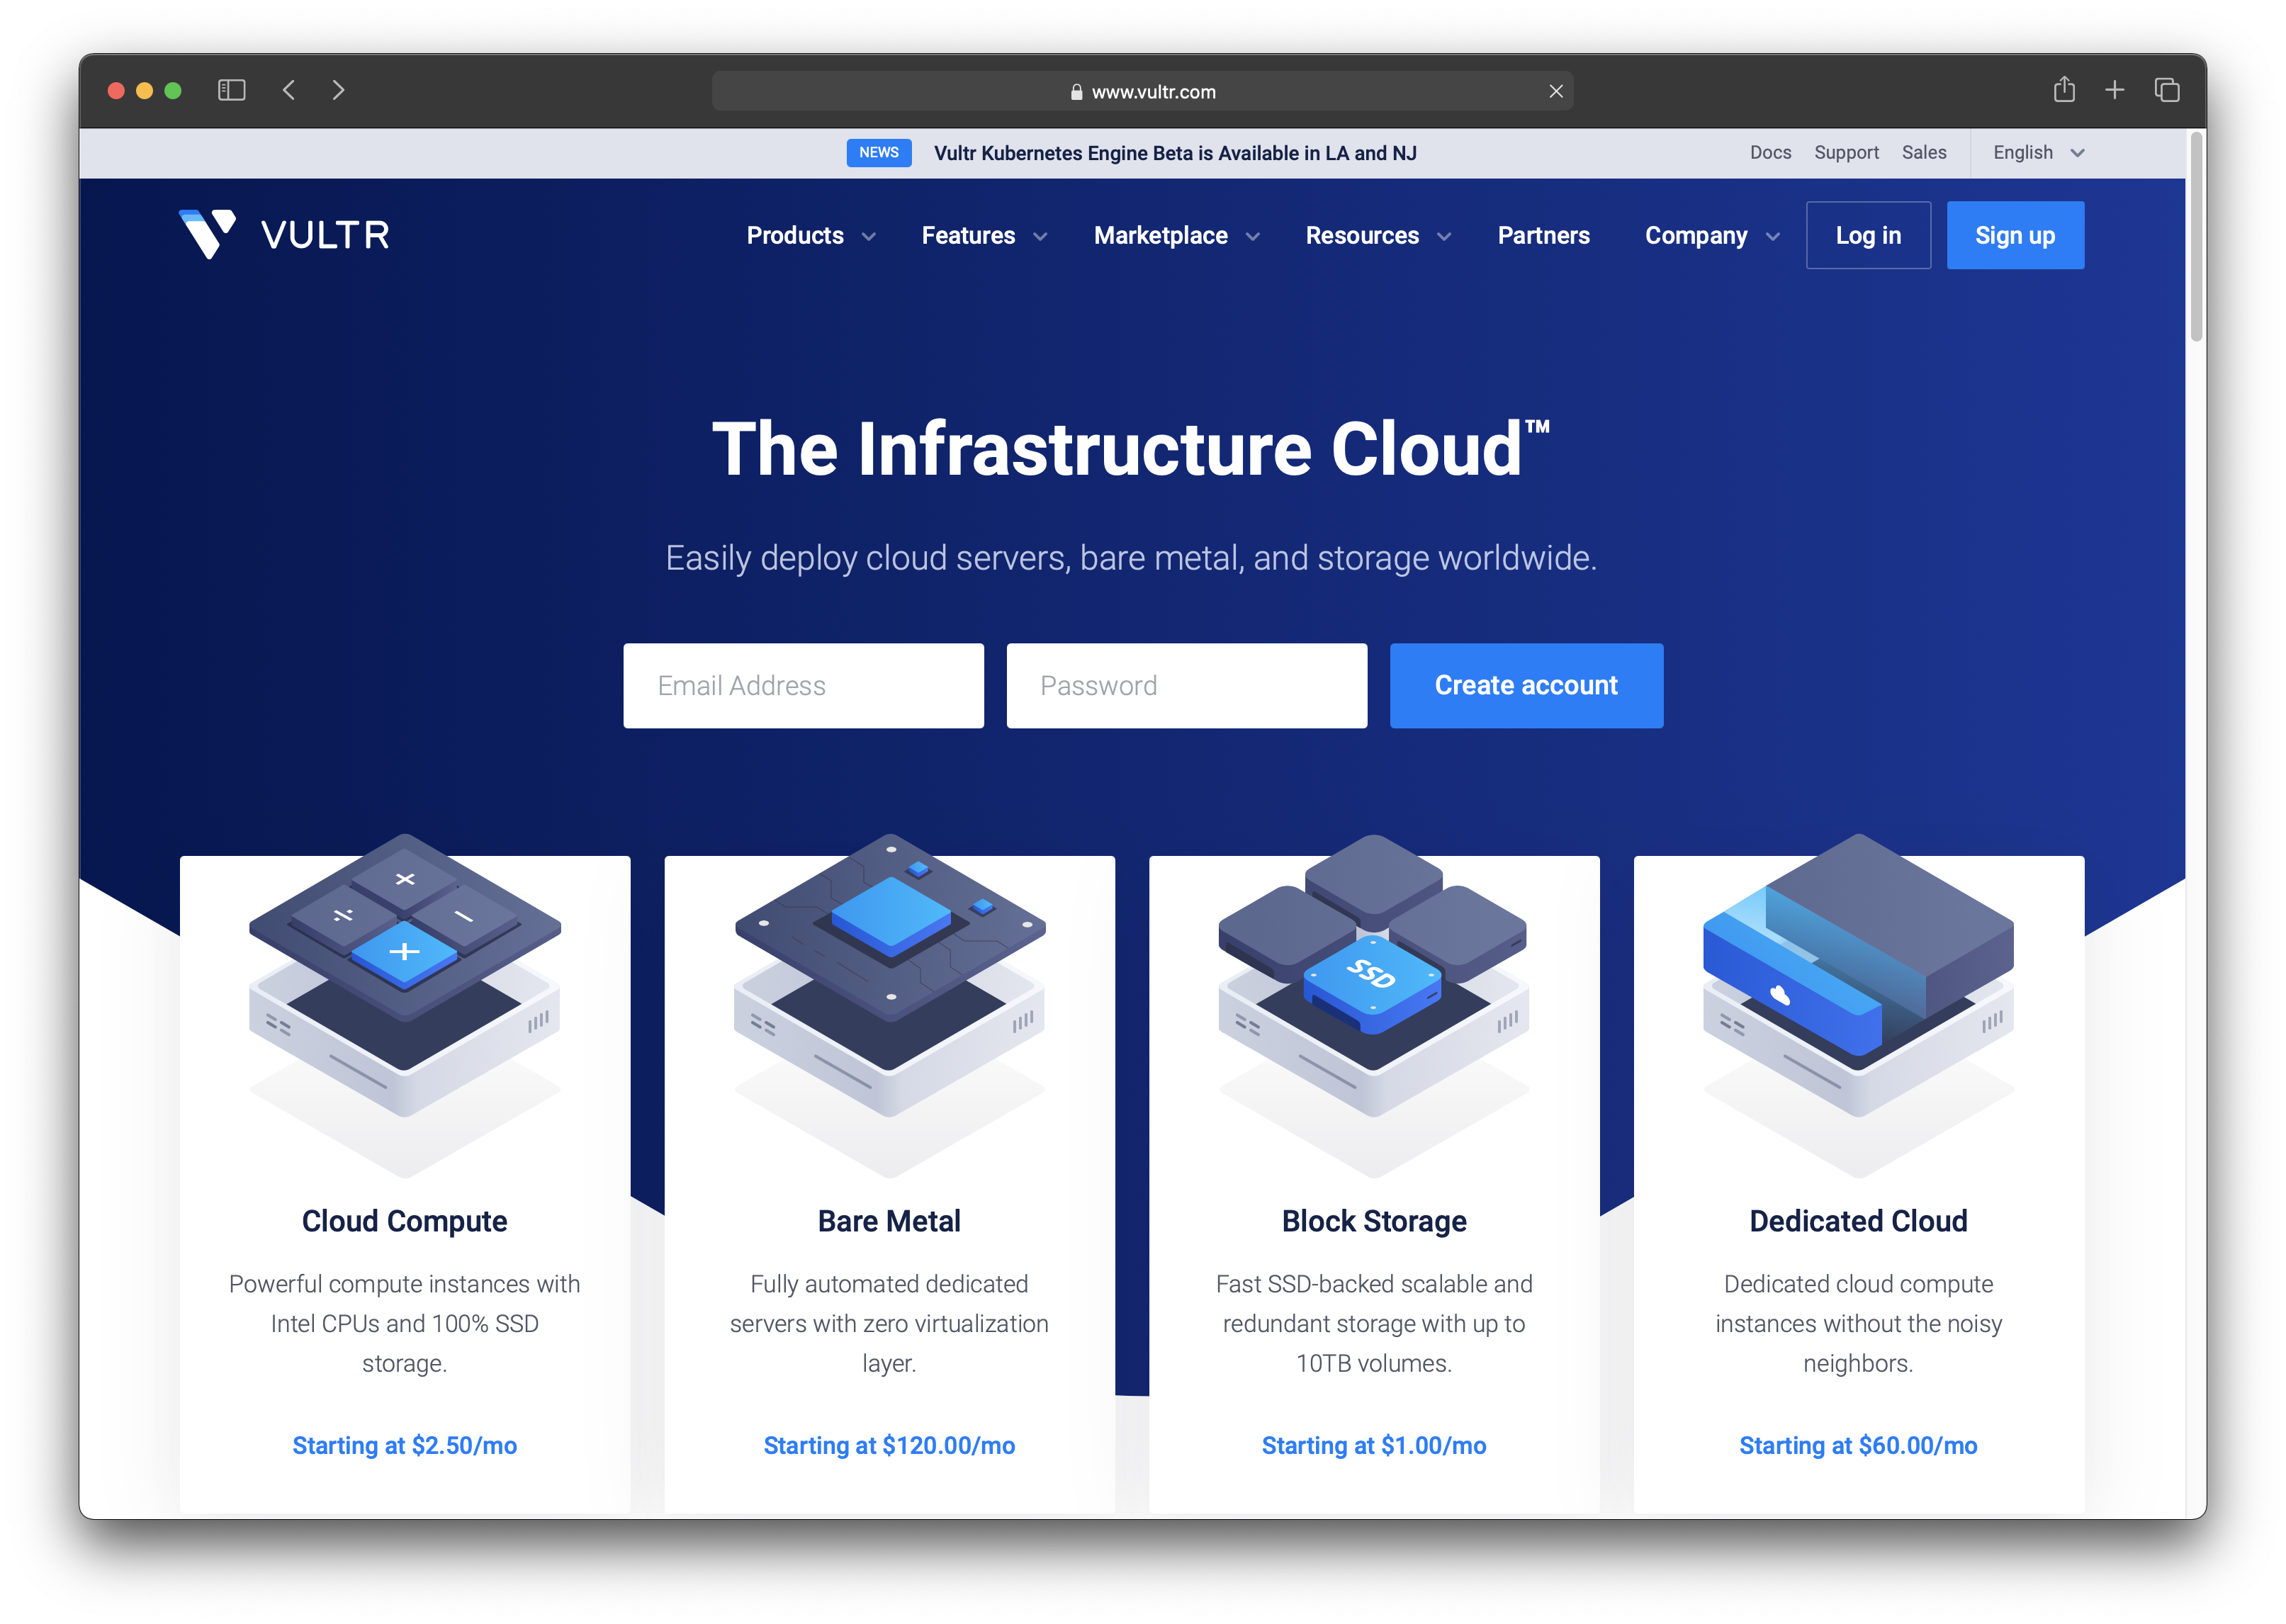
2. Select Sign Up at the top right of the website and create an account with a valid email address
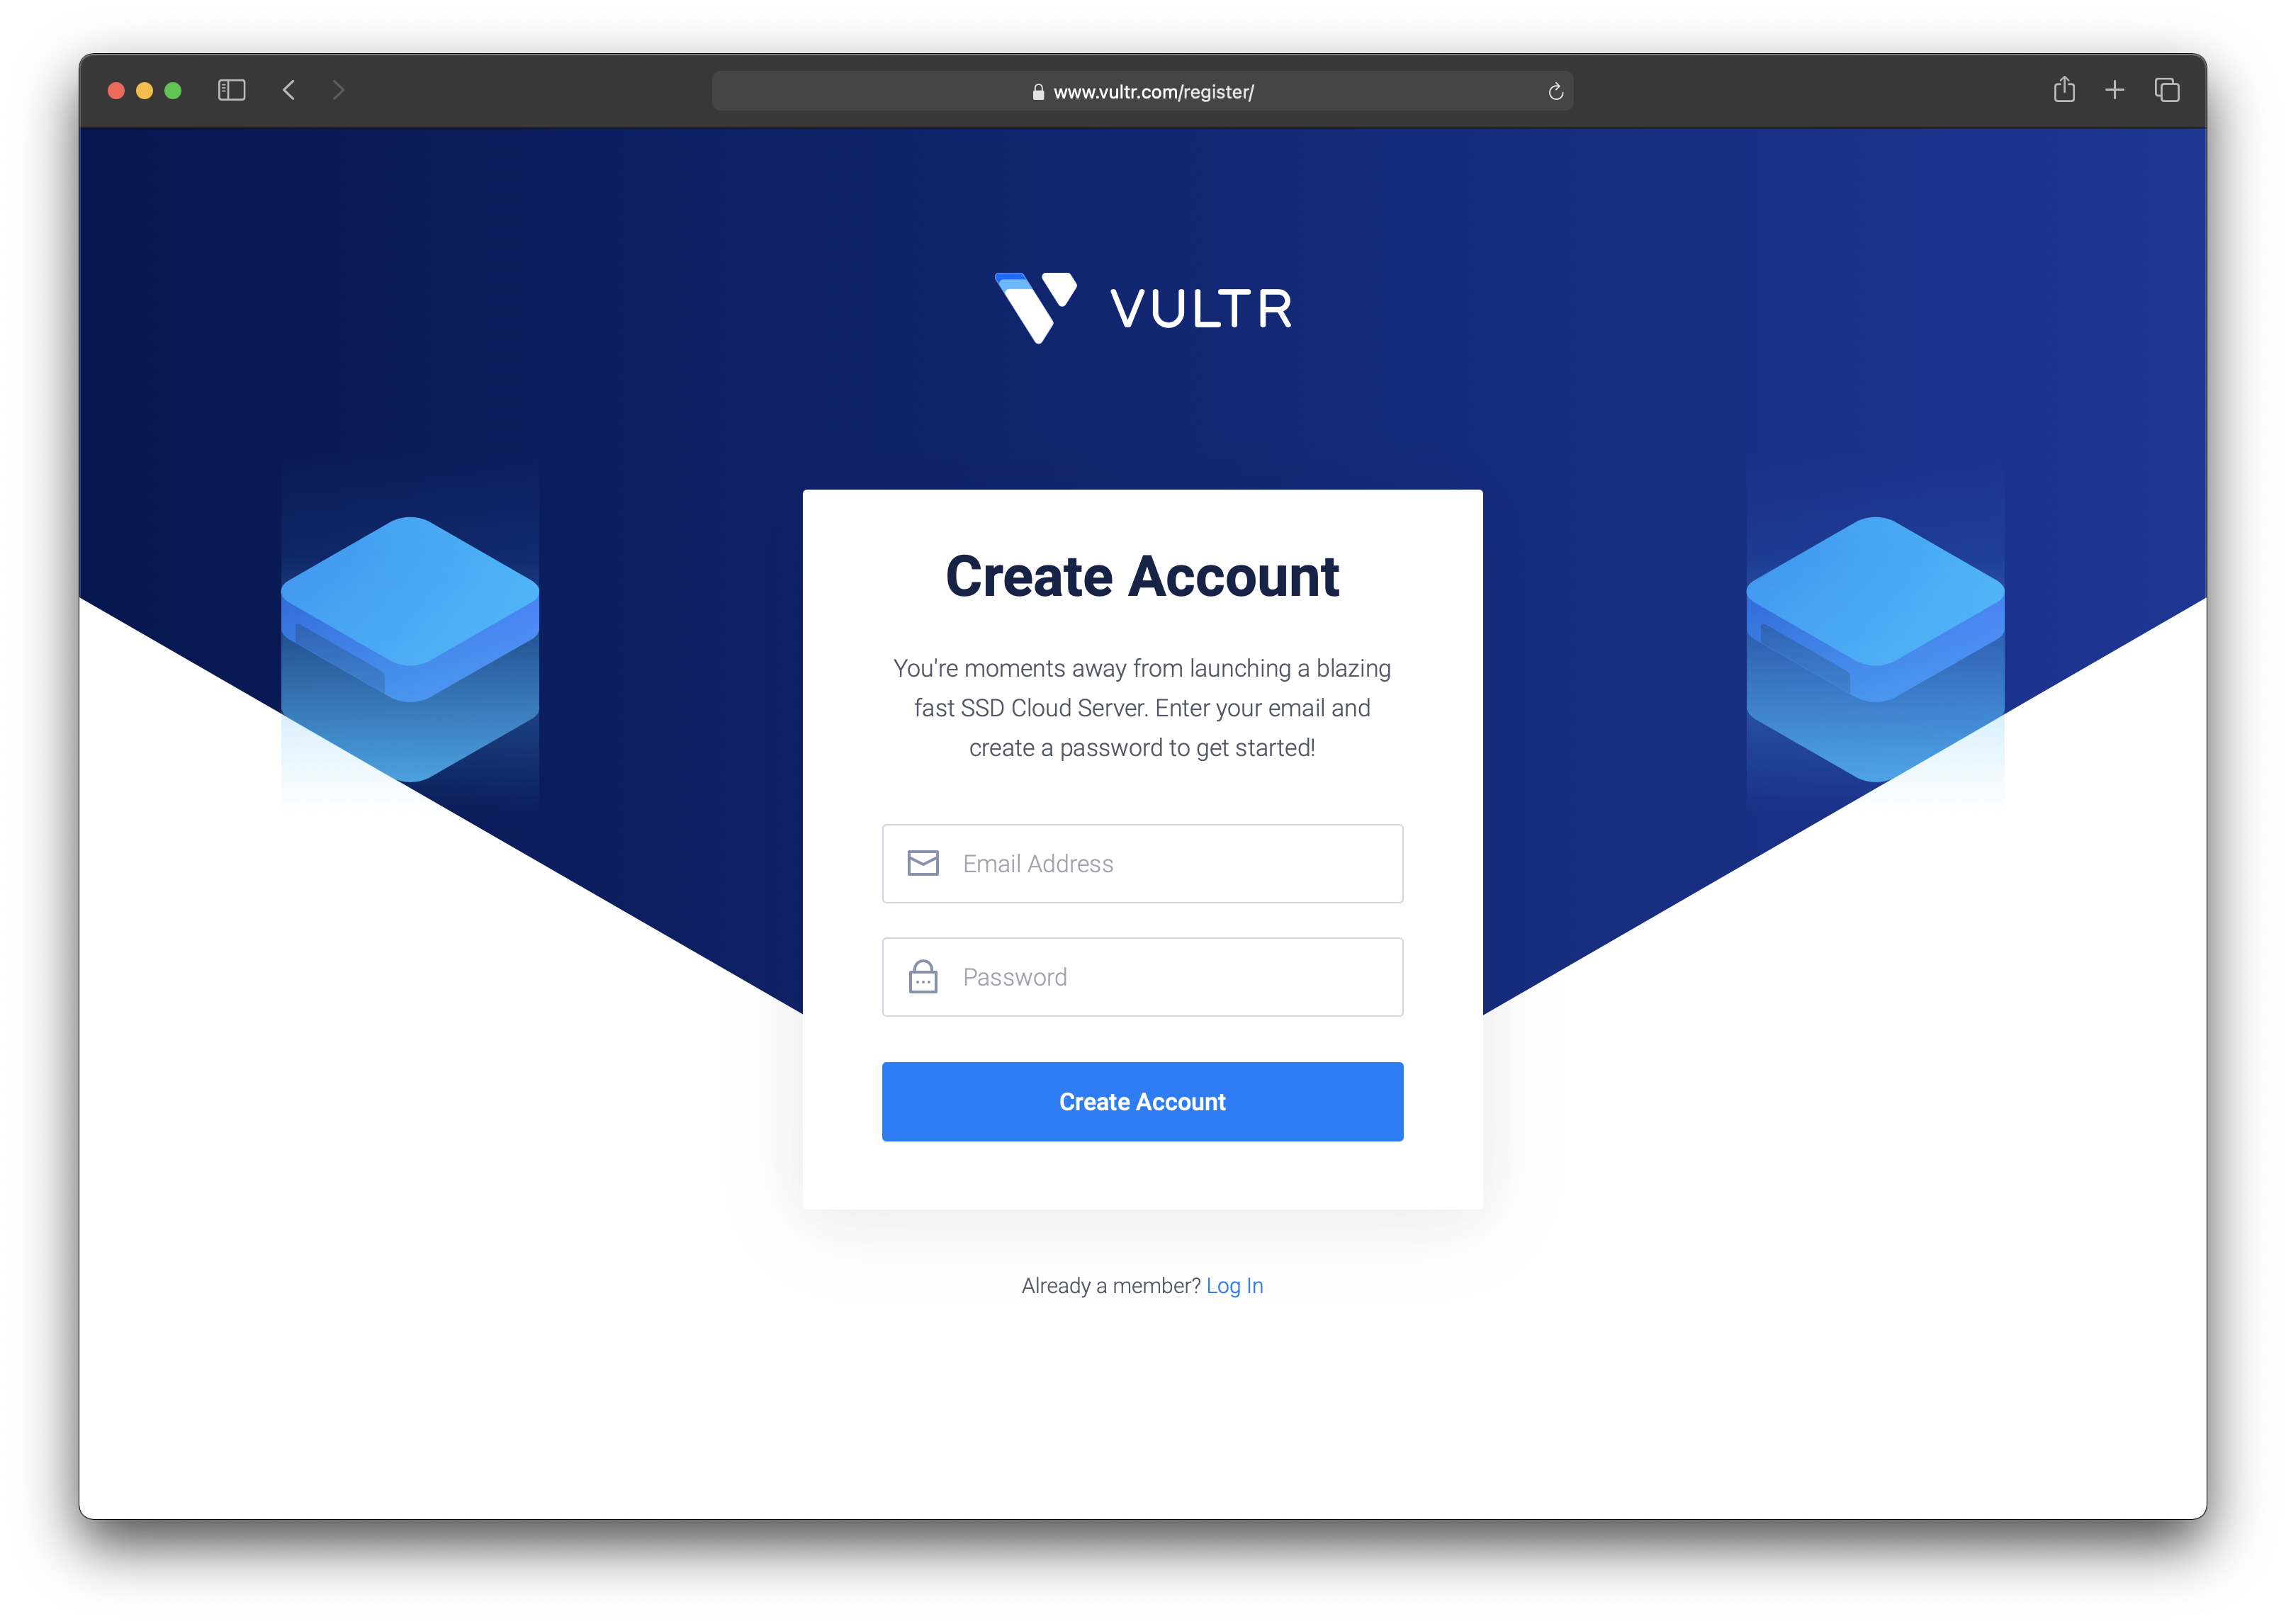
That's it! Creating a Vultr account using these steps will enable free egress to and from B2. Reading/Writing B2 data from any compute node created by this account will fall under this agreement automatically.
Existing Vultr Customers
If you do not have a B2 account create one with this link. No further configuration is needed on the B2 side, we will automatically whitelist data moving to Vultr.
There are no additional steps you will need to take on your Vultr side. Egress to Backblaze B2 will be free automatically.
Articles in this section
- How to Upload Files to B2 Using Fireball
- How to find Unfinished Large Files in your account
- B2 Mobile App Overview - iOS
- B2 Mobile App Overview - Android
- Getting Started with Instant Recovery in Any Cloud - DR Planning with Veeam and phoenixNAP
- How to setup Vultr Compute with Backblaze B2
- B2 & AWS CLI User Guide
- Guide to using Backblaze Fireball with Iconik Internet Storage Gateway (ISG)
- How to order a Snapshot Drive
- Why do I need to verify my email address to create a public bucket?