To take advantage of the Business Backup administrative console, complete with consolidated billing and reporting, you must enable Business Groups. You can easily create a Backblaze account with Business Groups enabled by following the below steps.
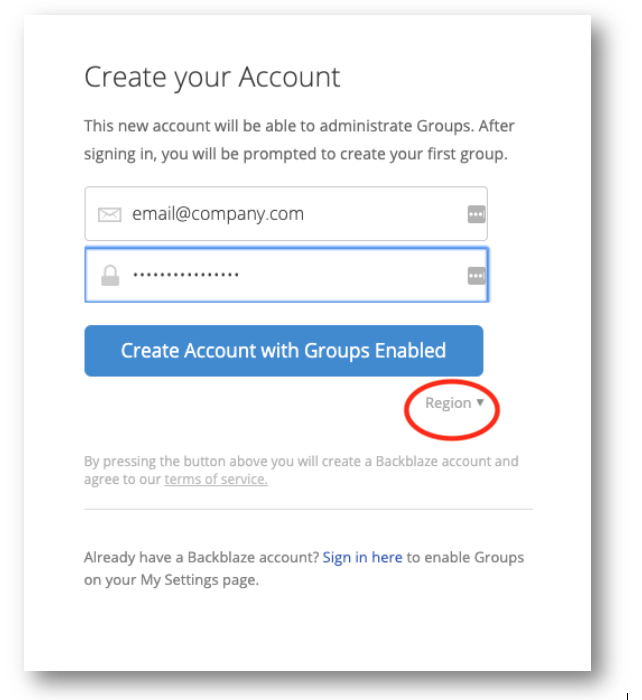
1. Visit https://www.backblaze.com/business-groups-create.html to create your Backblaze account and enter your email address and desired password. Please note: This account will be the administrator for any Group that is created under it. While additional admins can be added at any time, it might be beneficial to create an admin account with generic login information, such as backblazeadmin@company.com, in the event that there are changes in your IT team. You will need to verify this email address during this process, so it must be a real address that can receive mail and is not already associated with an existing Backblaze account.
You can also pick which region you would like your data stored in, EU Central , US West, or US East. This cannot be changed later.
Click Create Account with Groups Enabled.
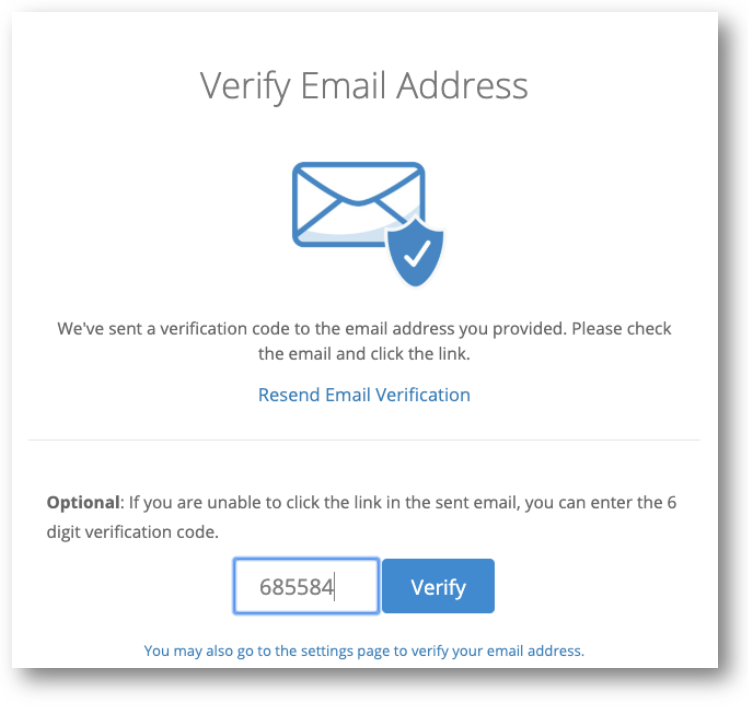
2. Next, you will be asked to verify the email address you used to create the account. A 6 digit verification code will immediately be sent to you via email. Copy the code and enter it into the box provided and click Verify.
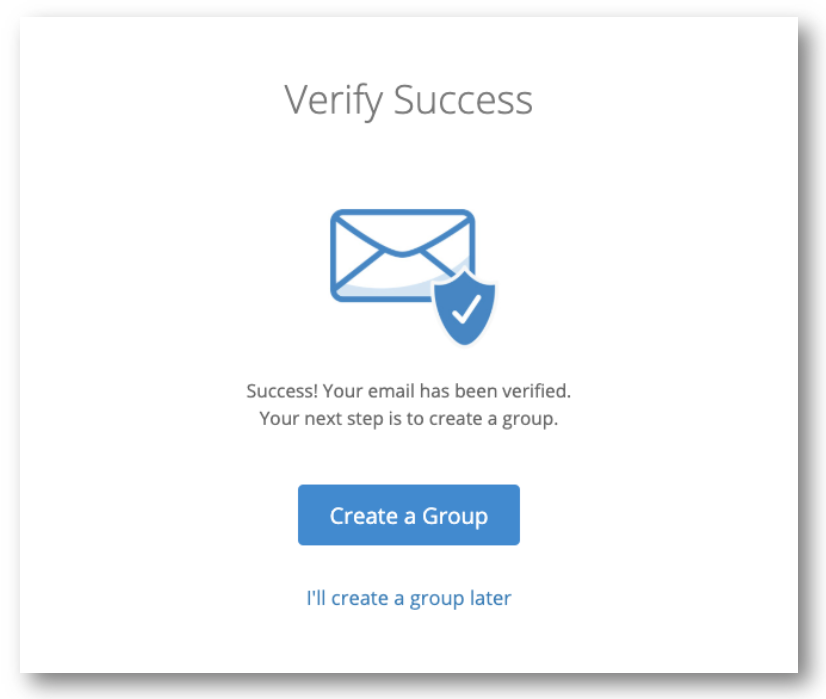
3. If the verification was successful, you will be presented with a success message and the option to create a Group. If you decide to click on Create a Group a Group Wizard will walk you through the setup process.