
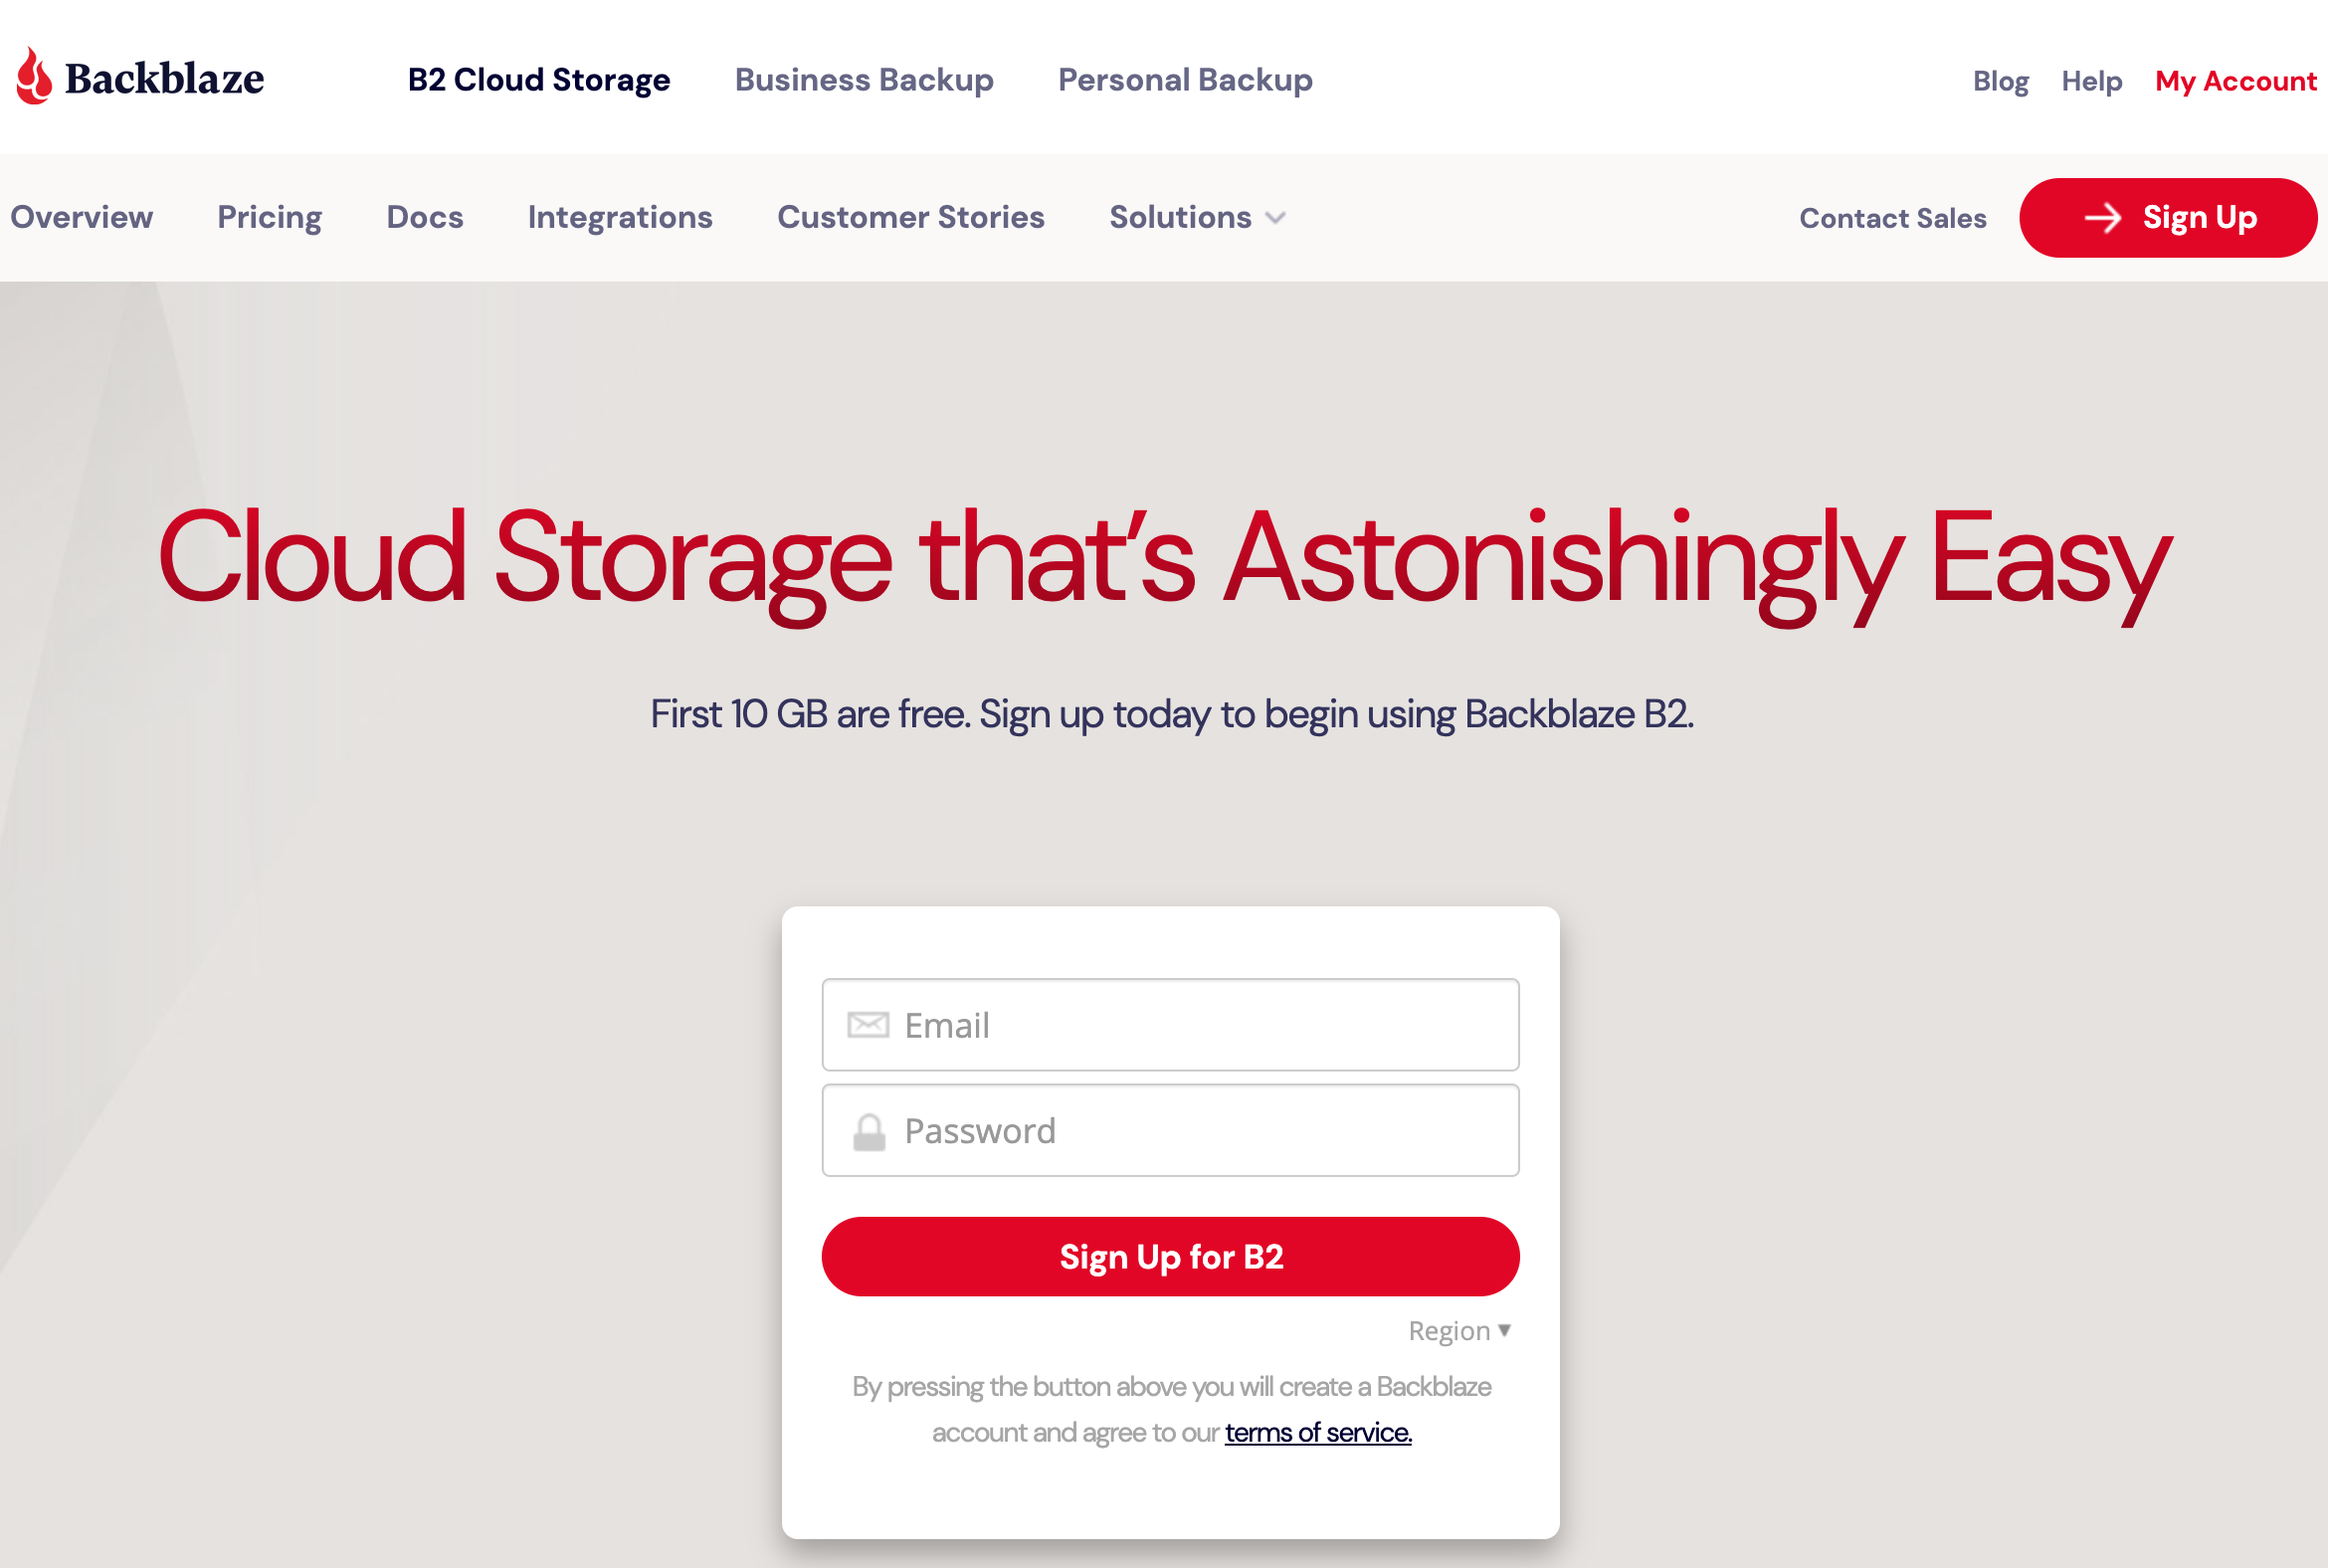
If you do not already have a B2 account, begin by creating one. To do so, navigate to https://www.backblaze.com/b2/sign-up.html and enter your email and password to create the account.
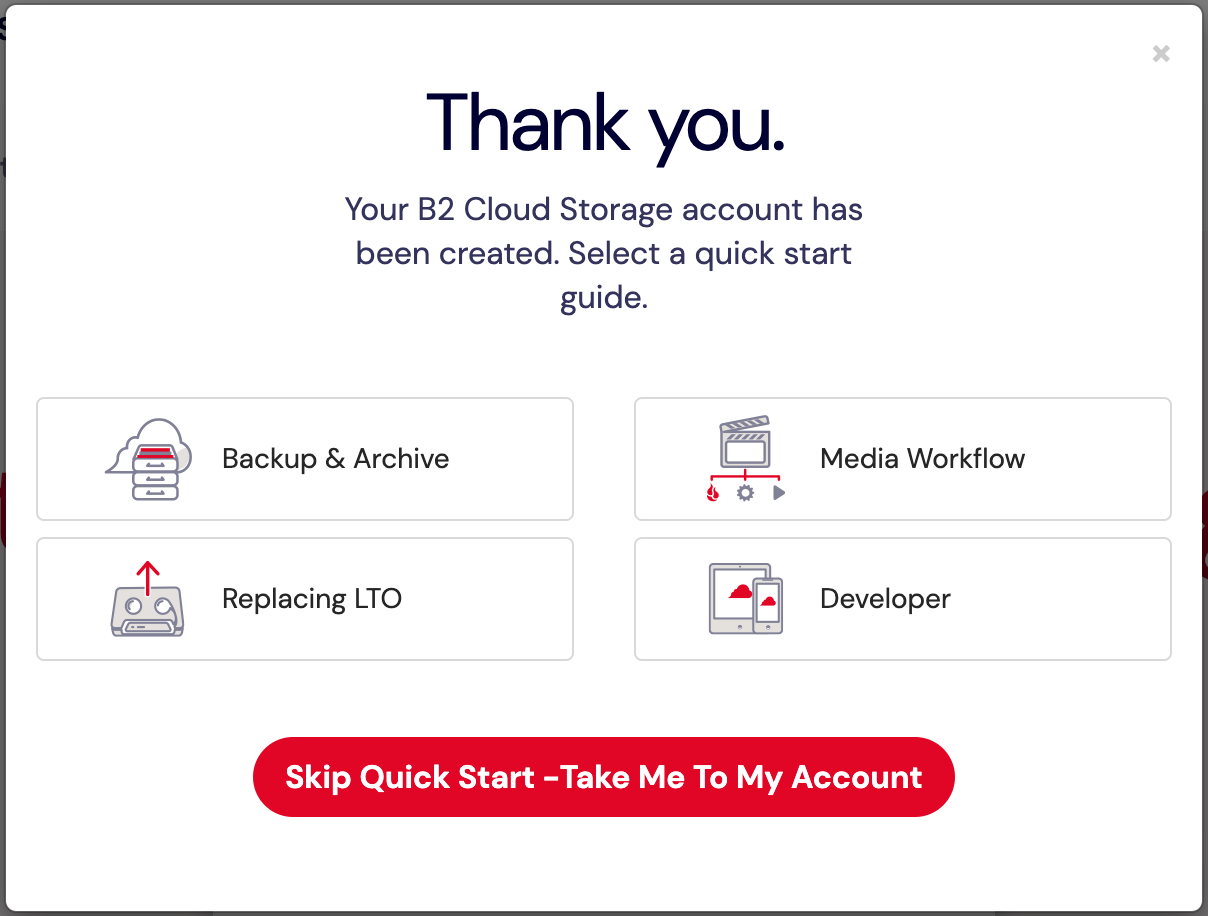
After entering your desired email and password you will be presented with the B2 Quickstart popup. You can either select one of the topics shown in the popup for more information, or you can click "Skip Quick Start- Take Me To My Account" to immediately begin using your new account.
If you already have a Backblaze account, but only have Personal Backup enabled on it, you can enable B2 Cloud Storage on your account through the "My Settings" page in your account. When activating B2 on your account in this way, you will be prompted to enter a phone number that must be verified via SMS. Being able to receive SMS messages is required in order to use B2.

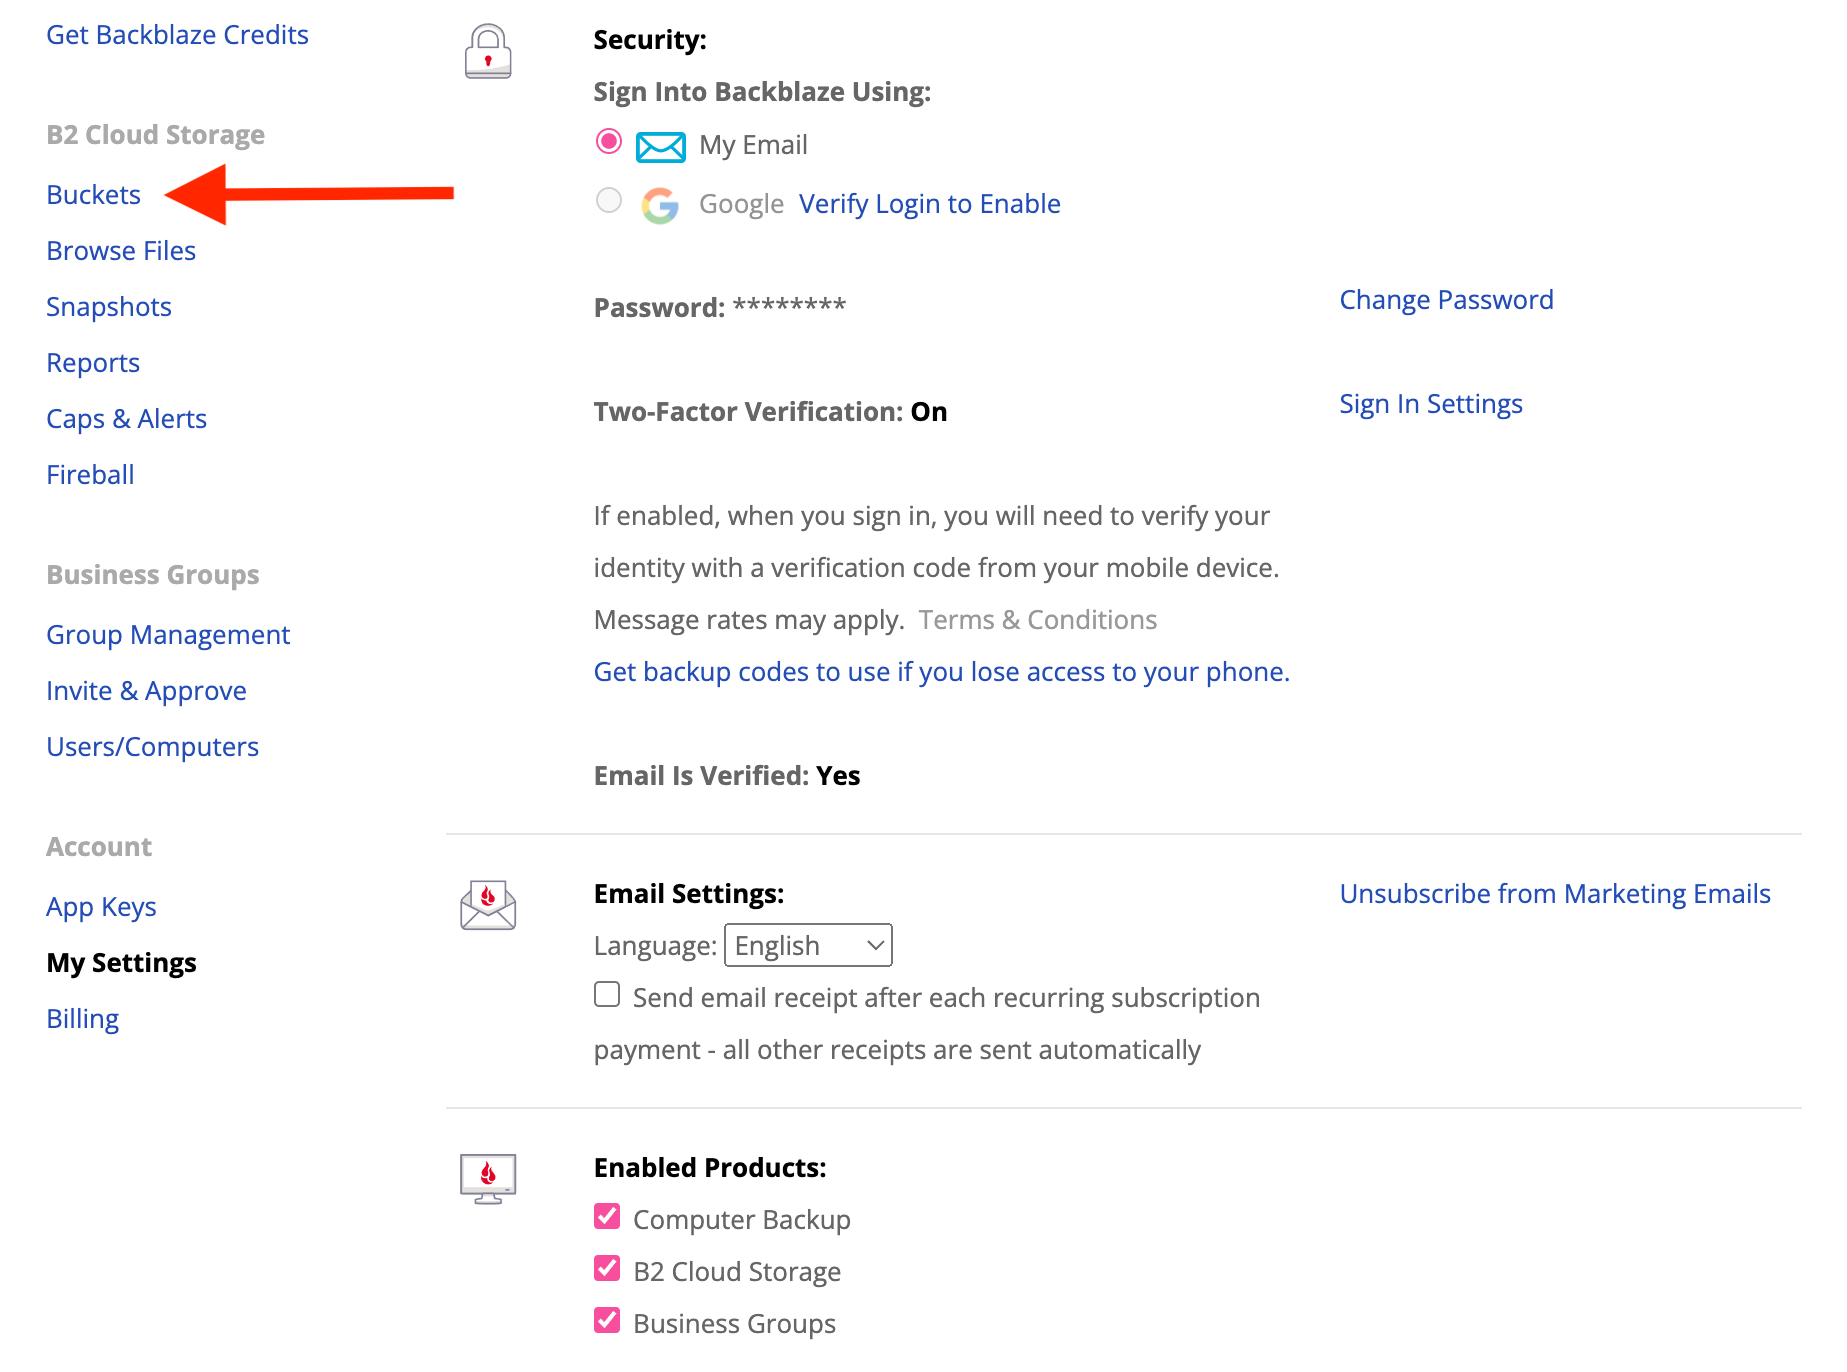
To create a B2 bucket and upload a file to it, once the account is created, or B2 is enabled on your account, navigate to the page labeled "Buckets"
On the "Buckets" page you will see the option to "Create a Bucket"
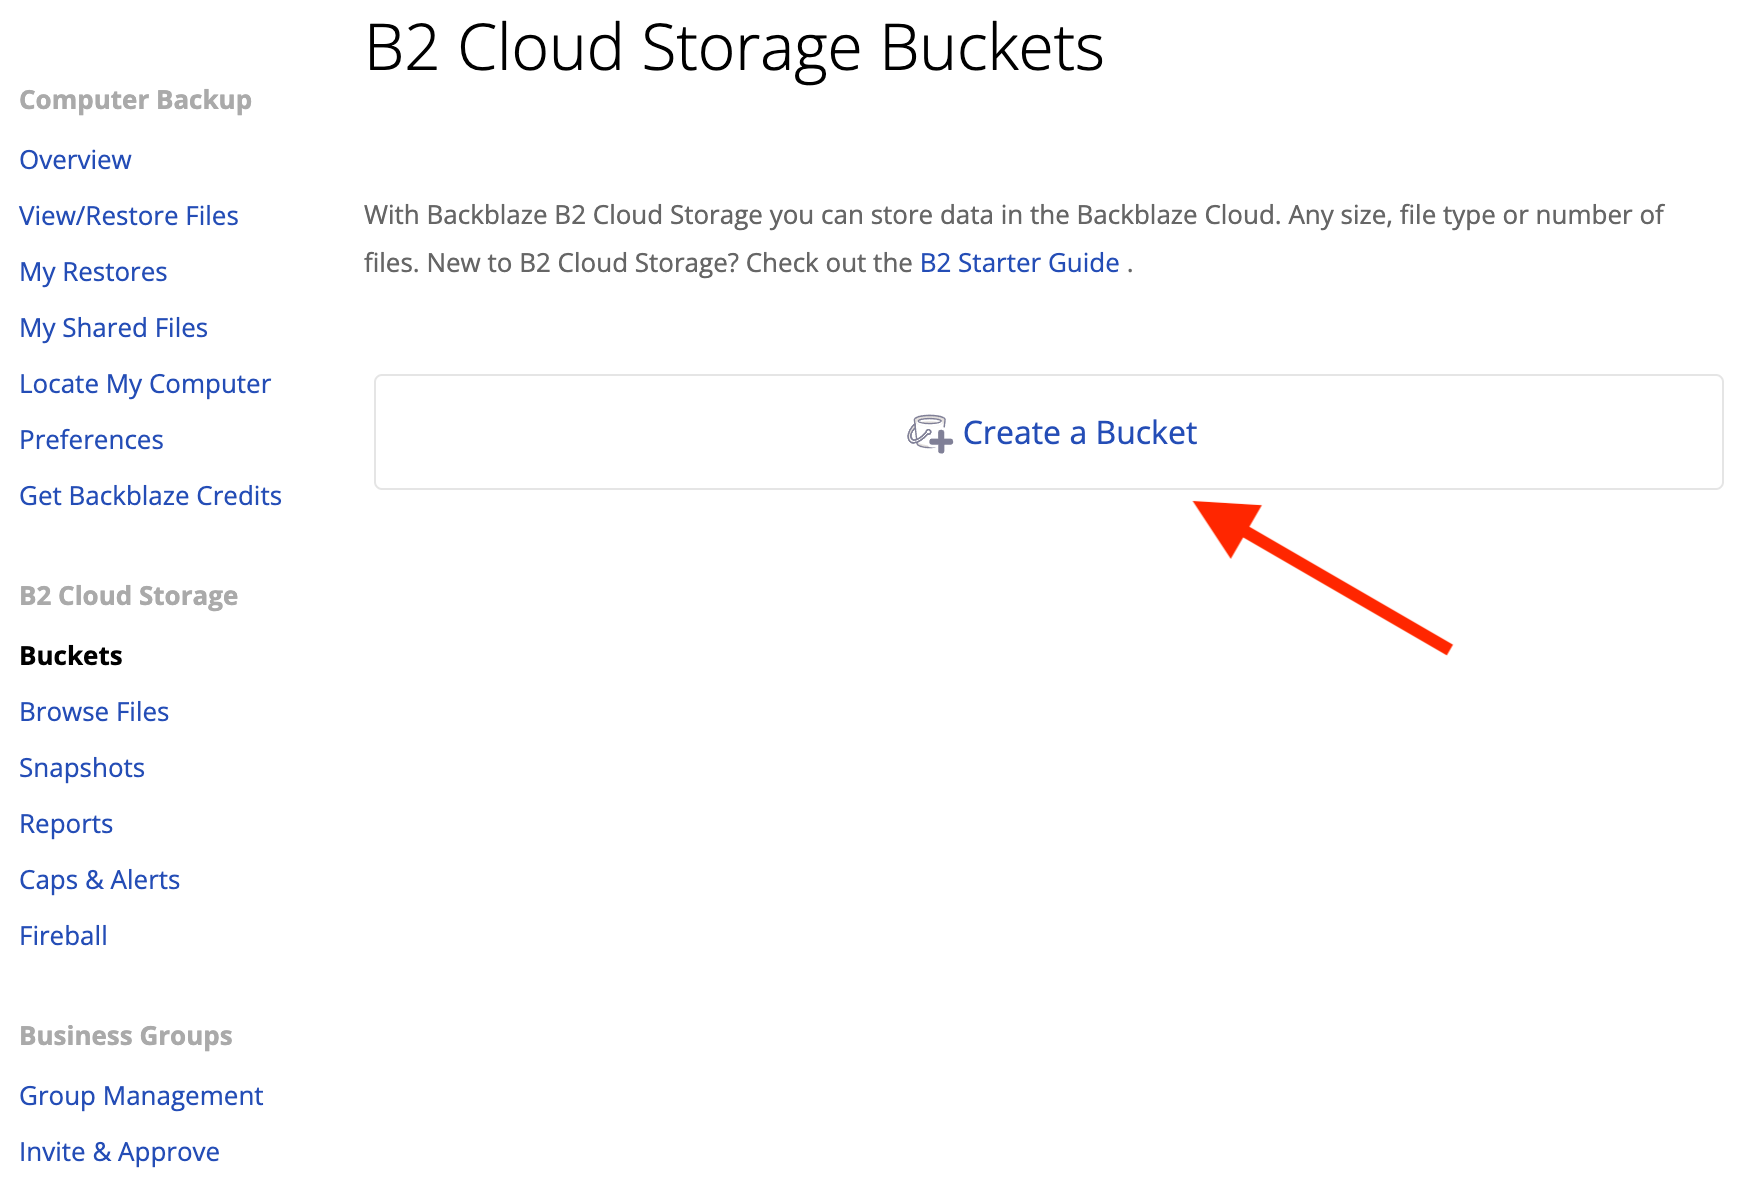
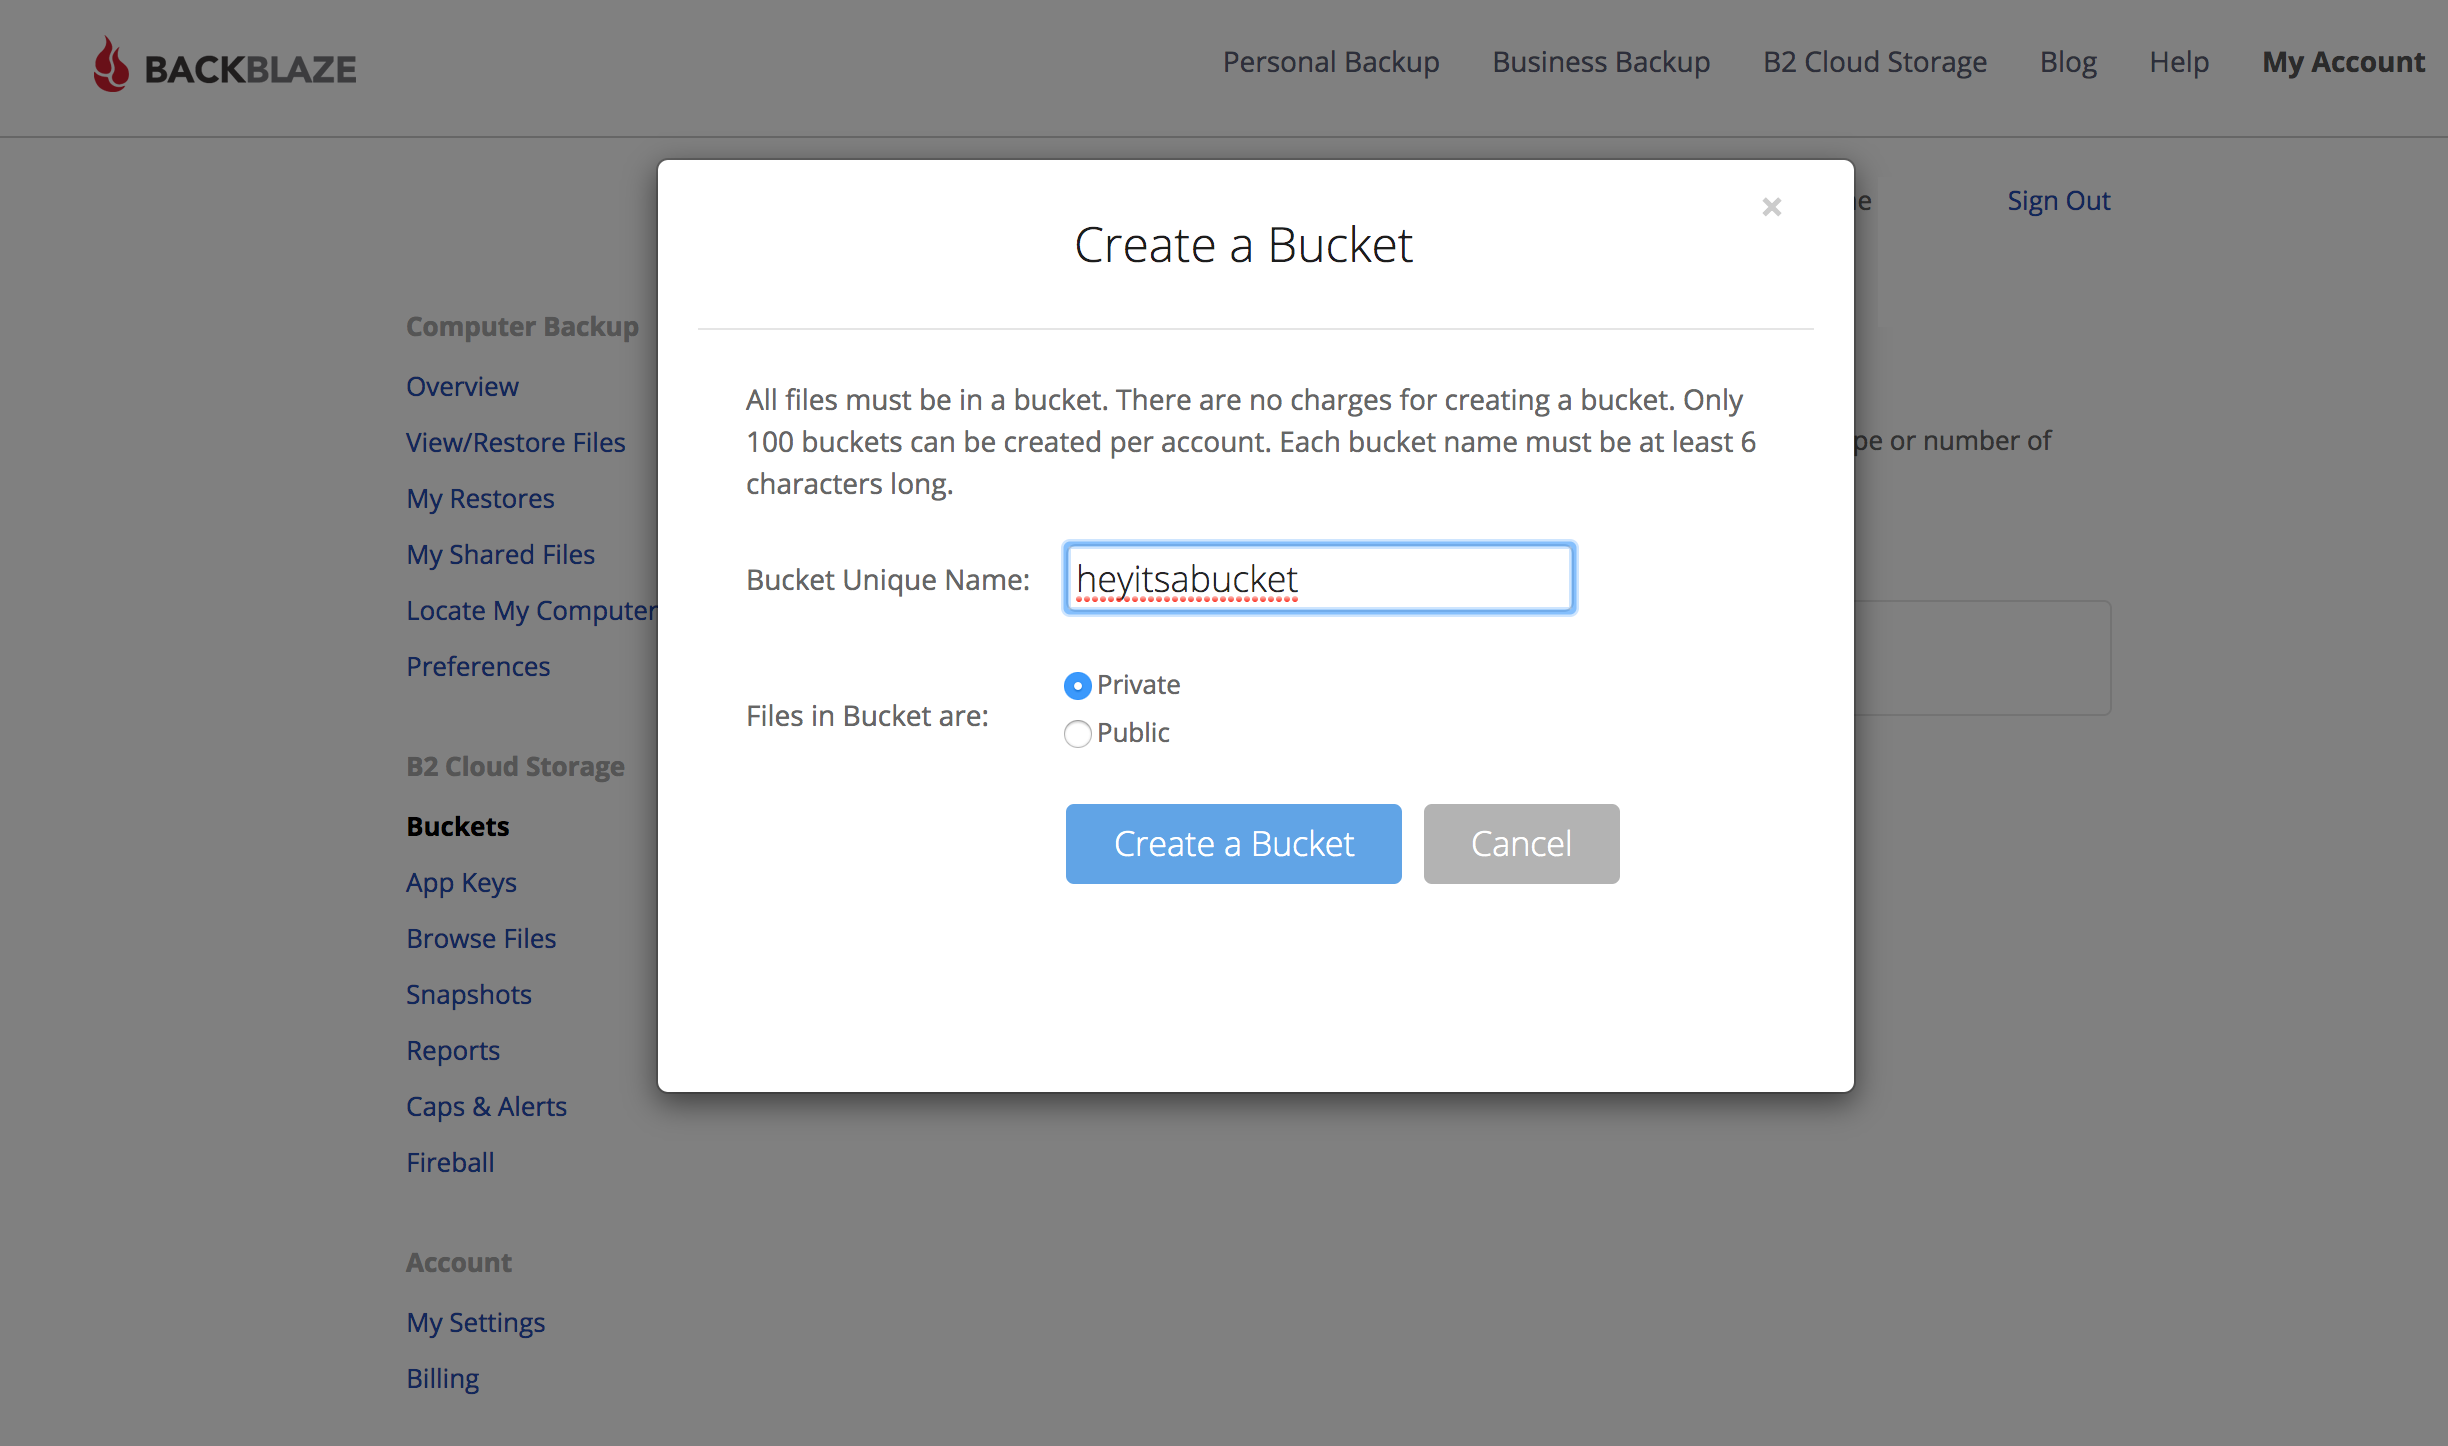
When you select "Create a Bucket" you will be prompted to name it. The name you choose must be globally unique, meaning it cannot be a name already in use by any other Backblaze user. Once you have named your bucket, click the button labeled "Create a Bucket".
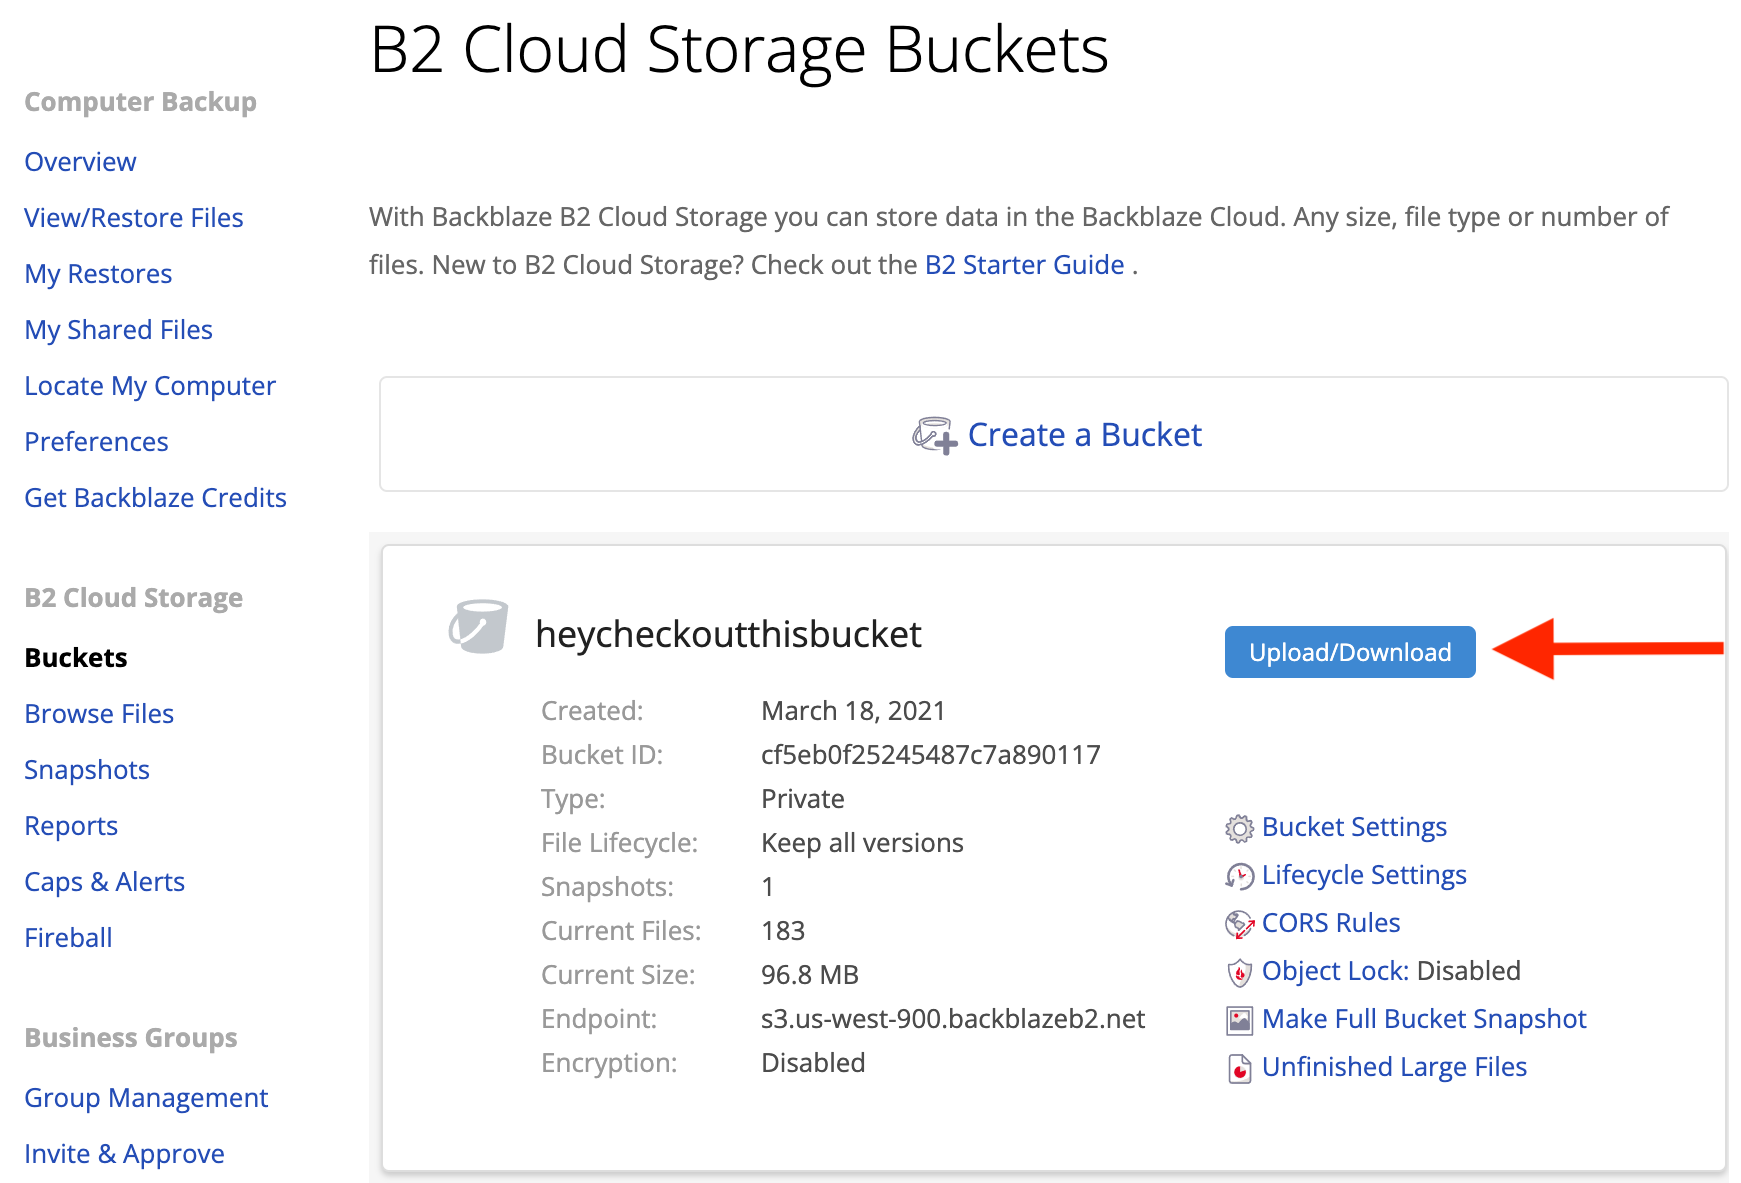
The bucket you just made will now appear on your "Buckets" page. You will also see a button next to the bucket you just created labelled "Upload/Download" . Click this to upload a file via the web interface.
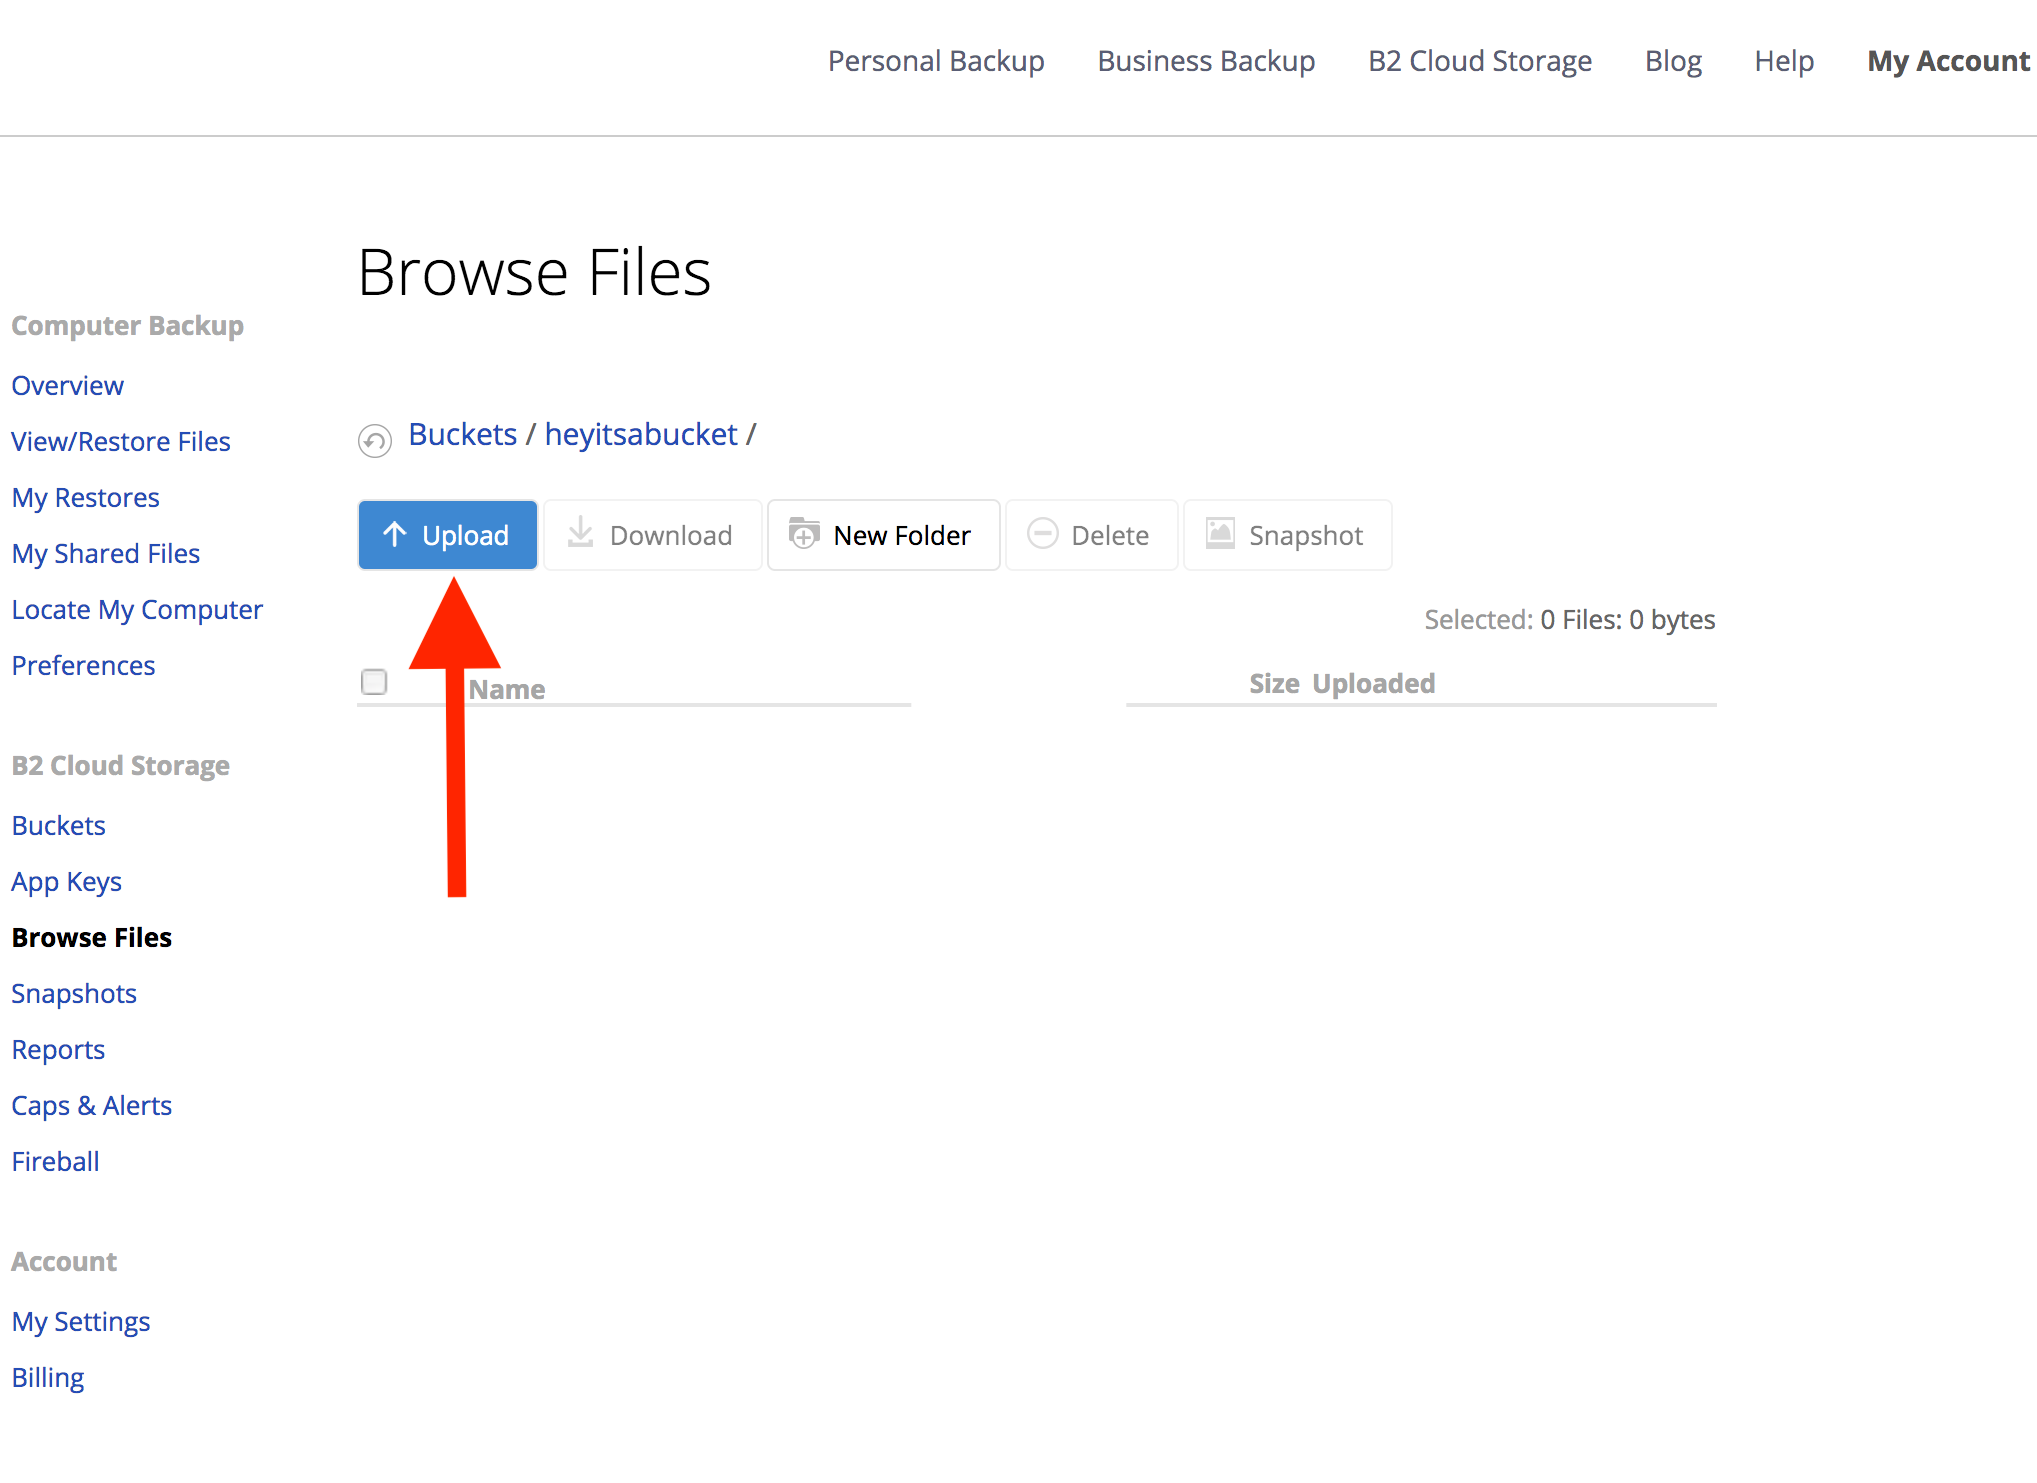
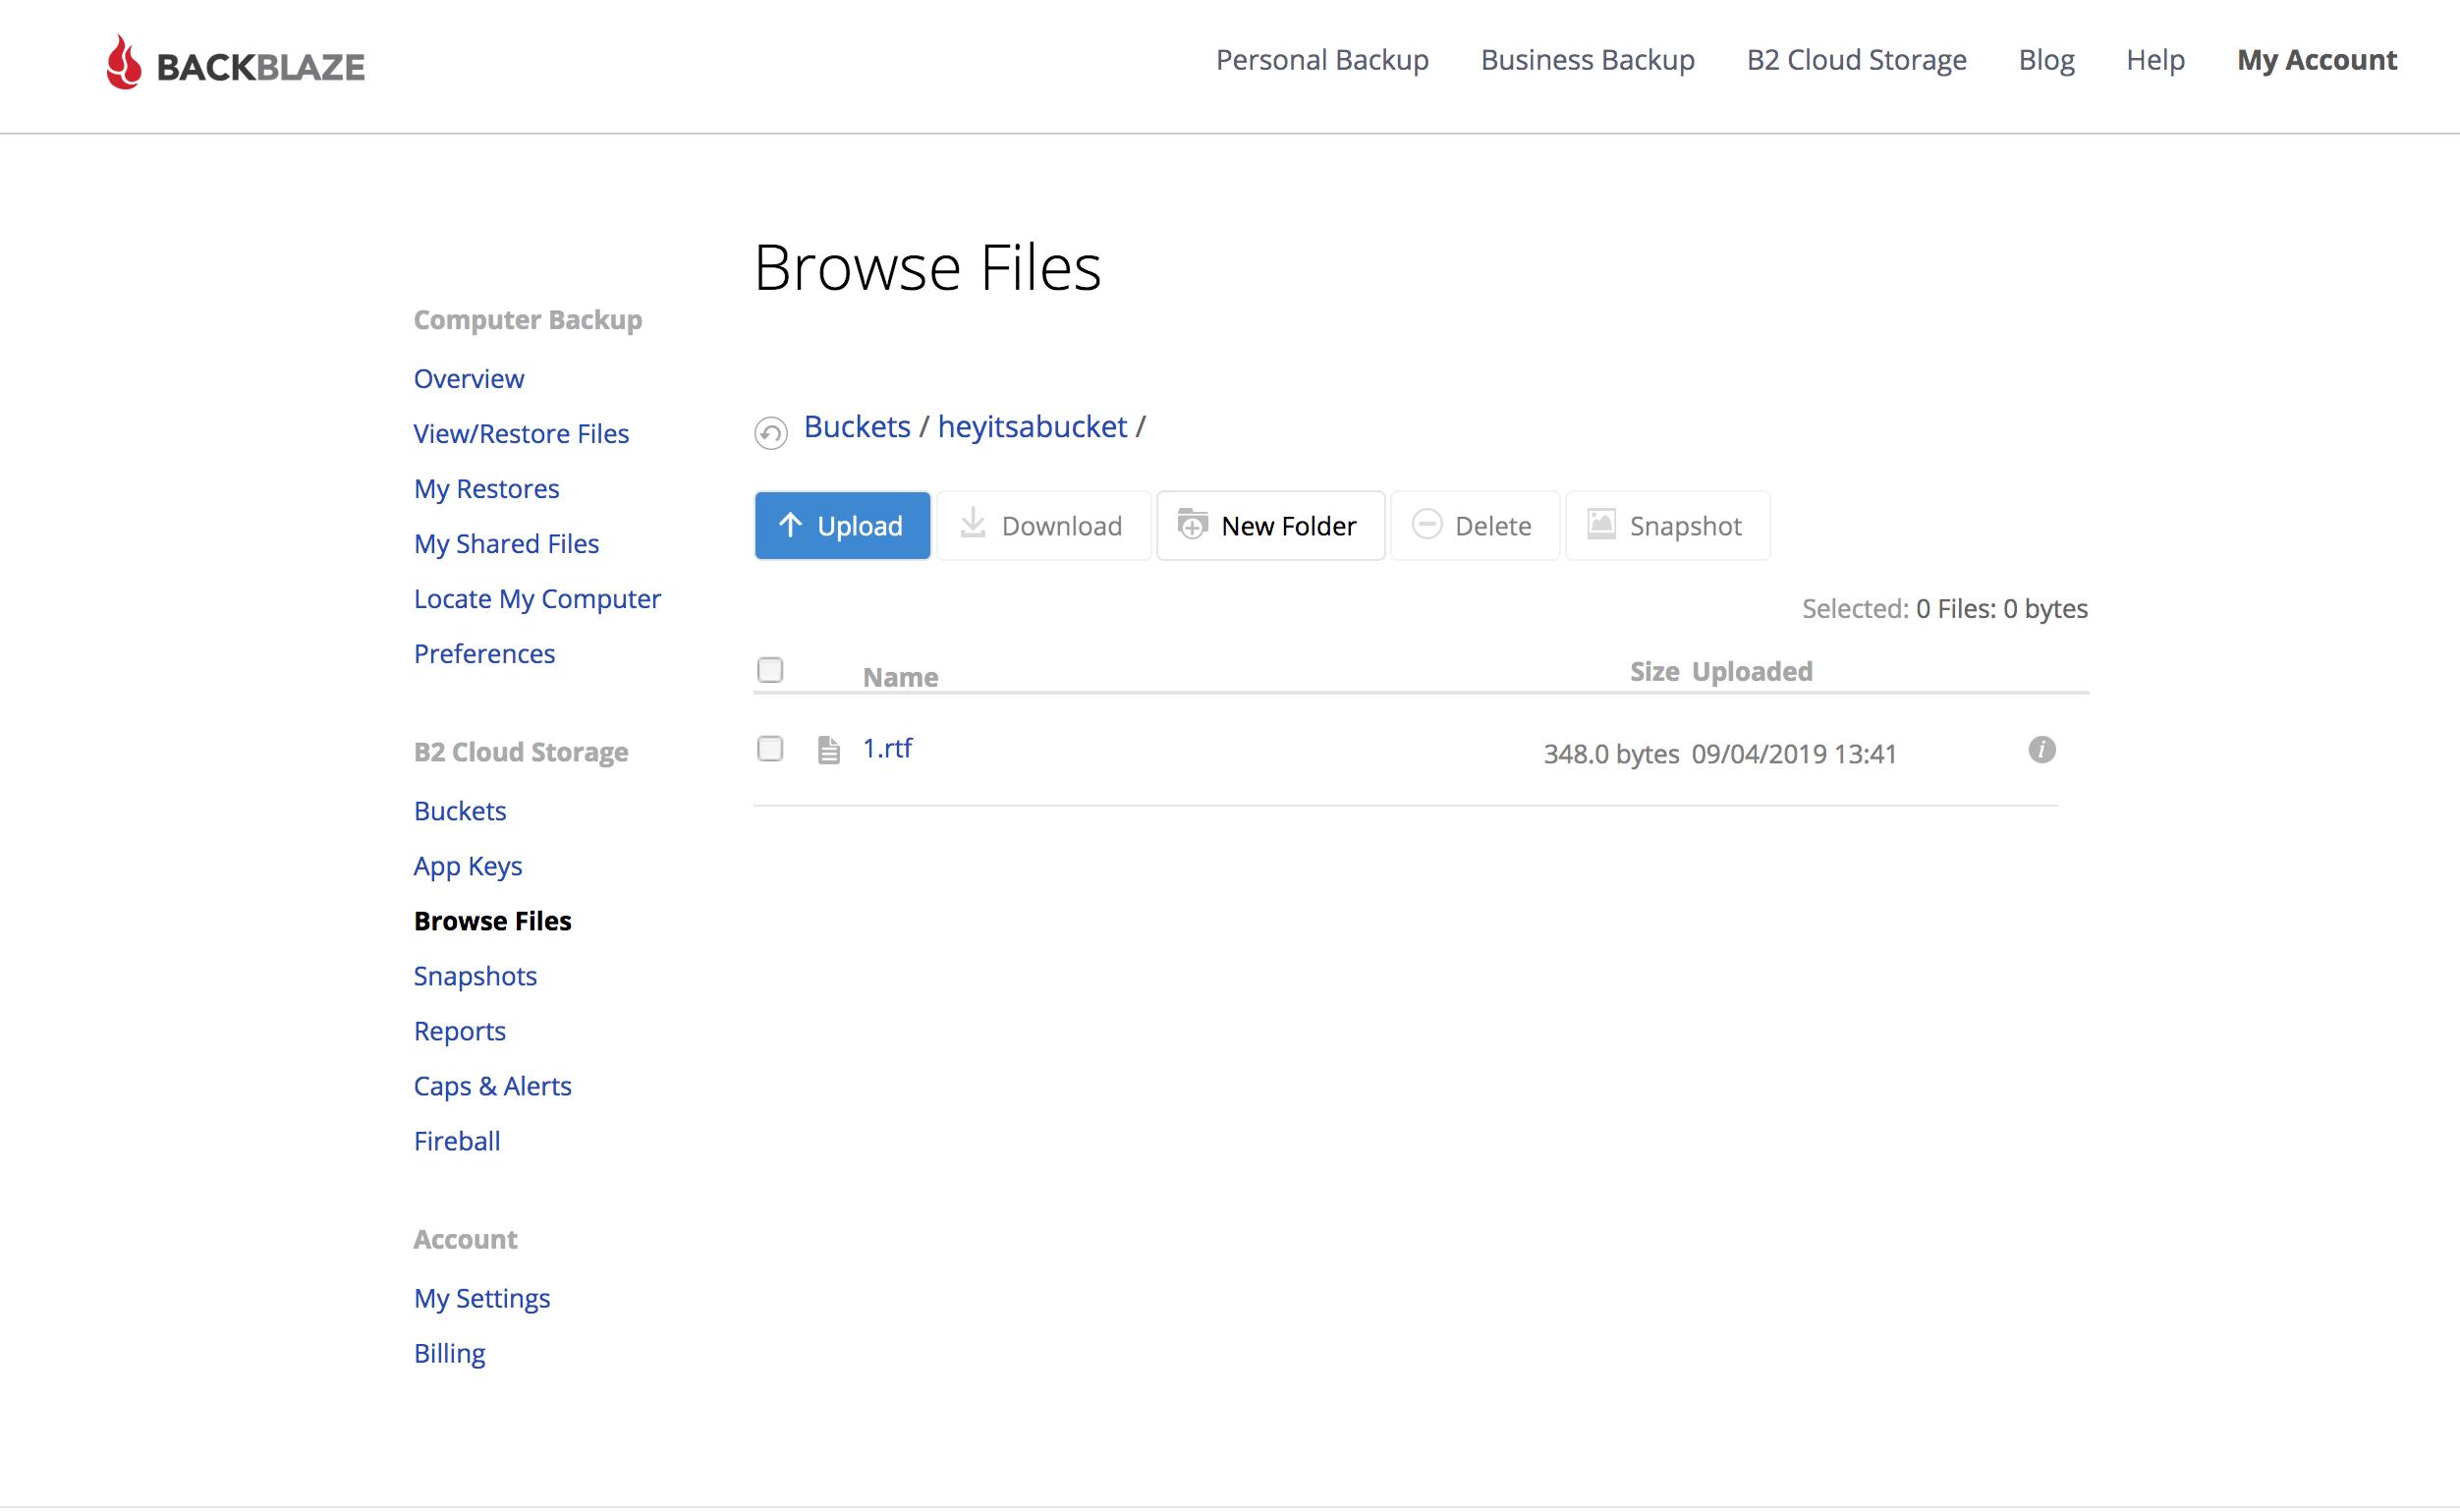
You will now see the contents of the bucket, and another button labeled "Upload", click this button to Upload files.
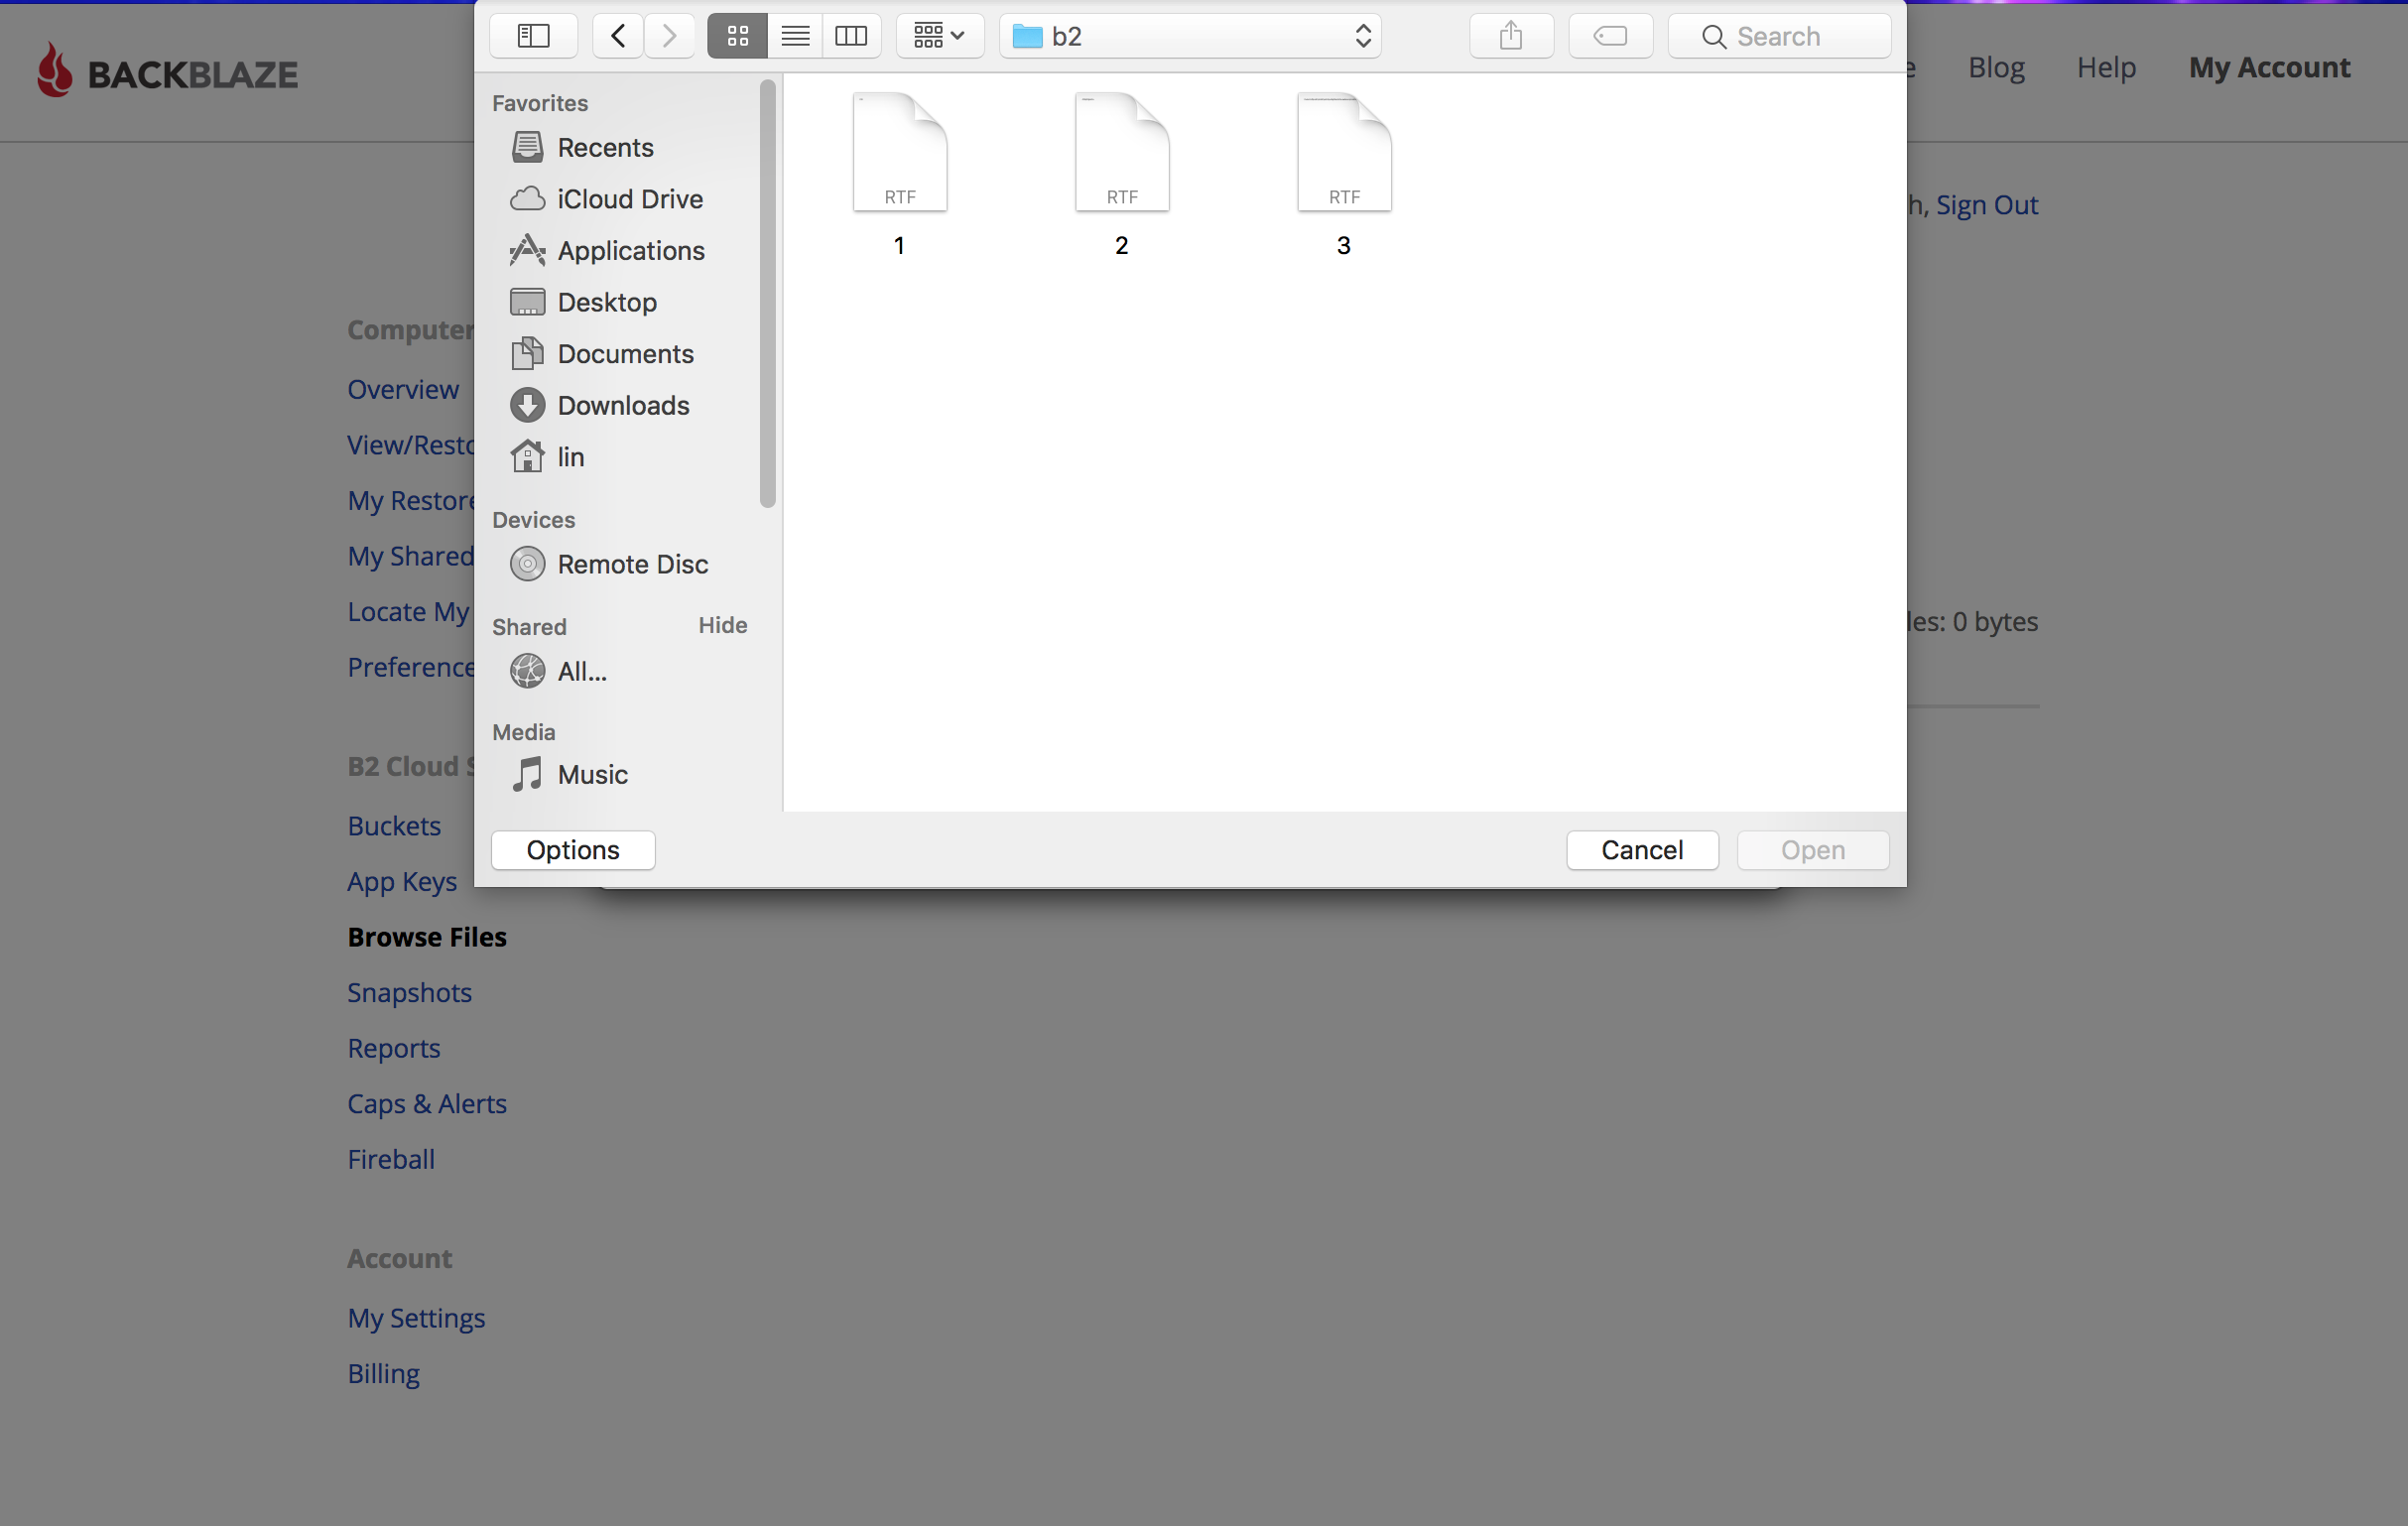
You will then be prompted to either click the dialogue box to select files, or drag and drop files directly into the dialogue box to upload them.
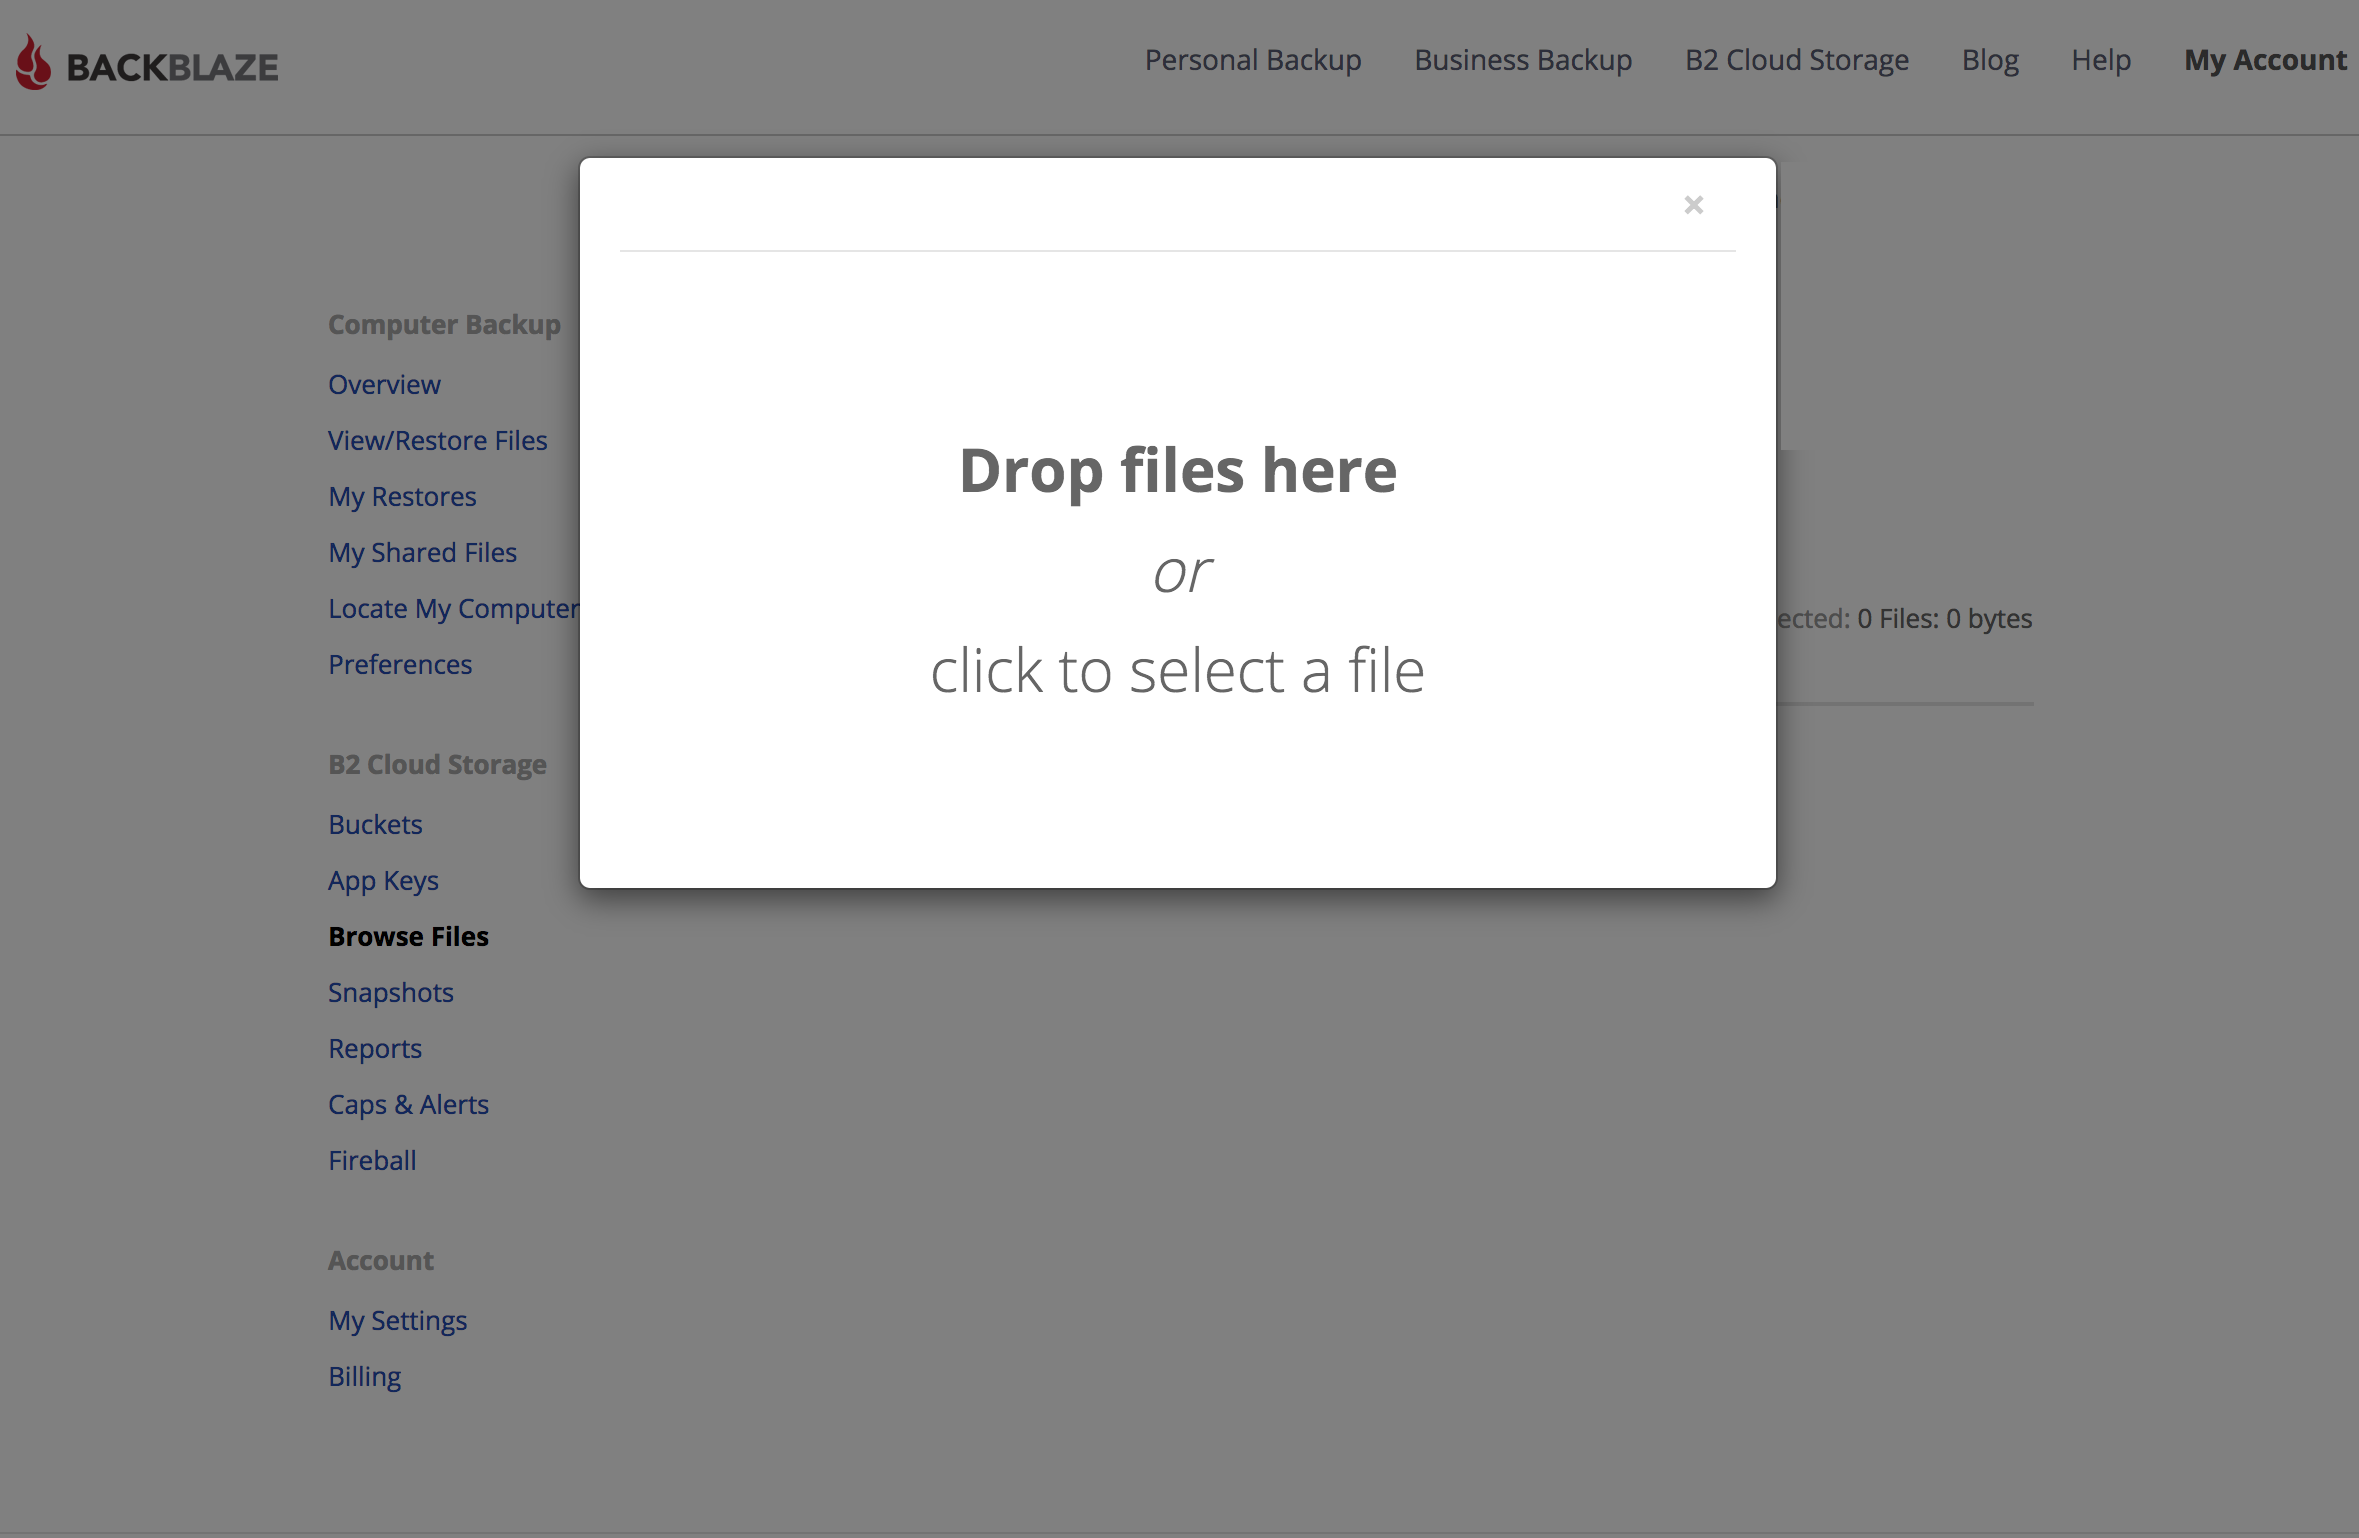
Either drag the files you want or select the file you want after clicking the dialogue box and then click "open"
After selecting the file it will upload and show listed under the bucket you have created.
The maximum file size of a single file you can upload through the B2 Web Interface is 500 MB. If you need to upload larger files, you’ll have to use an alternate upload method.
One upload method is the Command-Line Tool; you can find our quick start guide on the Command-Line Tool here.
Your other option for uploading large files is to use an Integration. An integration is a third-party software that acts as a liaison between your data and B2 Cloud Storage. This can be a good option for users who do not wish to do their own coding and want a simple alternative. You can find a full list of all supported Integrations here.
Articles in this section
- How to Upload Files to B2 Using Fireball
- How to find Unfinished Large Files in your account
- B2 Mobile App Overview - iOS
- B2 Mobile App Overview - Android
- Getting Started with Instant Recovery in Any Cloud - DR Planning with Veeam and phoenixNAP
- How to setup Vultr Compute with Backblaze B2
- B2 & AWS CLI User Guide
- Guide to using Backblaze Fireball with Iconik Internet Storage Gateway (ISG)
- How to order a Snapshot Drive
- Why do I need to verify my email address to create a public bucket?