Introduction
Catalogic DPX is software designed for fast and reliable low-impact backup for physical and virtual environments. DPX supports many enterprise environments including Hyper-V, VMware, physical servers, SQL Databases, etc. With its latest release, Backblaze B2 is now an official target for backup data with full support for object lock. This guide will go over the steps needed to protect yourself against data loss and ransomware using DPX and B2 object storage.
Prerequisites
- Catalogic DPX V4.8+
- Linux or Windows Server Host
- DPX Compatibility Guide
Guide
Get your B2 Application Keys and S3 Endpoint URL
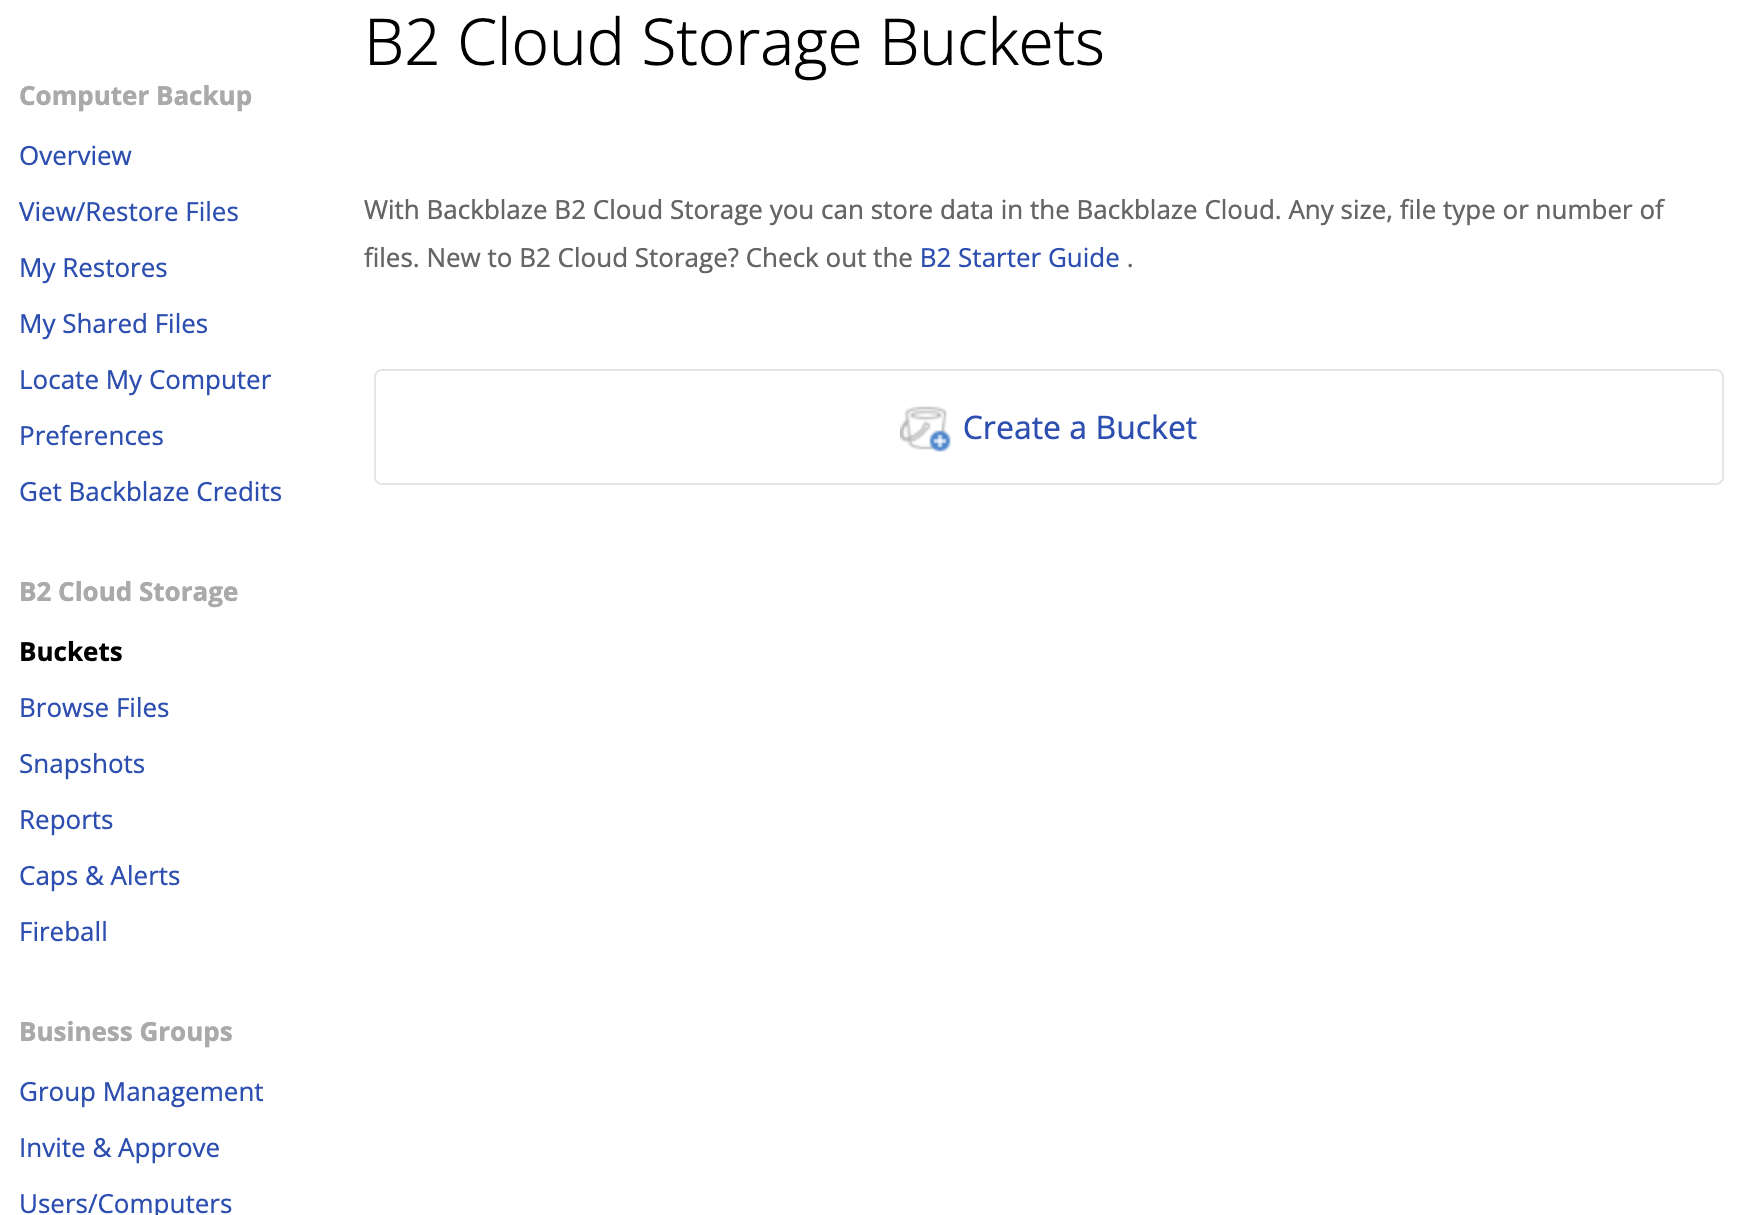
1) Log in to your account at www.backblaze.com and click the Buckets in the left-hand column. Once here, click the Create a Bucket button.
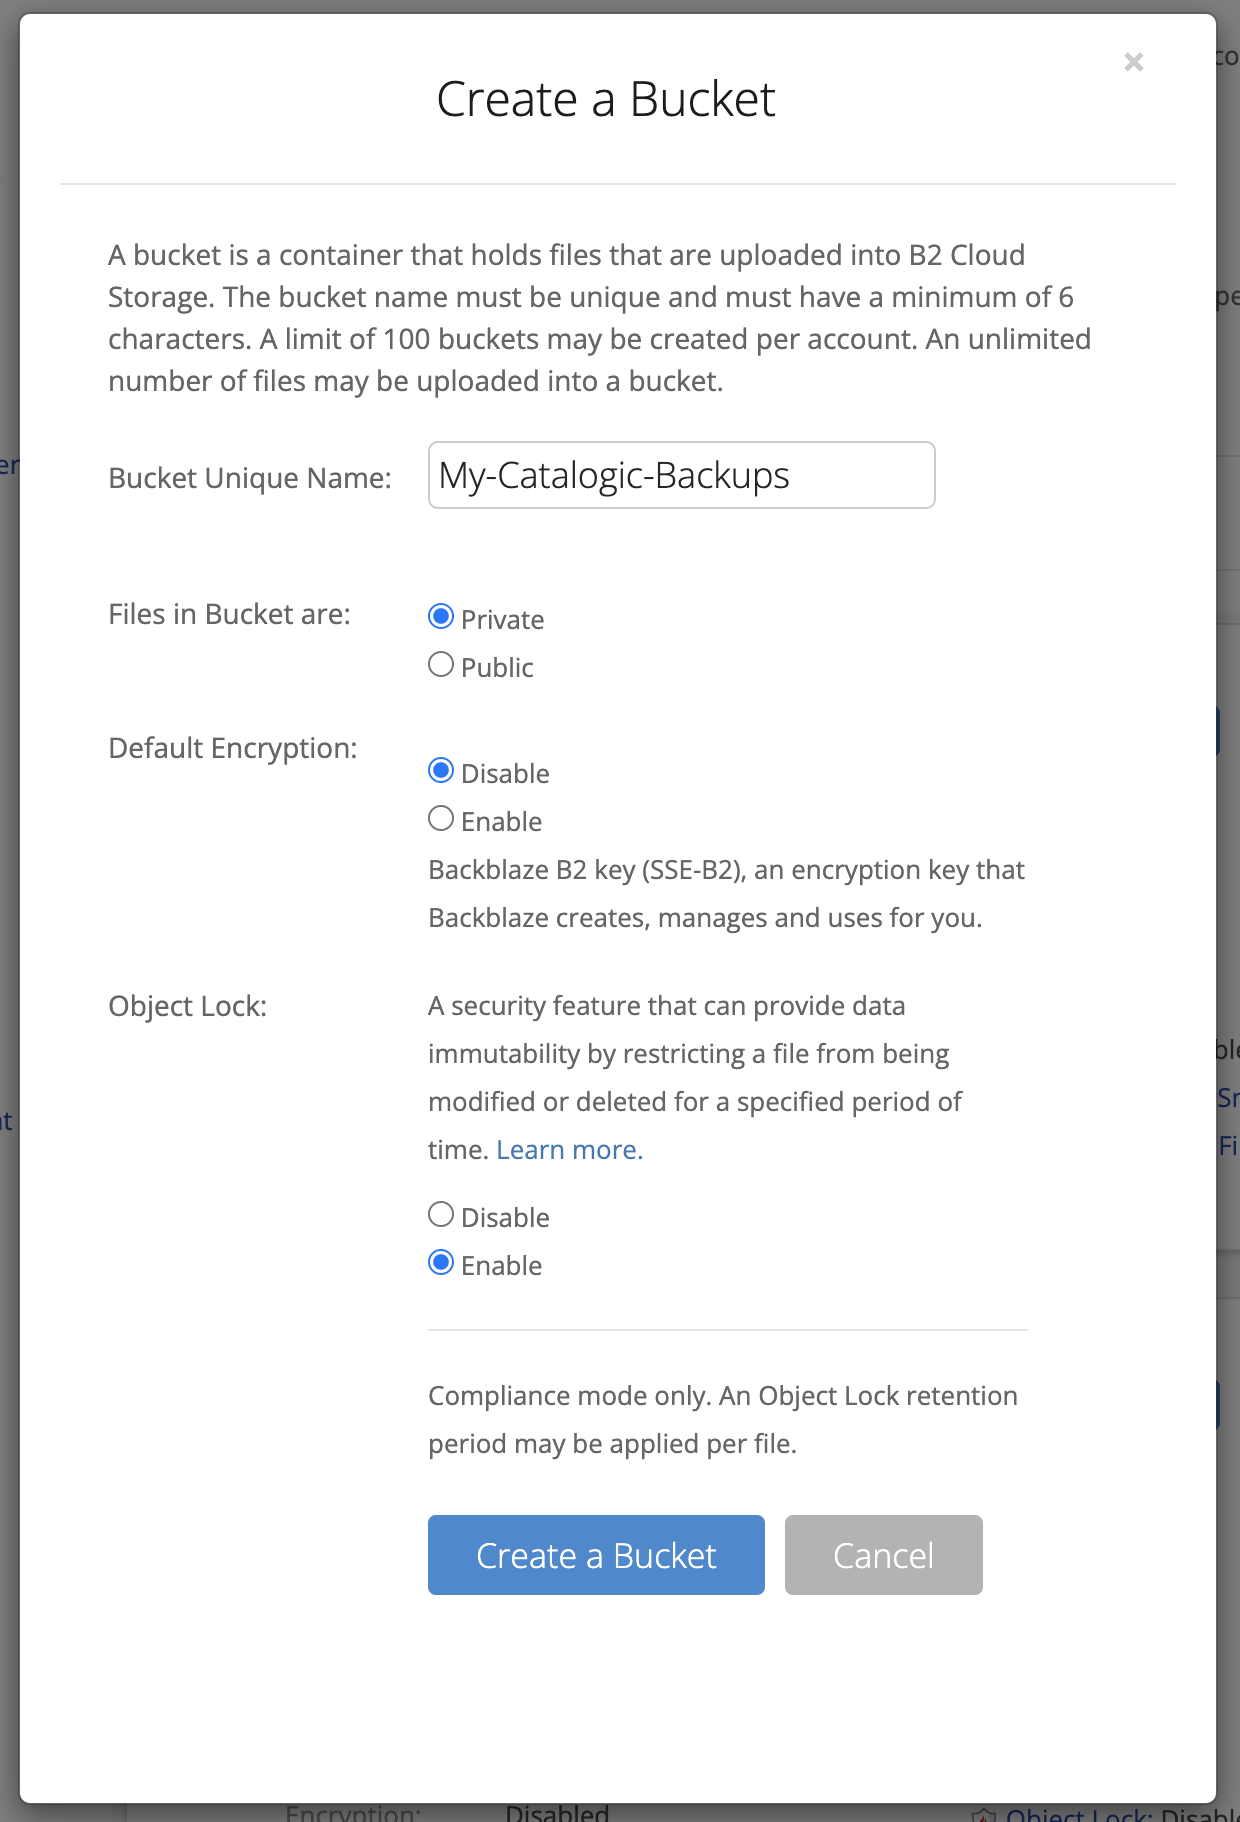
2) Give your Bucket a unique name and enable Object Lock.
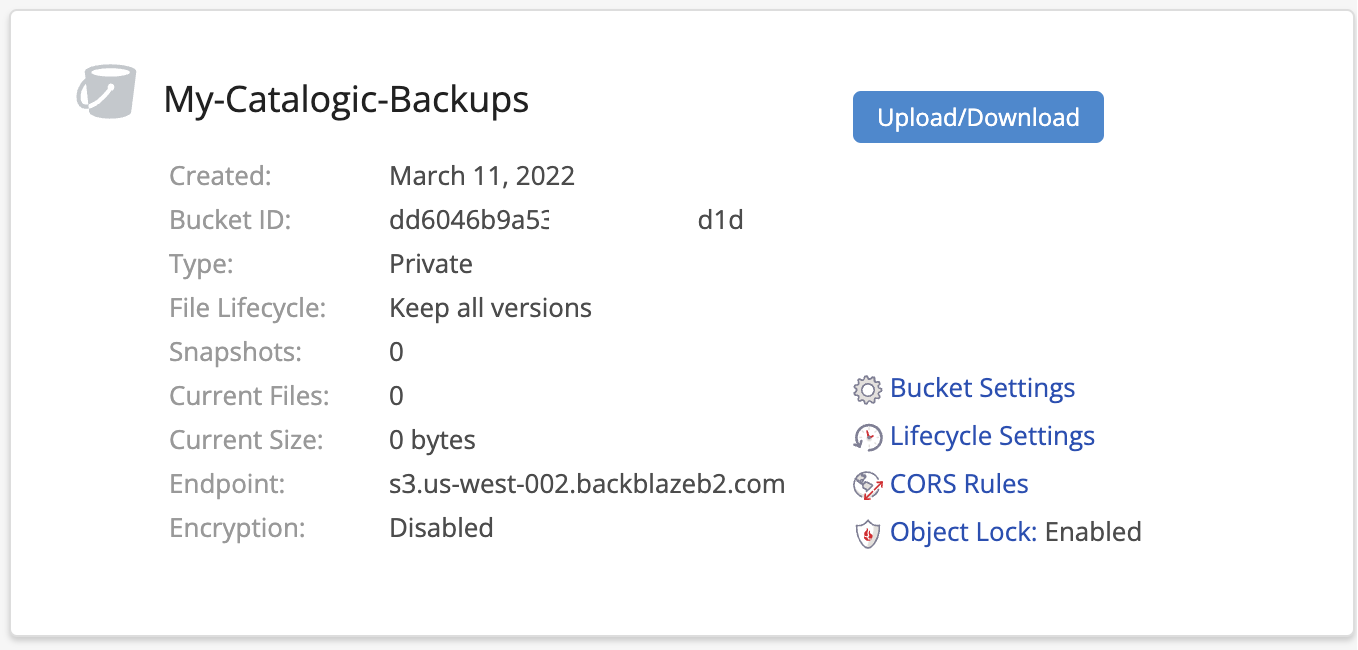
3) You will now see your bucket on the Buckets page. Take note of the S3 Endpoint listed here for use later when setting up B2 with DPX.
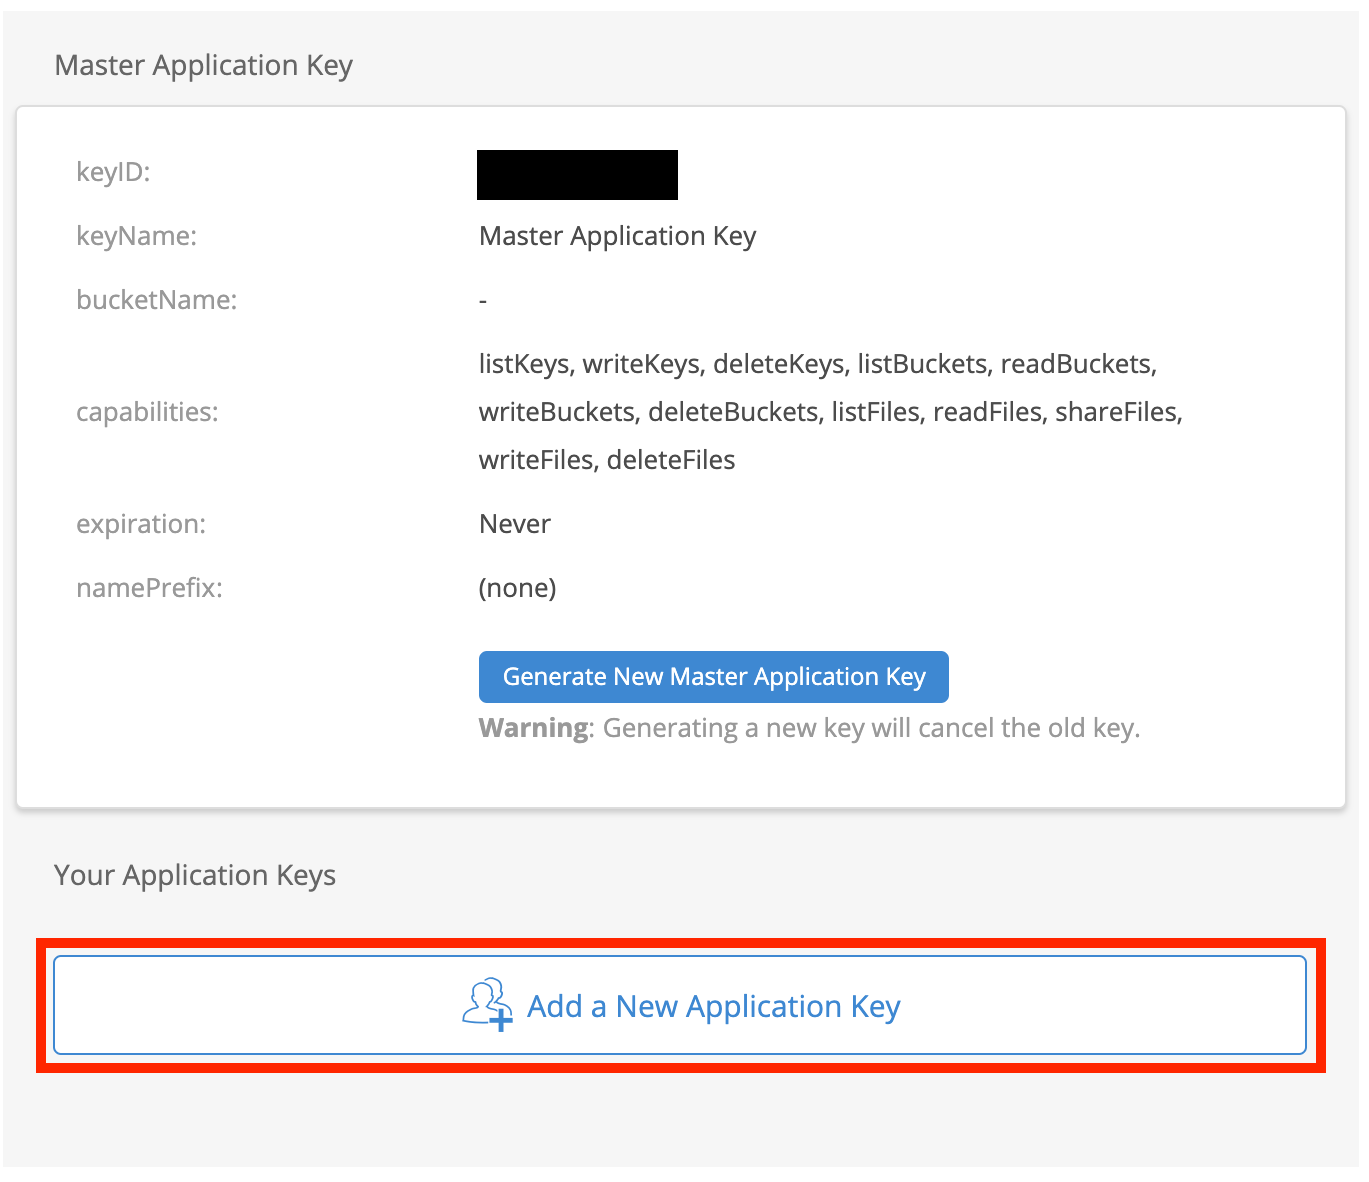
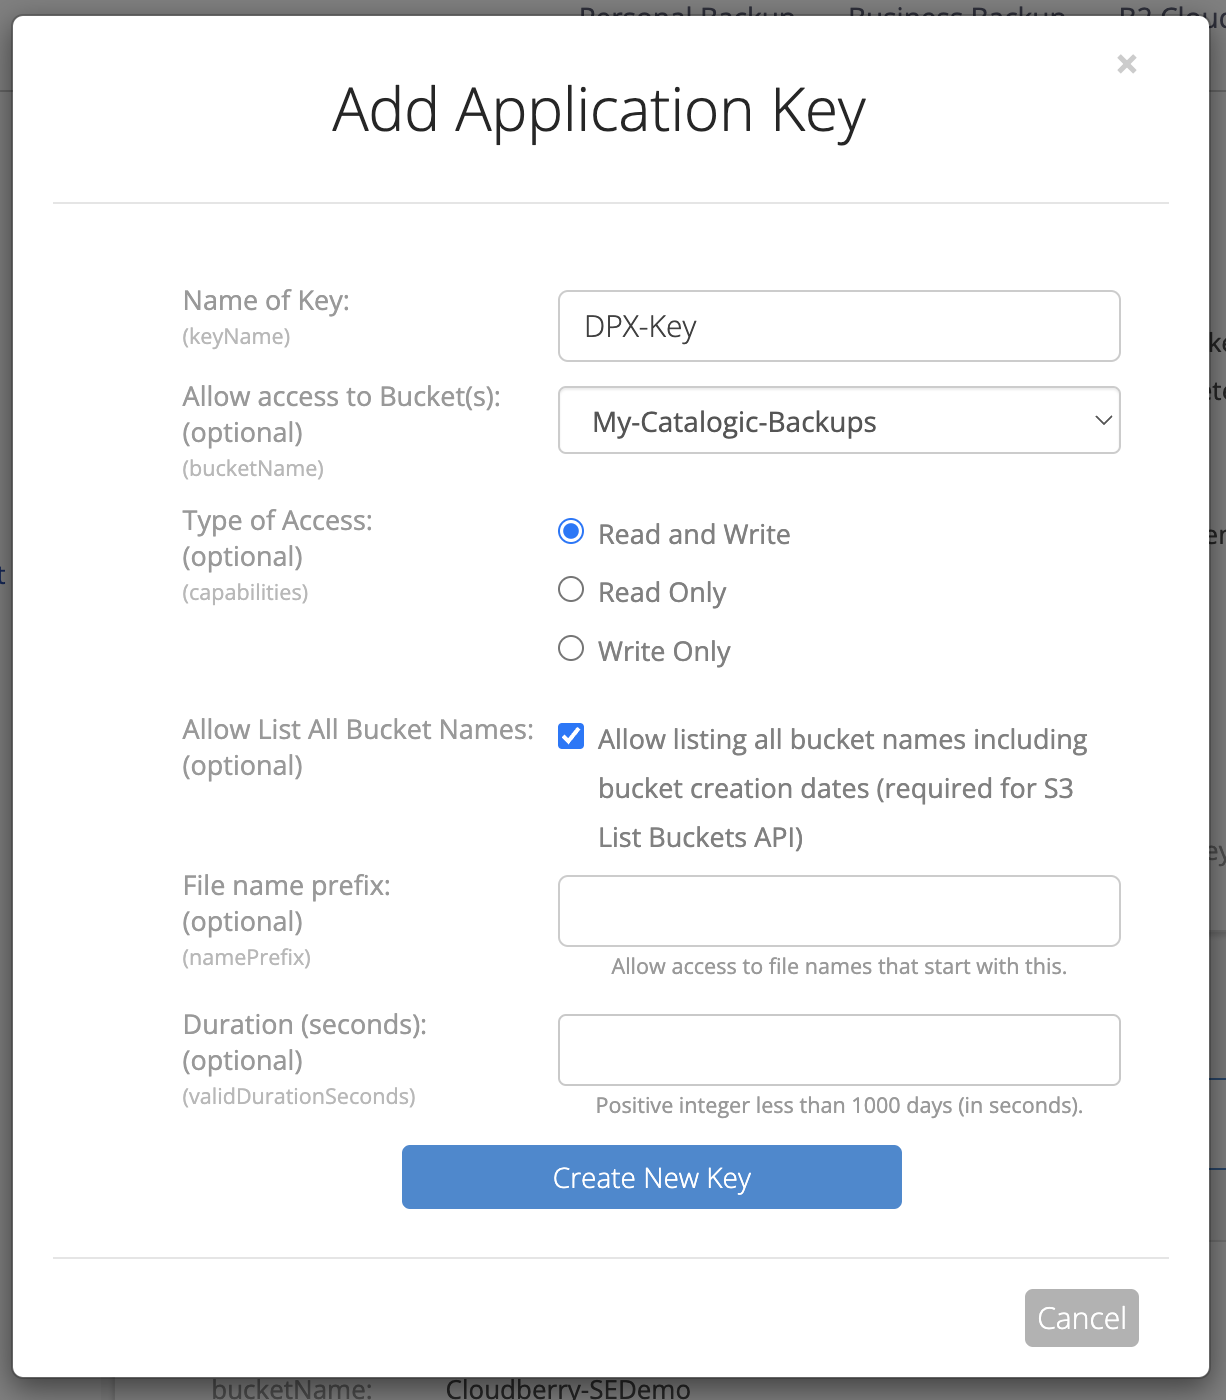
4) Now click the App Keys link in the left-hand column to navigate to the App Keys page and click Add a New Application Key.
5) Give your key a name, and access to the bucket you created. Then click Create New Key.
6) In a blue box on the App Keys page you’ll now see the keyID and applicationKey listed here, along with the S3 Endpoint we saw when making the bucket. Make sure you copy the keyID and applicationKey listed somewhere safe as the applicationKey will NOT be available again to view once you leave the page.

Now that you have the applicationKey, keyID, and S3 URL Endpoint you are ready to start setting up the Bucket as a storage target in DPX.
Setup your DPX Environment
Add Backblaze B2 as a storage device
1) Login to DPX Management Console.

2) Select Configure from the toolbar and select Devices.

3) Give your B2 Object Storage Cluster a name and select Cloud as Device Type.

4) You should now see an option a Cloud Provider Type. Select Backblaze B2. From the information you gathered earlier in your Backblaze portal; fill in the Endpoint, Region, KeyID, Application Key, and Bucket Name.
Once finished select Add.

Create a storage pool from your newly created B2 cloud device
1) Again In the Configuration tab select Media.

2) Select Add Media Pool then for Media Type select Cloud.
-
- Give your storage pool a name
- AWS S3 Storage Class: Standard
- Minimum Number Free Volumes: 1

3) Initialize the Pool by selecting the starting letter of the media. Your Media Pool and Device are now ready for use.

Configure backup jobs to use B2 cloud storage target
1) Open a DPX backup job definition. Navigate to the schedule tab and add an archive schedule selecting the Backblaze B2 Device cluster and media pool.
If you would like to make your backups Immutable.
-
- Enable S3 Object Lock
- S3 Lock Mode: Compliance

2) Your backup job is now set to replicate to B2 cloud storage in an immutable fashion.
For additional information and support please visit the DPX website.
Articles in this section
- Quickstart Guide for Veeam 12 Direct-to-Cloud Backups to Backblaze B2 with Immutability
- Quickstart Guide for Acronis CyberProtect and Backblaze B2 Cloud Storage
- Quickstart guide for SFTPCloud
- Quickstart Guide for Veritas NetBackup and Backblaze B2 Cloud Storage
- Quickstart Guide for Offshoot and Backblaze B2
- Quickstart Guide for Files.com and Backblaze B2 Cloud Storage
- Quickstart Guide for Encoding.com and Backblaze B2 Cloud Storage
- Quickstart Guide for Mountain Duck and B2 Cloud Storage
- Quickstart Guide for Microsoft 365 Backup with MSP360 and Backblaze B2 (Multiple Instances)
- Quickstart Guide for Microsoft 365 Backup with MSP360 and Backblaze B2 (Single Instance)
