Introduction
Kasten K10 is a robust backup software purpose-built for Kubernetes. Providing enterprise operations teams a scalable system for backup/restore, DR, and mobility of their most important Kubernetes applications. This guide will go over the steps involved with leveraging the Kasten K10 backup pipeline with Backblaze B2 object storage.
Guide
Get your B2 Application Keys and S3 Endpoint URL
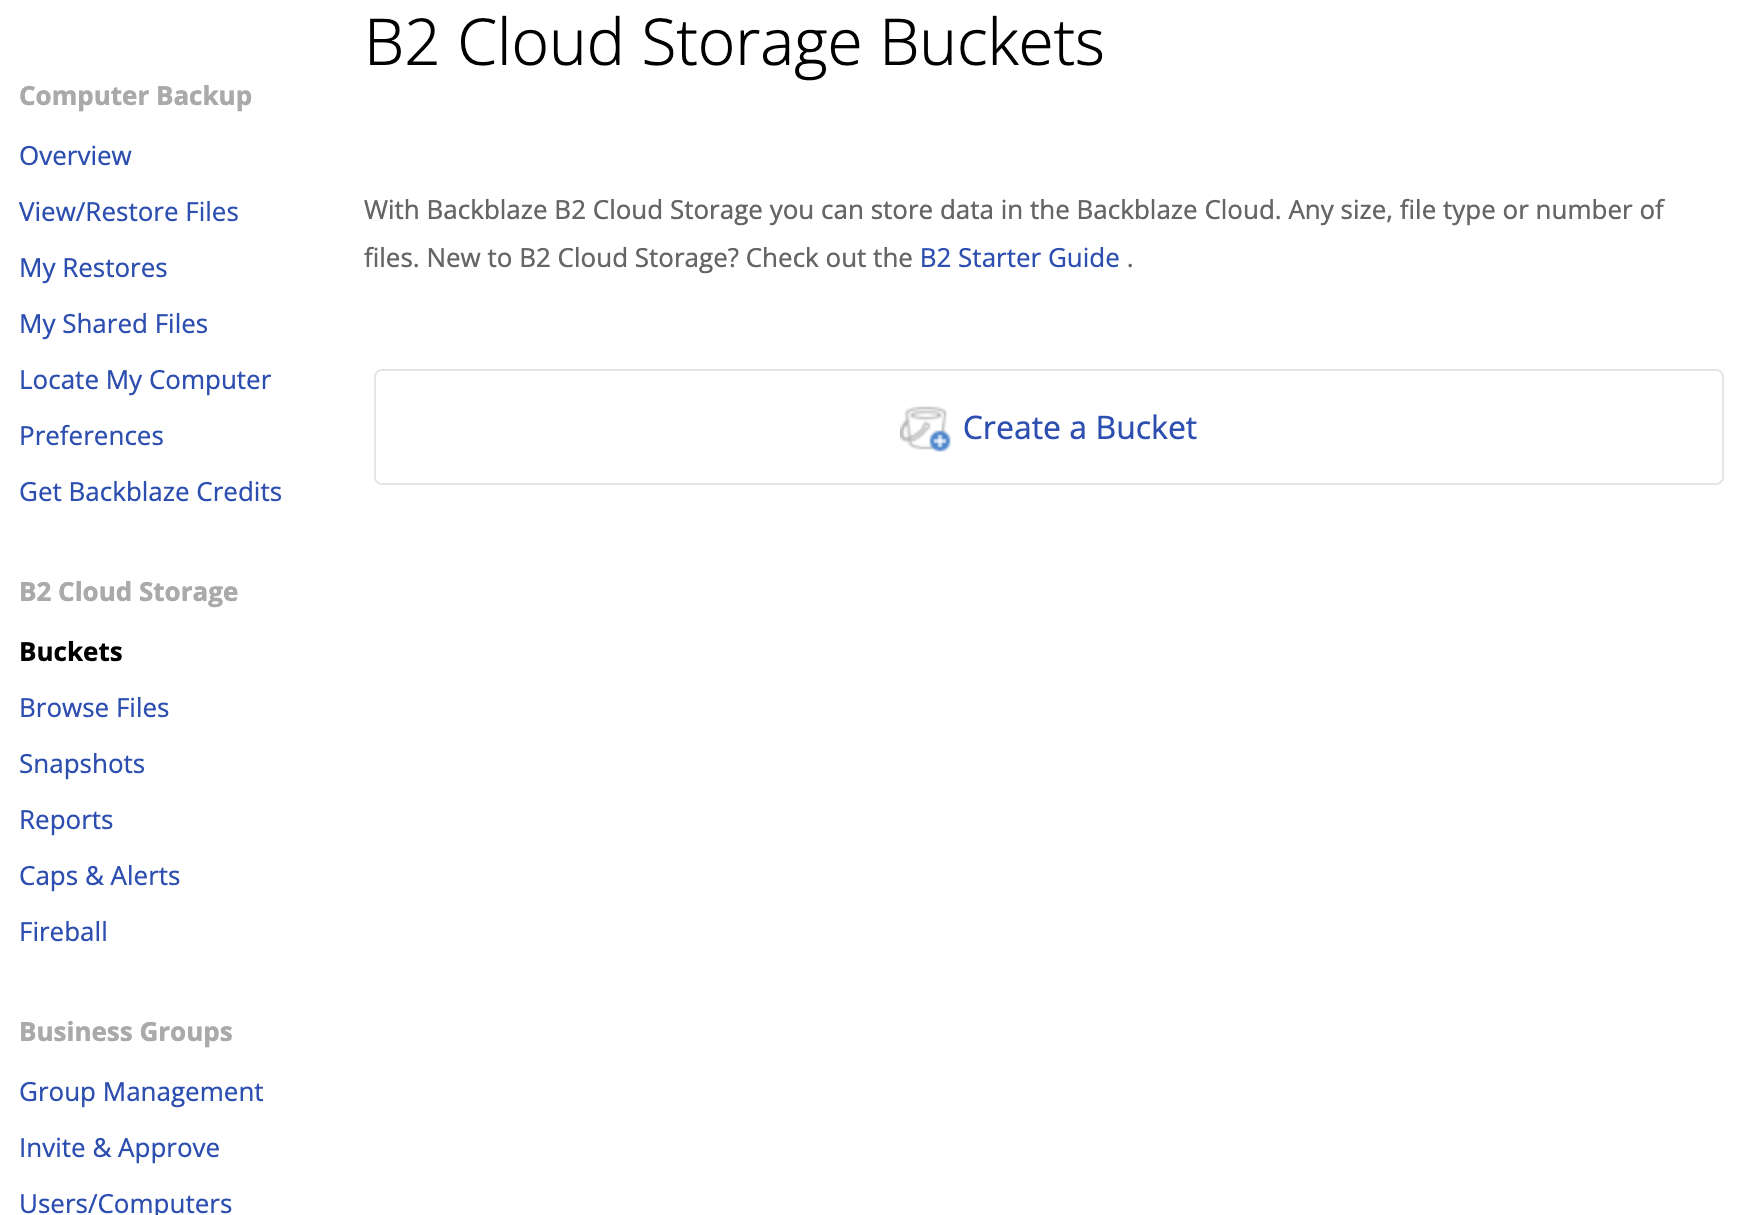
1) Log in to your account at www.backblaze.com and click the Buckets in the left-hand column. Once here, click the Create a Bucket button.
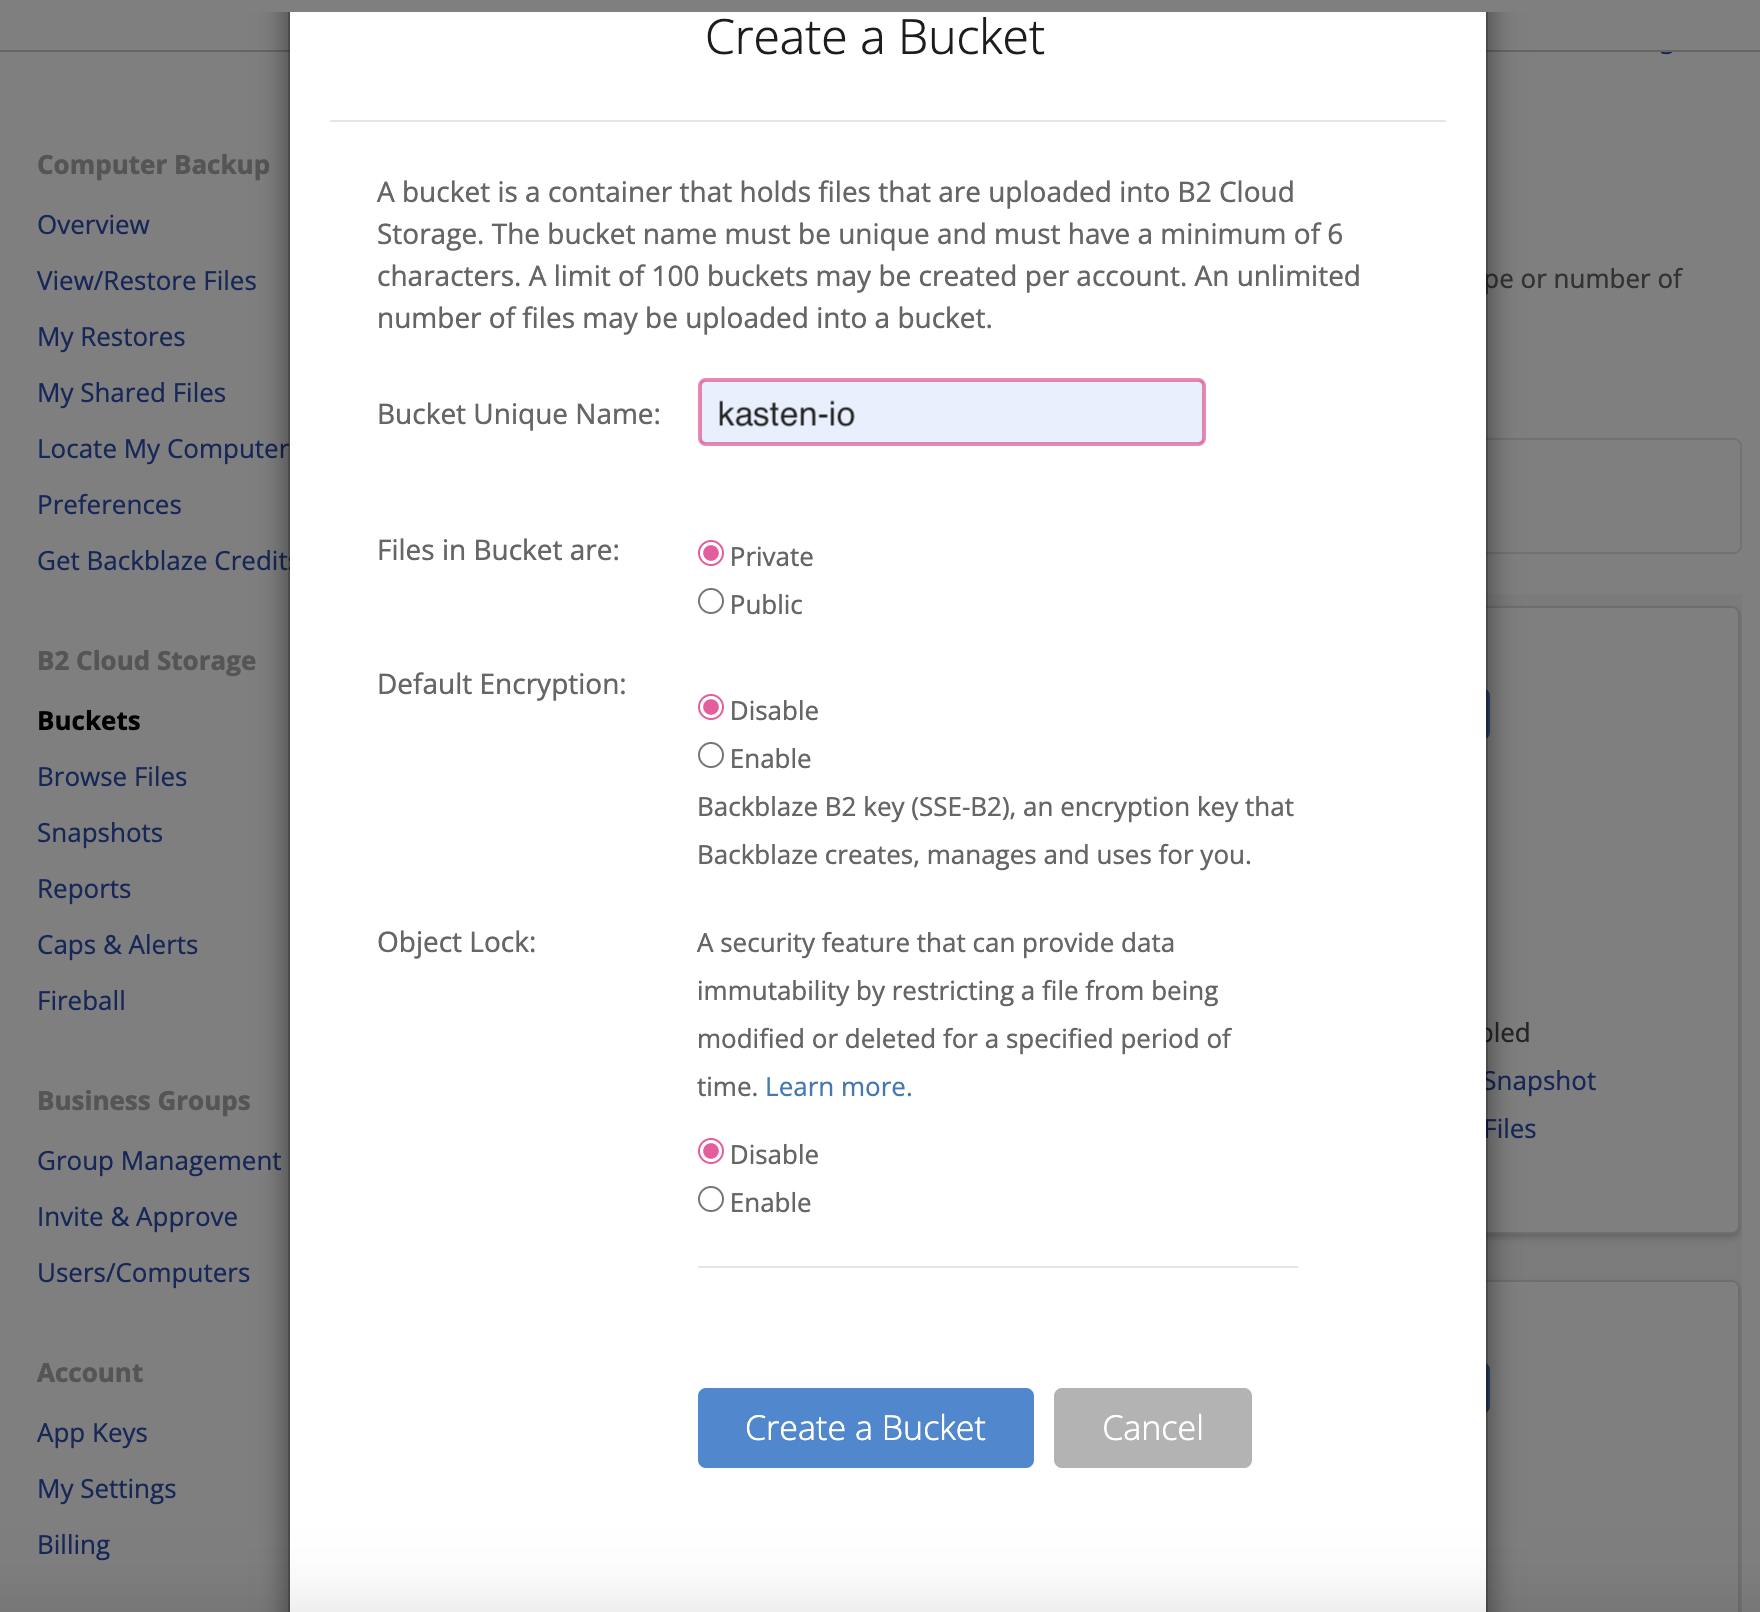
2) Give your Bucket a unique name. You will see a few settings here namely Default Encryption; enable this if you would like to enable server-side encryption.
Note: We do not recommend using server-side encryption if you are using client-side encryption through Kasten. Server-side encryption will add latency to restores of files from B2.
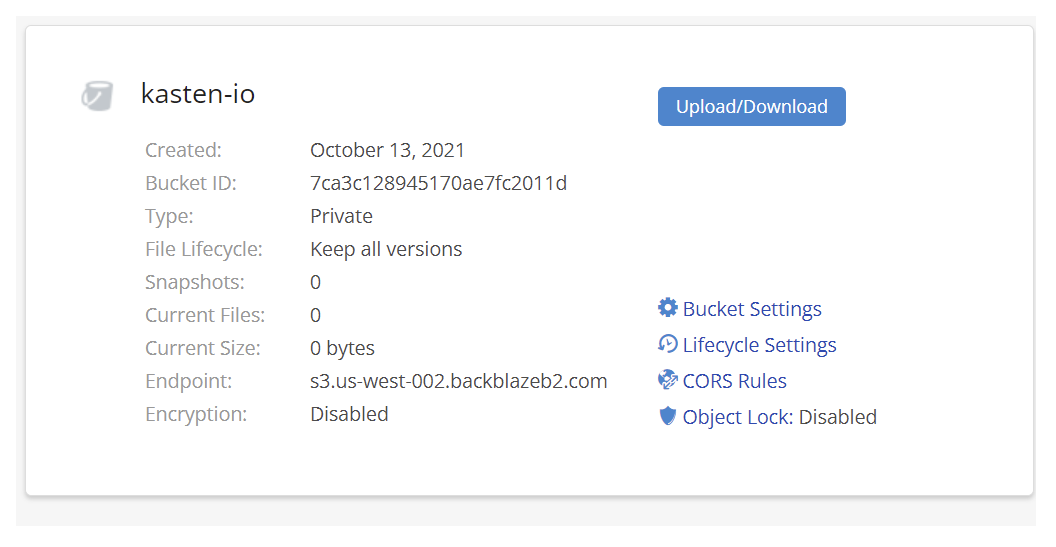
3) You will now see your Bucket on the Buckets page. Take note of the S3 Endpoint listed here for use later when setting up B2 with Kasten K10.
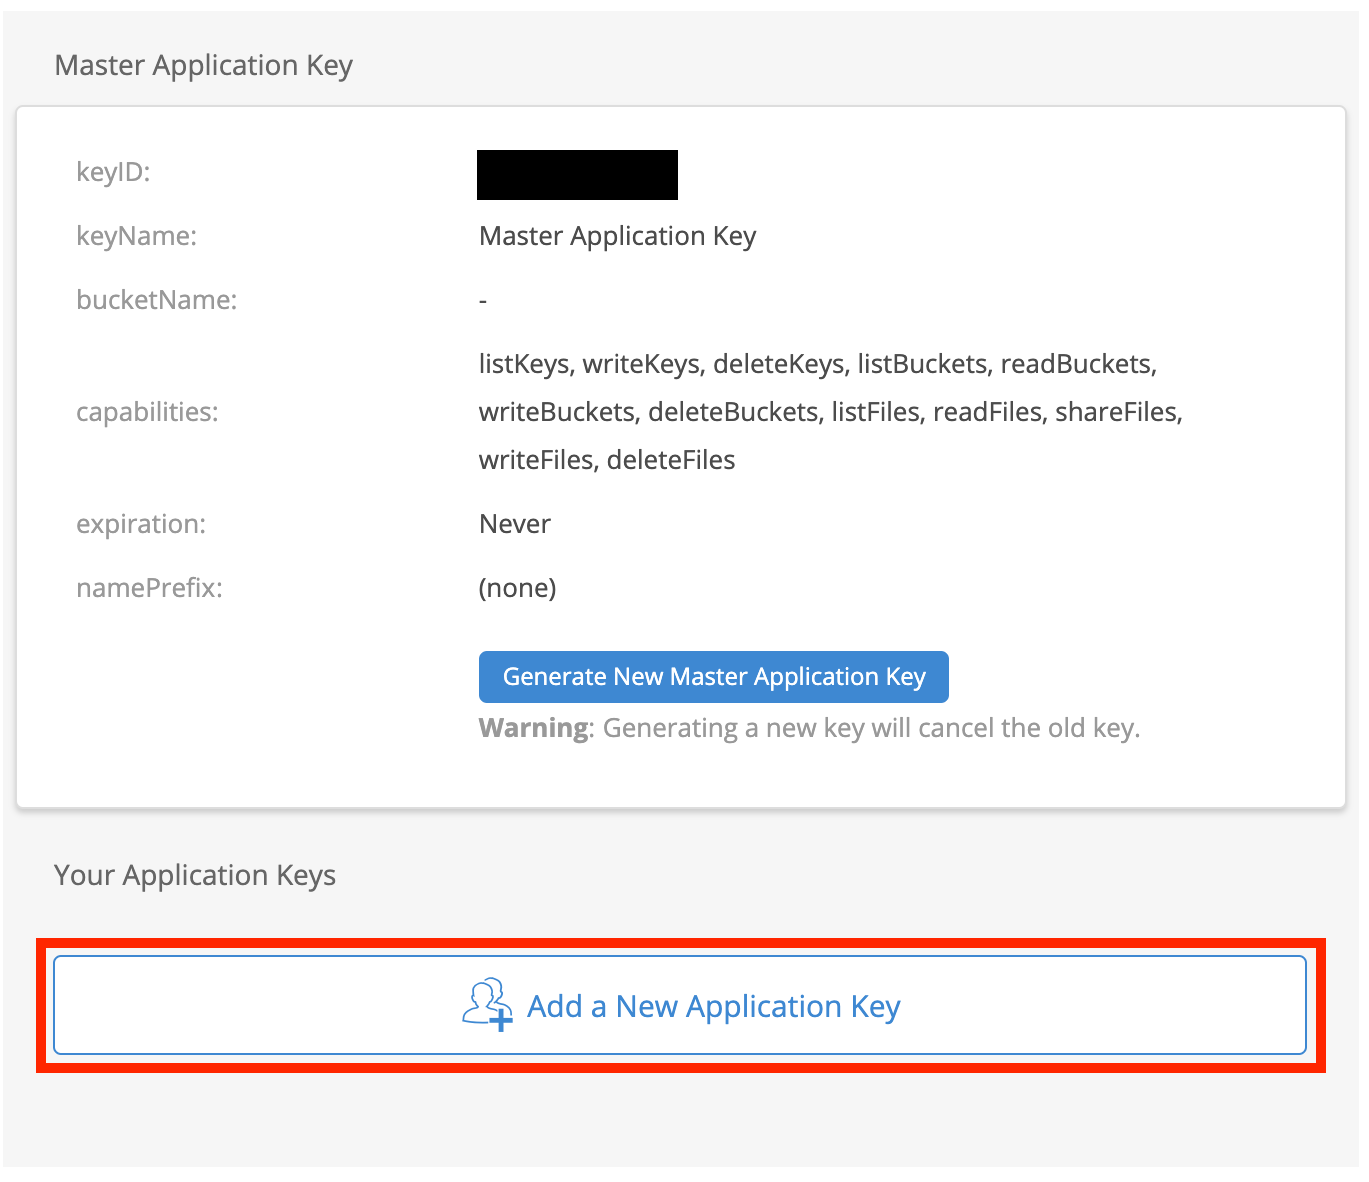
4) Now click the App Keys link in the left-hand column to navigate to the App Keys page and click Add a New Application Key.
5) Give your key a name, and access to the bucket you created. Then click Create New Key.

6) In a blue box on the App Keys page you’ll now see the keyID and applicationKey listed here, along with the S3 Endpoint we saw when making the bucket. Make sure you copy the keyID and applicationKey listed somewhere safe as the applicationKey will NOT be available again to view once you leave the page.

Now that you have the applicationKey, keyID, and S3 URL Endpoint you are ready to start setting up the Bucket as a storage target in Kasten K10.
Installing Kasten K10
This guide assumes you have a Kubernetes cluster running and configured in a Kubectl CLI. We also assume you have a Kubernetes package manager like Helm installed.
1) Start by adding the official Kasten repository to Helm
$ helm repo add kasten https://charts.kasten.io/
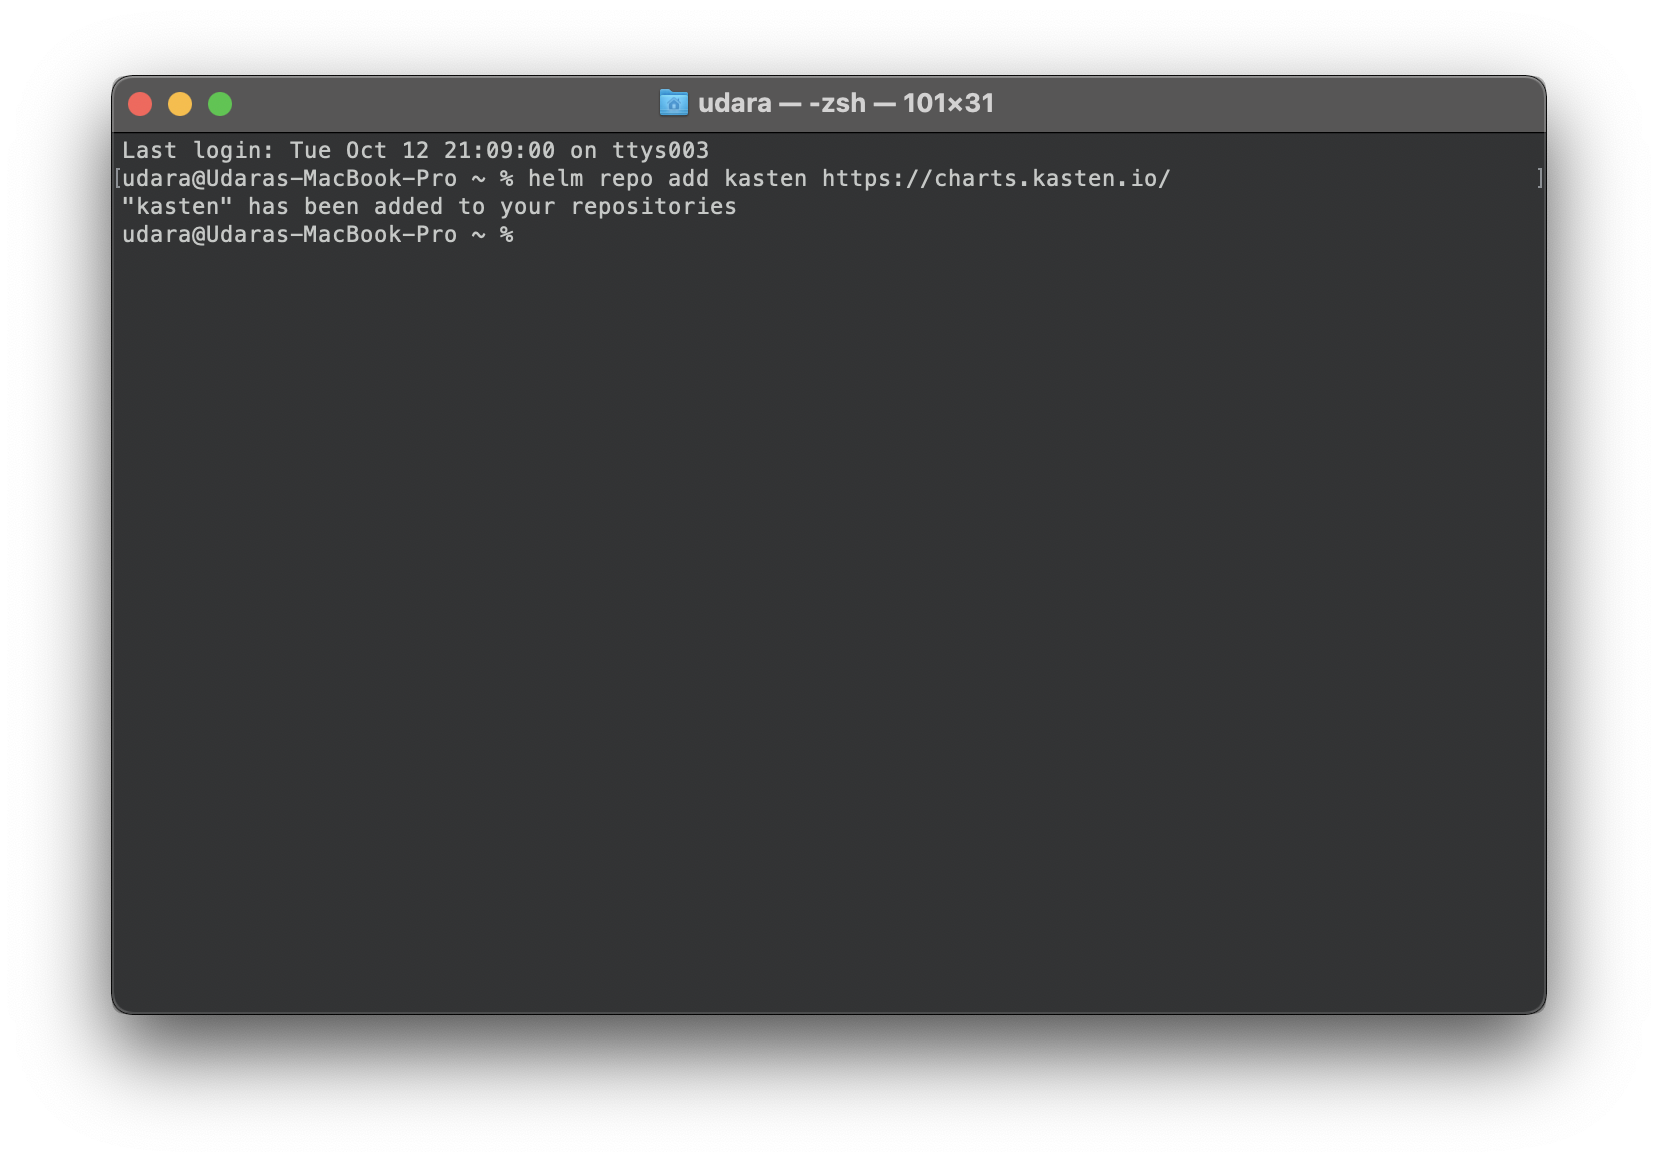
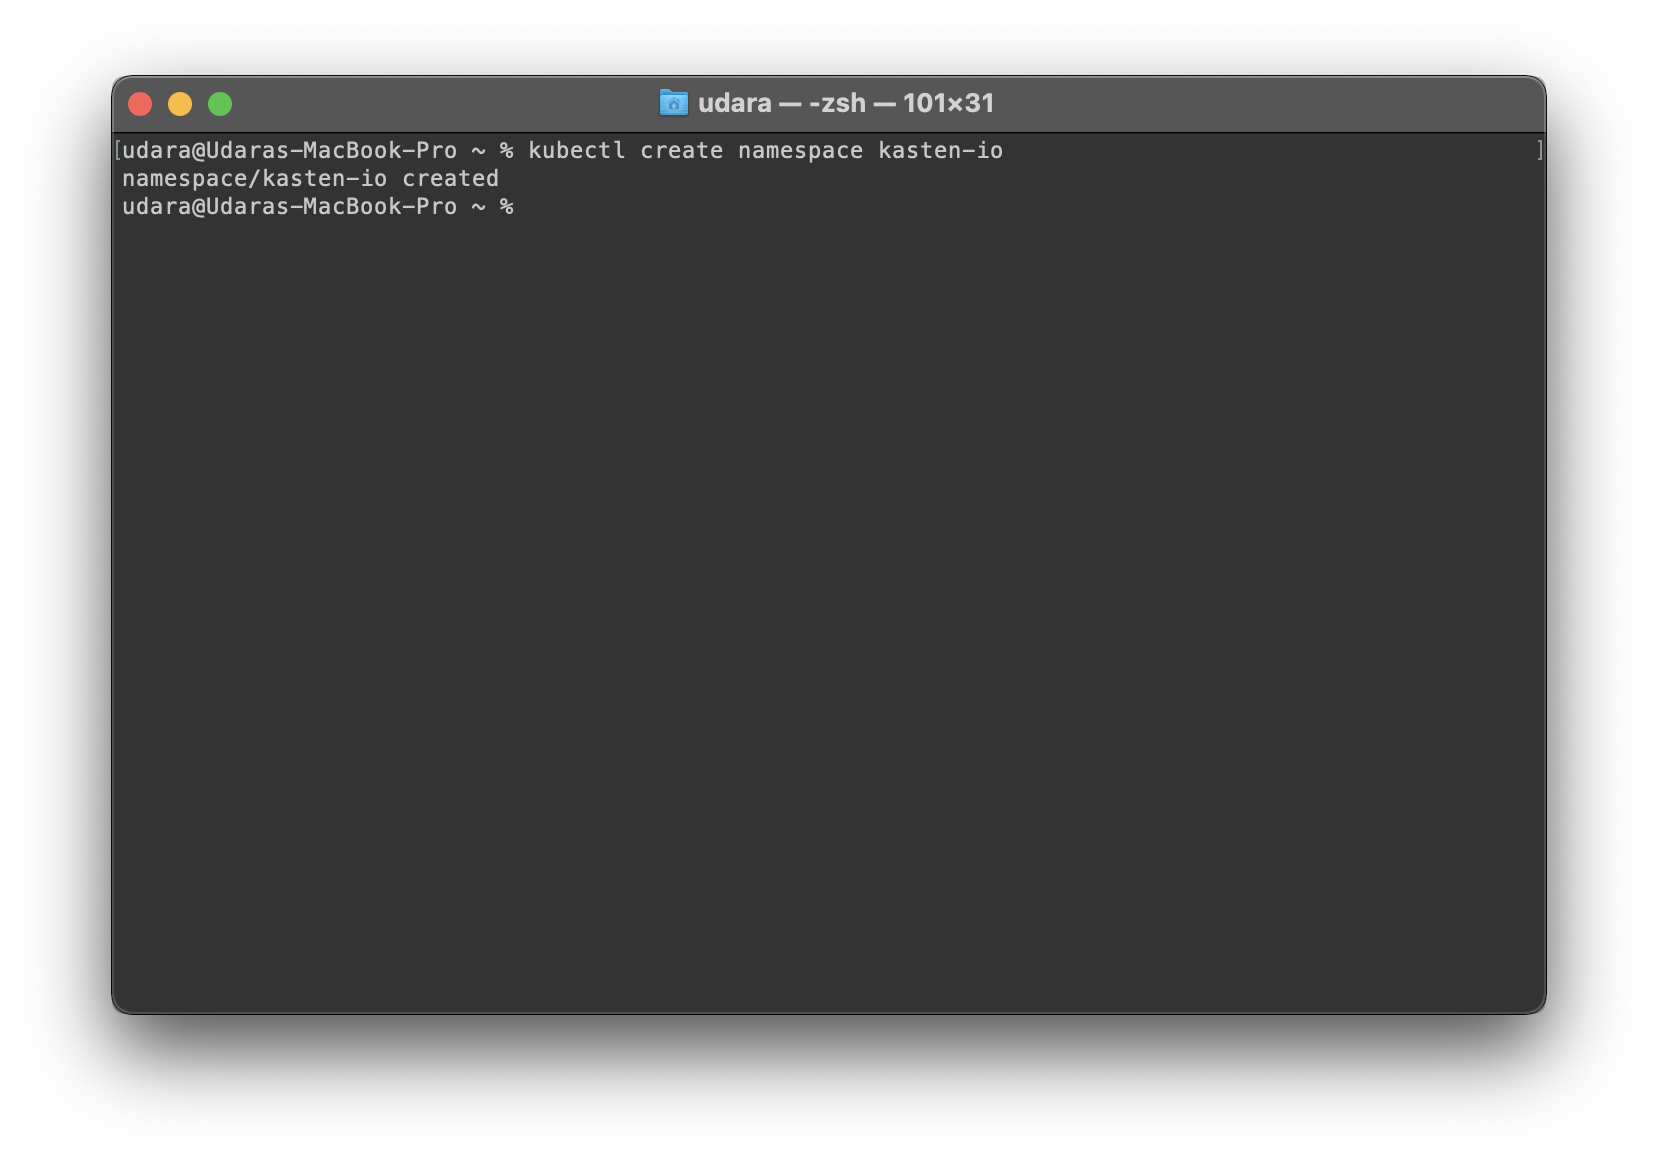
2) Create the namespace where Kasten will be installed. In this guide, we will use Kastens recommended name "kasten-io"
$ kubectl create namespace kasten-io
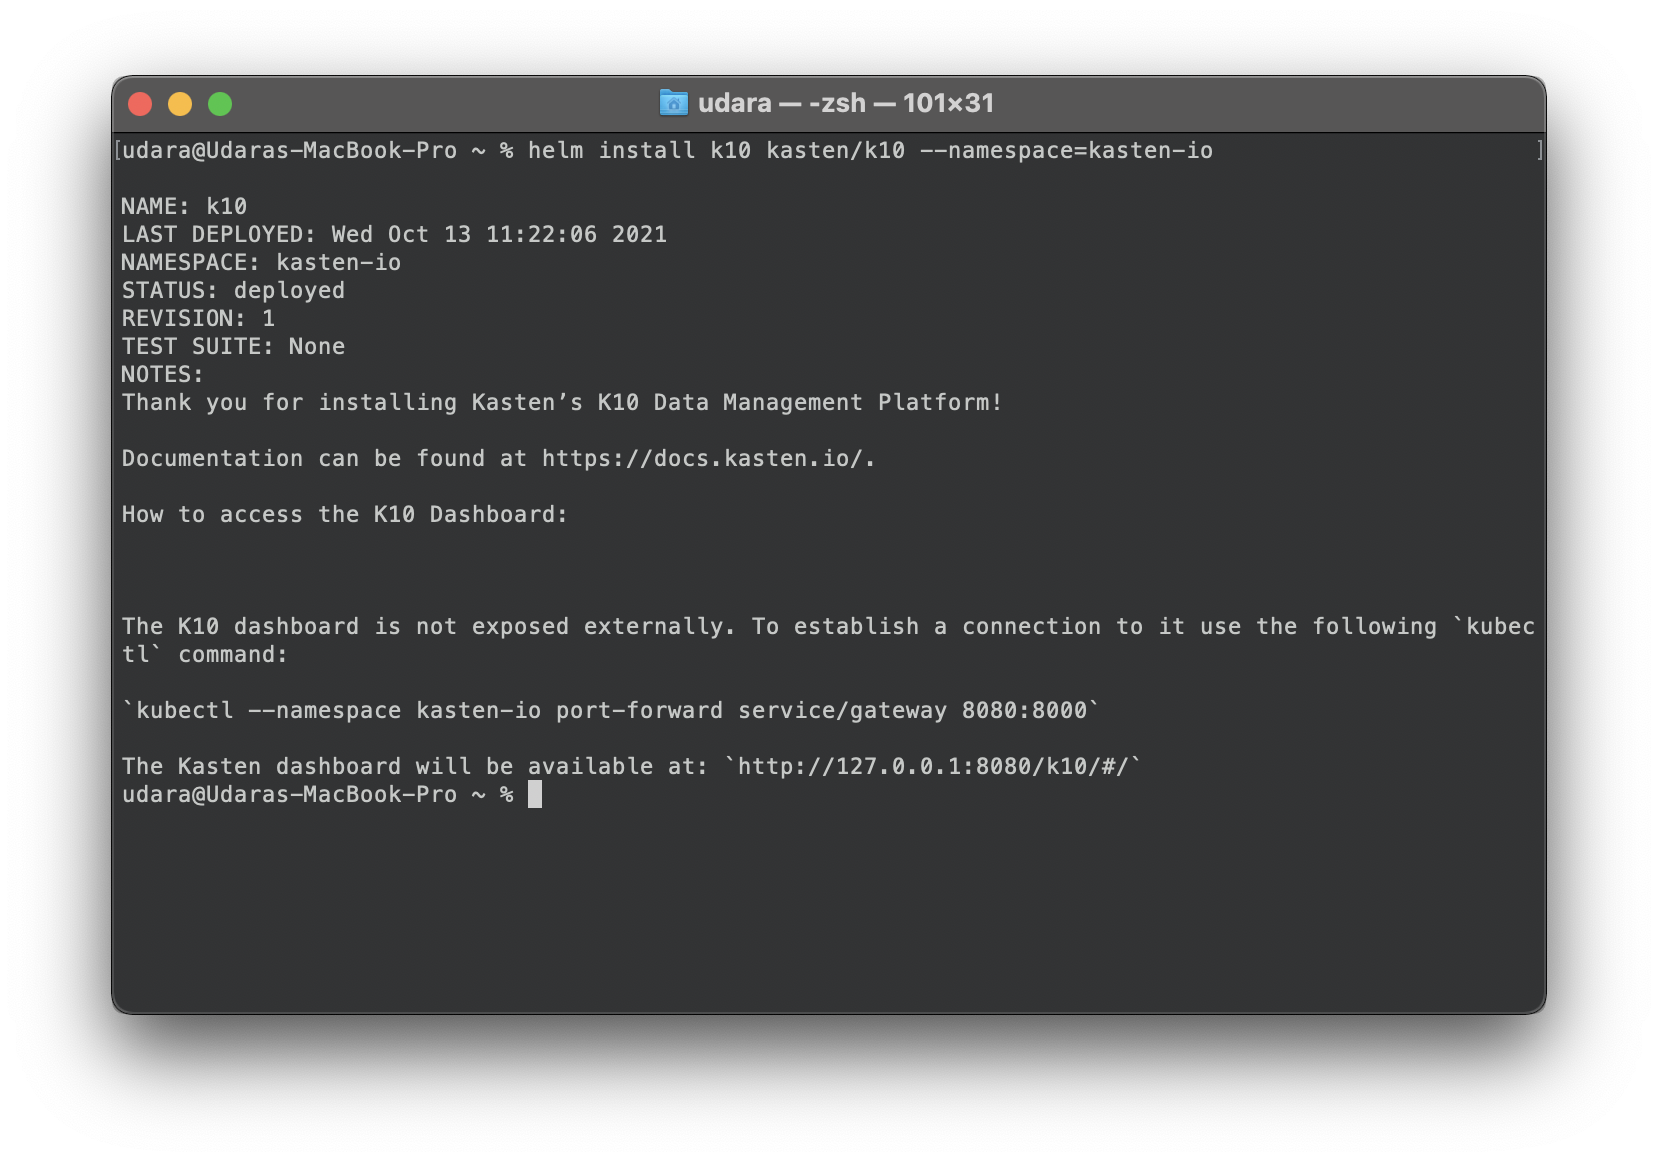
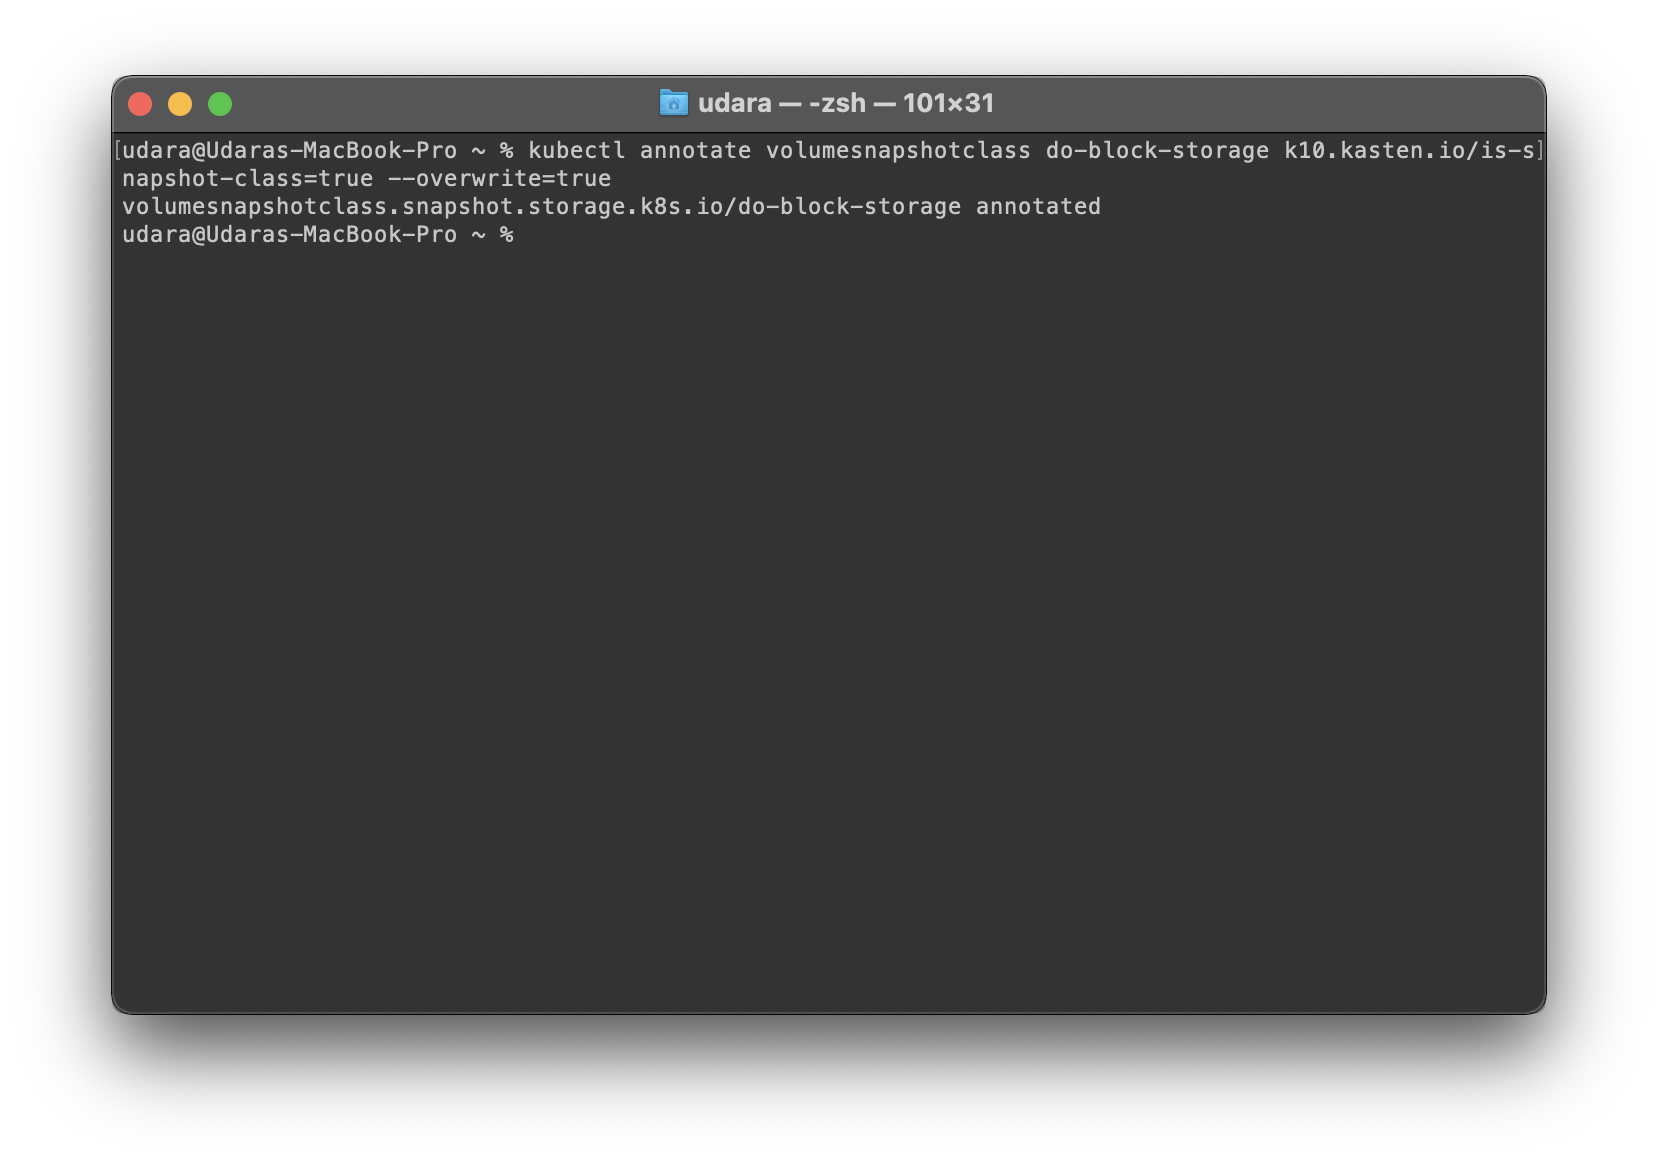
3) Now that we have added dependencies to Helm and created a namespace on our cluster we can install Kasten K10. After running helm install we will need to annotate the VolumeSnapshotClass as specified in Kastens CSI documentation. This will vary depending on where your K8 cluster is deployed.
$ helm install k10 kasten/k10 --namespace=kasten-io
$ kubectl annotate volumesnapshotclass do-block-storage k10.kasten.io/is-snapshot-class=true
4) Check the status of Kastens pod deployments by querying the namespace you installed it on. Once all statuses are reporting back as "Running" Kasten K10 should be fully deployed.
$ kubectl get pods --namespace kasten-io
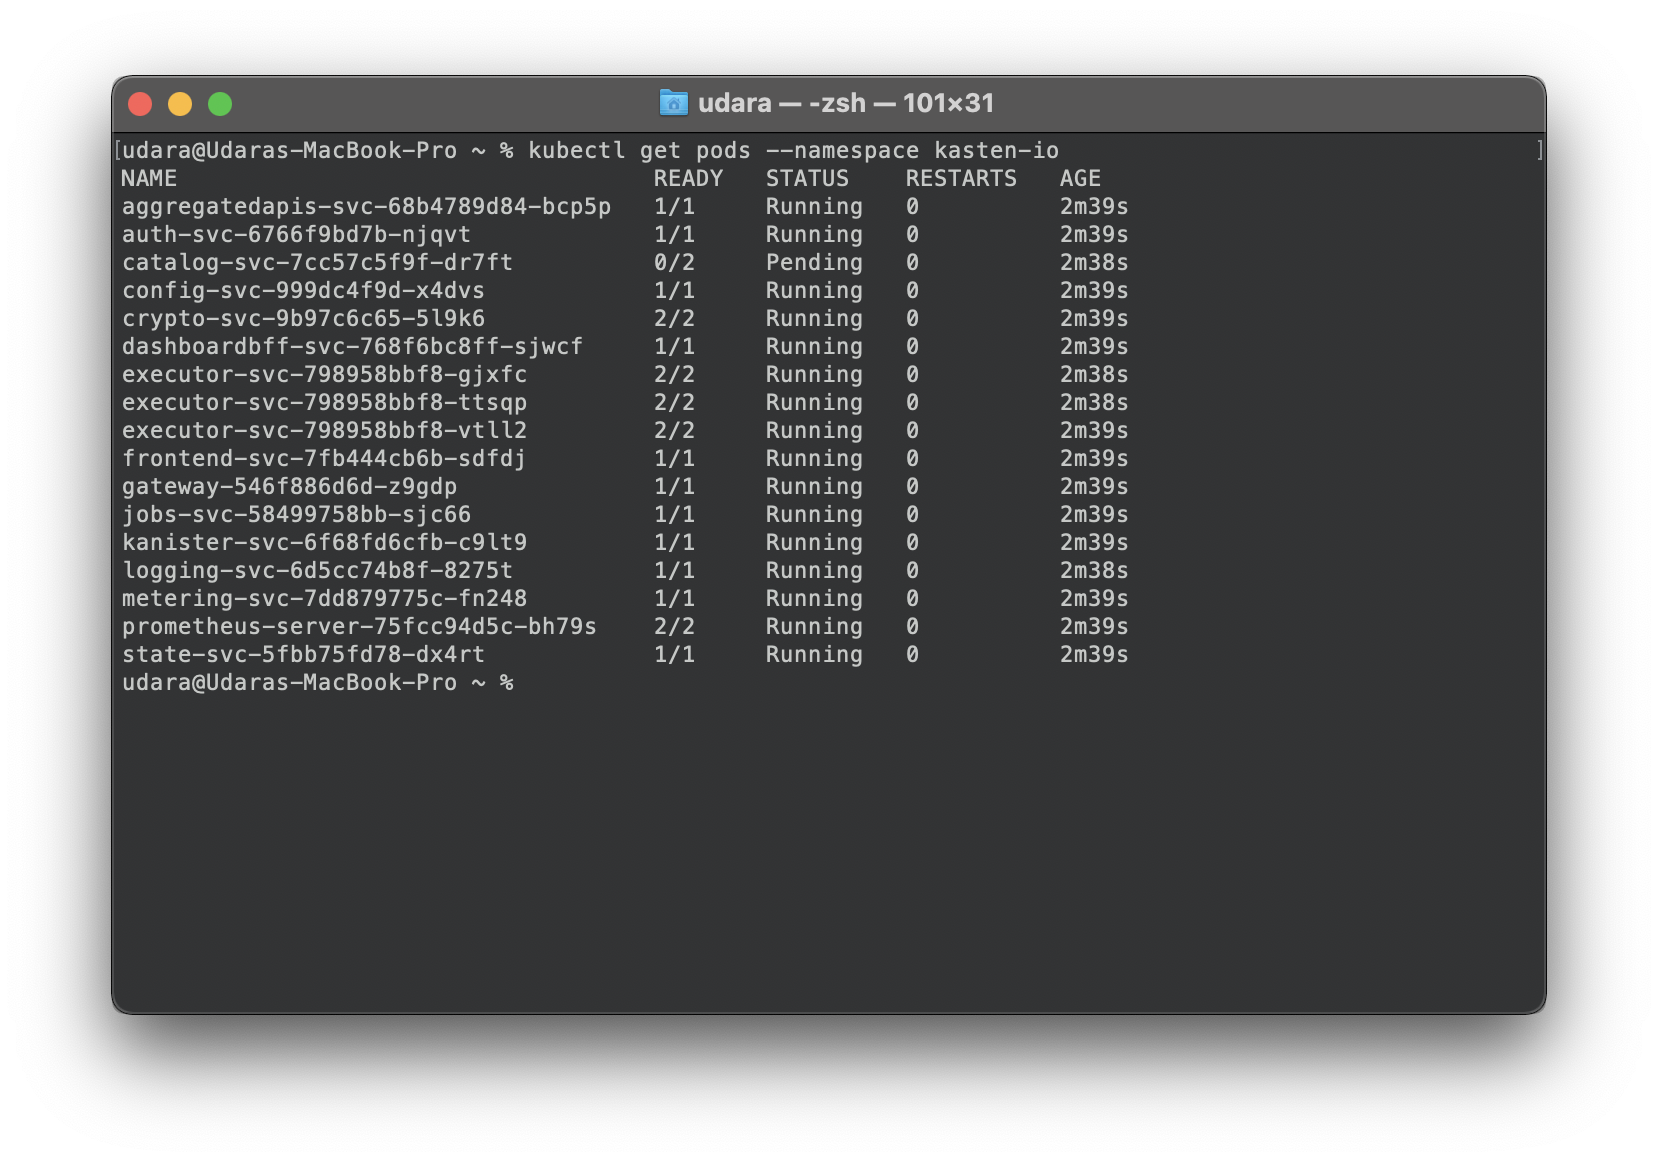
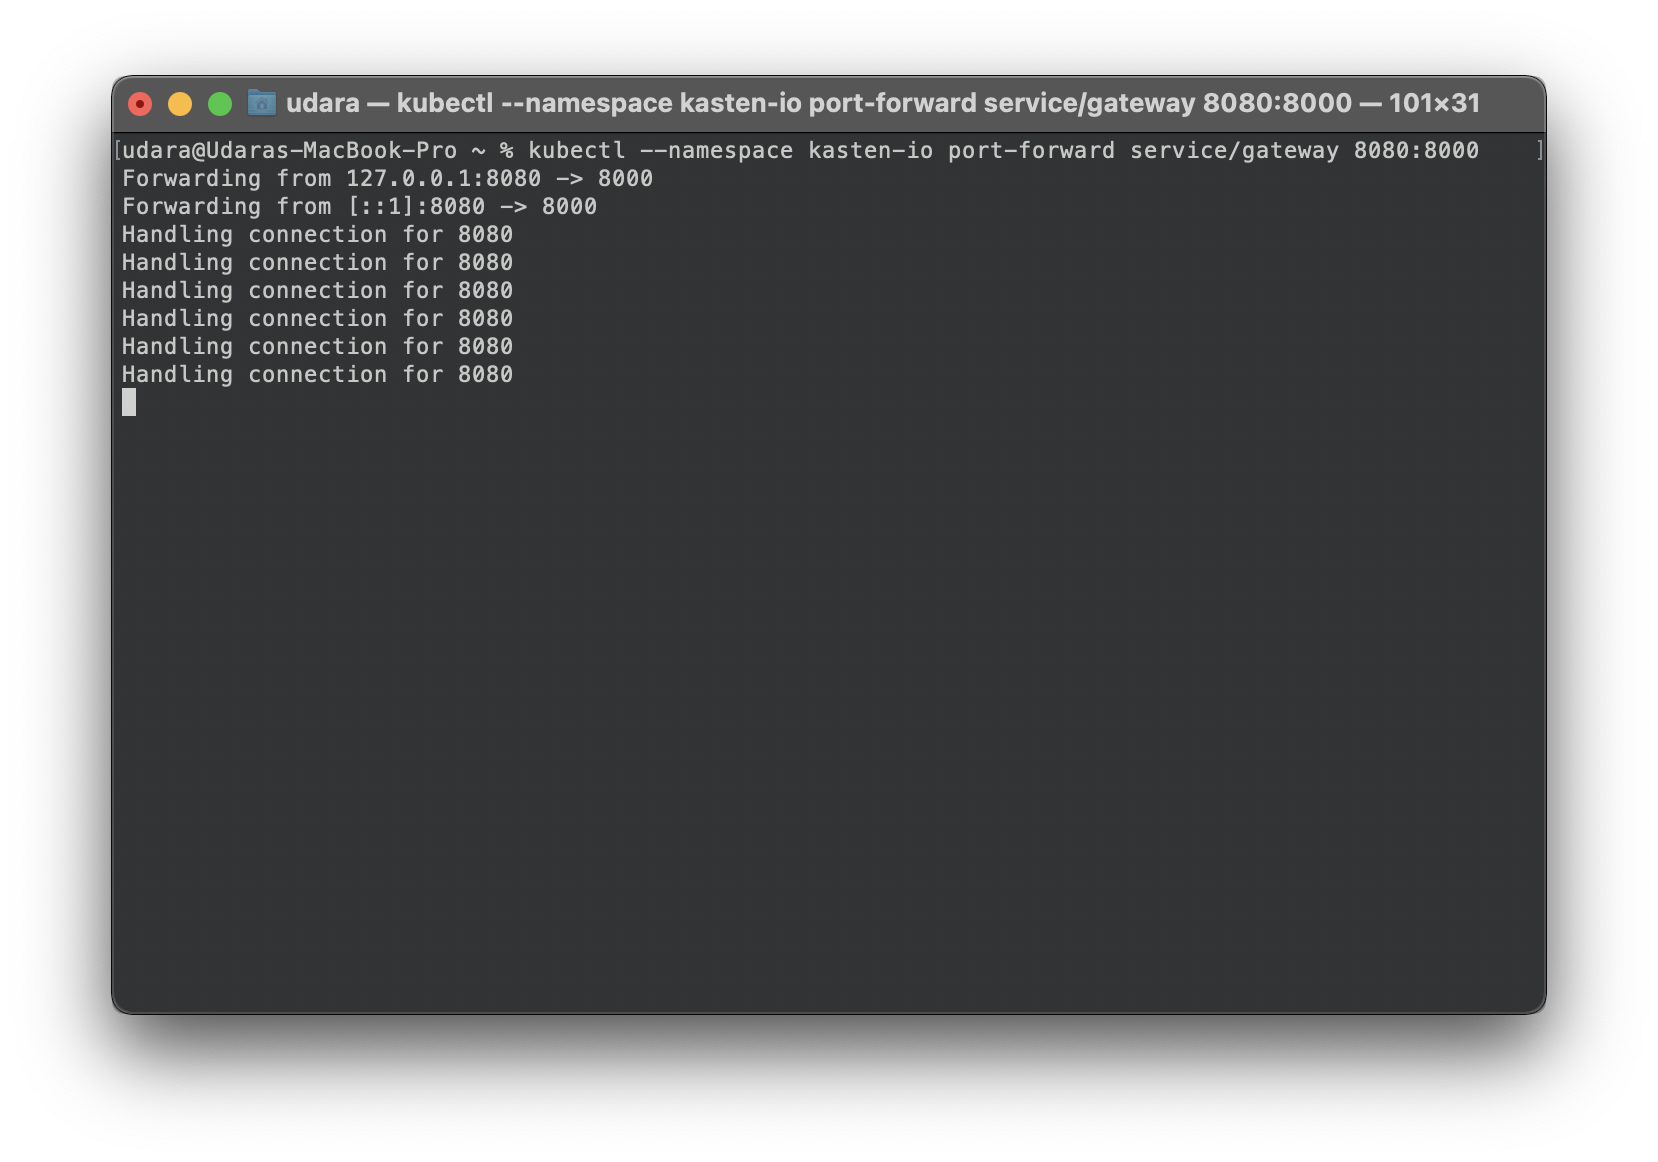
5) By default, the K10 dashboard will not be exposed externally. To establish a connection to it, use the following kubectl command to forward a local port to the K10 ingress port.
You can now navigate to it at http://127.0.0.1:8080/k10/#/
$ kubectl --namespace kasten-io port-forward service/gateway 8080:8000
Configure Kasten K10
1) Navigate to Settings located at the top right of your Kasten Dashboard.
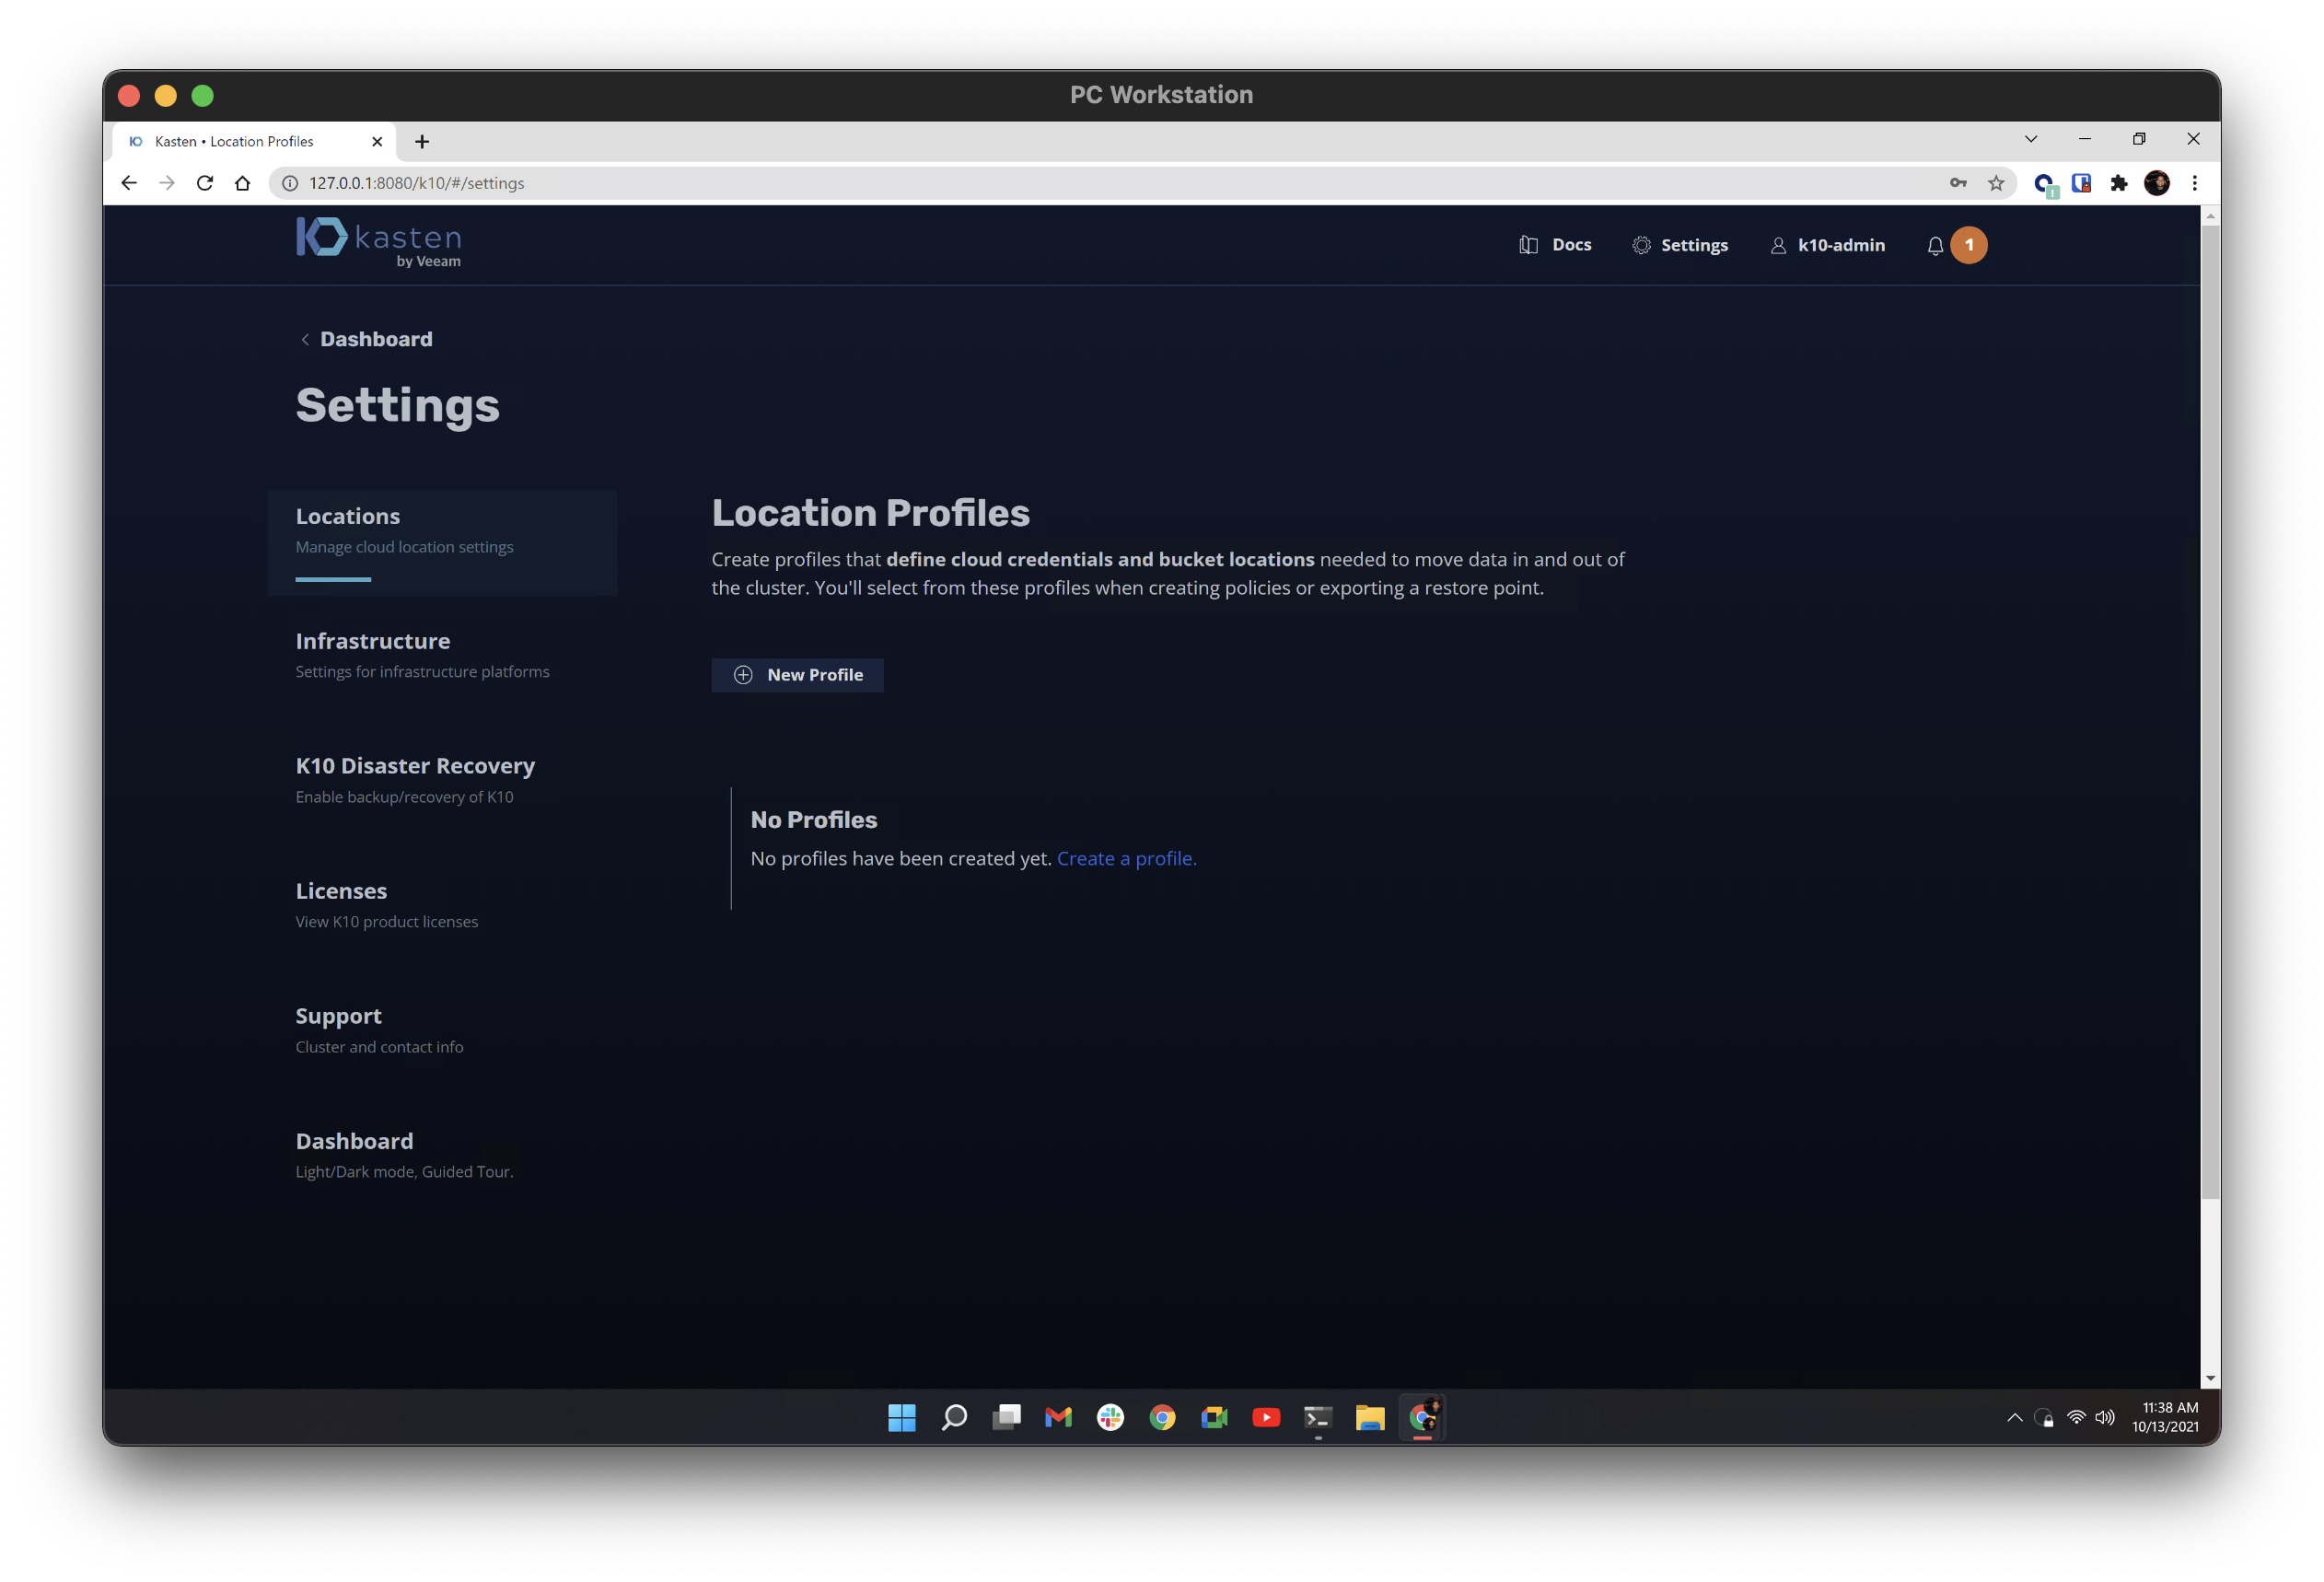
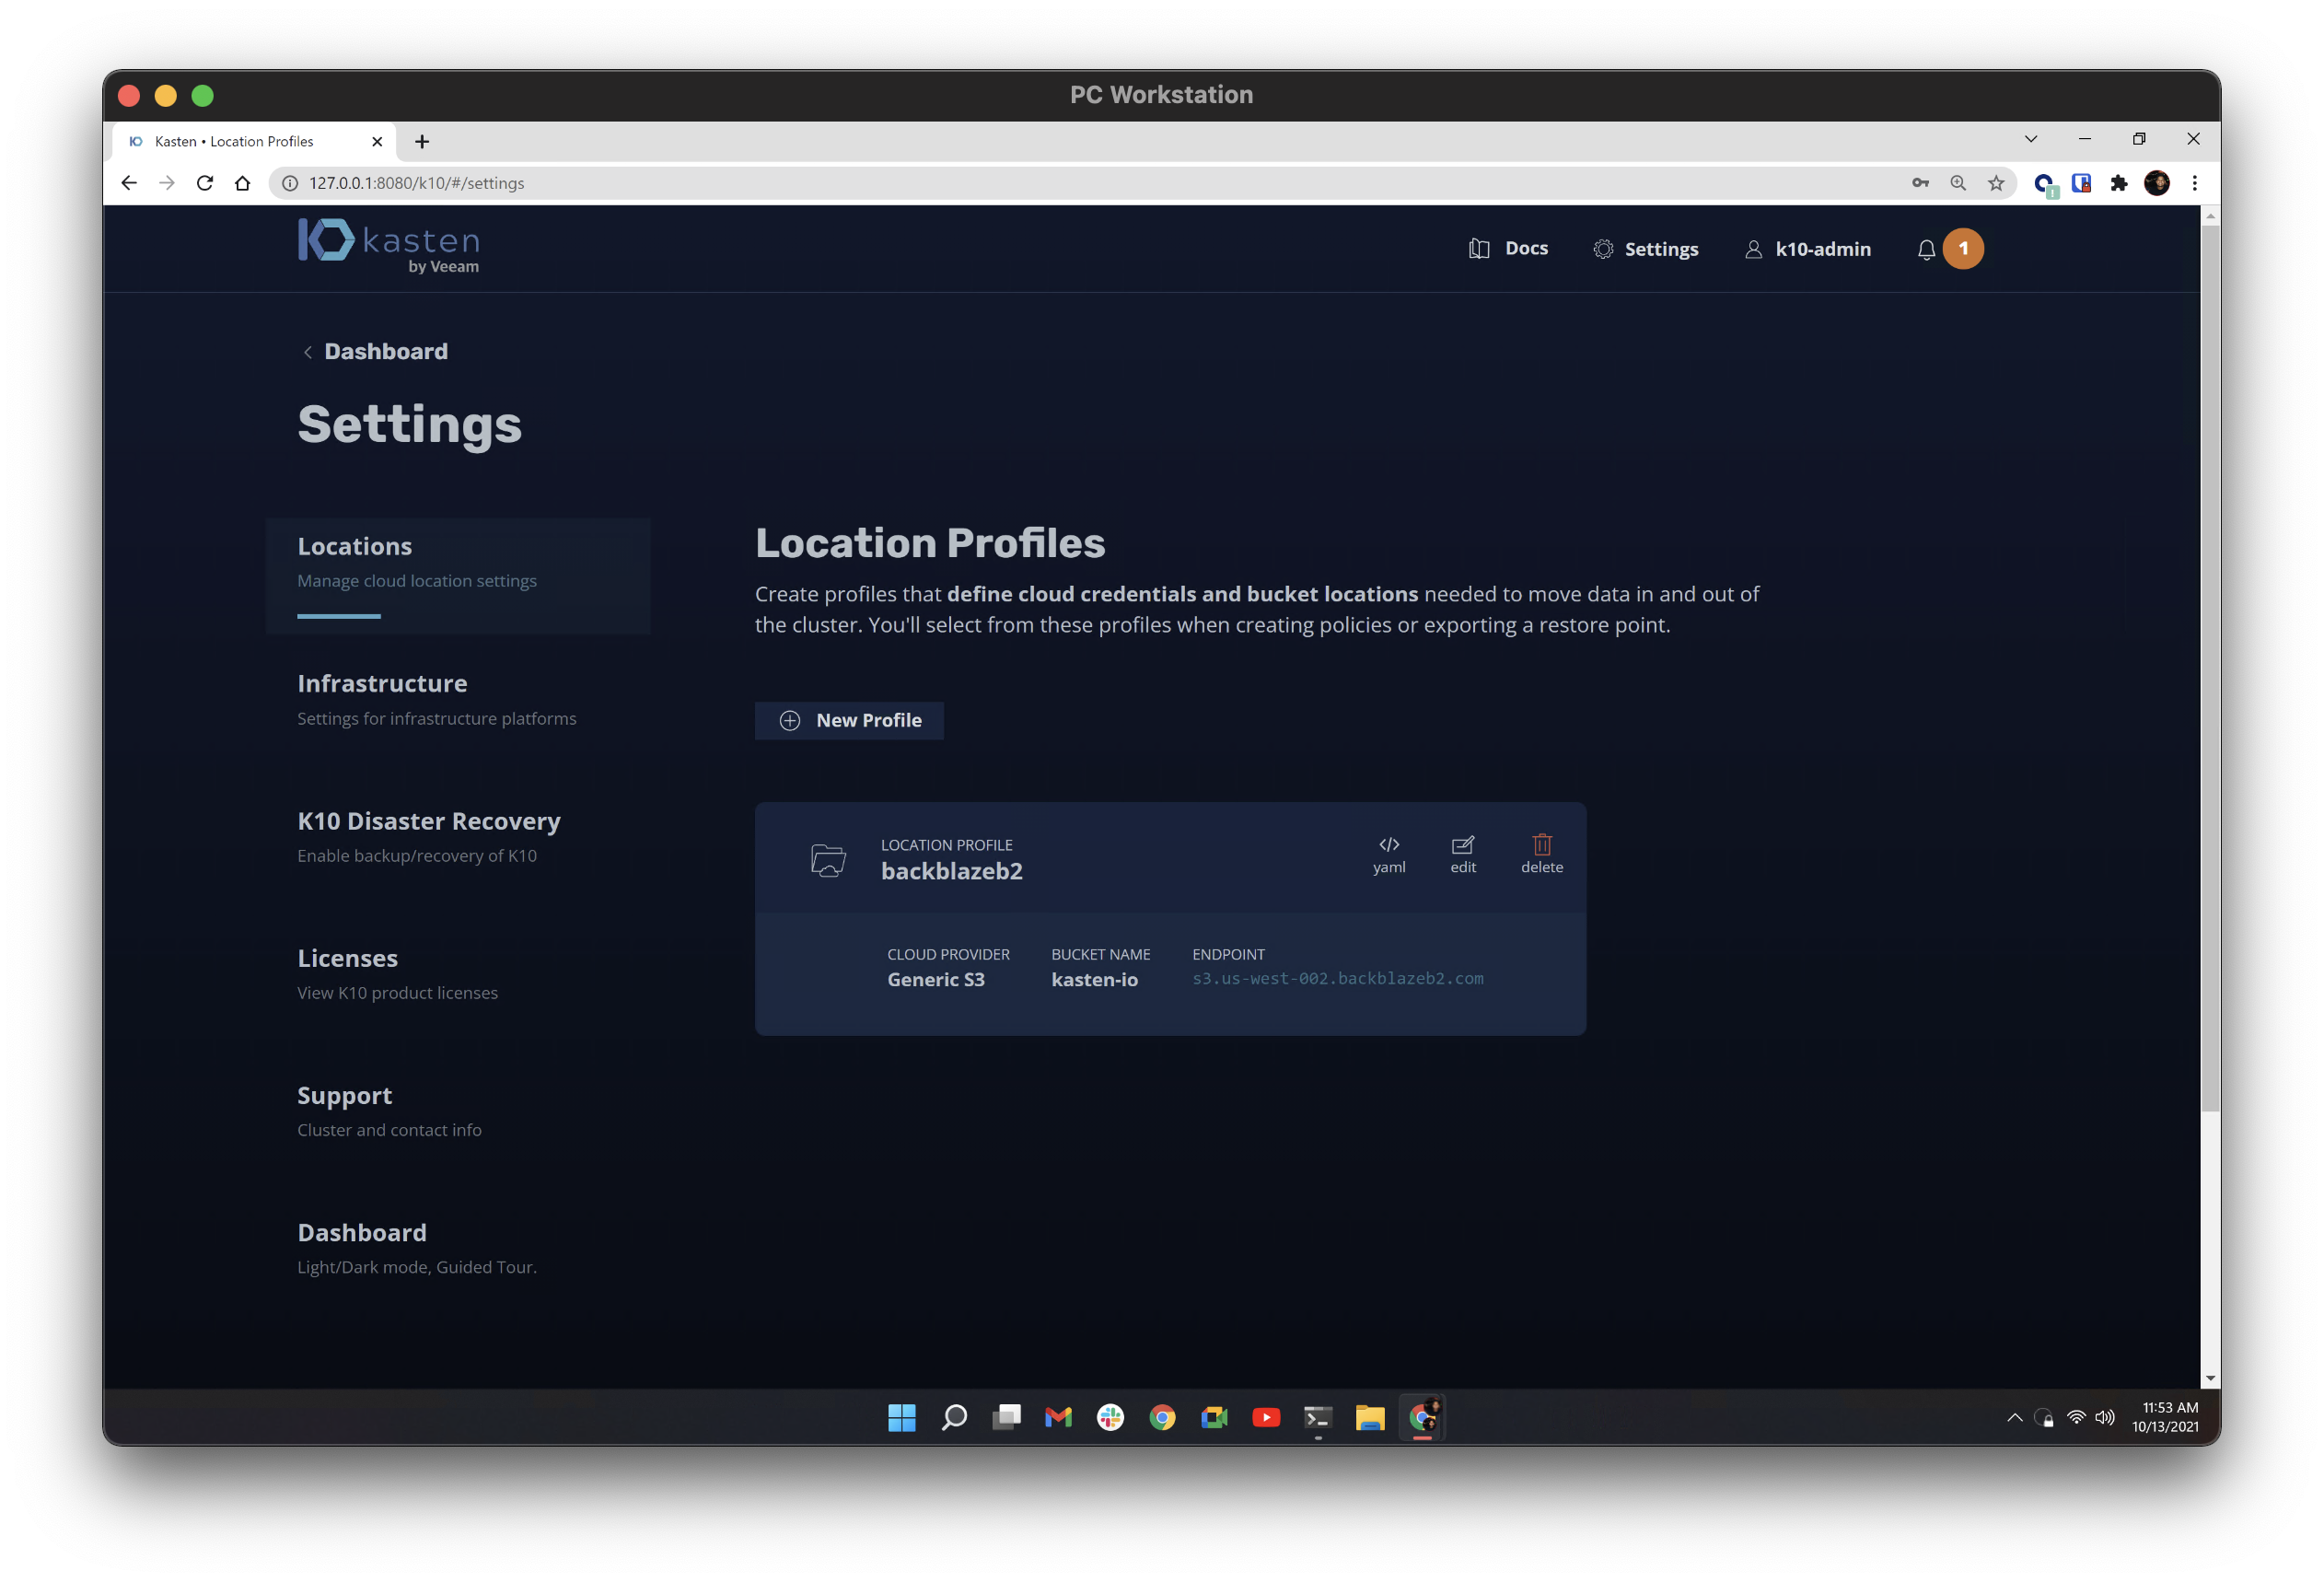
2) In Locations select New Profile. Here you will be able to configure B2 into Kasten using our S3 Compatible API.
Give your storage profile a name and select S3 Compatible as its Cloud Storage Provider type.
The following fields correspond to the values we obtained from the B2 website earlier as follows. All values are case-sensitive.
- B2 keyID = S3 Access Key
- B2 applicationKey = S3 Secret
- B2 Bucket Endpoint = Endpoint
- B2 Bucket Name = Bucket Name
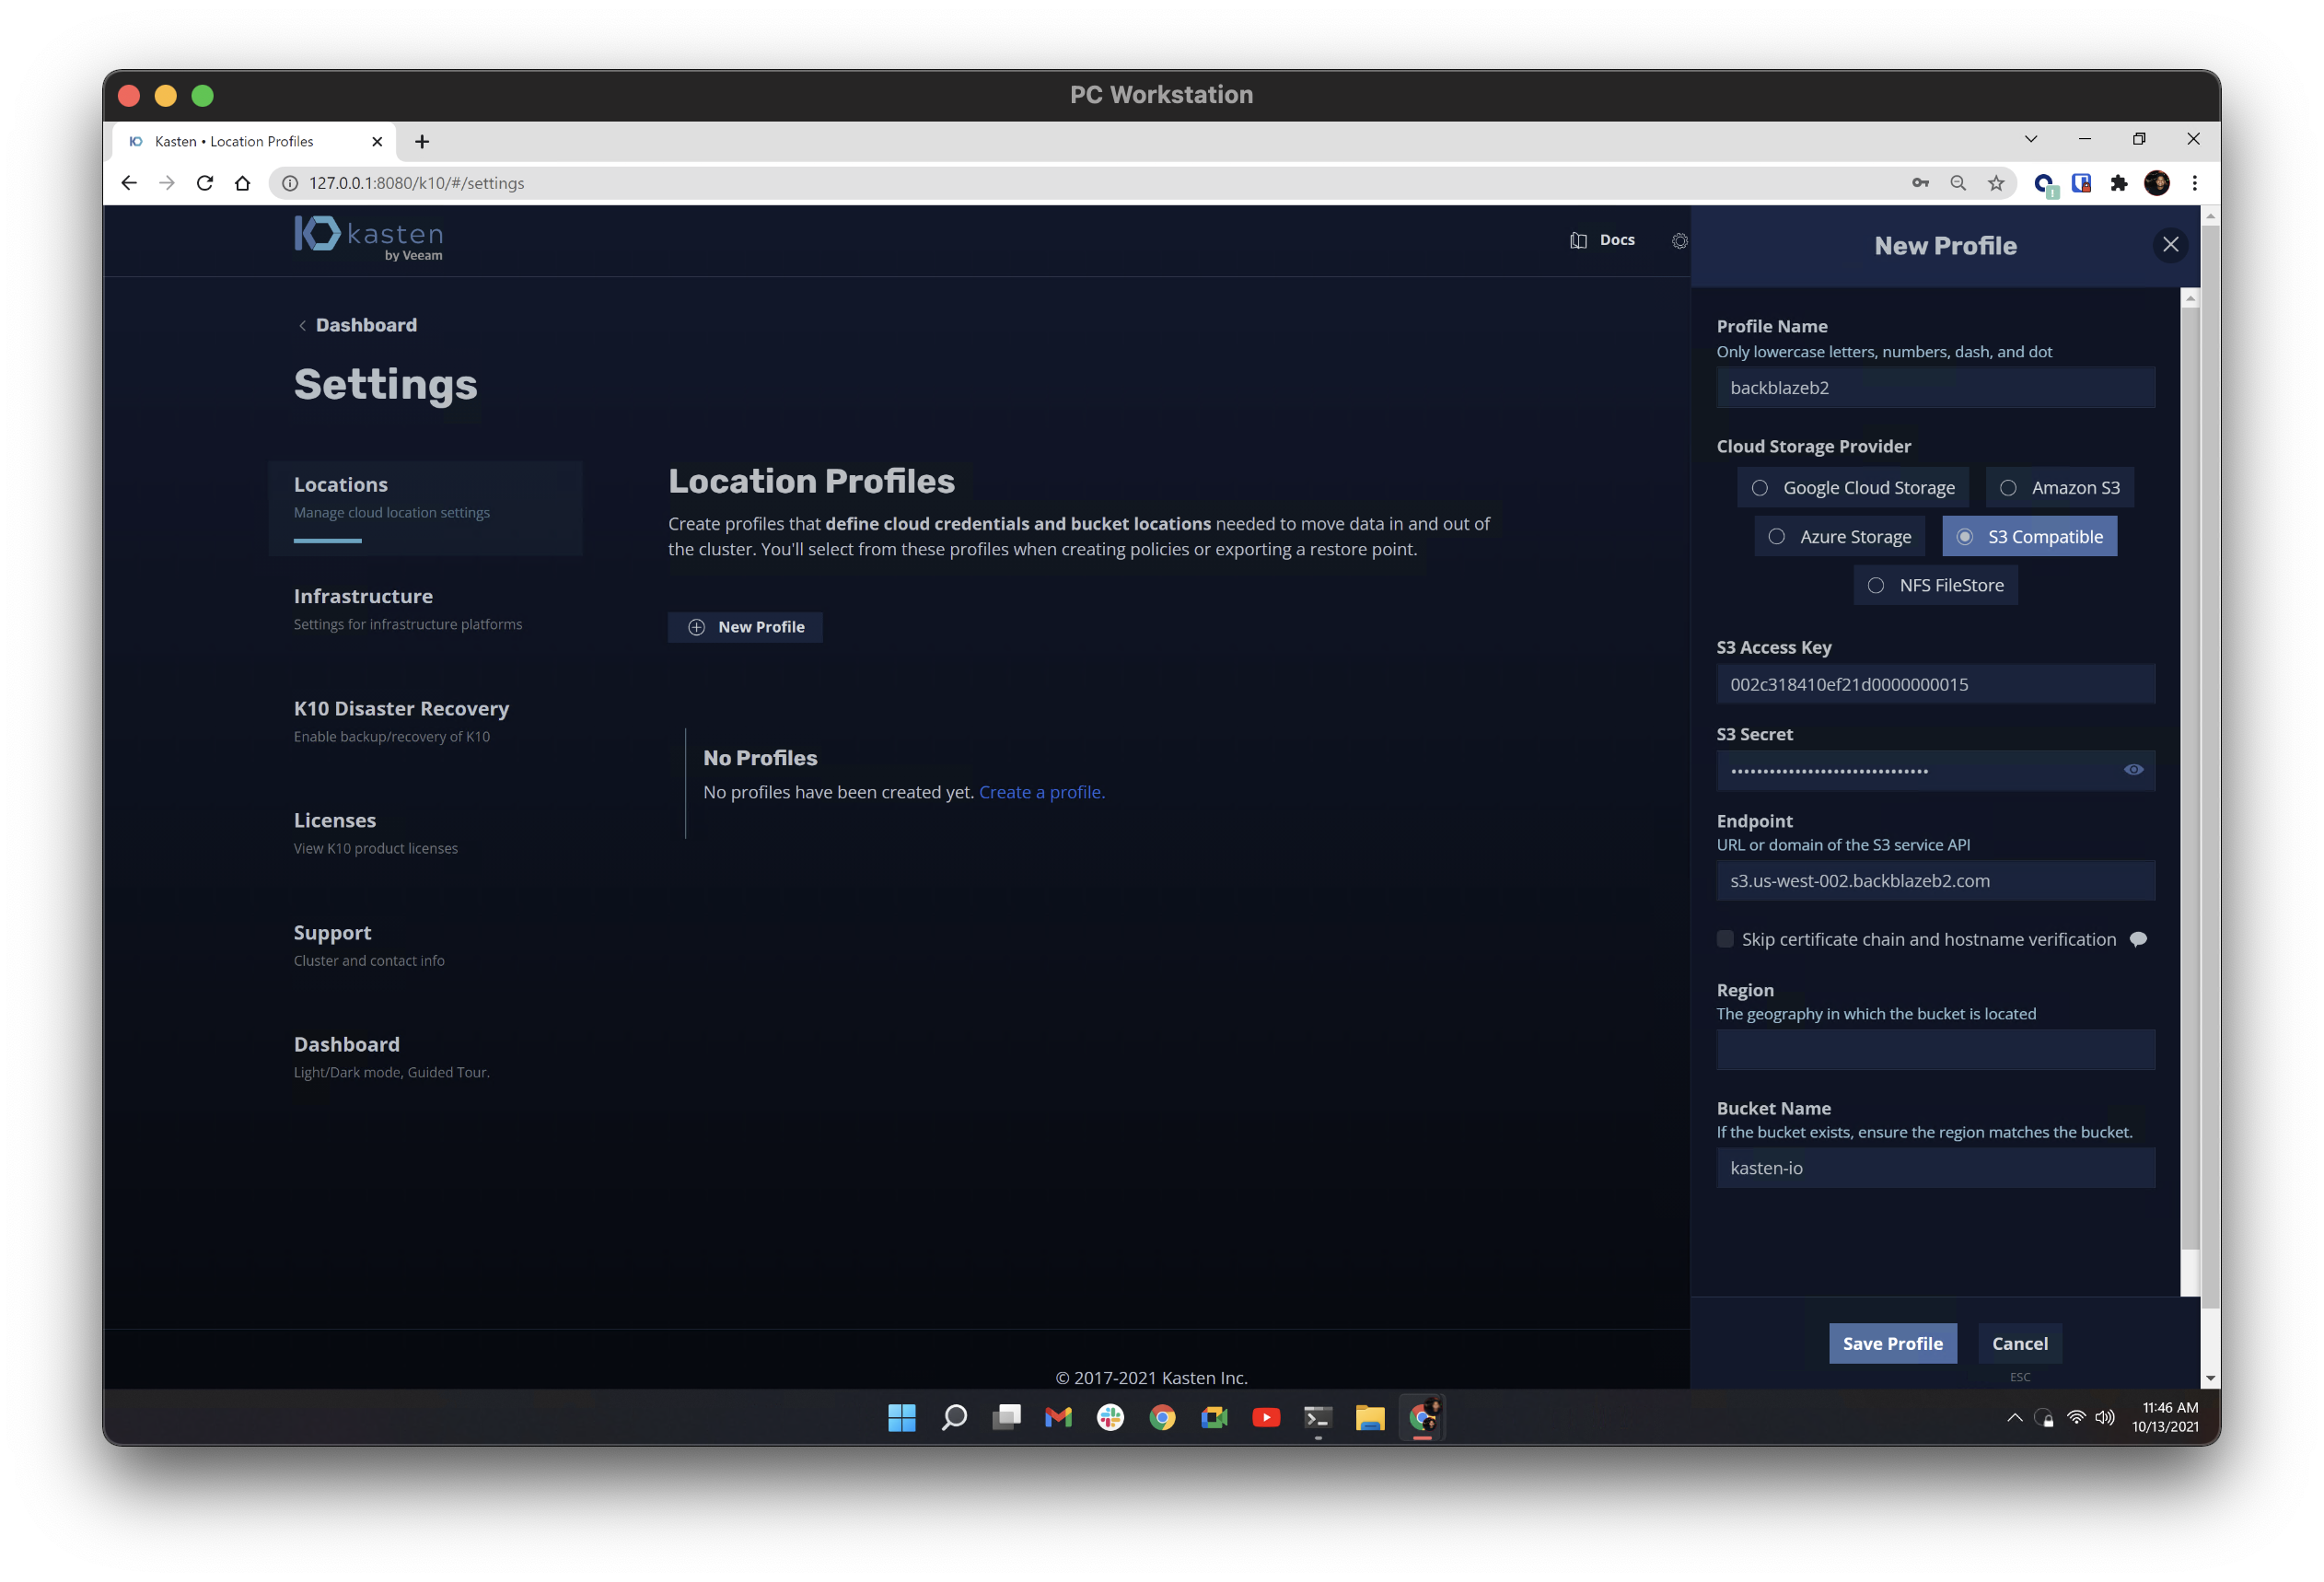
3) Select Save Profile to save the configuration. Assuming all values were filled in correctly you shouldn't see any errors appear within the location profile.
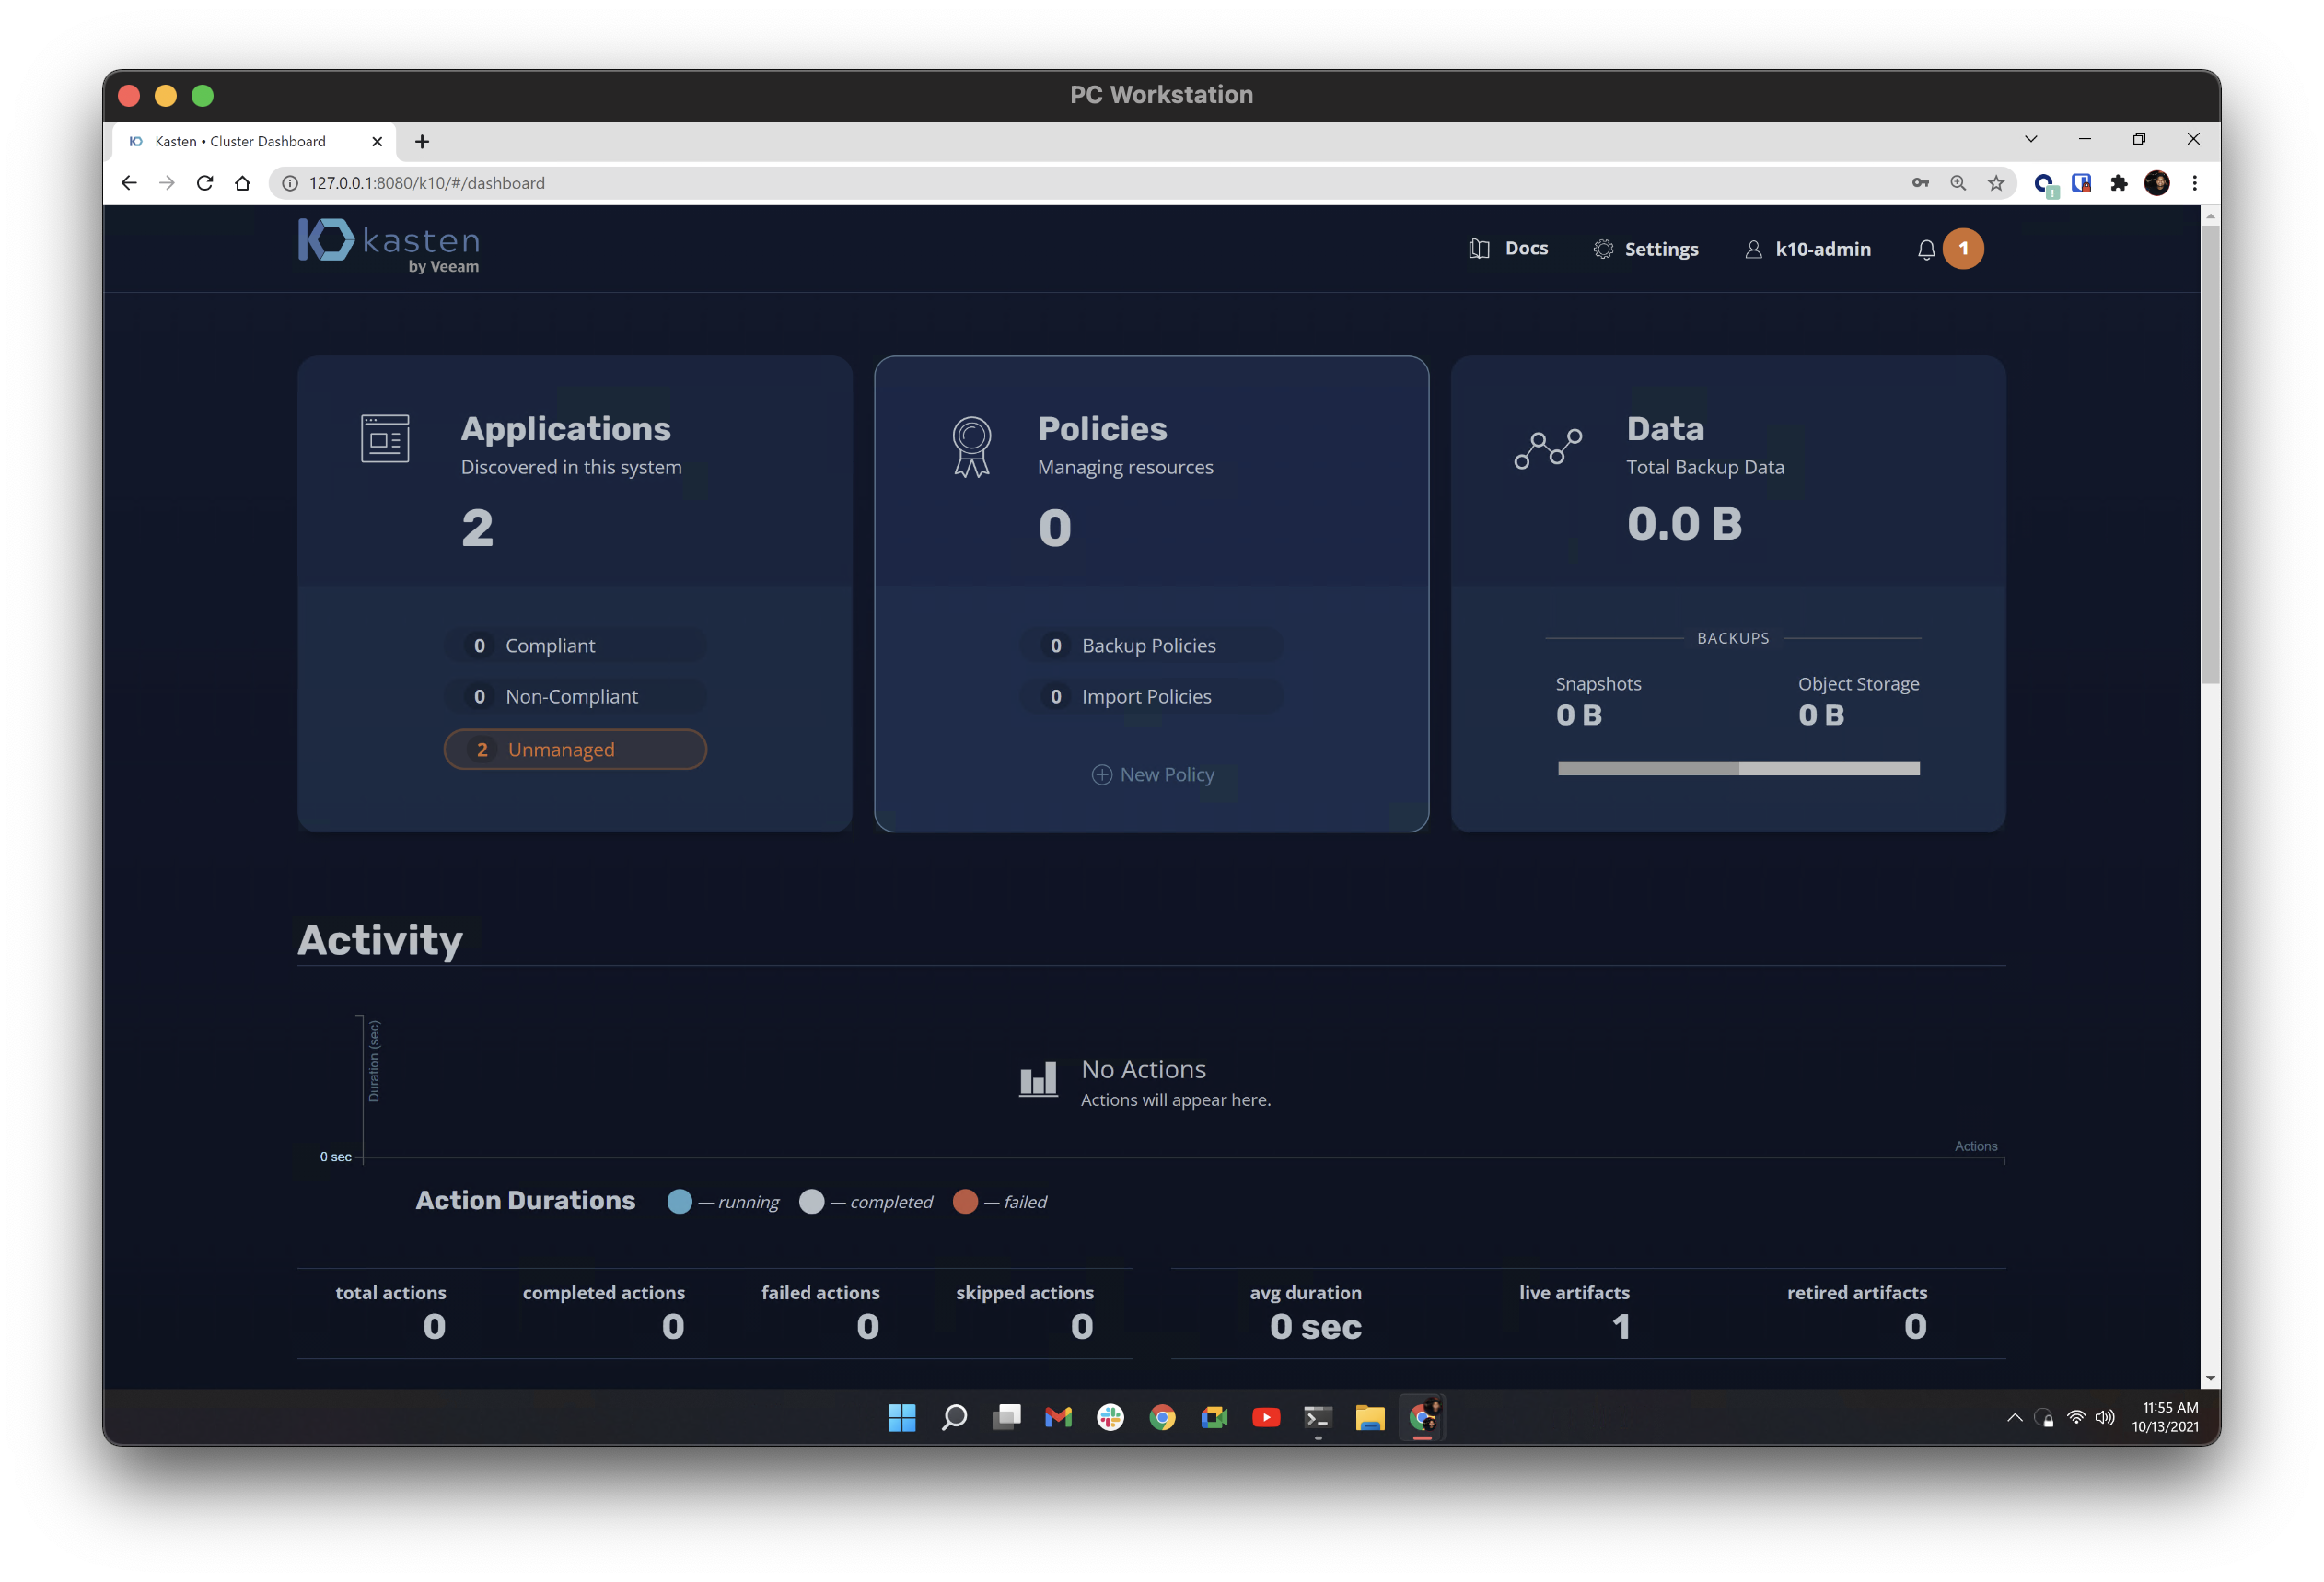
4) Now you can set up yor first Backup Policy. On the dashboard you will see a Policies section. This will house all of your backup policies for the different applications you are running. Select this section.
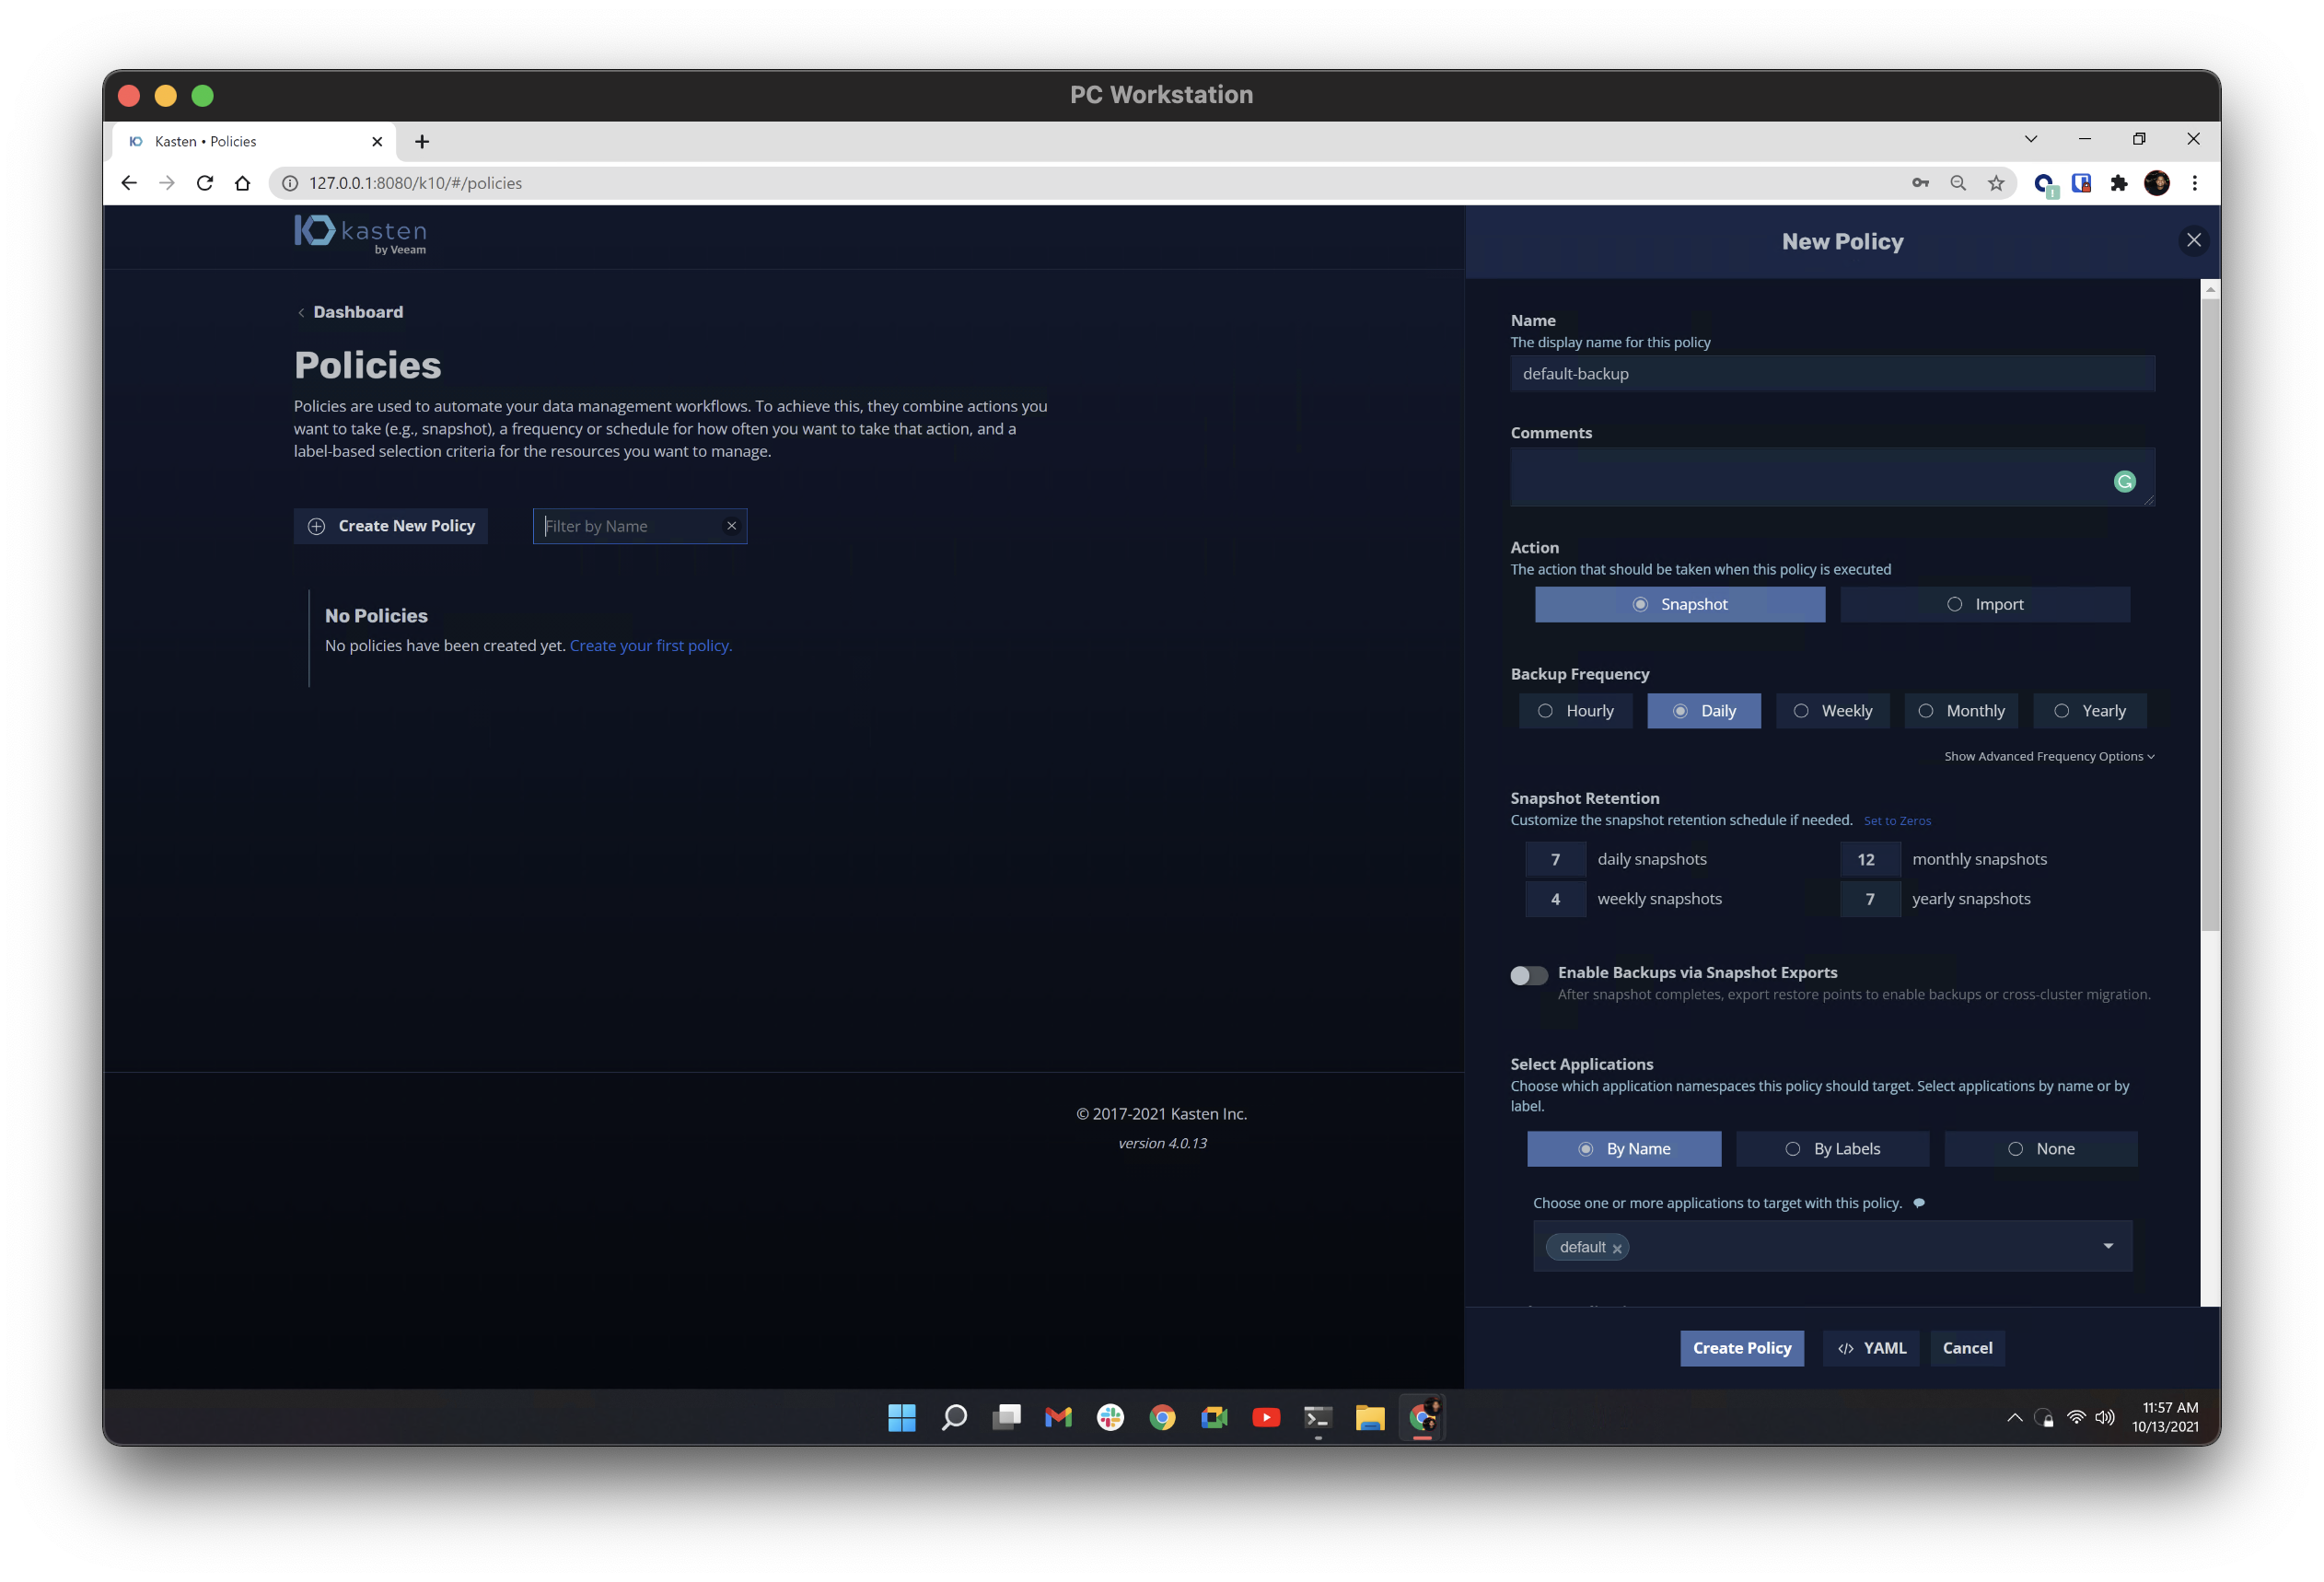
5) Select Create New Policy. Here you will be able to configure and fine tune your settings for your backup policy. In this simple example Ill set up a daily snapshot backup for my default K8 application. make sure your Location Profile For Kanister Actions is set to your Backblaze B2 profile that we created earlier.
For more information on fine-tuning policy settings see Kastens guide.
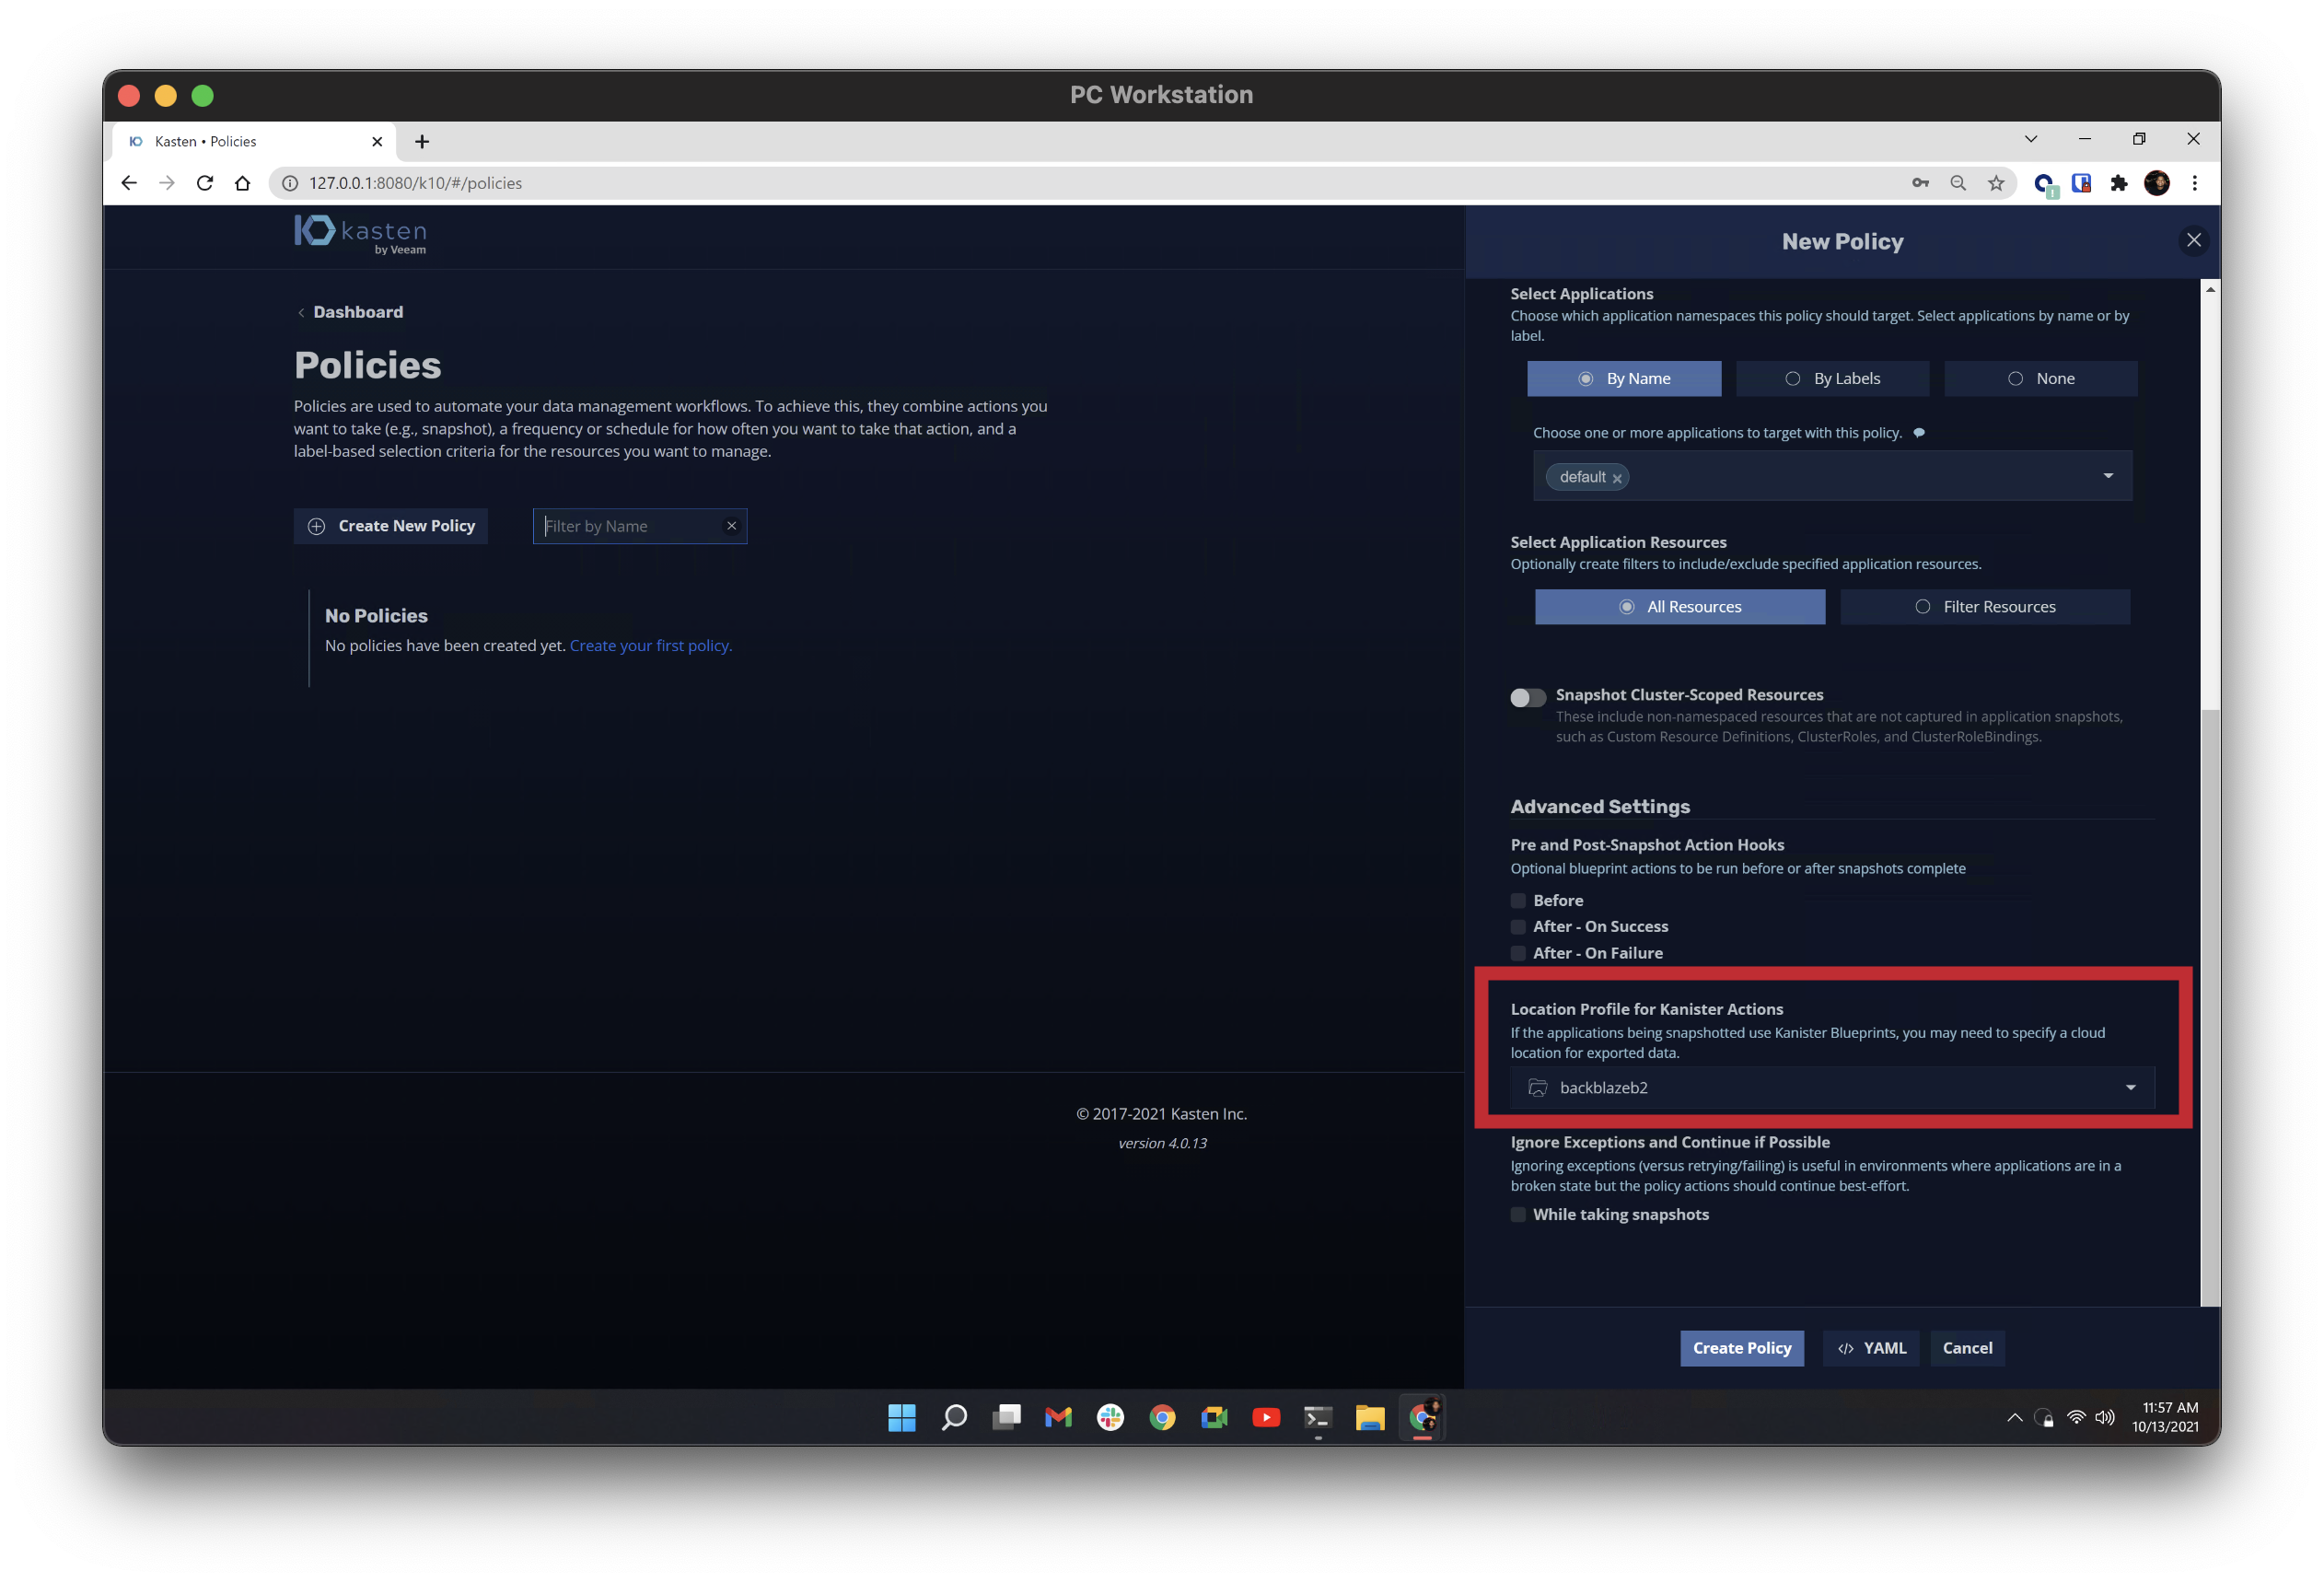
6) Select Create Policy. Congratulations, you have set up your first Kubernetes Backup job through Kasten writing directly to your B2 storage bucket!
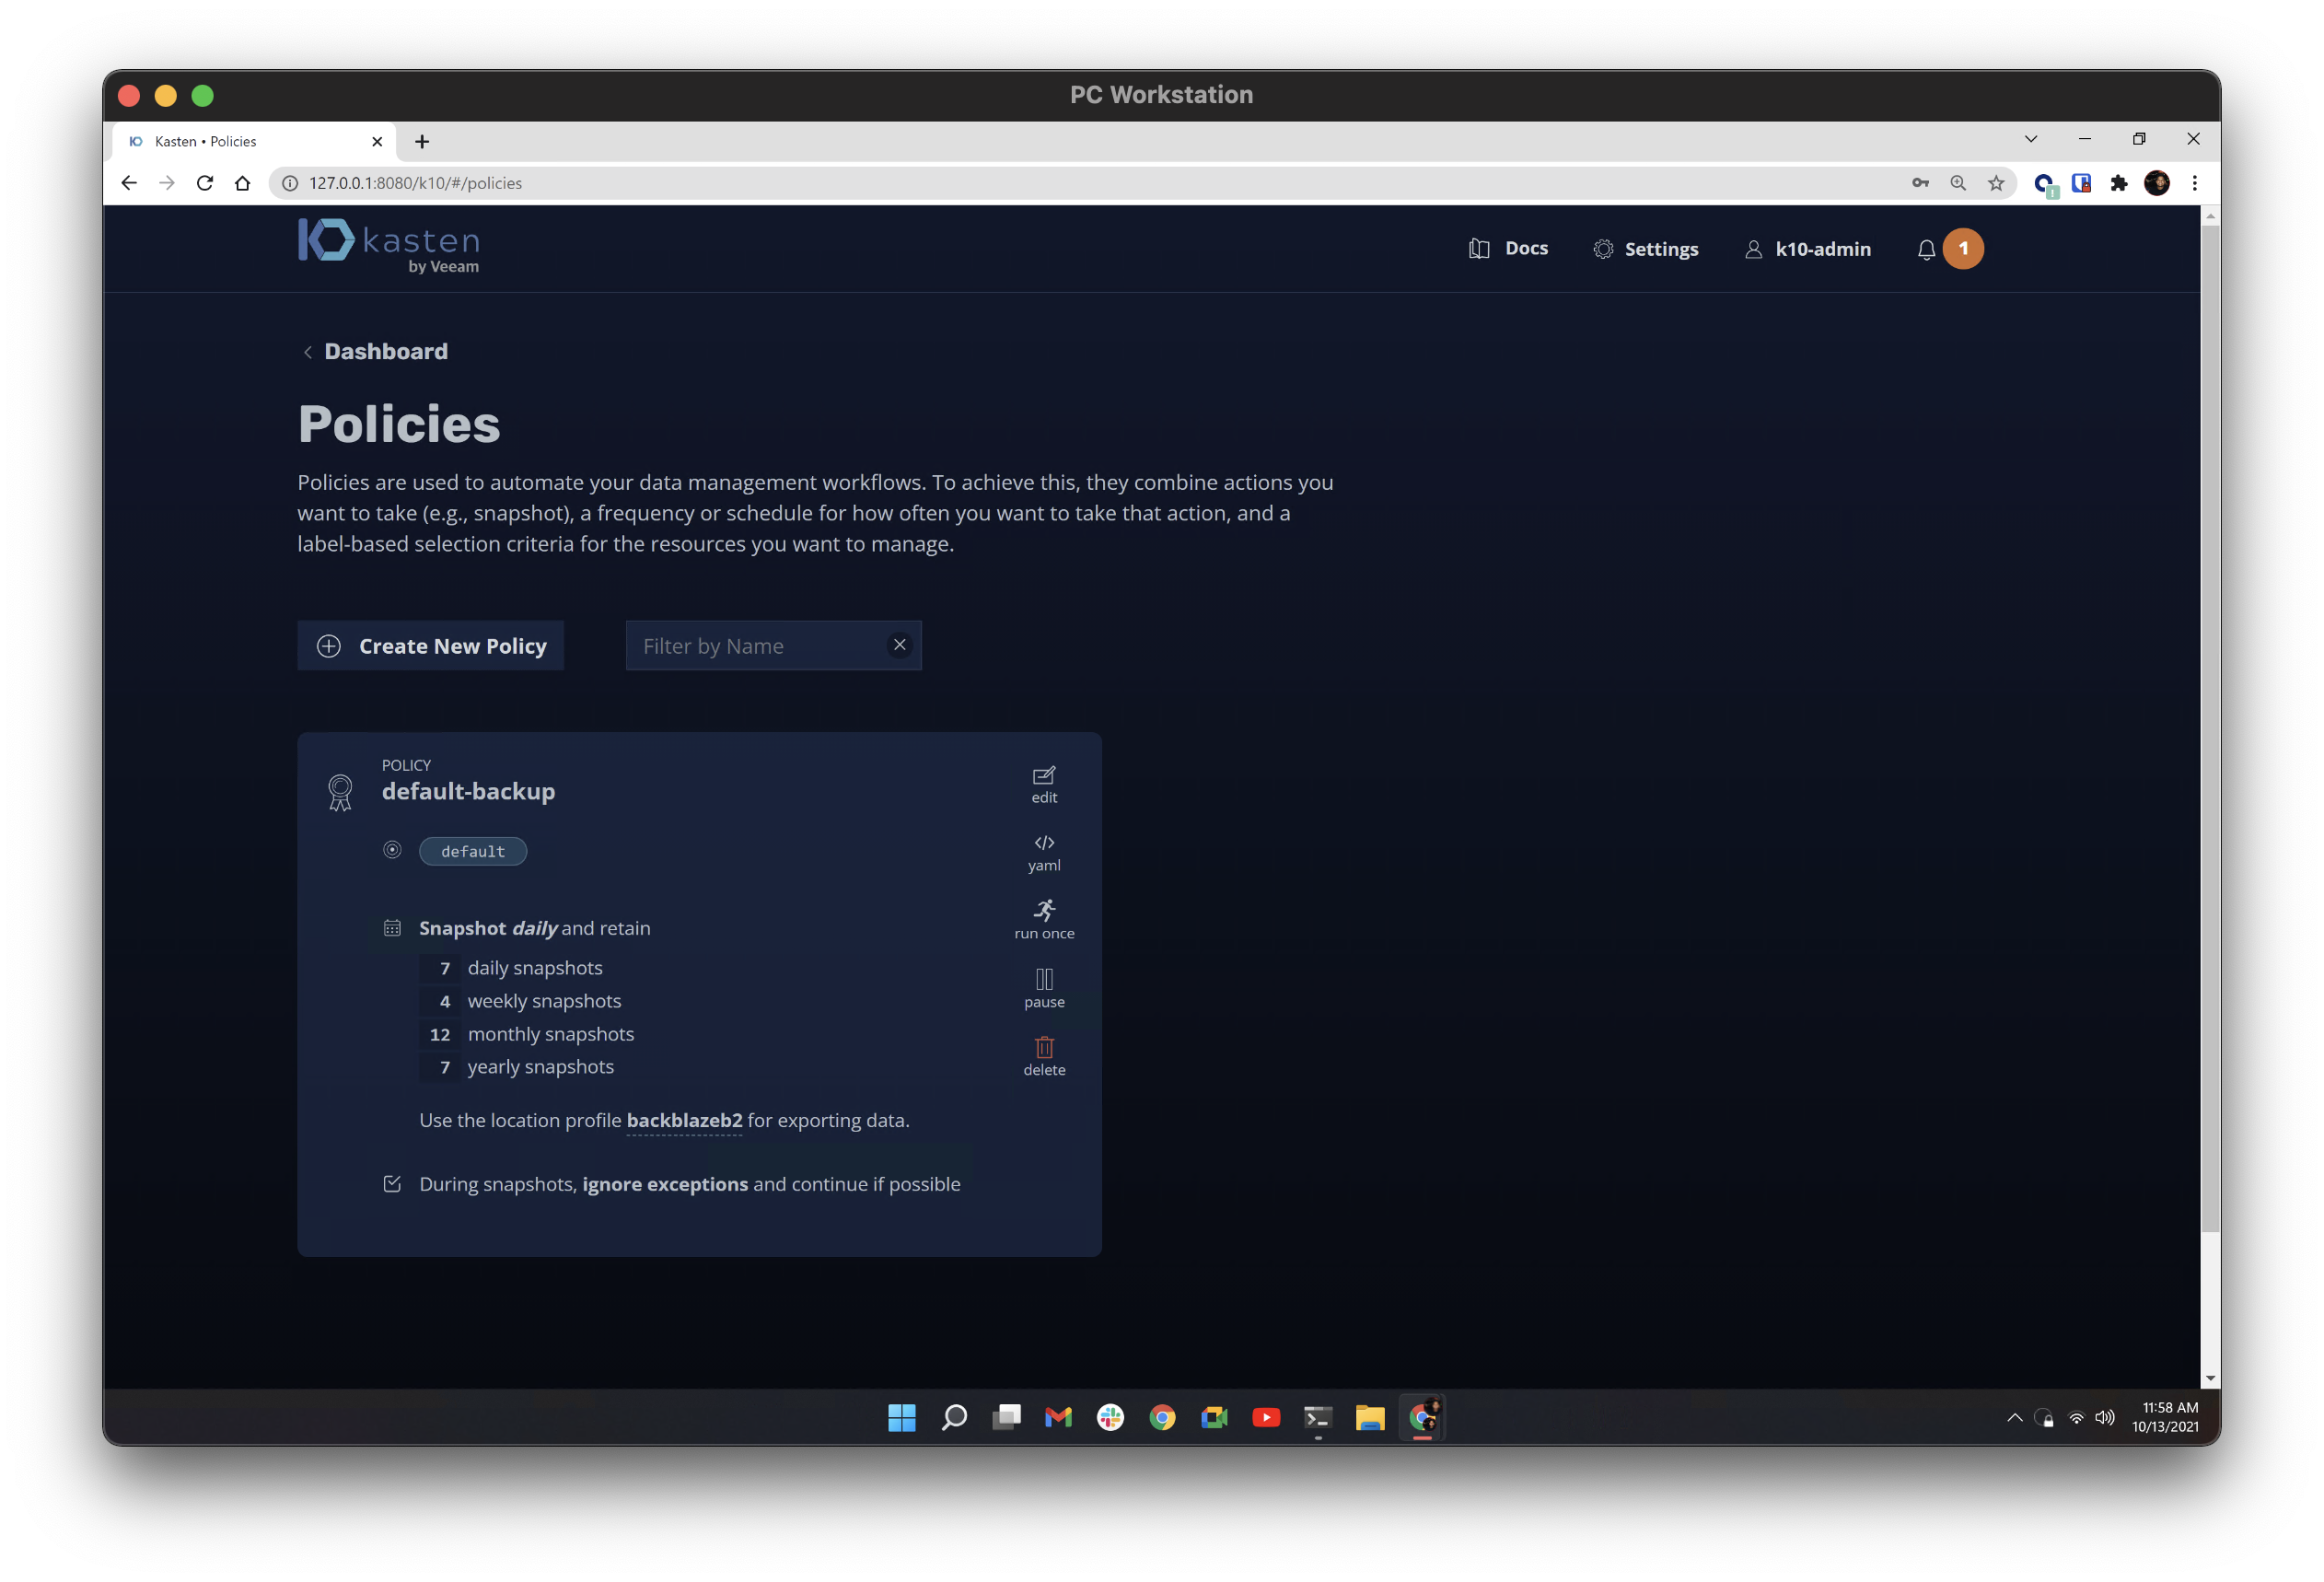
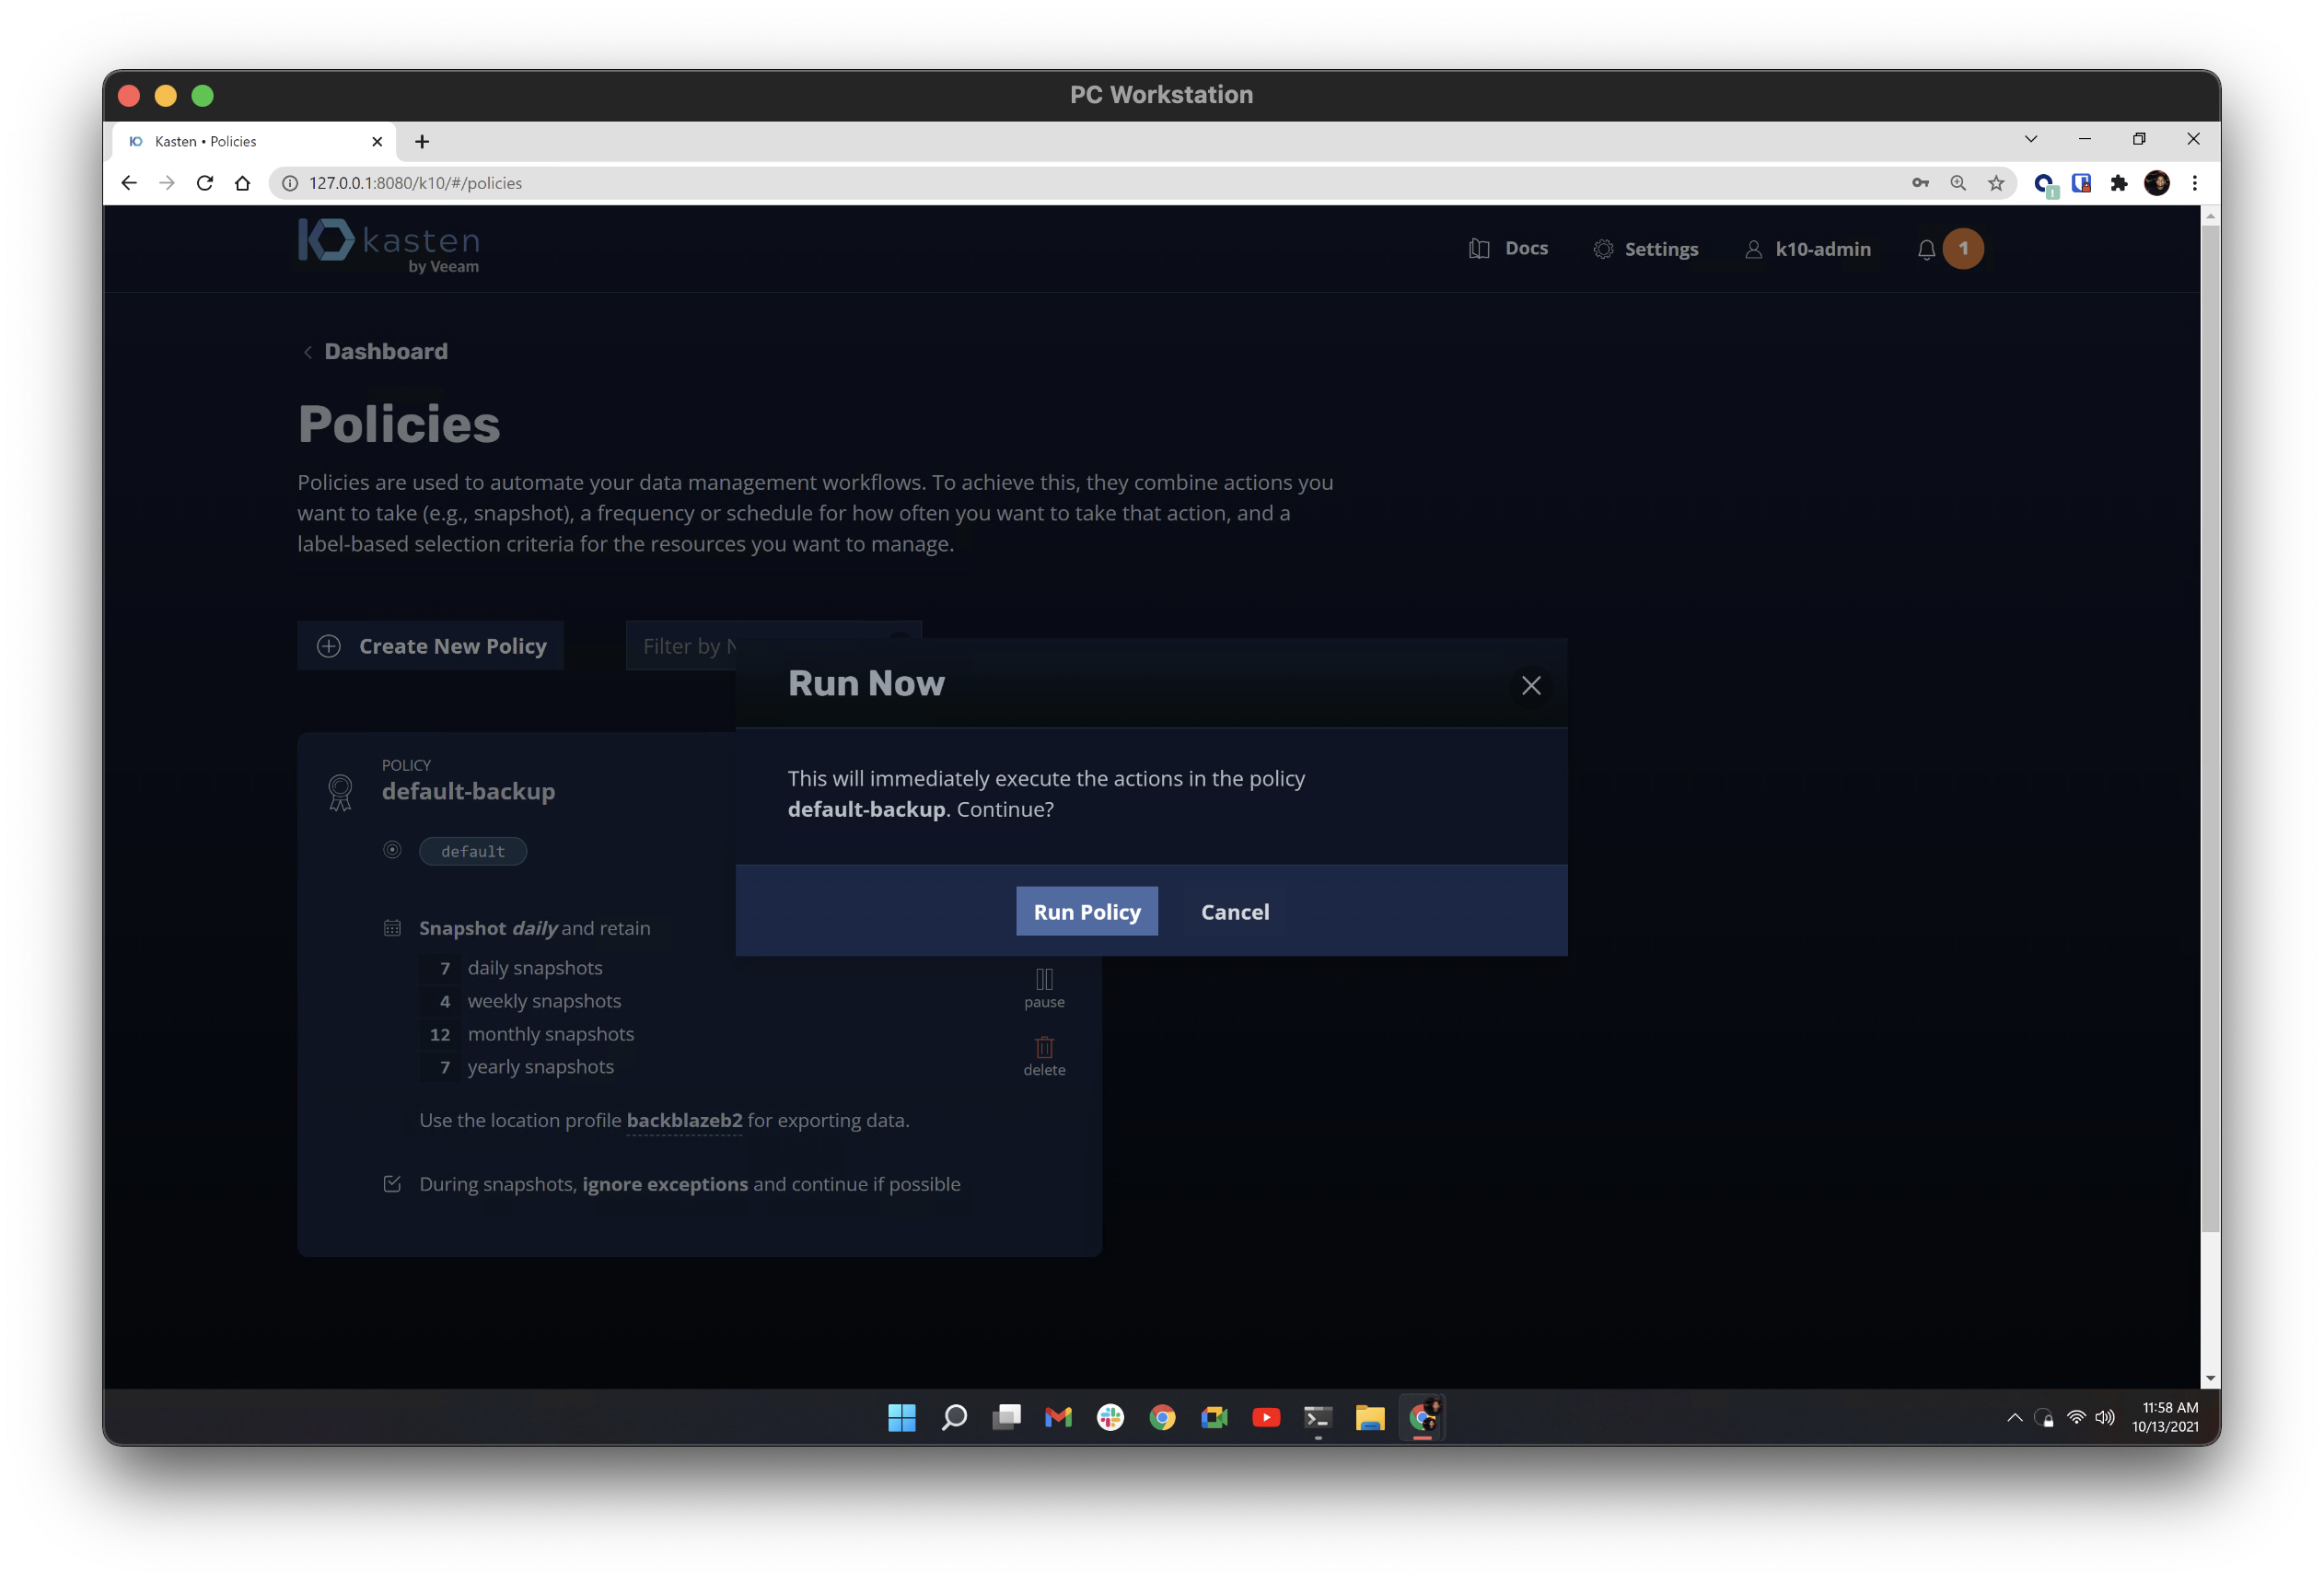
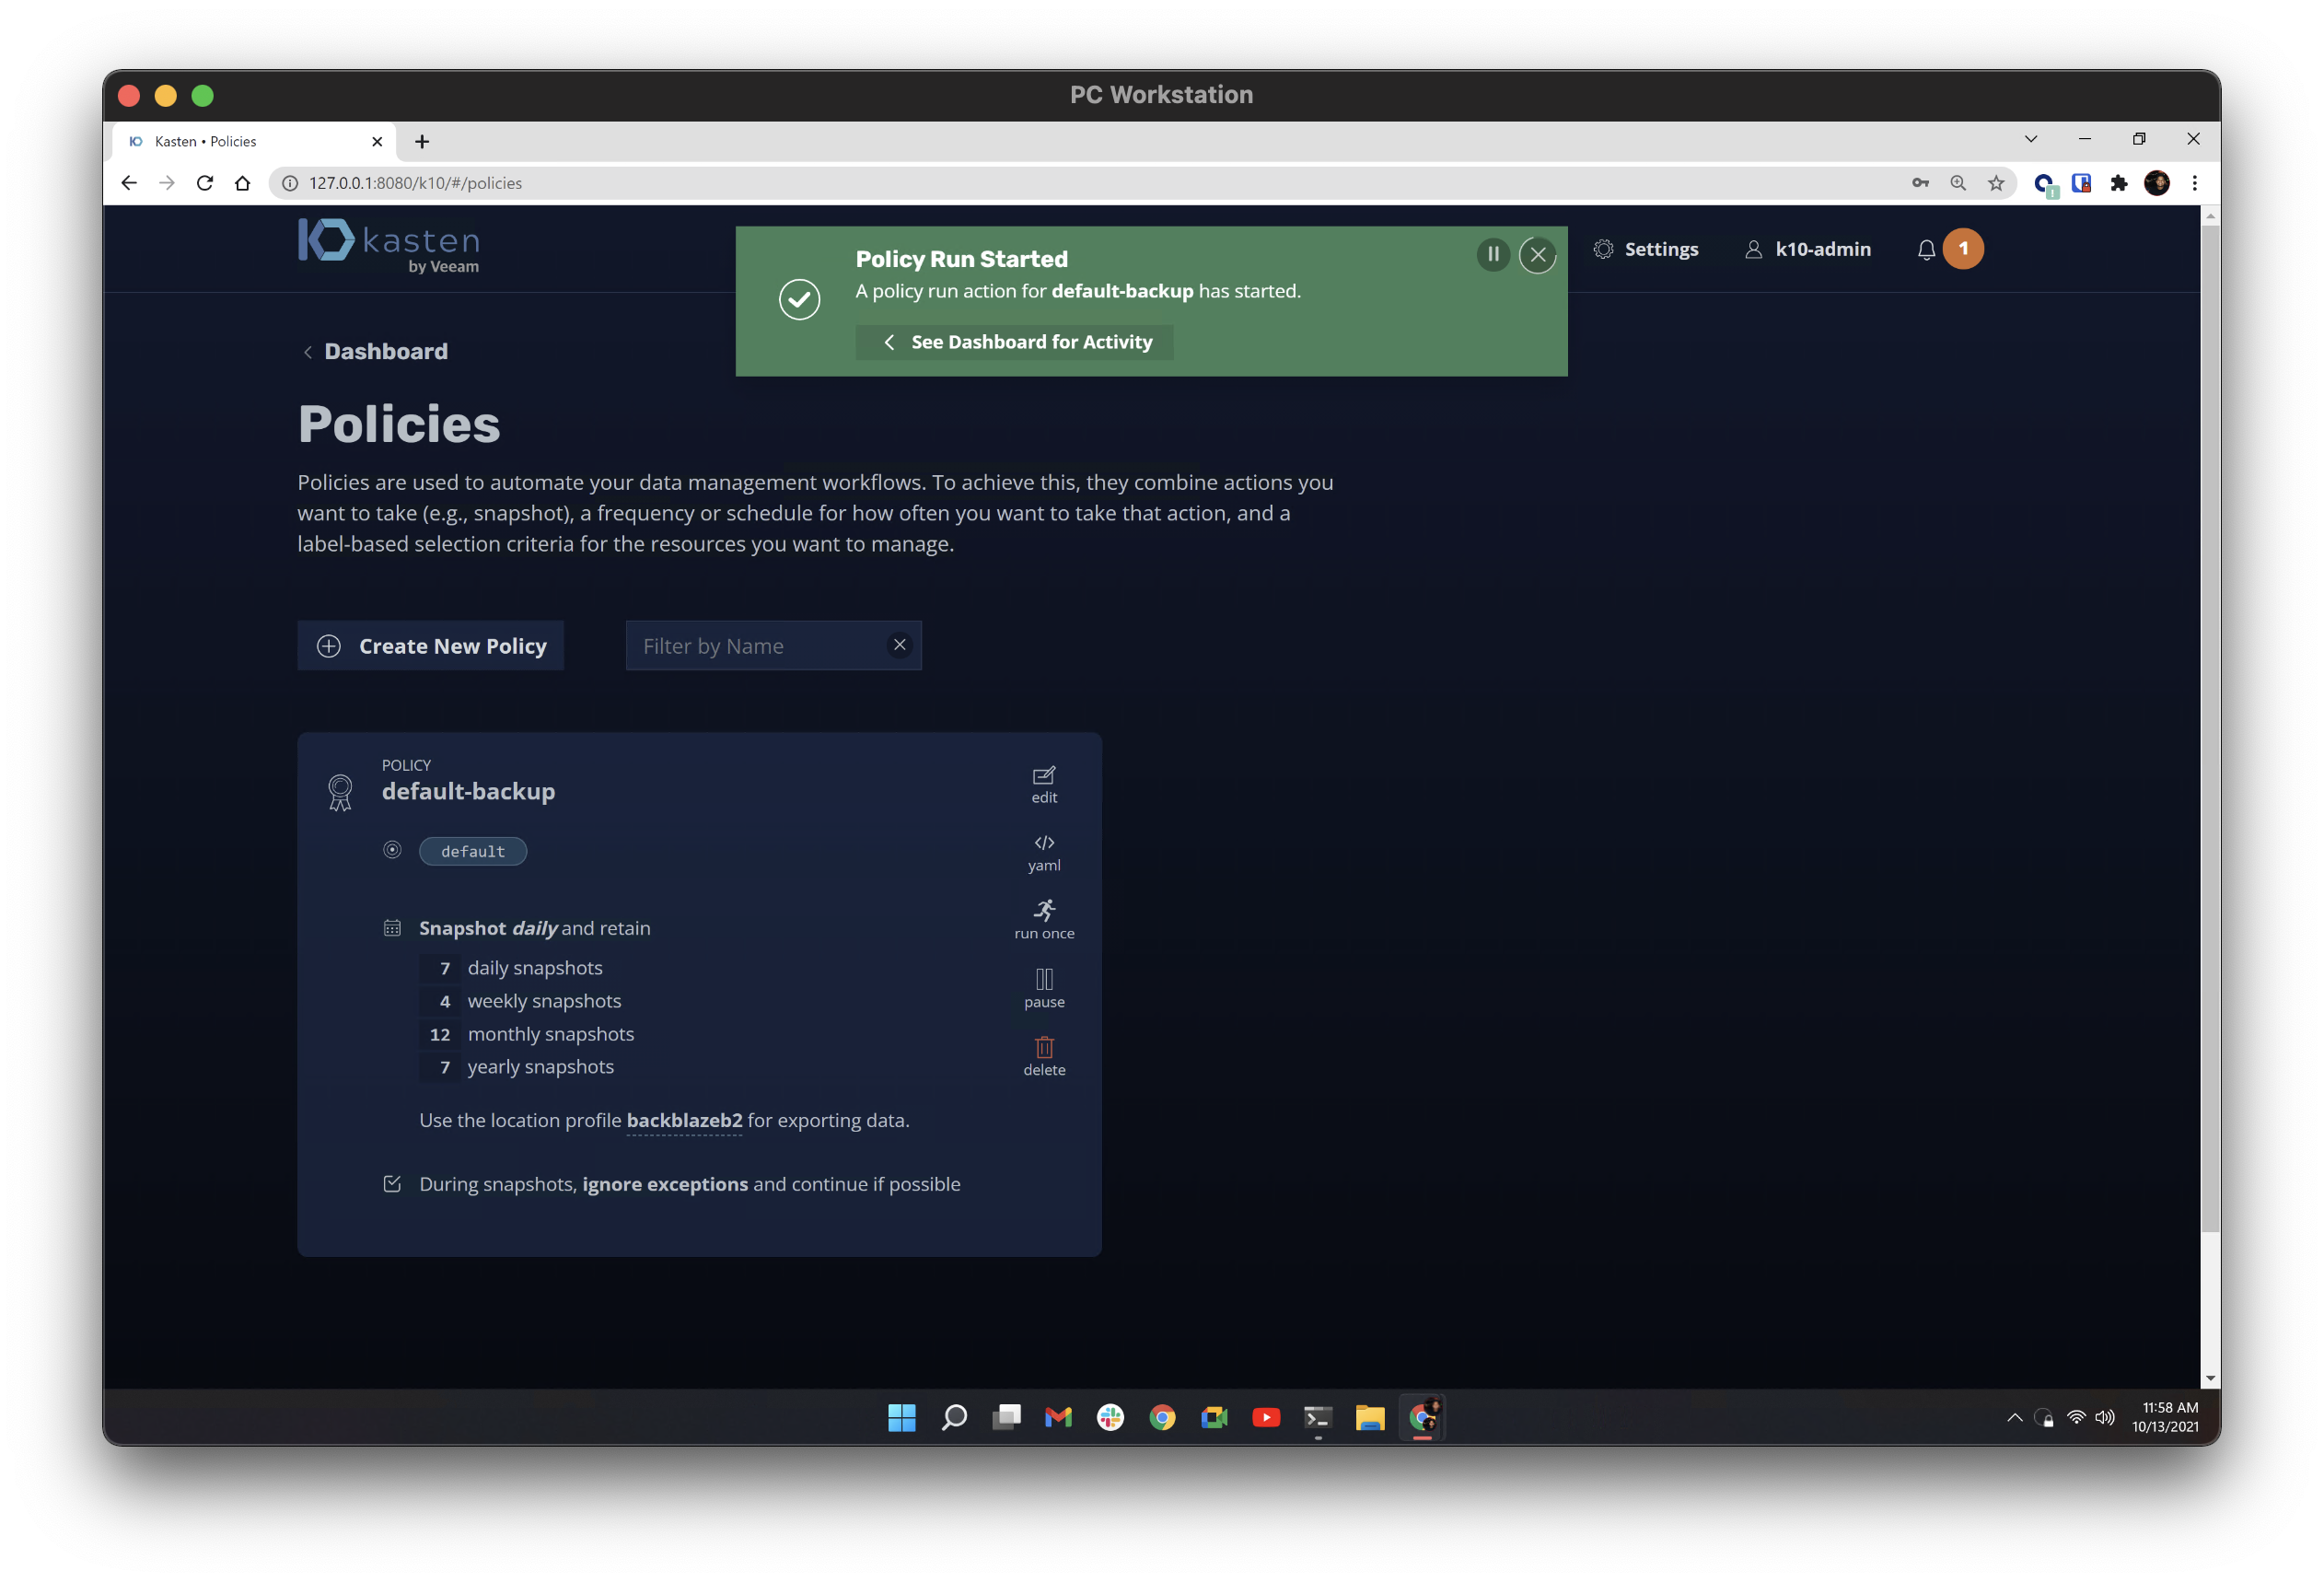
7) You can go ahead and run an initial backup to test your configuration by selecting run once. You can monitor its status back on the main dashboard.
Articles in this section
- Quickstart Guide for Veeam 12 Direct-to-Cloud Backups to Backblaze B2 with Immutability
- Quickstart Guide for Acronis CyberProtect and Backblaze B2 Cloud Storage
- Quickstart guide for SFTPCloud
- Quickstart Guide for Veritas NetBackup and Backblaze B2 Cloud Storage
- Quickstart Guide for Offshoot and Backblaze B2
- Quickstart Guide for Files.com and Backblaze B2 Cloud Storage
- Quickstart Guide for Encoding.com and Backblaze B2 Cloud Storage
- Quickstart Guide for Mountain Duck and B2 Cloud Storage
- Quickstart Guide for Microsoft 365 Backup with MSP360 and Backblaze B2 (Multiple Instances)
- Quickstart Guide for Microsoft 365 Backup with MSP360 and Backblaze B2 (Single Instance)
