Flexify.io allows you to easily transfer all the data in your buckets located in Amazon S3 to buckets in Backblaze B2 at blazing fast speeds. This guide will walk you through how to setup your accounts with Backblaze and Flexify.IO and start your transfer with optimal settings. In order to get the fastest transfer speeds possible, you must mirror the settings shown in this guide or you may get significantly slower transfer speeds.
Step 1: Setup your Backblaze B2 account and create a bucket
Important: Please perform this step if you don’t have a B2 account that you would like to use. If you have an account with a bucket set up, please skip this step and go to the next one.
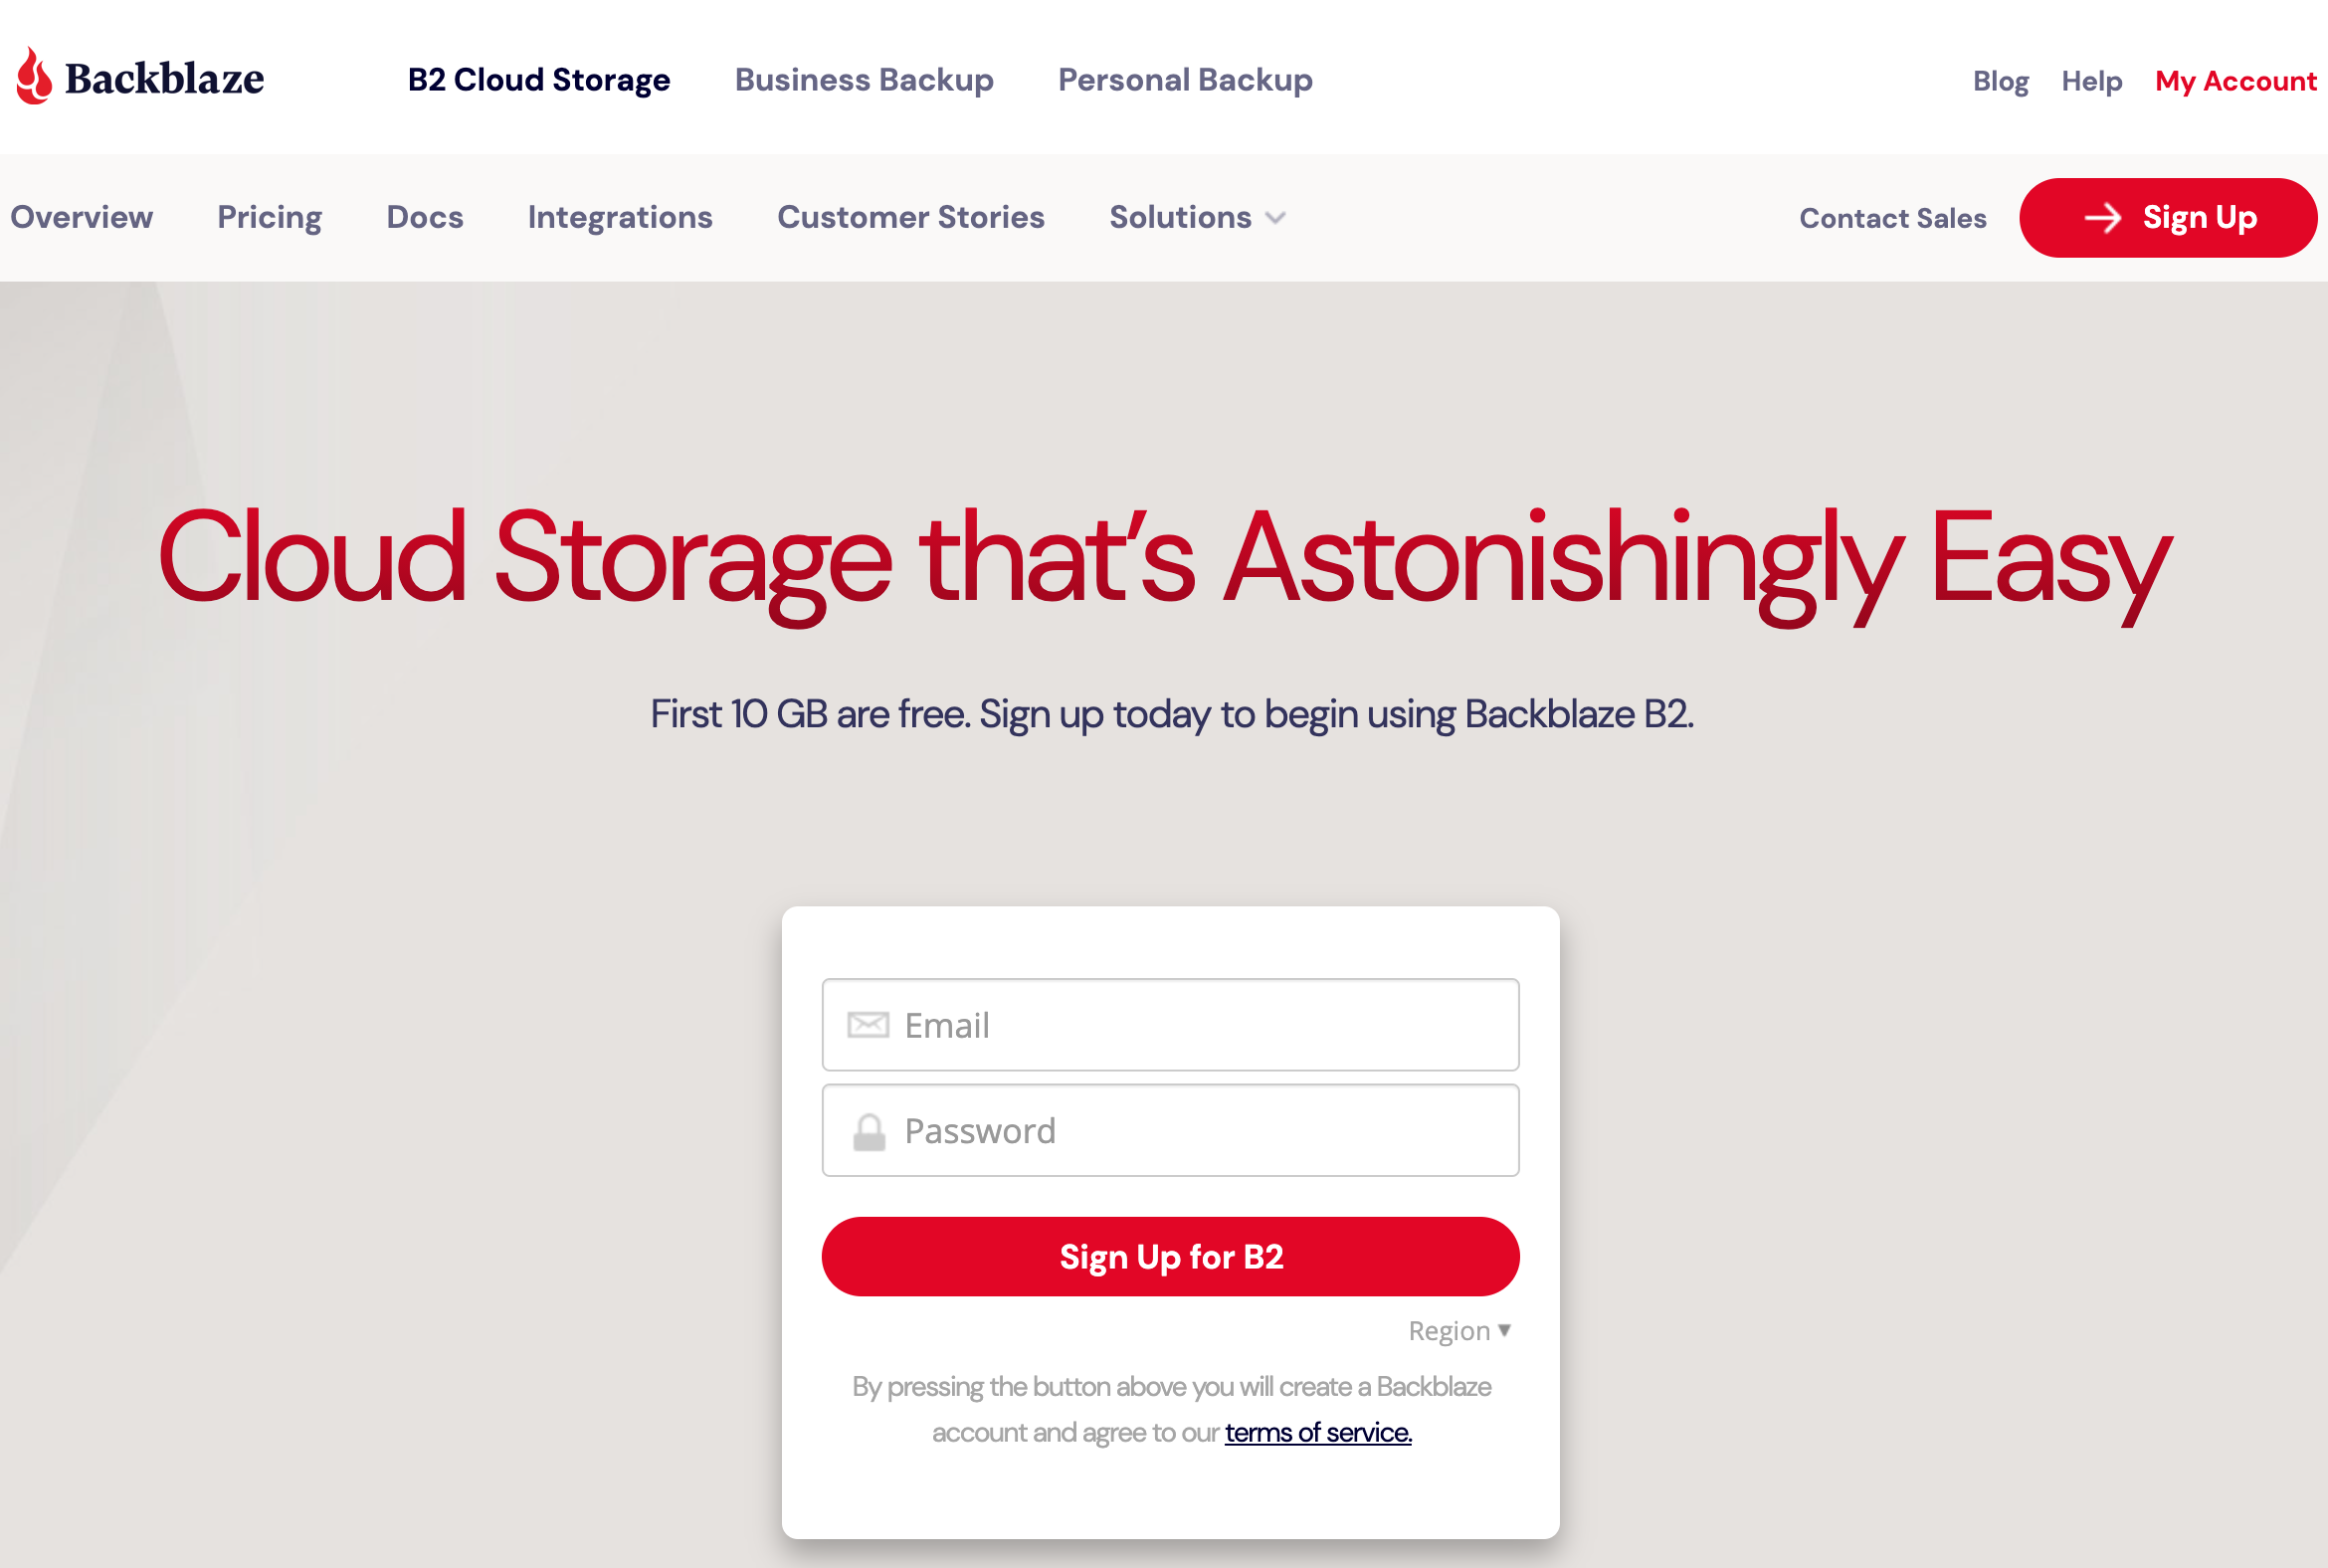
1. Create an account at https://www.backblaze.com/b2/sign-up.html
Enter your email address and password to create your Backblaze account.
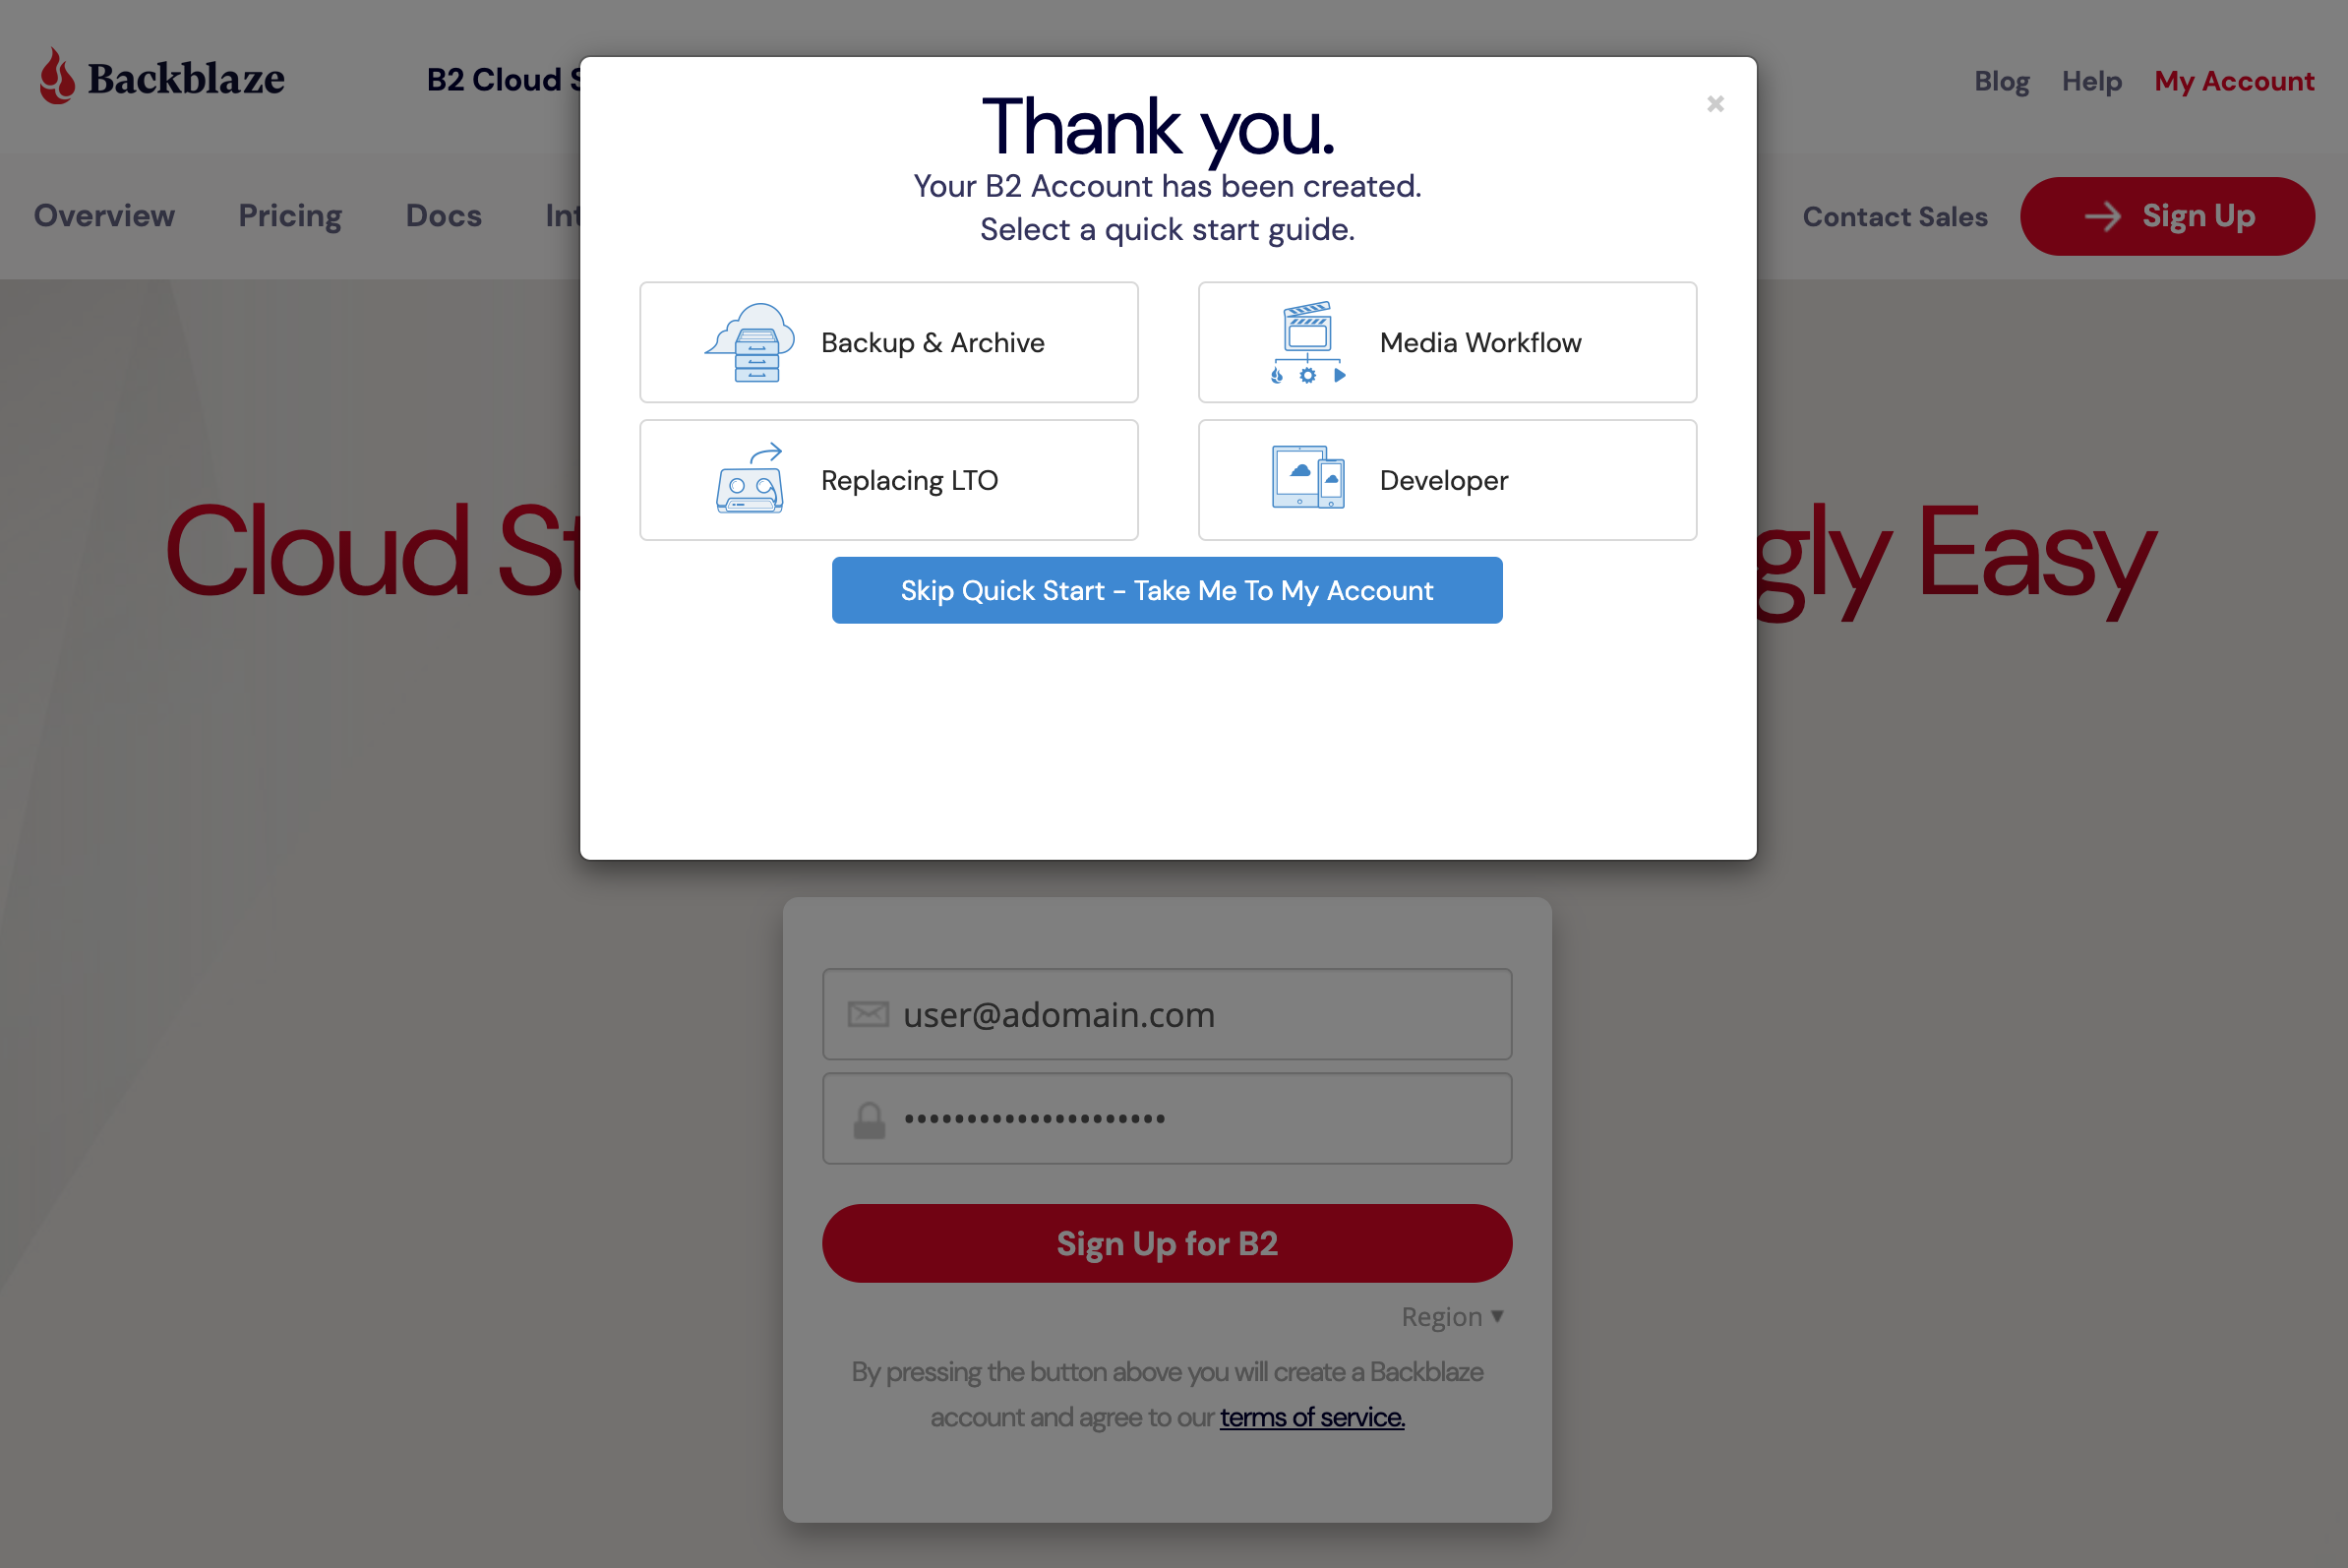
2. Once the account is created, click the Take Me To My Account button and sign in using the email and password you just selected.
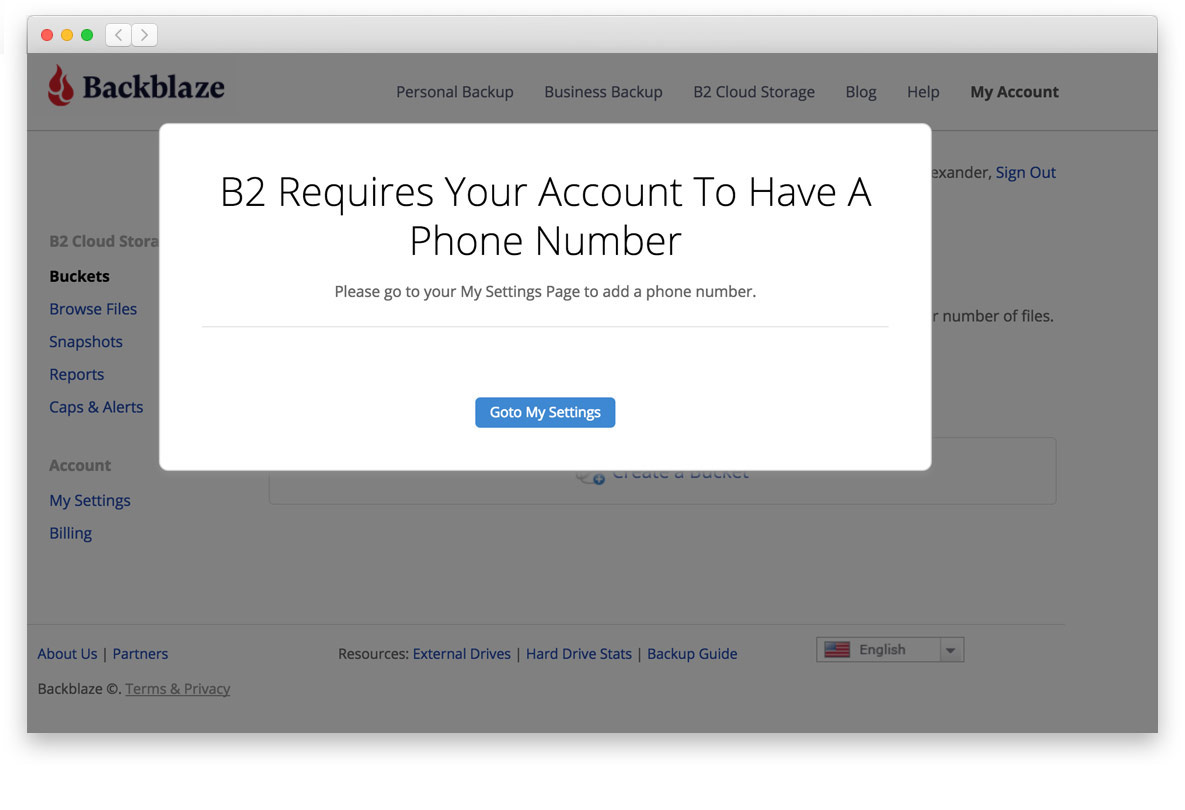
3. Upon logging into your account, you’ll automatically be prompted to go to My Settings to set up a phone number for your account. The mobile phone number you enter MUST be able to receive SMS messages.
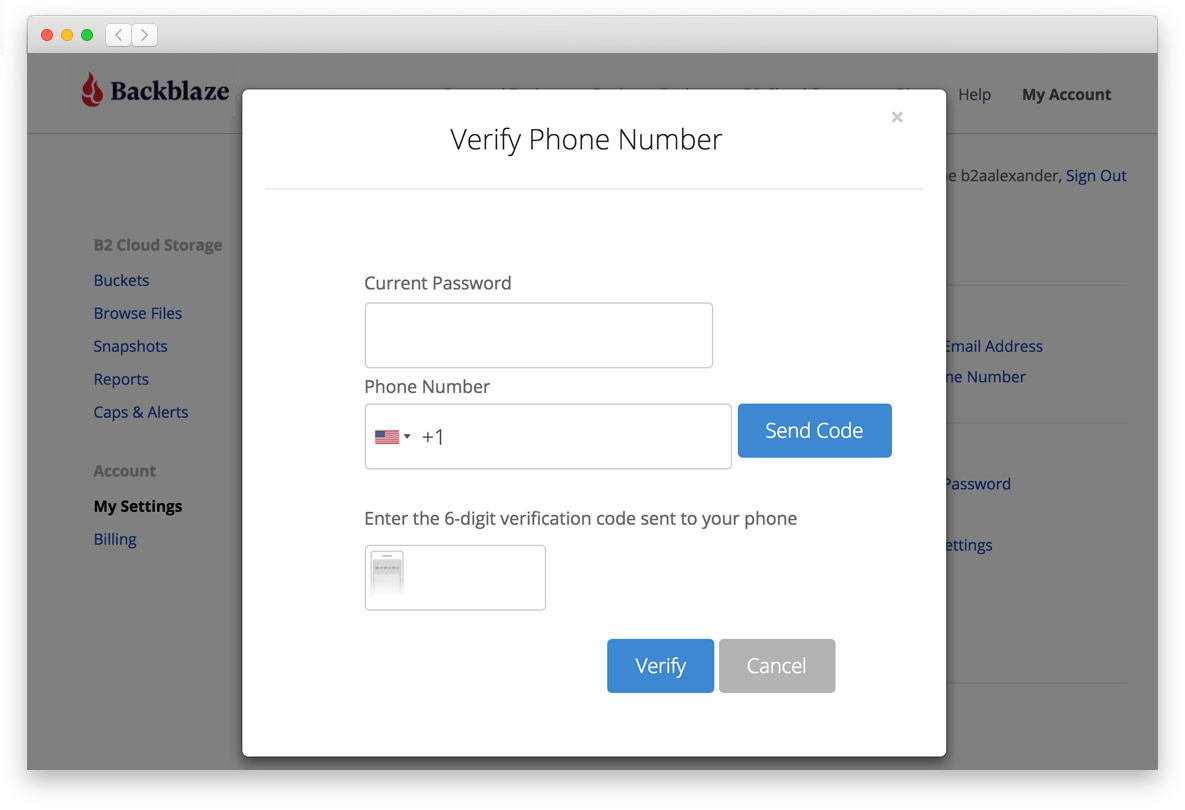
4. Once in the My Settings area, you’ll need to enter your Backblaze account password and the mobile phone number (remember - it must support SMS messages!). Then, click Send Code. Once you receive the 6 digit code on your mobile phone, type it into the verification field and click to Verify.
You can now retrieve your Application Key and Key ID. You will need these later to connect your Flexify.io account.
5. Click on App Keys and then click on the link that reads 'Add A New Application Key’.

6. You can then enter a Name for the key and click on the button that says “Add a New Application Key”.
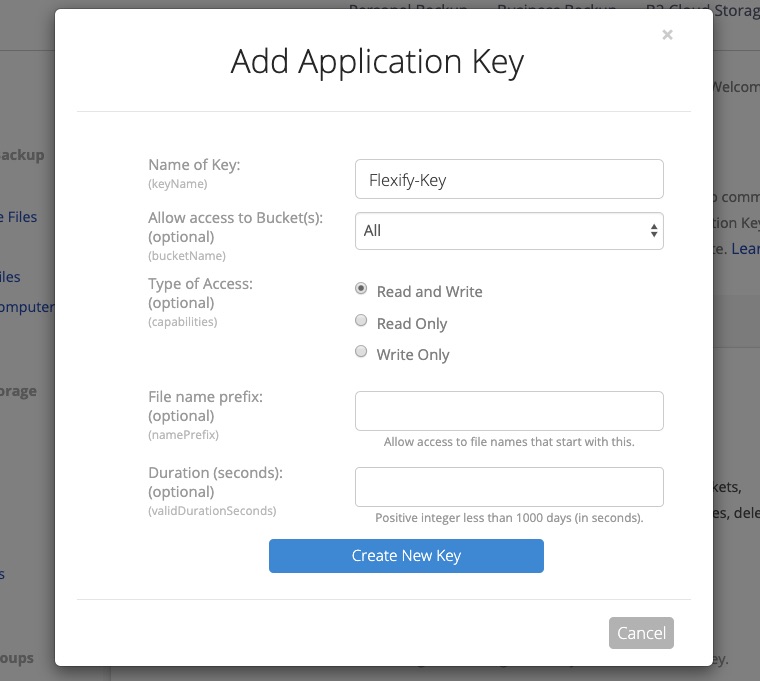
7. When you have the keyID and the applicationKey, be sure to copy them and keep both of these in a safe location. It is recommended to store these in notepad or any text editor as you will need them later on in this document.

Once you close this window, the current Application Key will not display again and you will need both of these numbers to connect your Flexify.IO account.
IMPORTANT: If you lose the ApplicationKey, you will need to create another ApplicationKey. The new key that you create will invalidate the old one.
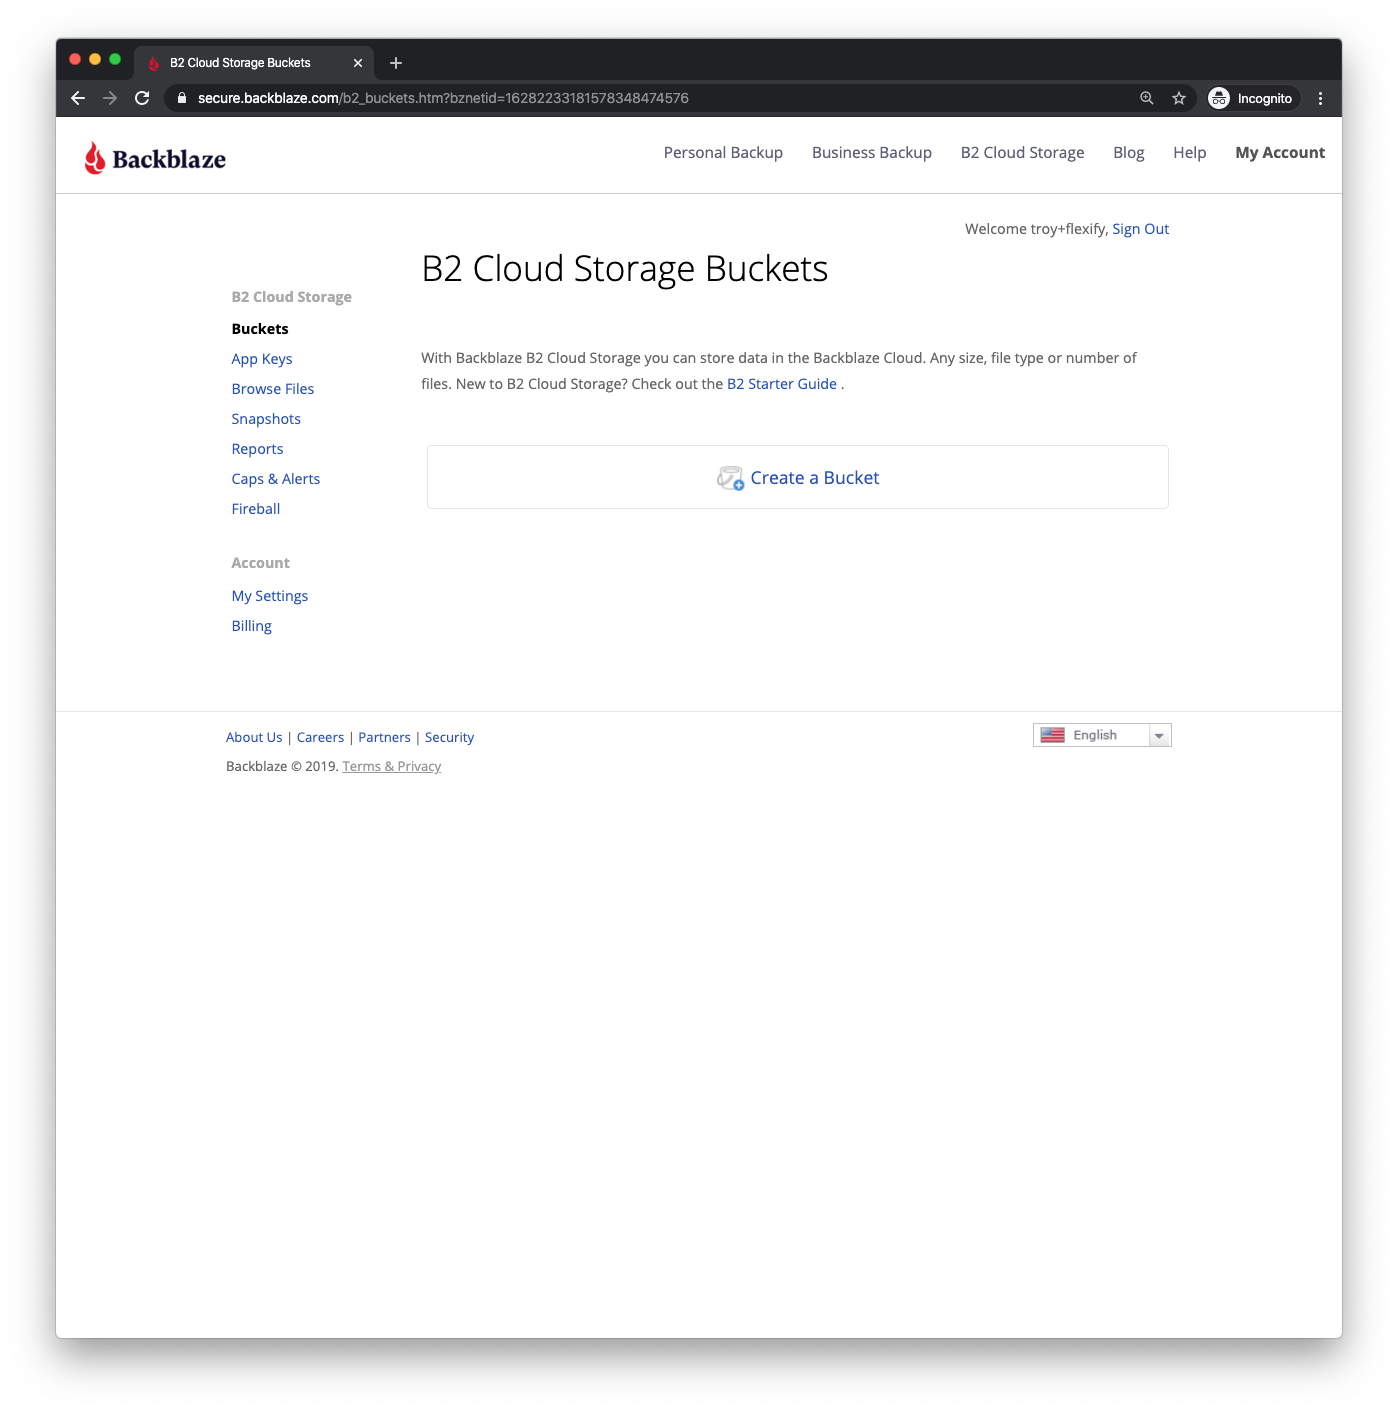
8. Now you'll need to create a Bucket on your account. To do so, click the Buckets link and then Create a Bucket.
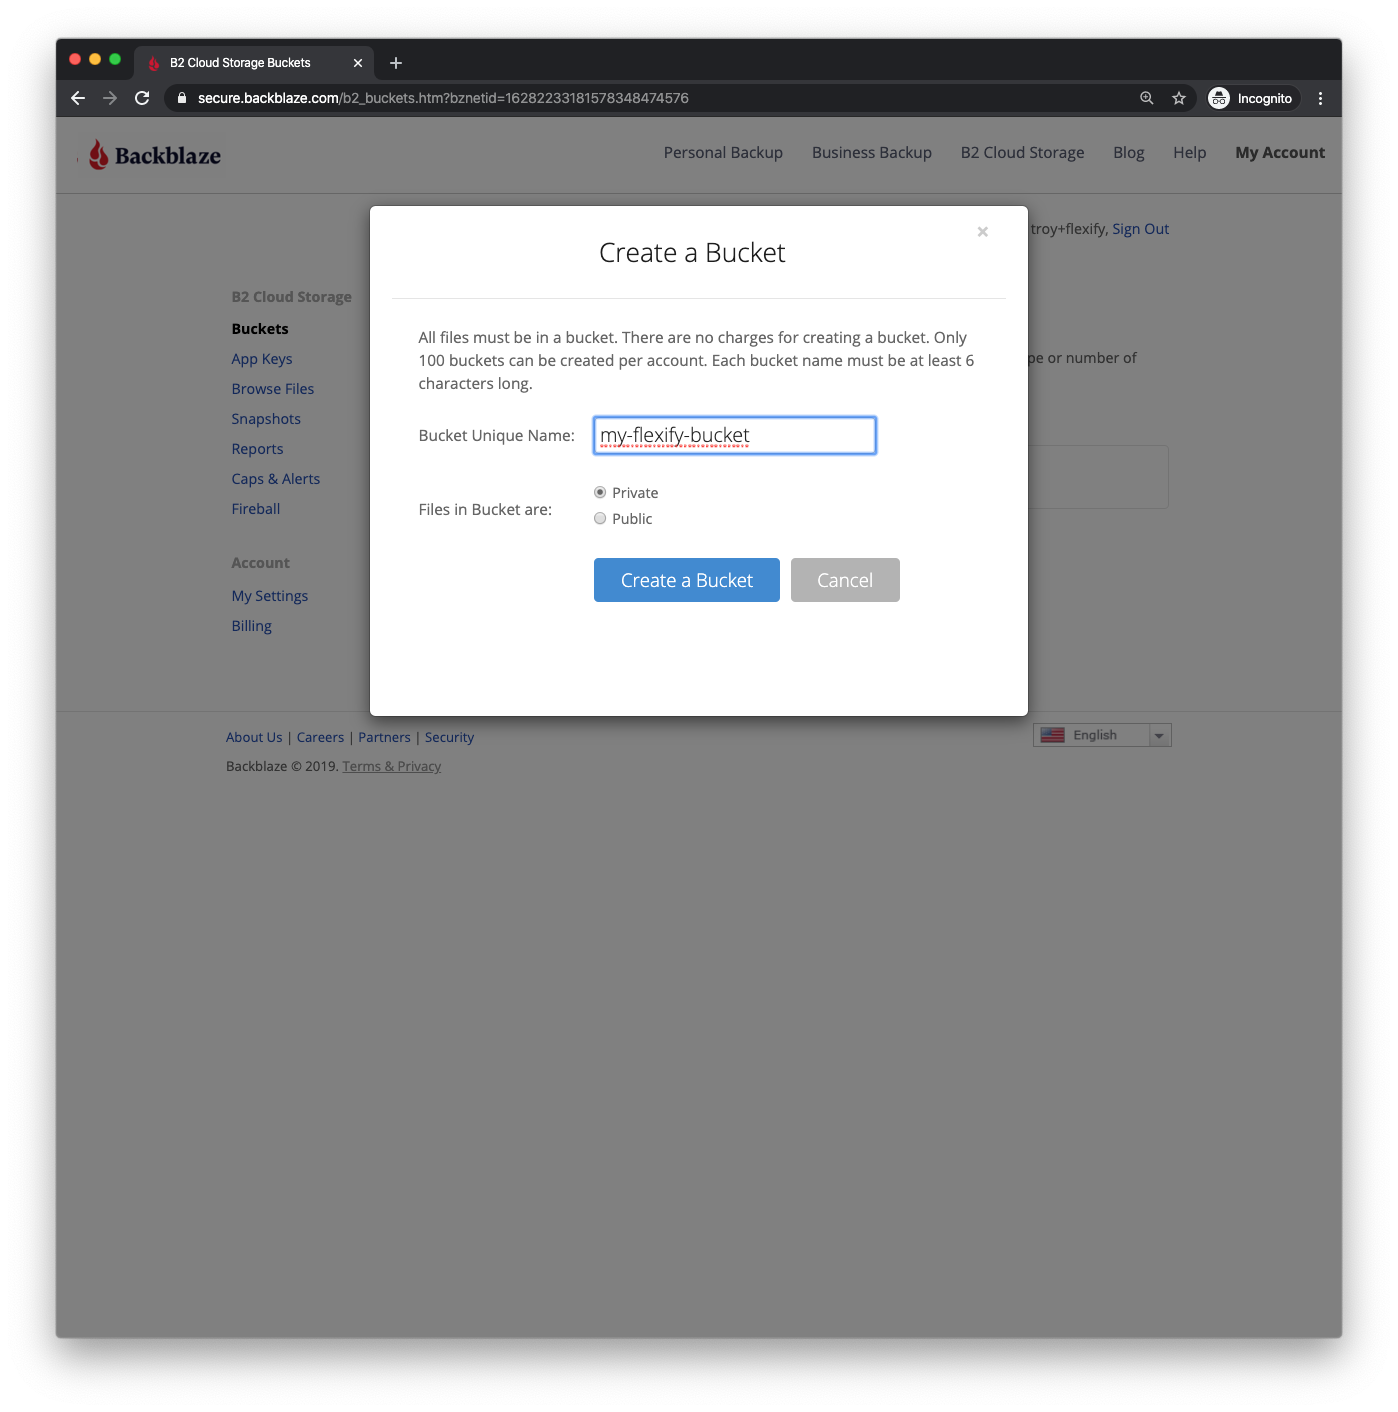
9. Give your bucket a globally unique name and select Private or Public (Note: Files in a Private bucket require authentication to perform an action on them like download, and Public buckets do not so you can share files more easily. You can always switch the bucket type later on if you change your mind!)
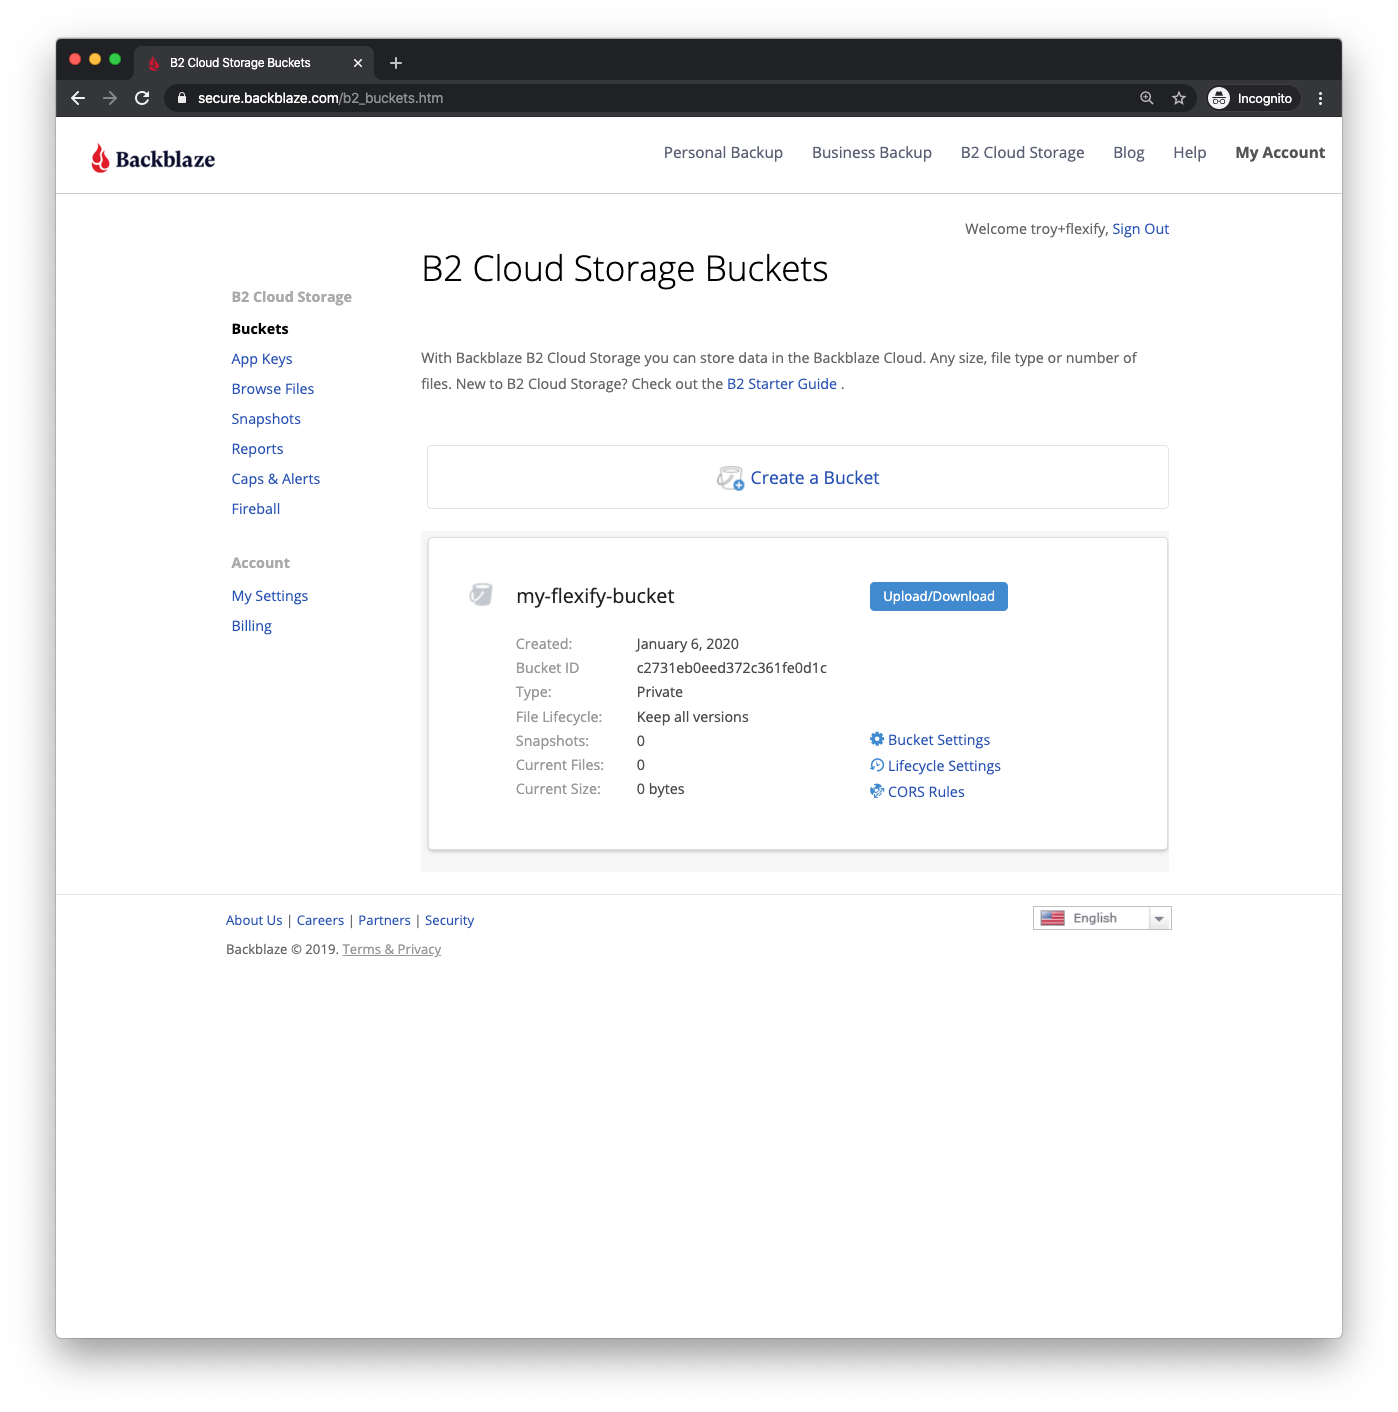
You should then see your bucket on the Buckets page like this:
Now you're ready to create your Flexify.IO account.
Step 2: Setup your Flexify.IO account and link your accounts
1. In a new window or tab, navigate to https://manage.flexify.io/login-page/signup?code=managed and enter your information to create the account
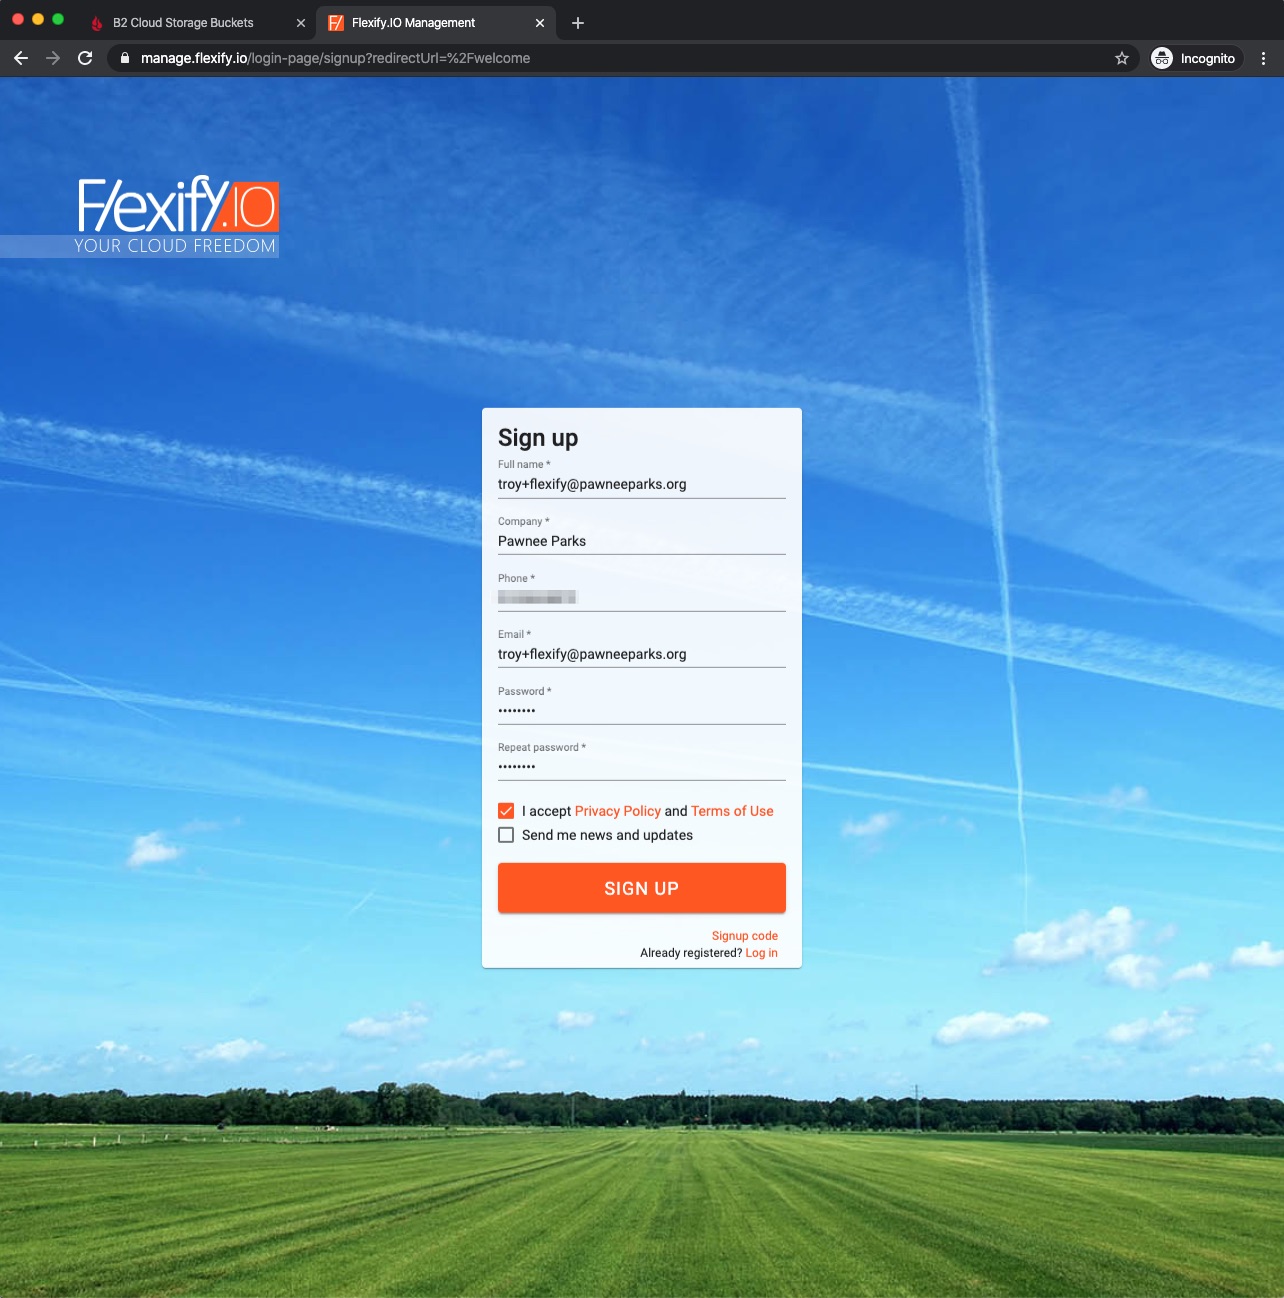
You should now automatically be logged into your account and see the Welcome screen like this:

2. Click the Data button in the left-hand column and then click the ADD STORAGE link

3. You can add your Amazon S3 account by entering your Access Key ID and Secret Access Key then clicking Add Storage. (If you don't know what your Access Key ID and Secret Access Key are, you can see Amazon's guide here)
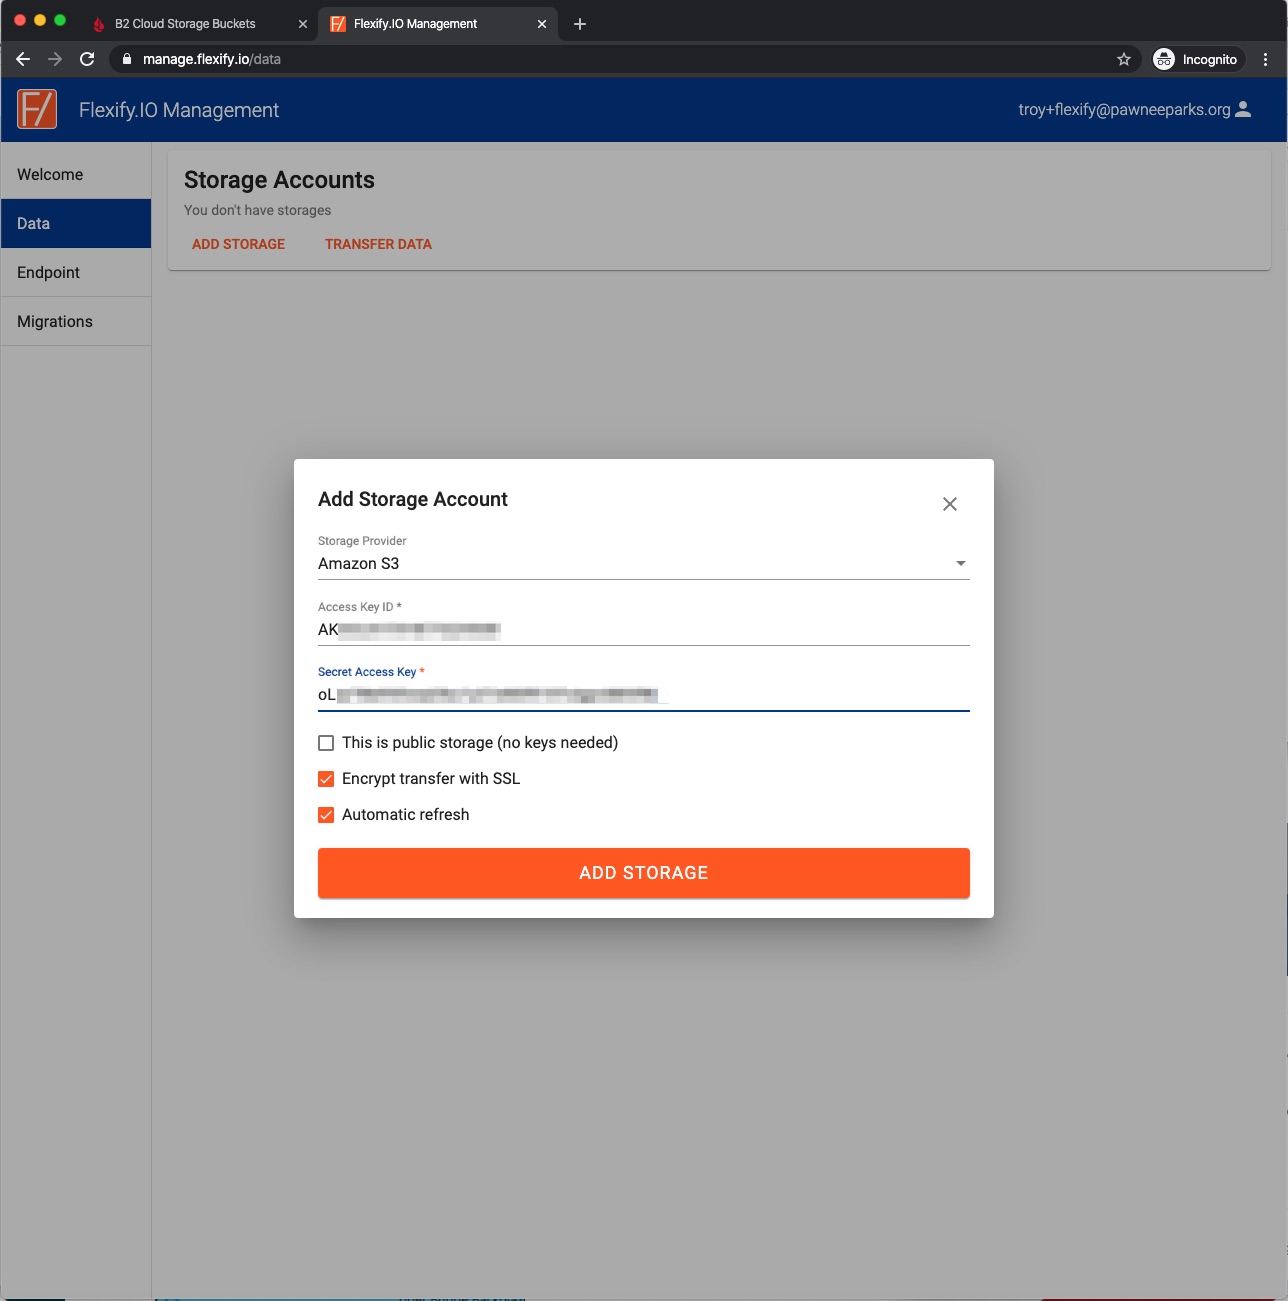
4. Now you'll need to add your B2 account. Click Add Storage again and in the Storage Provider dropdown, select Backblaze B2. You'll then see the 2 field names change to Key ID and Key. Enter the Application Key ID in the Key ID field and the Application Key in the Key field and click Add Storage.
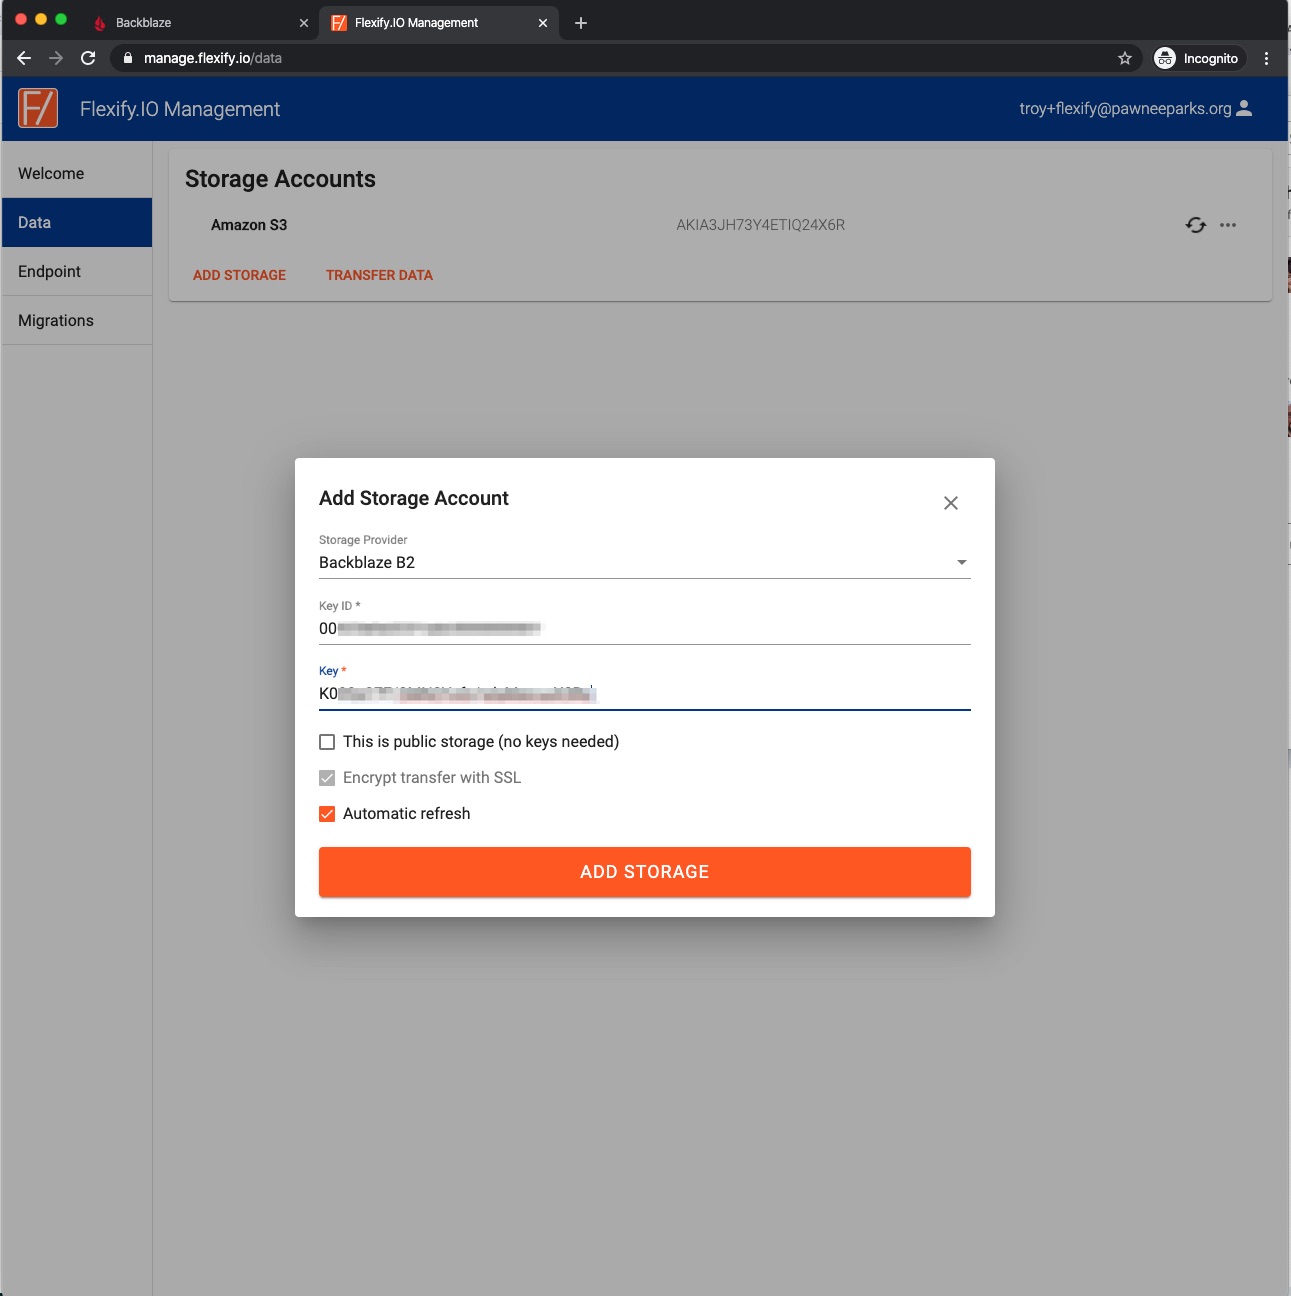
Once both B2 and your Amazon S3 account have been added, it's time to move to the final step of starting the transfer.
Step 3: Setup and start your transfer
1. Click the Migrations link in the left-hand column and click the New Migration button.

2. Now you'll need to select the bucket you'd like to transfer data from in Amazon S3. To transfer all the data from your account, simply check the box next to "Amazon S3". If you want to copy specific bucket(s), click the arrow next to "Amazon S3" and check the box next to the bucket(s) you want to copy.

After making your selection, click anywhere else on the page and the dropdown menu will disappear.
3. Next, you'll need to add Backblaze B2 in the "To" dropdown. Click the arrow in the "To" field, click the arrow next to Backblaze B2, and then select the bucket you want to copy the data to in B2.
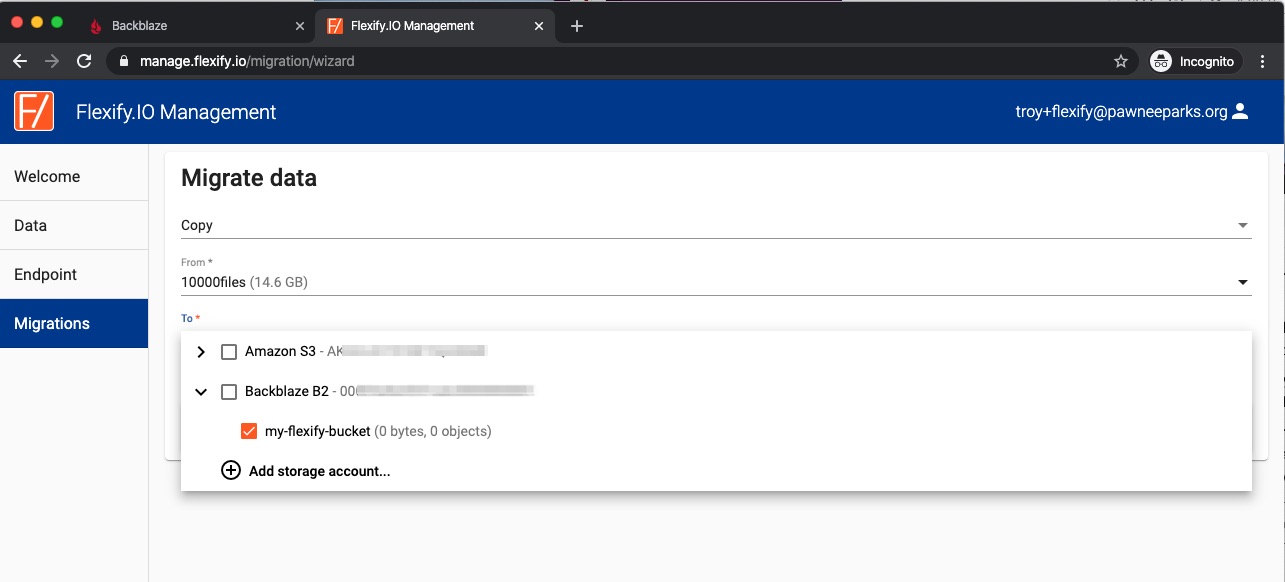
Now it's time to configure the transfer.
4. Click the Advanced Settings link to reveal additional settings.

5. Now make the following changes:
- Change "Run in" to "AWS / us-west-1" or "AWS/eu-west-1" depending on your location (not doing so may result in increased costs)
- Change Engines to 2
- Change Streams to 150 (you can type this value by clicking on "Auto")
The end result should look like this:

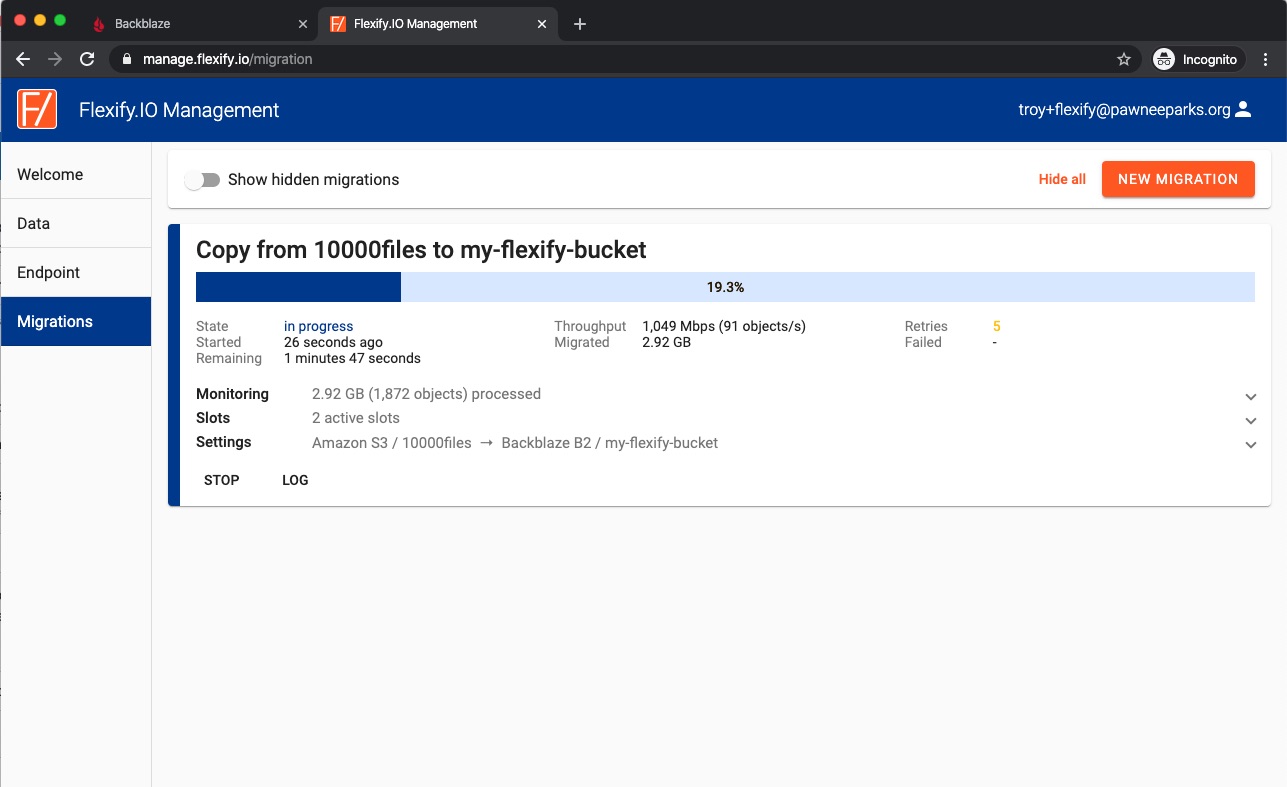
6. You can now start by clicking the START MIGRATION button! Once the transfer is complete you'll receive an email letting you know. You can also monitor the transfer right on the web page here to see when it's complete.

Articles in this section
- Quickstart Guide for Veeam 12 Direct-to-Cloud Backups to Backblaze B2 with Immutability
- Quickstart Guide for Acronis CyberProtect and Backblaze B2 Cloud Storage
- Quickstart guide for SFTPCloud
- Quickstart Guide for Veritas NetBackup and Backblaze B2 Cloud Storage
- Quickstart Guide for Offshoot and Backblaze B2
- Quickstart Guide for Files.com and Backblaze B2 Cloud Storage
- Quickstart Guide for Encoding.com and Backblaze B2 Cloud Storage
- Quickstart Guide for Mountain Duck and B2 Cloud Storage
- Quickstart Guide for Microsoft 365 Backup with MSP360 and Backblaze B2 (Multiple Instances)
- Quickstart Guide for Microsoft 365 Backup with MSP360 and Backblaze B2 (Single Instance)
