
Welcome to the getting started guide for Veeam backup to B2 using Tiger Bridge! Tiger Bridge is appropriate for owners of the Standard and Community editions of Veeam Backup & Replication. If you the Enterprise or Enterprise Plus edition, please follow our guide for using Veeam Cloud Tier here.
After completing the steps below, you will have a true set-it-and-forget-it Veeam backup to the cloud solution in place.
Tiger Bridge will mirror your Veeam Repository to B2, with no Veeam configuration required!
Supported Operating Systems: Windows Only
Step 1: Setup your Backblaze B2 account
Important: Please perform this step if you don’t have a B2 account that you would like to use. If you have an account, with a bucket set up, please skip this step and go to the next one.
1. Create an account at https://www.backblaze.com/business-veeam-backup-create.html
Enter your email address and password to create your Backblaze account.
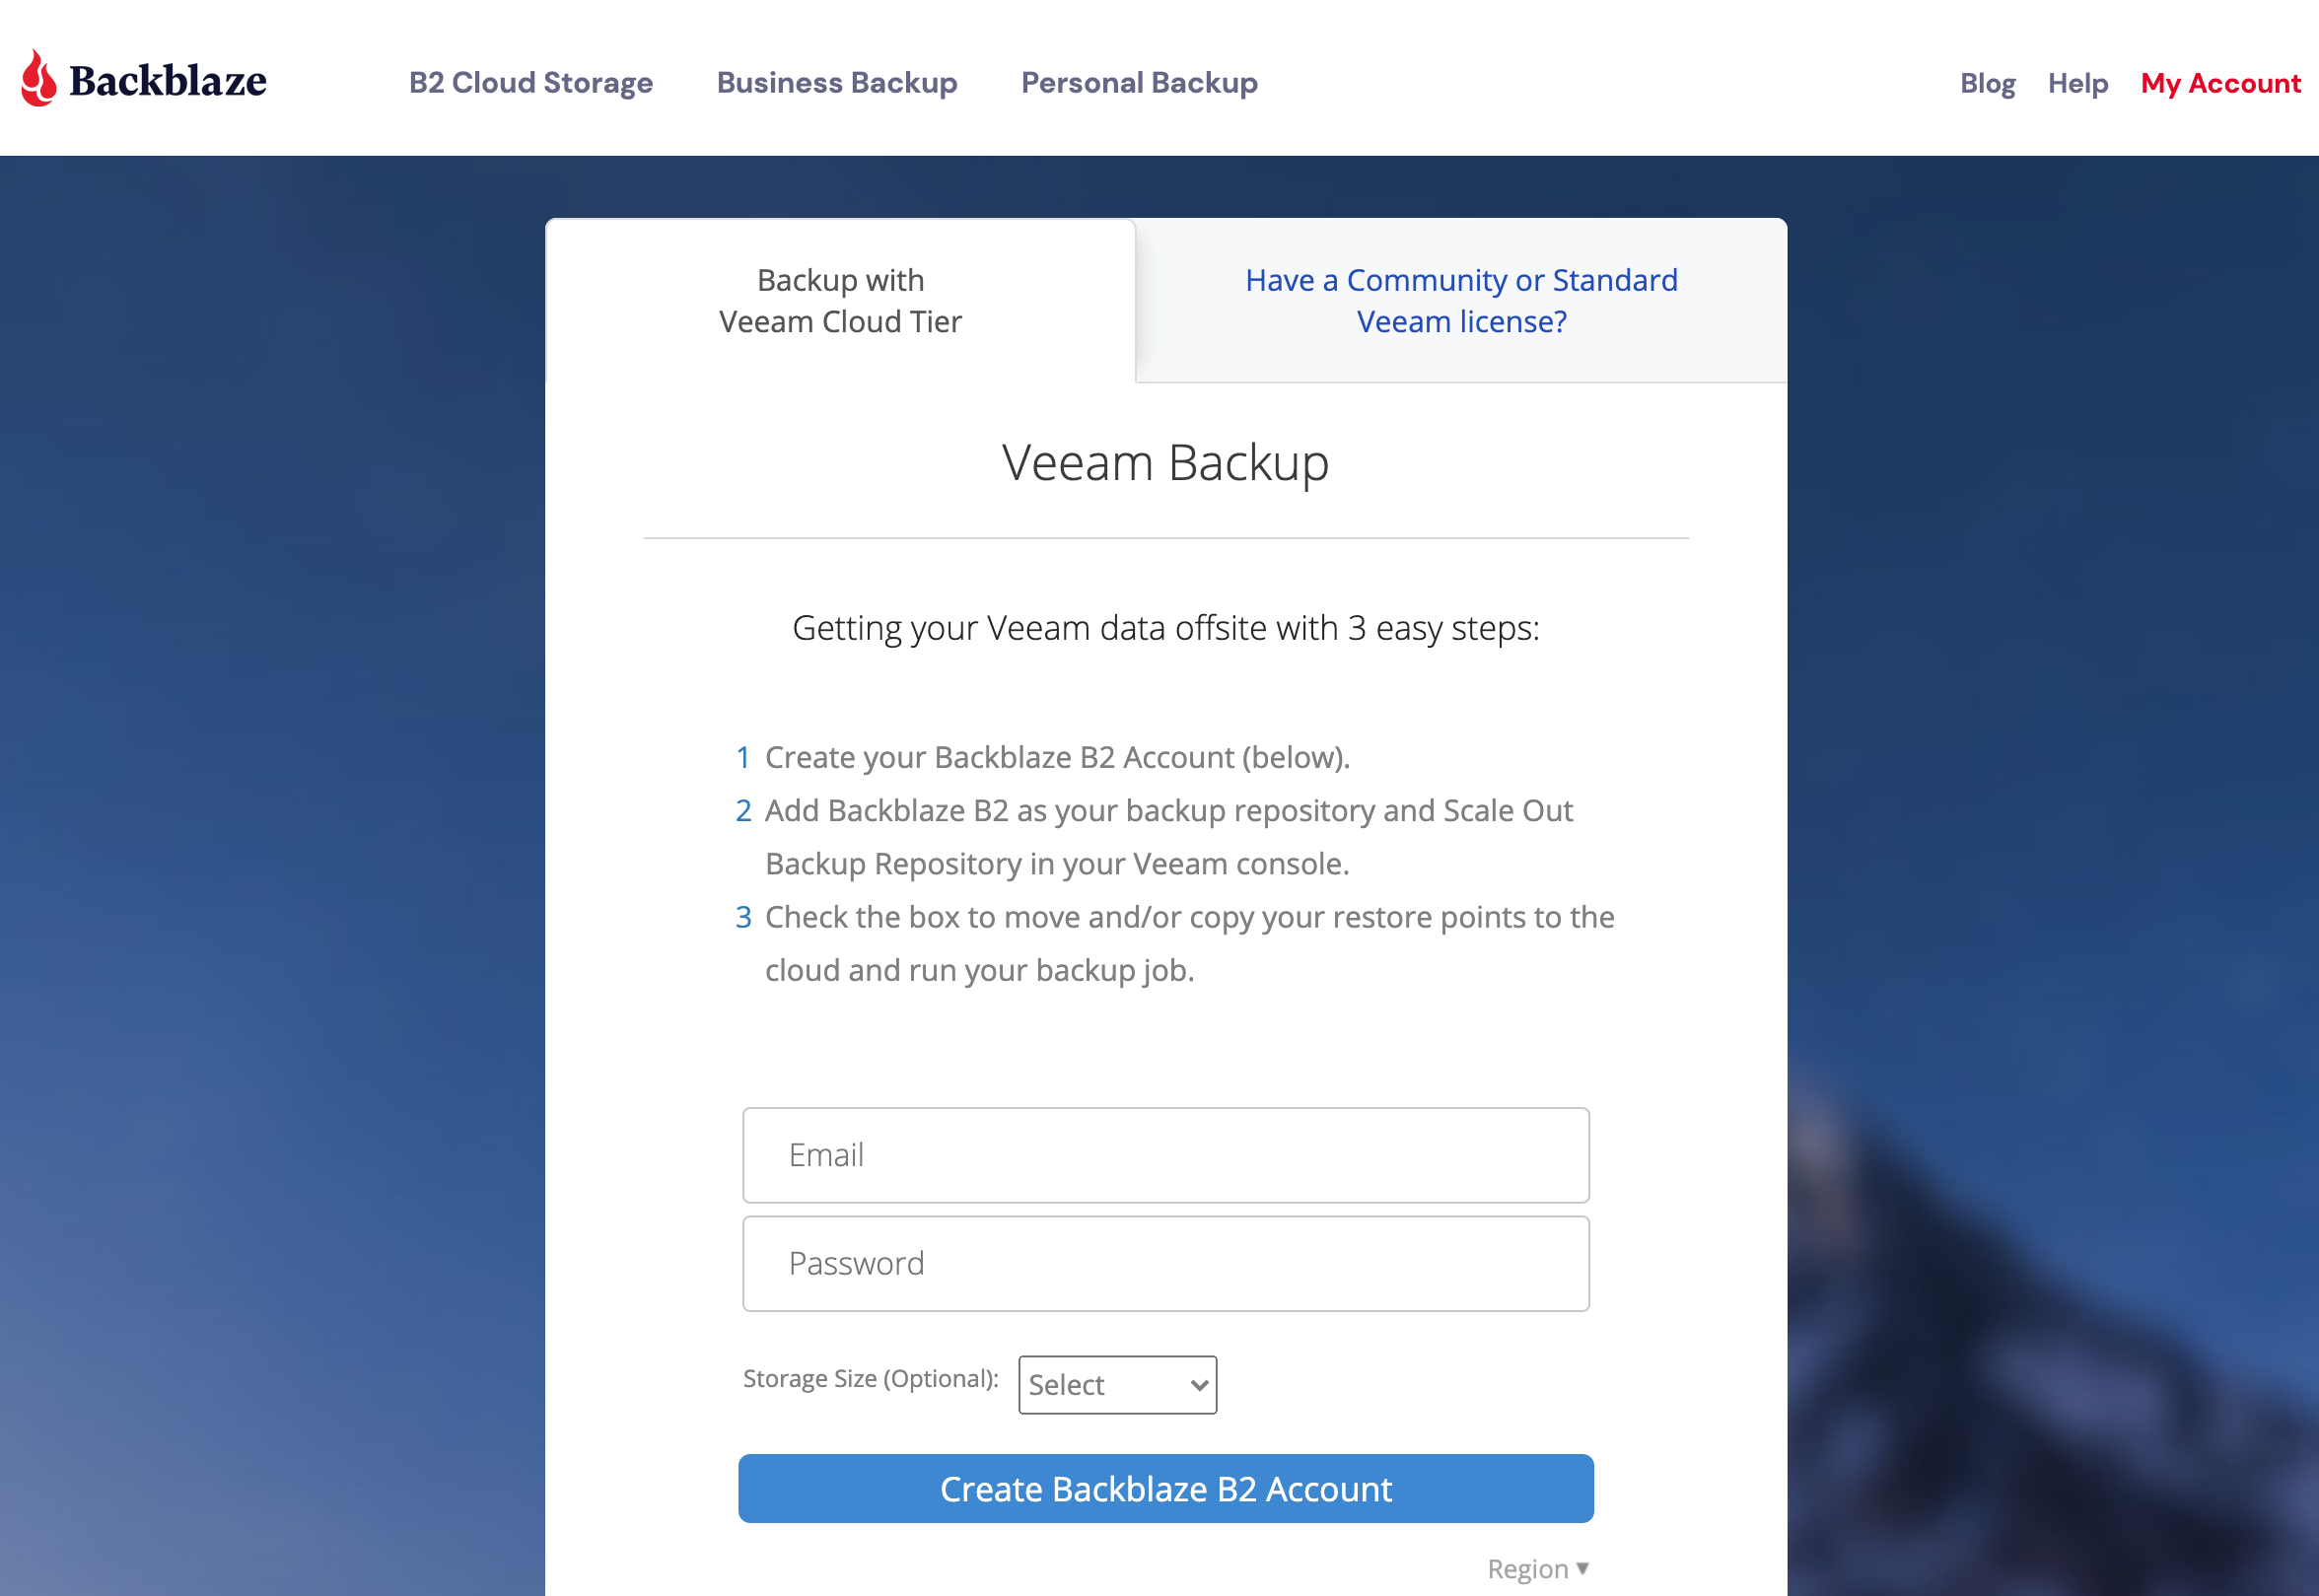
2. After entering your email address and password, click the “Create Backblaze B2 Account” button. You can then click on the Tiger Bridge link to download the Tiger Bridge software.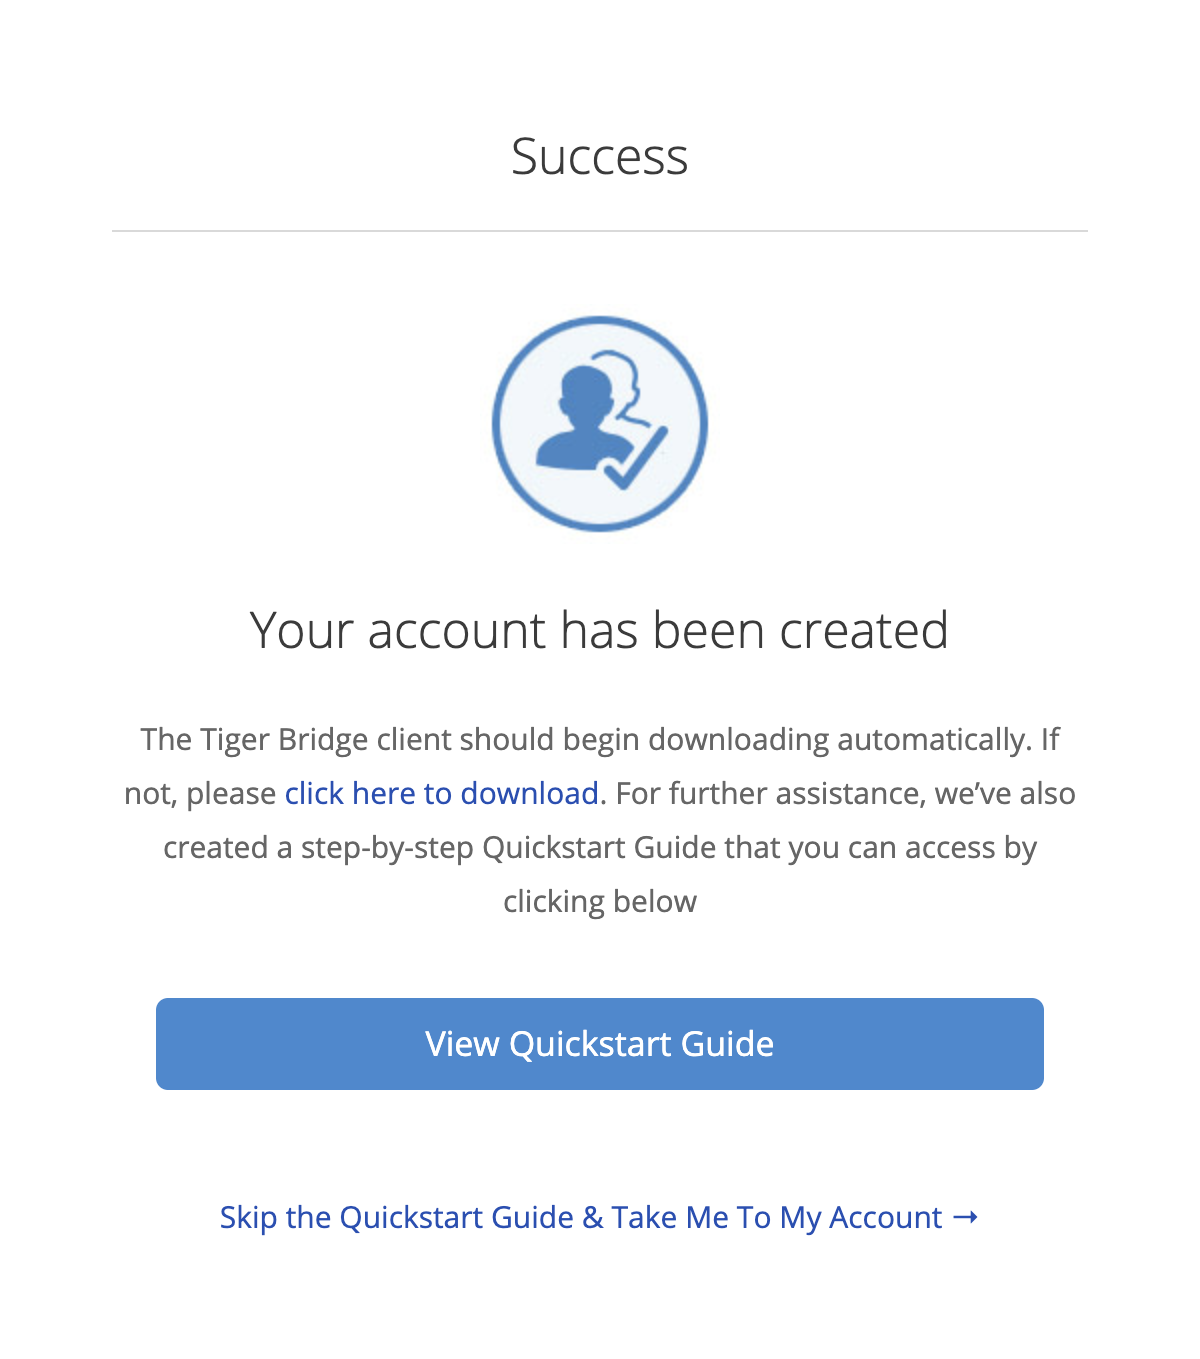
3. At this point, you can either view the Quickstart guide for Tiger Bridge or go straight to your account.
4. Upon logging into your account, you’ll automatically be prompted to go to My Settings to set up a phone number for your account. The mobile phone number you enter MUST be able to receive SMS messages.
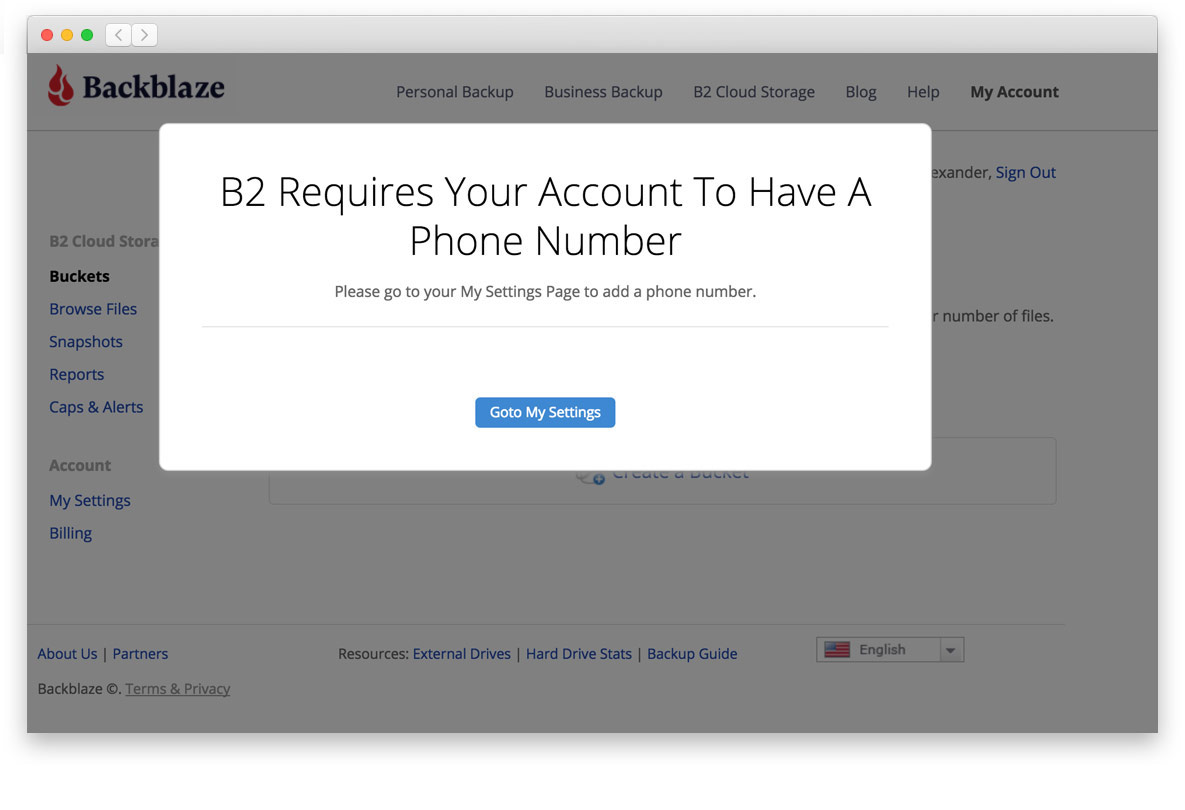
Note: If you already have a Backblaze account, you can log in at https://secure.backblaze.com/user_signin.htm and click on My Settings.
5. Once in the My Settings area, you’ll need to enter your Backblaze account password and the mobile phone number (remember - it must support SMS messages!). Then, click Send Code. Once you receive the 6 digit code on your mobile phone, type it into the verification field and click to Verify.

You can now retrieve your Application Key and Key ID. You will need these to set up your Tiger Bridge B2 profile.
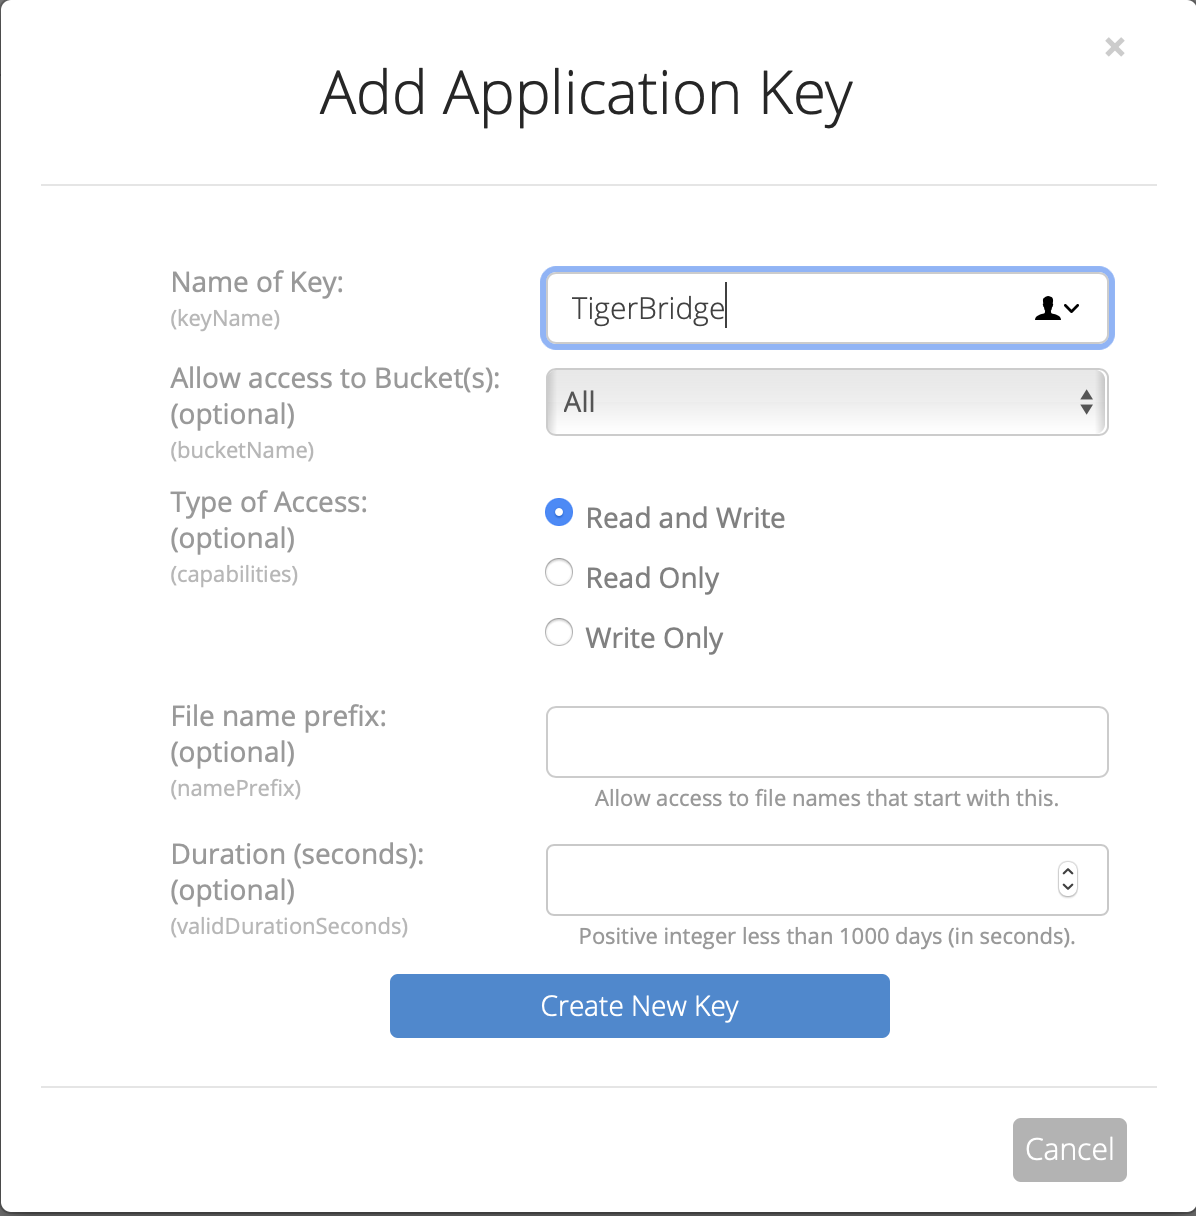
6. Click on App Keys and then click on the link that reads 'Add A New Application Key’.
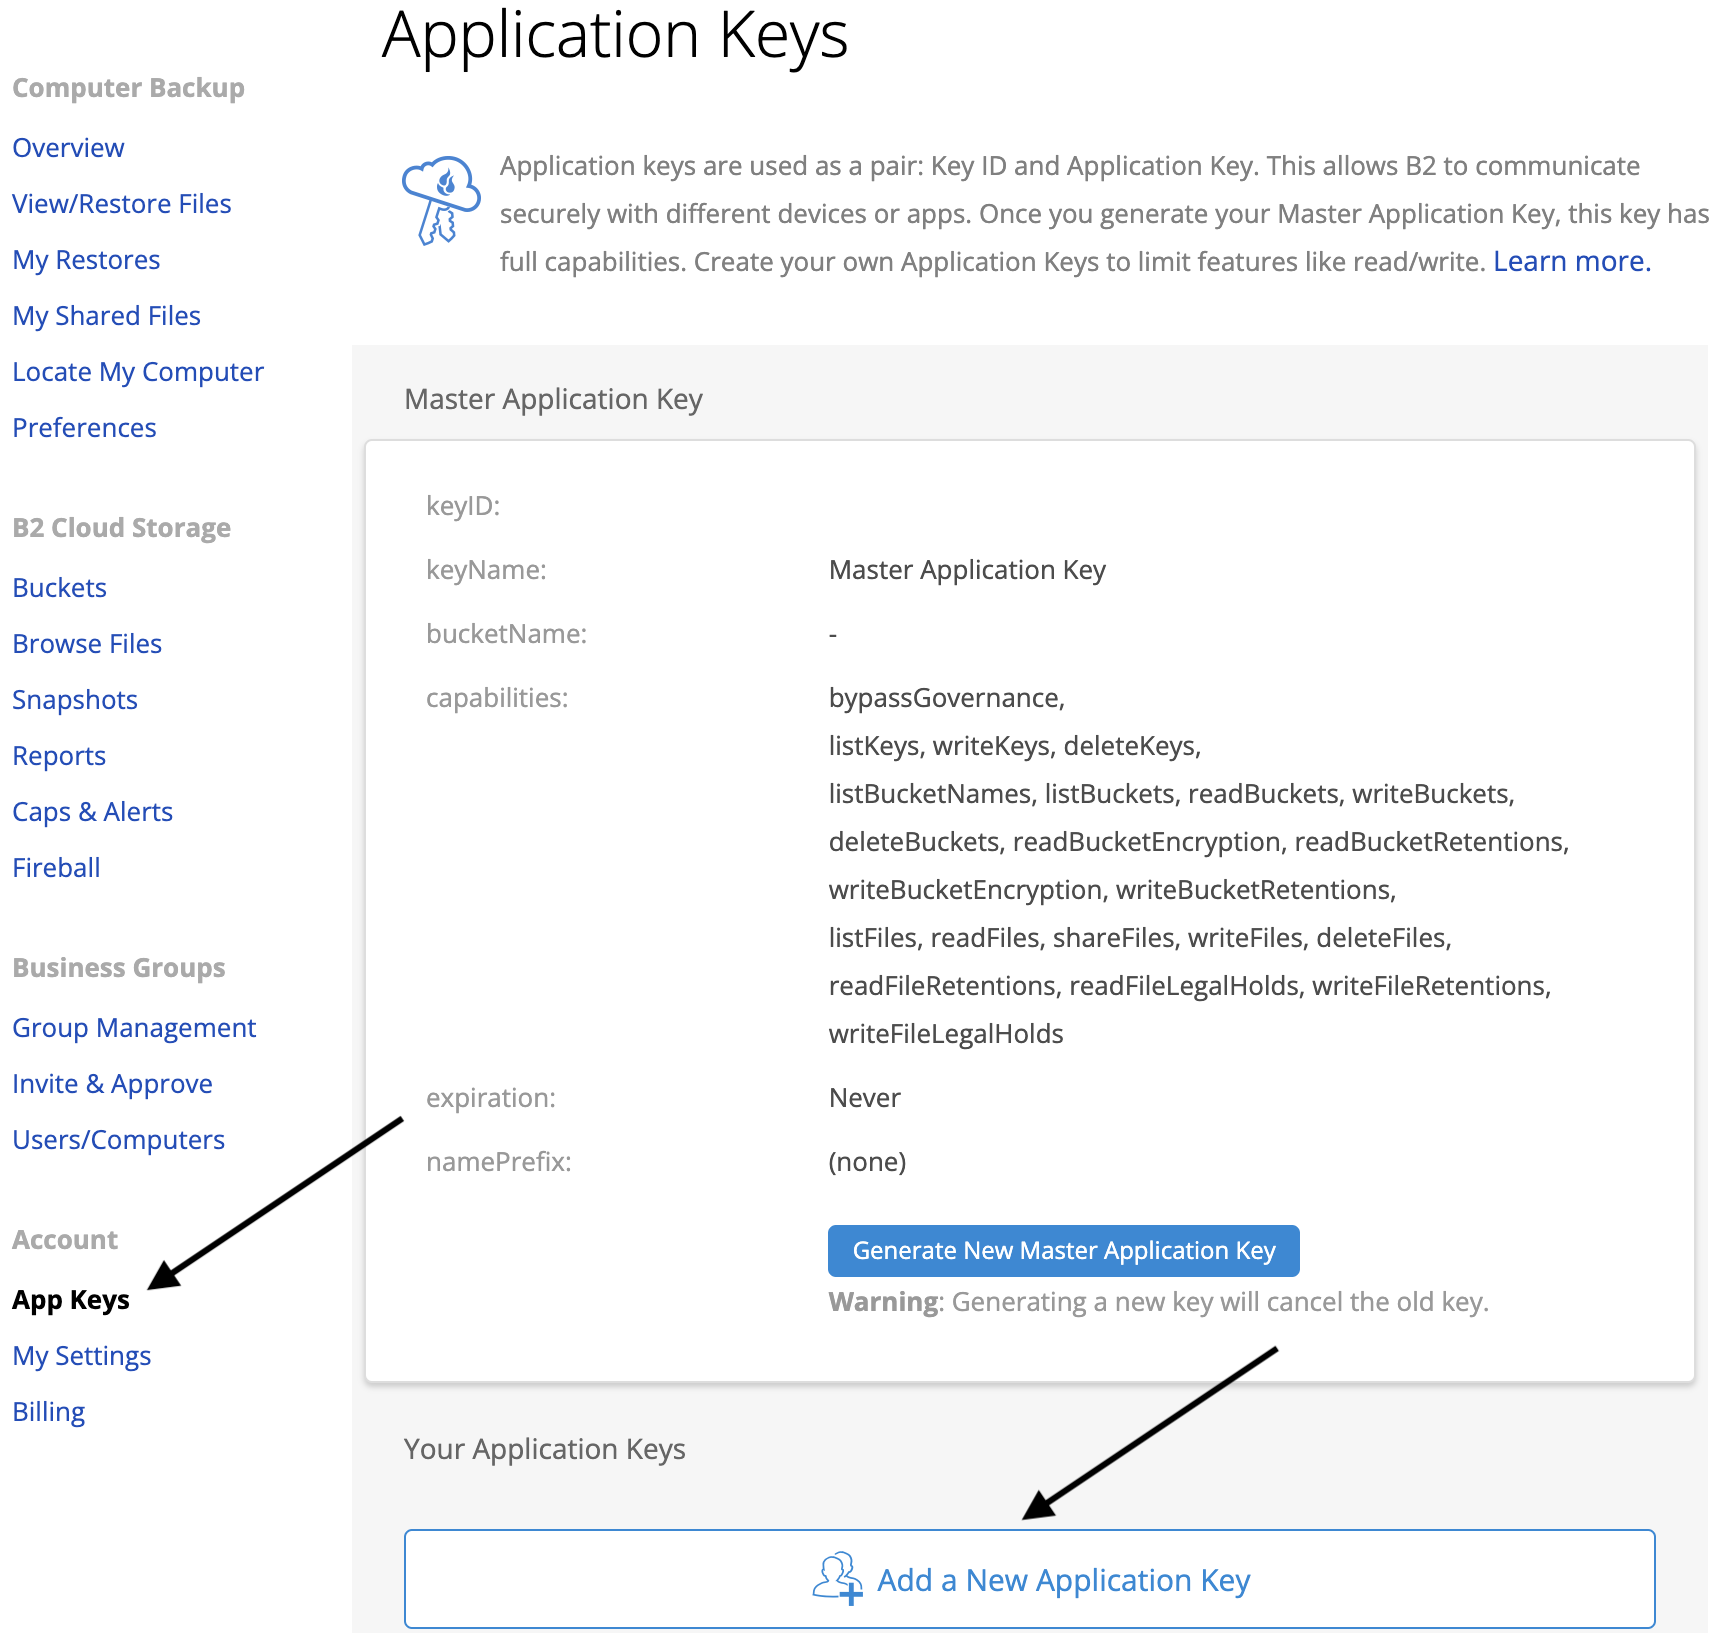
7. You can then enter a Name for the key and click on the button that says “Add a New Application Key”.
8. When you have the keyID and the applicationKey, be sure to copy them and keep both of these in a safe location. It is recommended to store these in notepad or any text editor as you will need them later on in this document.
Once you close this window, the current Application Key will not display again and you will need both of these numbers to set up your Tiger Bridge account.
IMPORTANT: If you lose the ApplicationKey, you will need to create another ApplicationKey. The new key that you create will invalidate the old one.
Your B2 account is now created and ready to be used with Tiger Bridge.
Step 2. Download, Install, and Configure Tiger Bridge.
You can sign up for the Tiger Bridge Backup plan from: https://www.tiger-technology.com/getbridge/
Install TigerBridge installed on the Veeam Repository Server
Double-click the installer to start, accept the licensing agreement, and install missing components if you are prompted to.
If you have any questions or need any assistance, please contact sales: https://www.backblaze.com/business-veeam-backup.html#contact
Articles in this section
- Quickstart Guide for Veeam 12 Direct-to-Cloud Backups to Backblaze B2 with Immutability
- Quickstart Guide for Acronis CyberProtect and Backblaze B2 Cloud Storage
- Quickstart guide for SFTPCloud
- Quickstart Guide for Veritas NetBackup and Backblaze B2 Cloud Storage
- Quickstart Guide for Offshoot and Backblaze B2
- Quickstart Guide for Files.com and Backblaze B2 Cloud Storage
- Quickstart Guide for Encoding.com and Backblaze B2 Cloud Storage
- Quickstart Guide for Mountain Duck and B2 Cloud Storage
- Quickstart Guide for Microsoft 365 Backup with MSP360 and Backblaze B2 (Multiple Instances)
- Quickstart Guide for Microsoft 365 Backup with MSP360 and Backblaze B2 (Single Instance)