
Note: As of Cyberduck 7.9.1, major performance improvements have been made in how it handles small files, and the how many concurrent files can be transferred at once. Please update to the latest version, and then re-check the suggested performance settings at the end of this article.
Installing Cyberduck
Cyberduck is a third-party software that has integrated with B2 cloud storage.
You can download Cyberduck from their webpage here: https://cyberduck.io/
Once Cyberduck is installed, you will need a couple of pieces of information from B2 before you can continue with setting up a B2 Connection with Cyberduck.
You will need the Application Keyand the Application Key ID from the B2 section of Backblaze.
To get this information you will need to go here:
https://secure.backblaze.com/user_signin.htm
Type your email address and password used for B2, then click Sign In.
Once you have signed in, click the App Keys link, in the left-hand navigation pane.
Then you will need to either use your Master Application Key or create a new App Key as shown here:
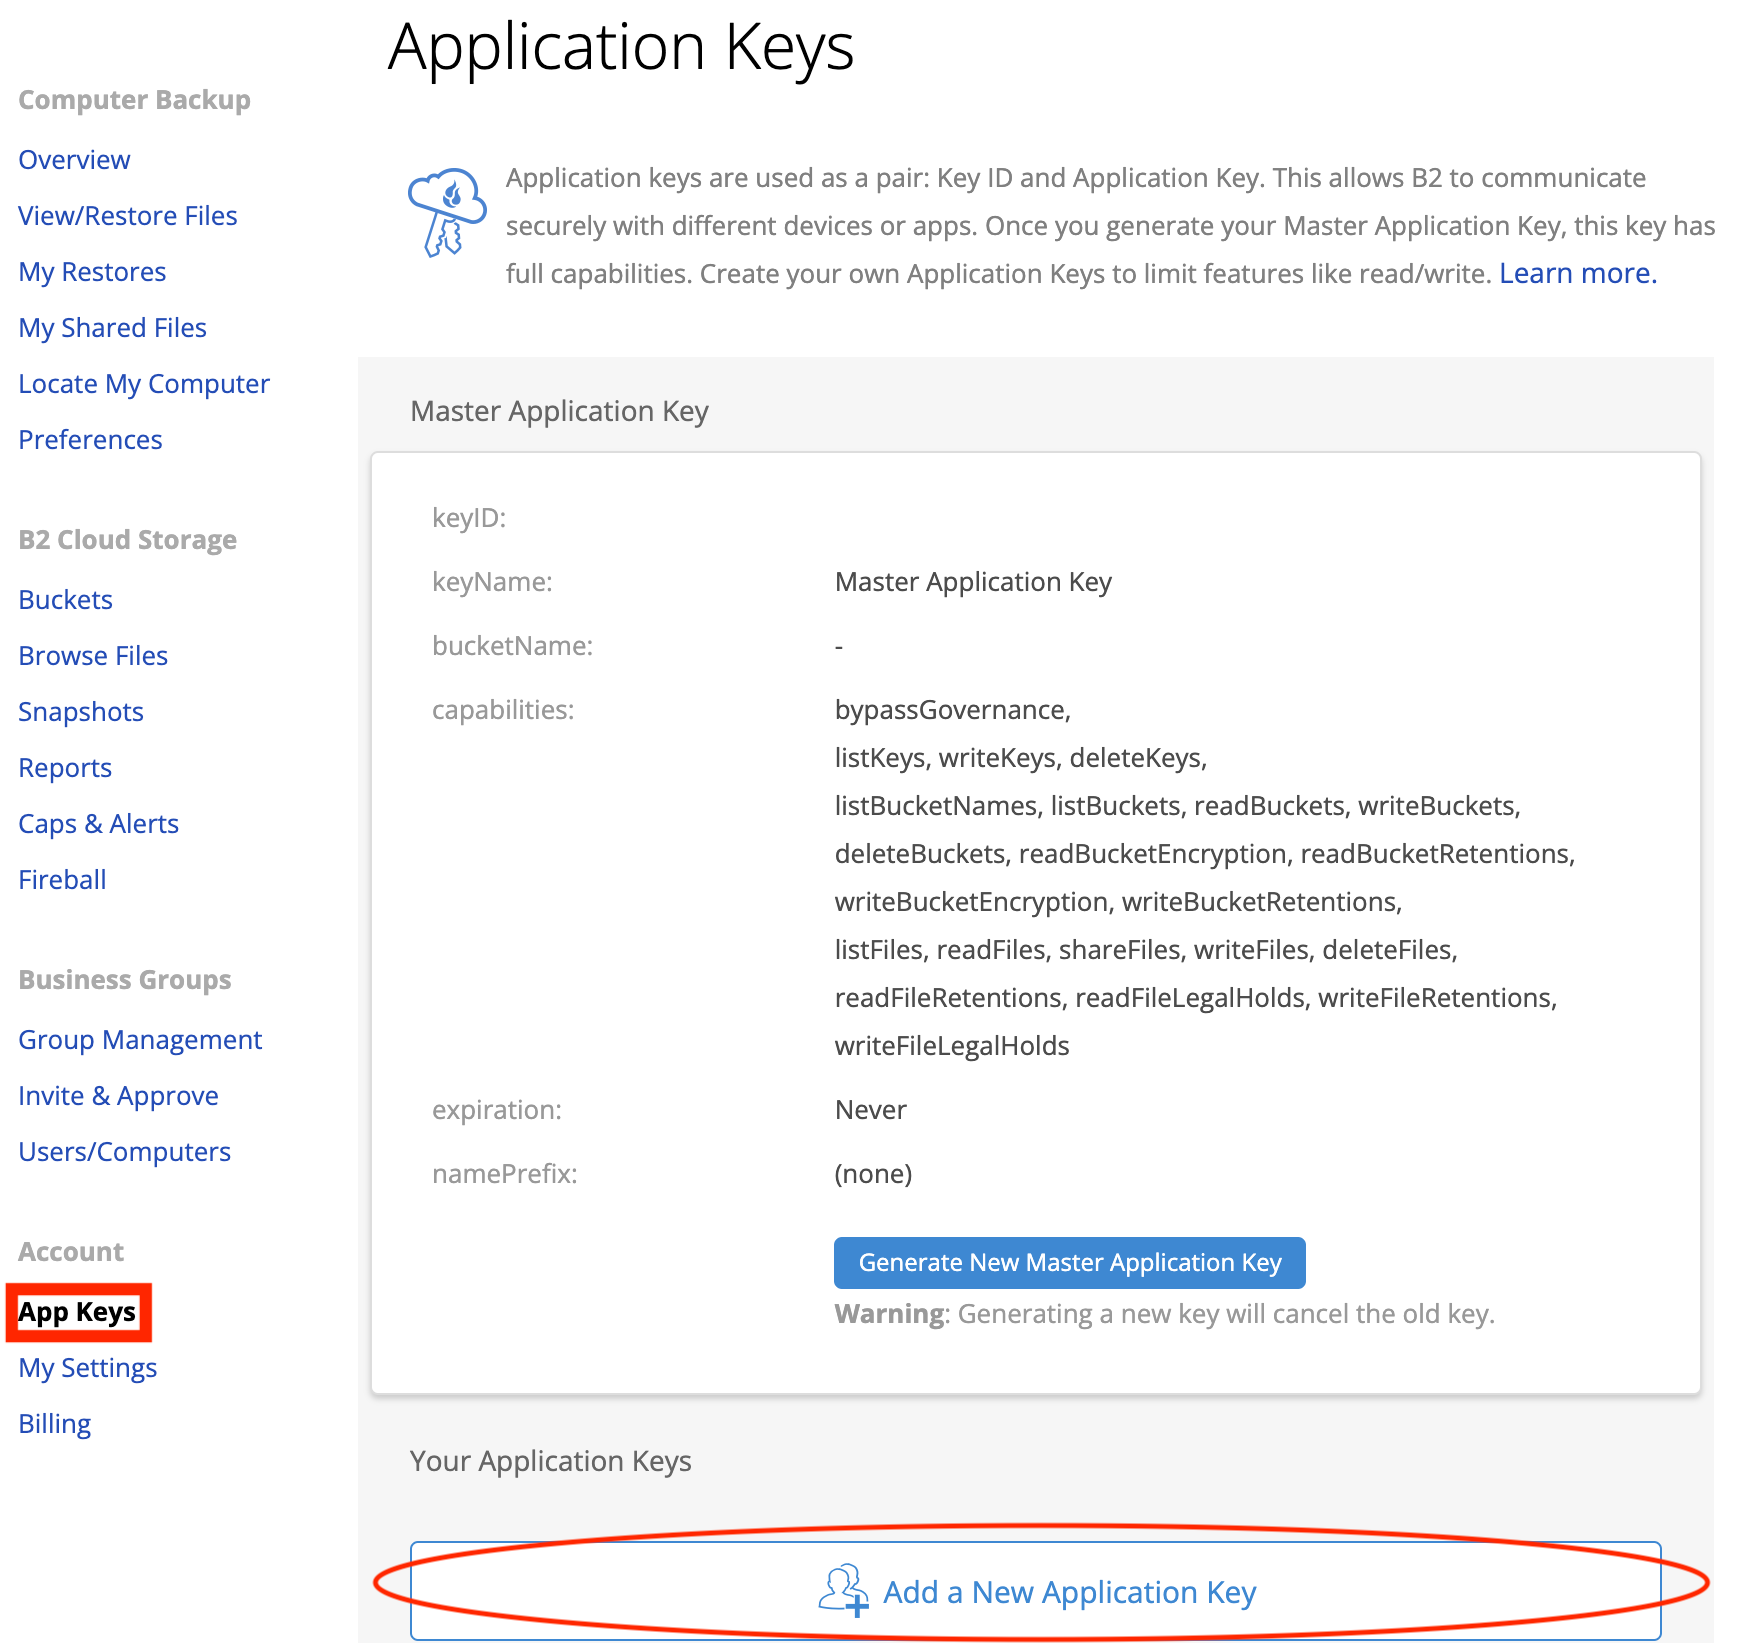
Clicking this link will bring up a screen where your Key ID and Application Key are listed.
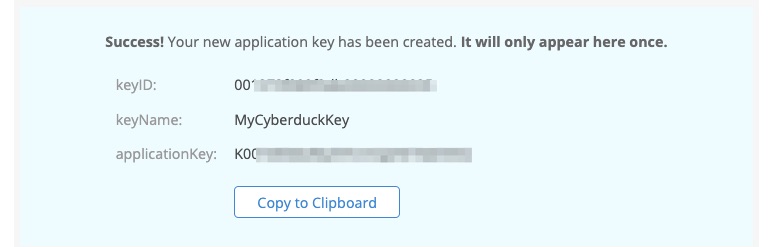
Keep this window open, or paste the info to someplace where you can access the Key ID and Application Key for setting up Cyberduck.
Setting up Cyberduck to use B2
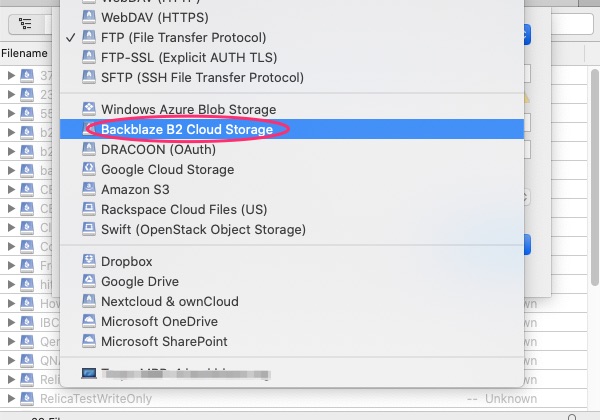
Open Cyberduck and then click the open connection icon.

Click the drop-down field that reads, "FTP (File Transfer Protocol)" and select Backblaze B2 Cloud Storage.
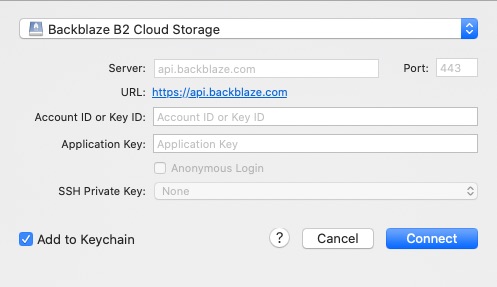
Type in or paste your Key ID and Application Key, which we got earlier, into the appropriate fields and click the connect button.
Uploading a file
Before uploading a file, you will need to create a bucket to place the file in.
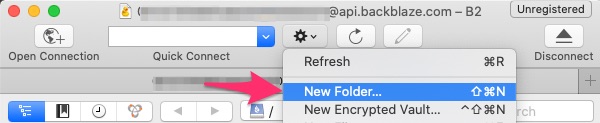
Click Action, then choose New Folder from the menu.
Choose a bucket name and choose whether you would like the bucket to be private or public. Public allows for viewing or downloading the data via a link.
Note: Bucket names are globally unique, so if at first it fails please alter the name and try once more.
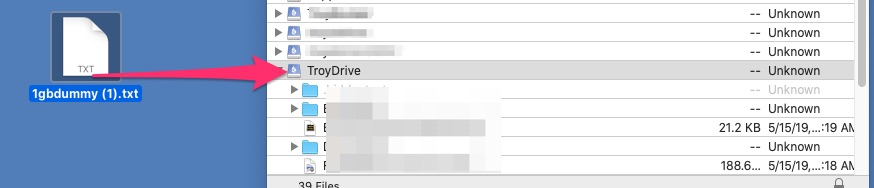
Once the bucket has been created it will show in the Cyberduck window.
Now just drag a file to the bucket name and it will be uploaded.
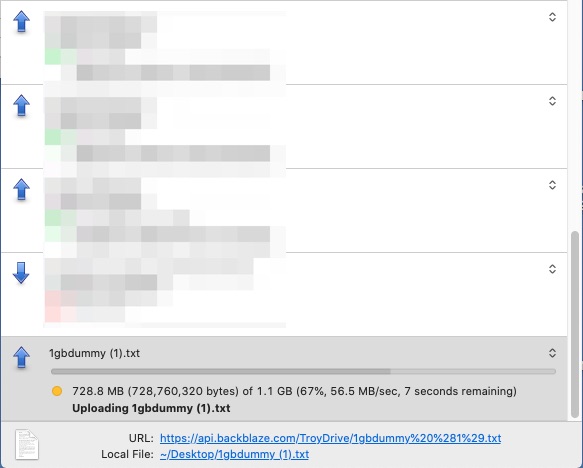
Once you drag the file to the folder and release it the upload windows will pop up and tell you the rate and give you a progress bar.
Recommended Connection Settings
Note: After installing updates, review your settings to make sure they have not been reset.
If there are temporary issues with the Internet connection when transferring files, increasing the timeouts and retries helps to overcome this automatically, especially when uploading large files or synchronizing large directories.
Larger files are transmitted in multiple parts, and if one part fails, the whole transfer fails. By changing this setting, if something causes a part to fail, it will be retried, instead of failing.
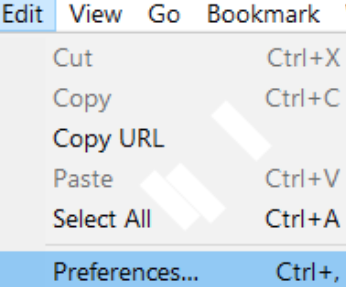
To make the changes in Cyberduck, go to the Edit menu, and then select Preferences.
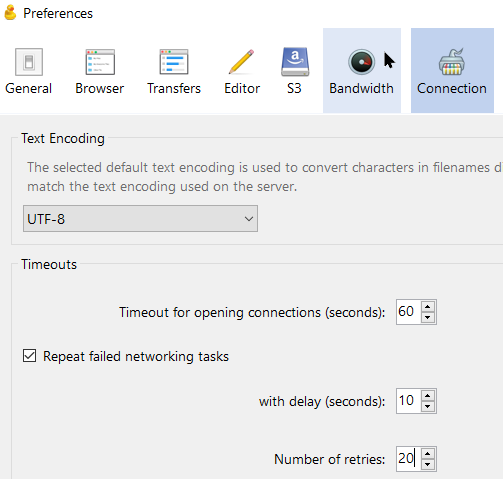
Go to the Connection Tab and change the following settings:
- Timeout for opening connections: 60 seconds
- Make sure ‘Repeat failed networking tasks” is checked
- Delay seconds: 10
- Number of retries: 20
To make file transfers faster, we want to enable multiple file transfers to happen in parallel. To do this, set Transfer Files to “Open multiple connections”.
To help with successful transfer of large files, in addition to retrying the connection, we want Cyberduck to try to resume uploading the parts of the file that are remaining. For both Downloads and Uploads, change the “Existing Files” setting to Resume, which will overwrite files with the same name. If the file size is different, it will resume pending file transfer.
Under the Preferences menu, click on Transfers and make the following changes on the General tab.

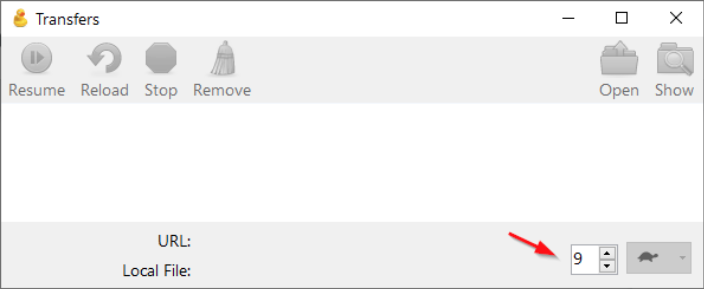
Now that multiple files can be transferred at the same time, we need to adjust the transfer setting that controls how many files can be transferred in parallel.
From the Cyberduck main toolbar, click on Transfers, and in the bottom right, pick a number from 1-20 for how many files to transfer at the same time, however the new Automatic setting, which is default works just fine.

Articles in this section
- Quickstart Guide for Veeam 12 Direct-to-Cloud Backups to Backblaze B2 with Immutability
- Quickstart Guide for Acronis CyberProtect and Backblaze B2 Cloud Storage
- Quickstart guide for SFTPCloud
- Quickstart Guide for Veritas NetBackup and Backblaze B2 Cloud Storage
- Quickstart Guide for Offshoot and Backblaze B2
- Quickstart Guide for Files.com and Backblaze B2 Cloud Storage
- Quickstart Guide for Encoding.com and Backblaze B2 Cloud Storage
- Quickstart Guide for Mountain Duck and B2 Cloud Storage
- Quickstart Guide for Microsoft 365 Backup with MSP360 and Backblaze B2 (Multiple Instances)
- Quickstart Guide for Microsoft 365 Backup with MSP360 and Backblaze B2 (Single Instance)