To avoid duplicating data, Backblaze will not back up any drive that contains Time Machine data on it. The drive will be listed in Backblaze's "Select Hard Drives to Backup" as Time Machine and will not be selectable.
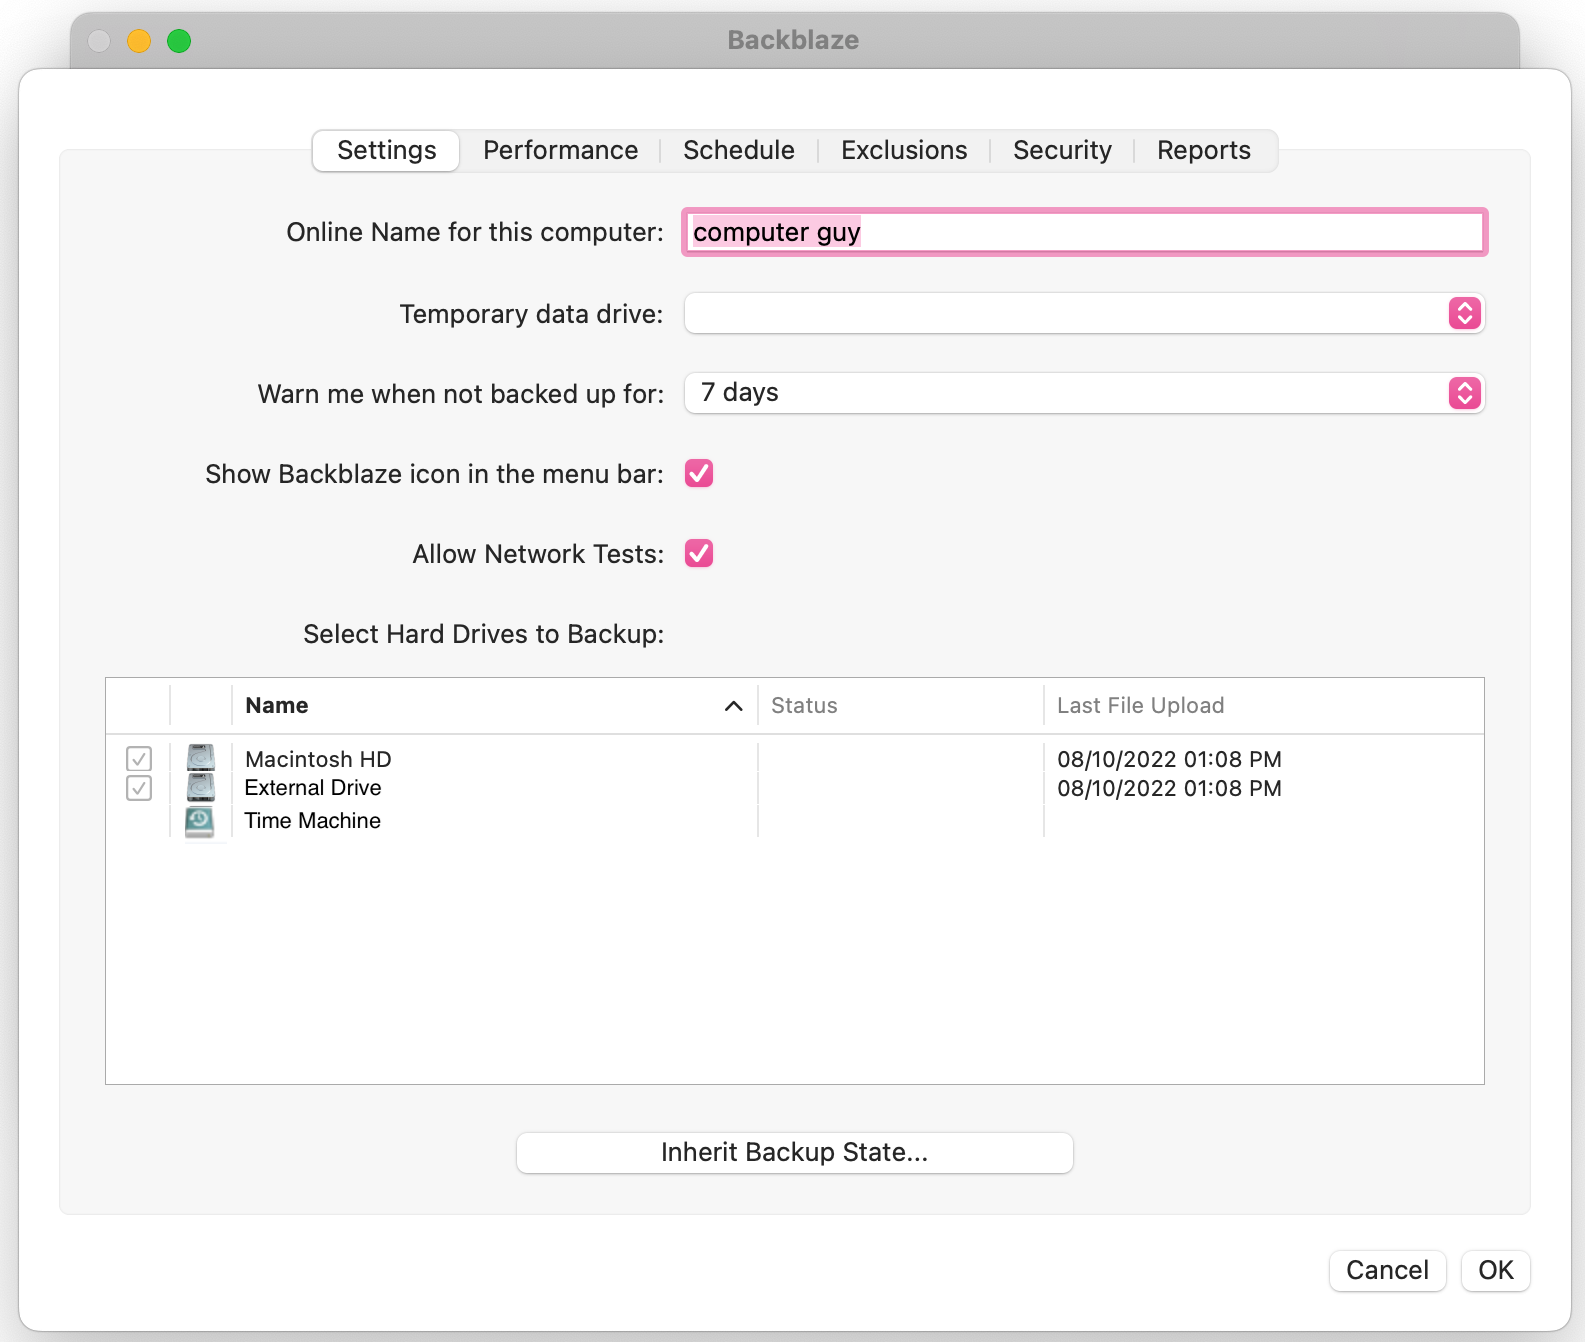
If you'd like to back up that drive to Backblaze, you can discontinue using Time Machine, delete its backups, and select it for backup to Backblaze. Before following these steps, make sure you do not have any data you need to restore from Time Machine as it will be entirely deleted.
After following this article, you can turn back on Time Machine and point it to a completely different drive that you're dedicating solely to Time Machine if you'd like. Backblaze can coexist with Time Machine, however, you can't back up the contents of a Time Machine drive to Backblaze.
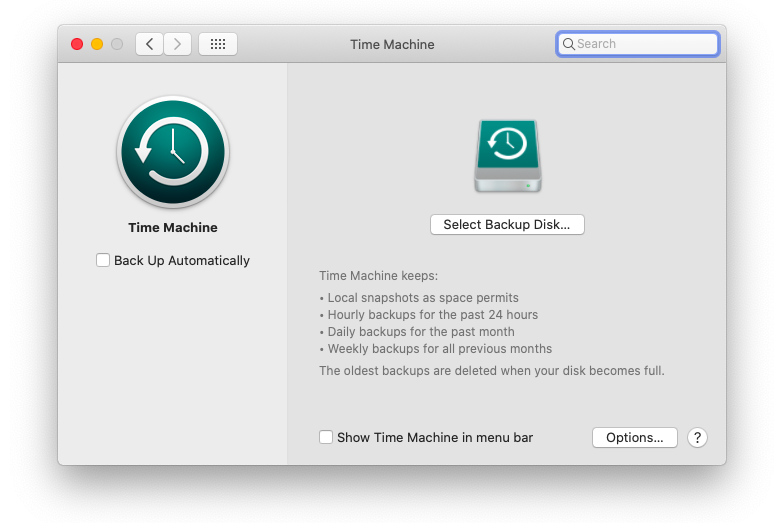
1. Turn off Time Machine
Open the System Preferences and choose Time Machine. Turn Time Machine off.
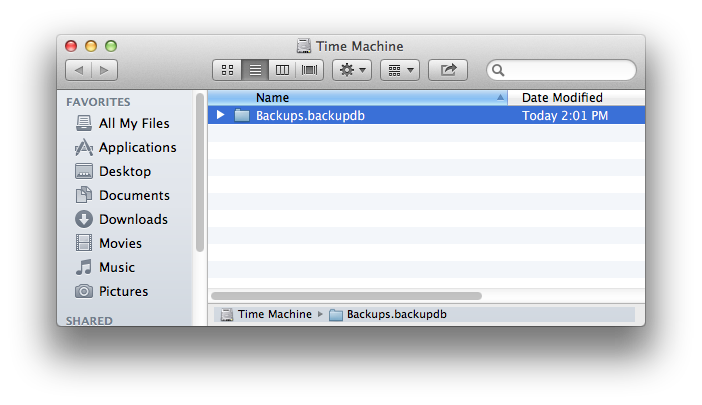
2. Delete Backups.backupdb from the Time Machine drive.
You may be prompted for your Mac OS X administrator password. This folder may contain a lot of files, and take a long time to move to the trash, and to empty the trash.
Note: This step will delete your Time Machine data.
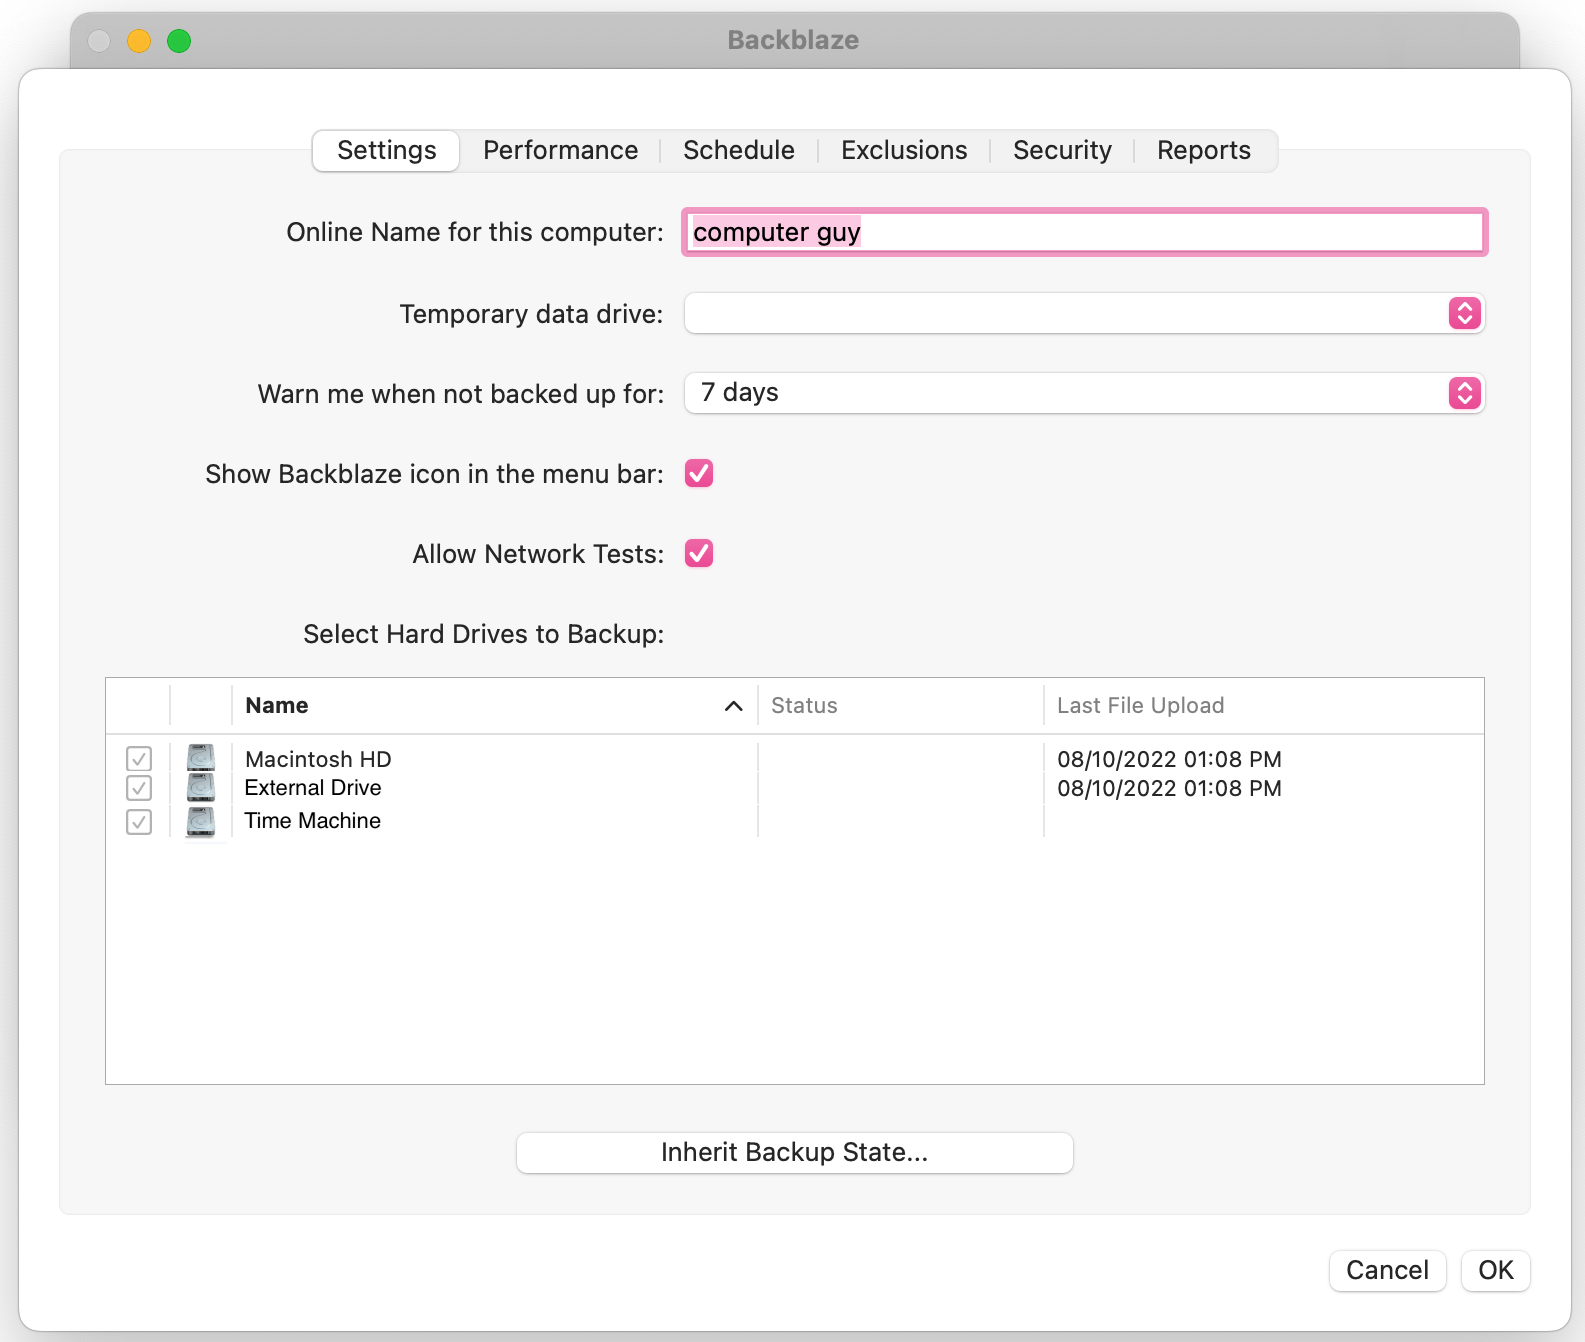
3. Select the drive in Backblaze's settings
Open the System Preferences, choose Backblaze and click on Settings.
Select the drive for backup to Backblaze.
Click OK to accept the changes.
On some versions of MacOS, namely Big Sur the backups.backupd folder is no longer present. In this case, the volume must be deselected in Time Machine Preferences.
To deselect the volume using Time Machine Preferences, please do the following:
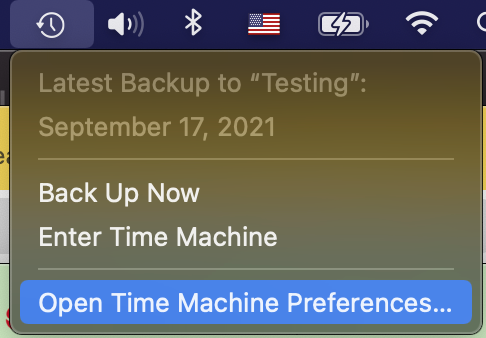
1. Click the Time Machine icon from the menu bar at the top of your screen and select "Open Time Machine Preferences"
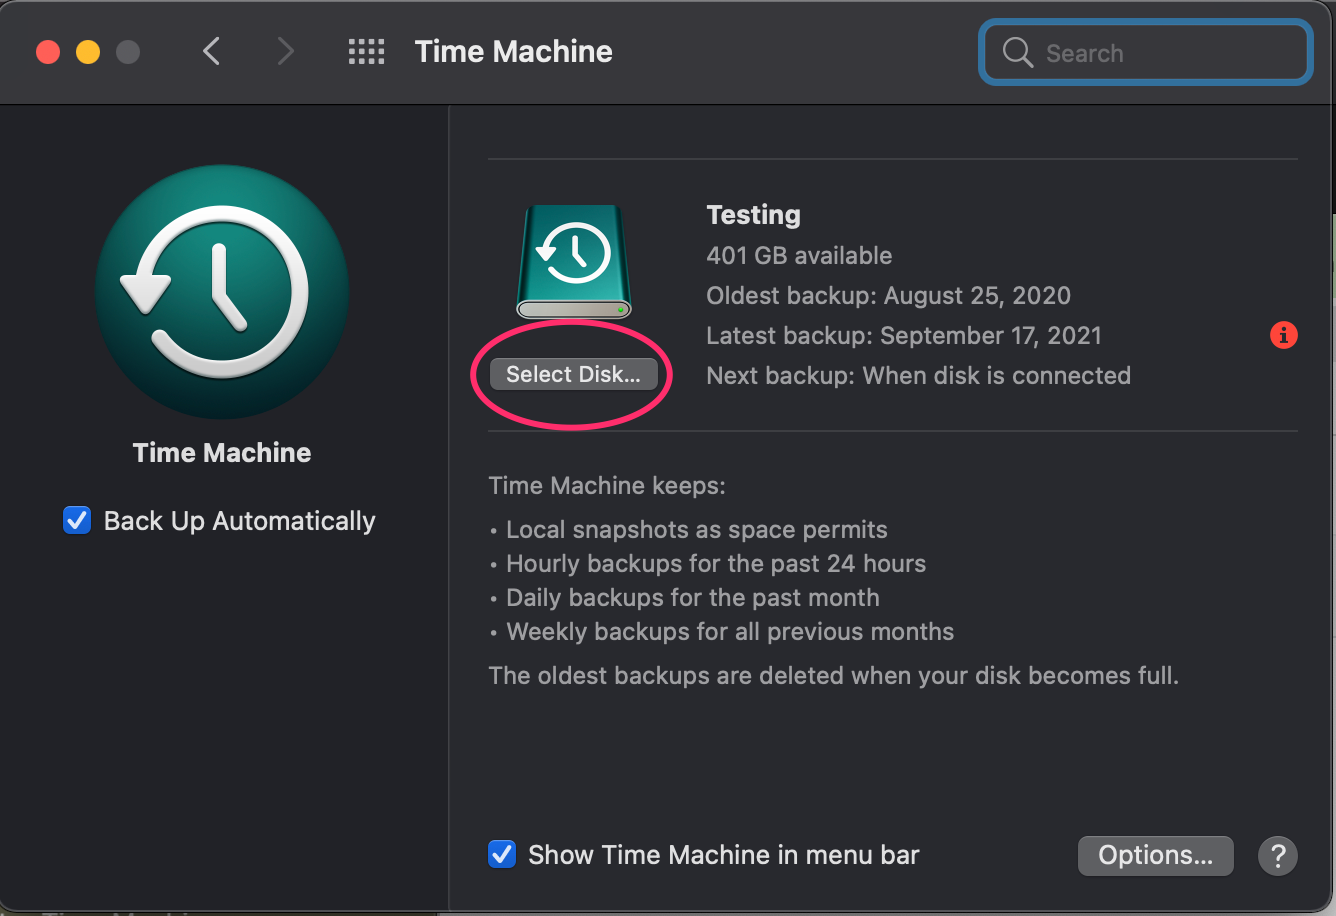
2. After selecting Time Machine preferences, click on the button labeled "Select Disk"
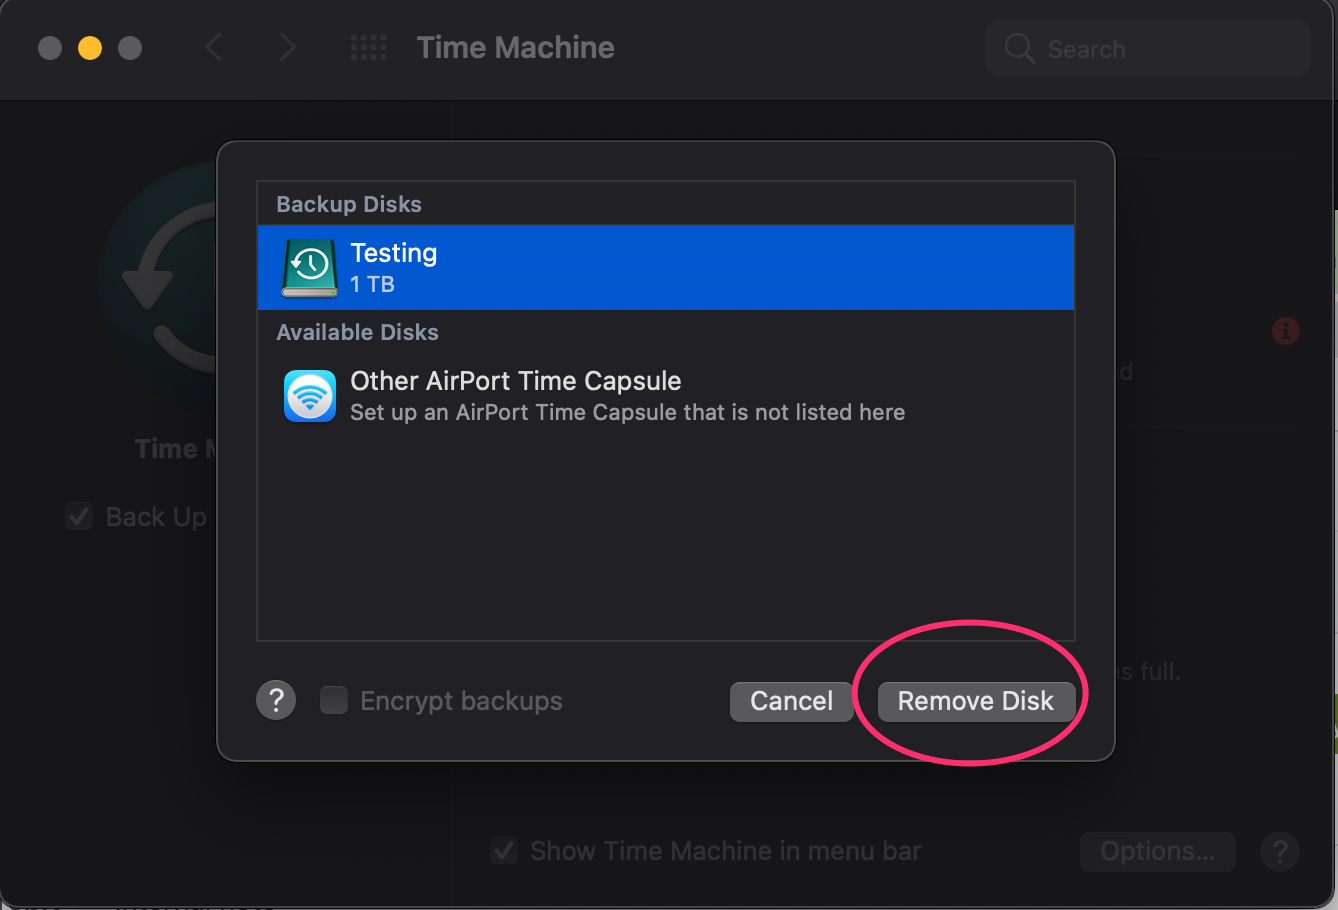
3. Select the name of the volume shown under "Backup Disks" and click the button labelled "Remove Disk" to deselect the volume for backup.
Articles in this section
- How to only backup select folders
- How to backup OneDrive on Mac
- Why is my Veracrypt software preventing my drive from backing up?
- Box Drive files cannot be backed up by Backblaze on Mac
- Will Backblaze back up iCloud Drive on Mac?
- Will Backblaze backup the iCloud drive on Windows?
- Network Management - Wi-Fi Block List
- Can Backblaze backup my OneDrive folder? (Windows)
- Backing Up a Boot Camp Partition
- Backblaze and Bootcamp
