Introduction
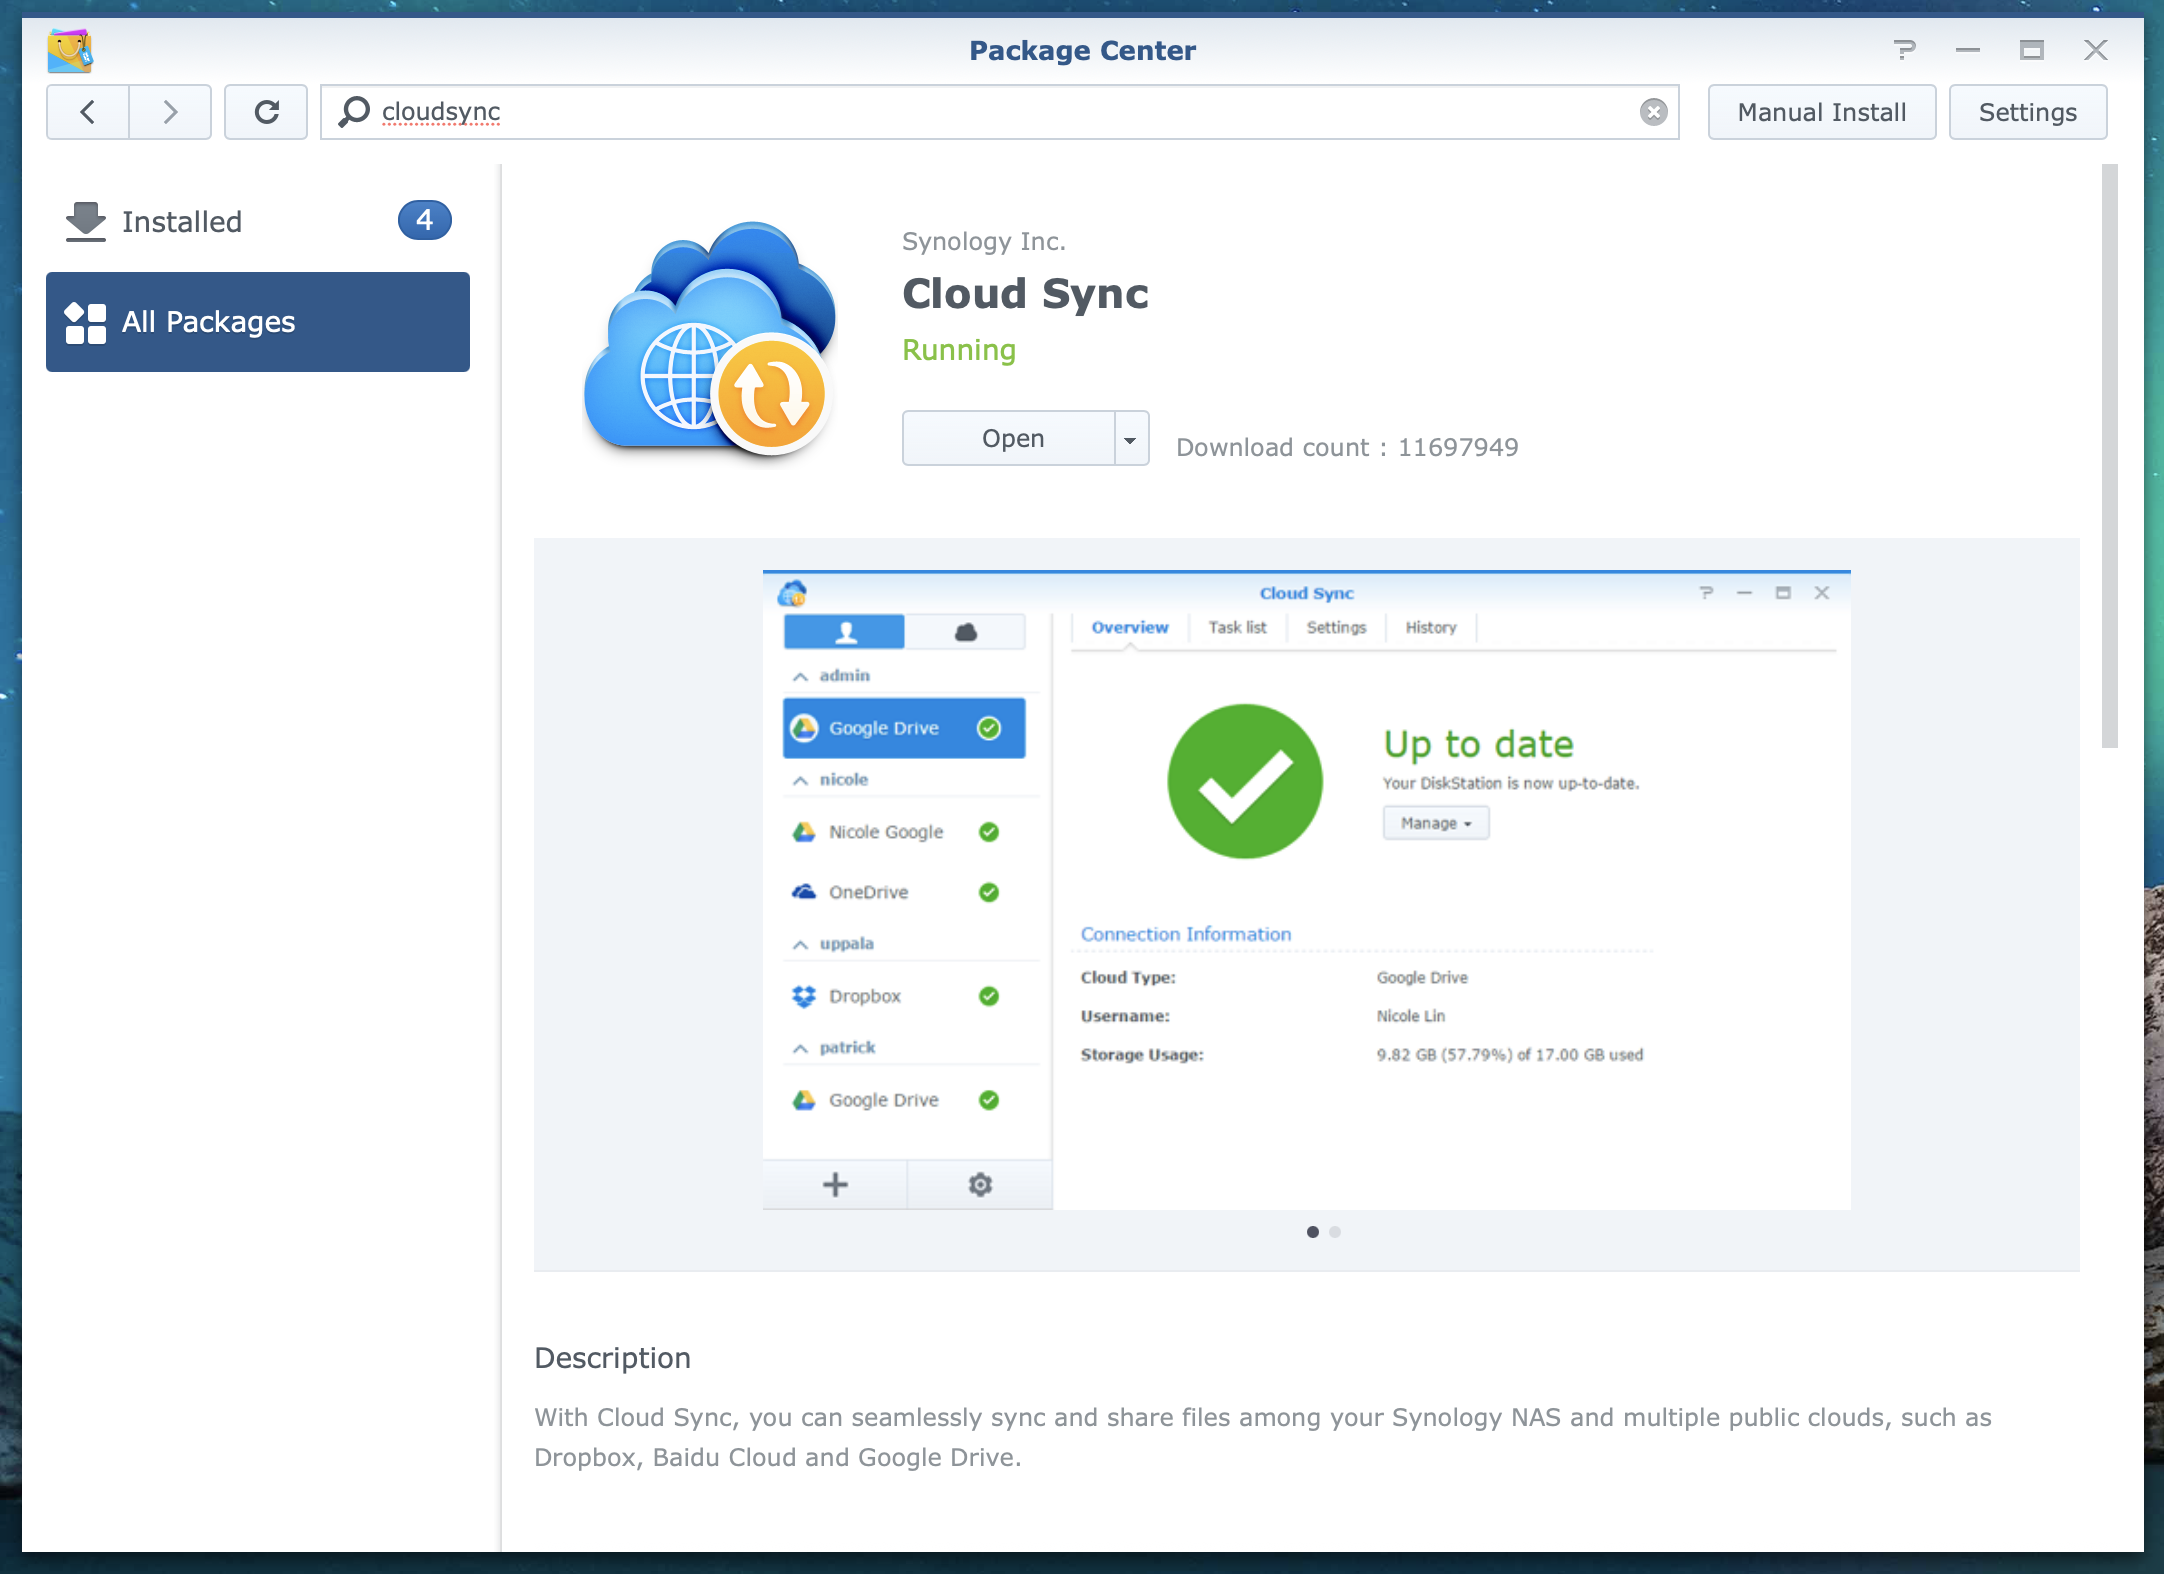
Cloud Sync is a free Synology tool built into Synology DiskStation Manager. This guide will help you configure your Synology NAS to sync files directly to your B2 bucket. We will also cover some recommended settings to improve your upload or download performance. Before starting, please ensure DiskStation Manager is updated to version 7.0 or above.
Guide
- Download and Install the Cloud Sync application from DSM's Package Center

- Open the Cloud Sync application. Search for and select Backblaze B2 as your Cloud Provider

- Enter your Application Key ID, Application Key, then use the dropdown to select the bucket you created on the Backblaze website for this project

- Name your connection, select the local path, remote path, and sync direction
Backblaze recommends a part size of 128 MB
- Click next, confirm the task settings, and your sync will begin automatically
Quick Tips and Tricks
Threading your upload
Cloud Sync's Settings menu lets you adjust Concurrent uploads/downloads. To improve performance, try adjusting the number of concurrent uploads. If you have fast internet and a Synology with a strong processor, increasing the number of threads can greatly reduce the total upload time.
Throttling your upload or download
If Cloud Sync is taking up too much bandwidth, Traffic control settings can be set to set limits on maximum upload/download rates.

If you’re hitting Class C transaction caps, we have an article that addresses this here.
Articles in this section
- Quickstart Guide for Veeam 12 Direct-to-Cloud Backups to Backblaze B2 with Immutability
- Quickstart Guide for Acronis CyberProtect and Backblaze B2 Cloud Storage
- Quickstart guide for SFTPCloud
- Quickstart Guide for Veritas NetBackup and Backblaze B2 Cloud Storage
- Quickstart Guide for Offshoot and Backblaze B2
- Quickstart Guide for Files.com and Backblaze B2 Cloud Storage
- Quickstart Guide for Encoding.com and Backblaze B2 Cloud Storage
- Quickstart Guide for Mountain Duck and B2 Cloud Storage
- Quickstart Guide for Microsoft 365 Backup with MSP360 and Backblaze B2 (Multiple Instances)
- Quickstart Guide for Microsoft 365 Backup with MSP360 and Backblaze B2 (Single Instance)
