How to use Signiant Media Shuttle with Backblaze B2 Cloud Storage
Signiant Media Shuttle provides high-speed data transfer services that allow companies to transfer large files and move big data faster than otherwise possible. This is even more important over high latency, long-distance connections.
Signiant Media Shuttle can be configured with B2 Cloud Storage by following the steps below.
Step 1:
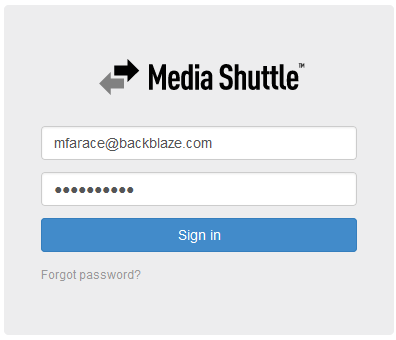
Login to your Media Shuttle account at https://manage.mediashuttle.com/
Step 2.
Add a portal to your account. To the left of your account name (email address) click on the drop down menu and pick Add Portal.
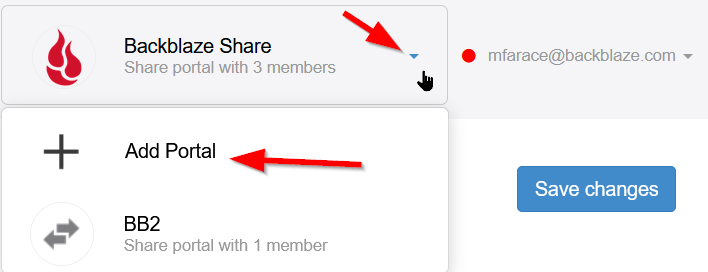
Then click on what type of file sharing portal you would like to create. For this example we are creating a Share portal.

Step 3.
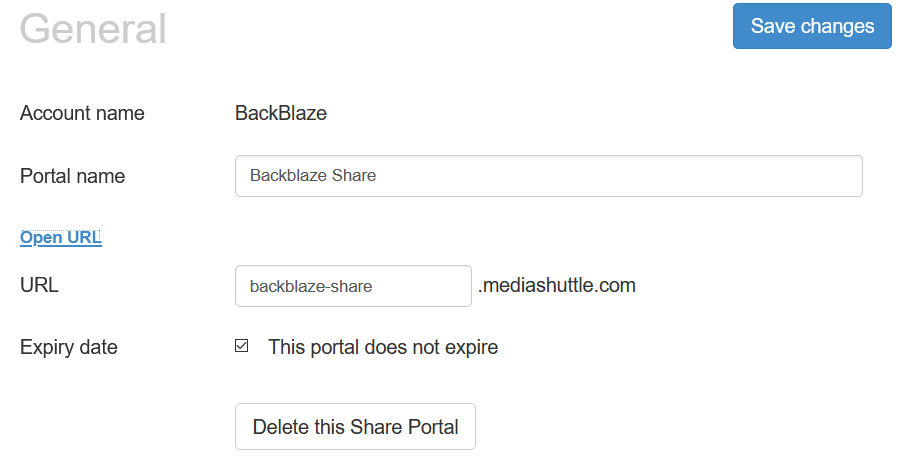
In the General menu, configure your share portal name and URL, and click Save changes.
Step 4.
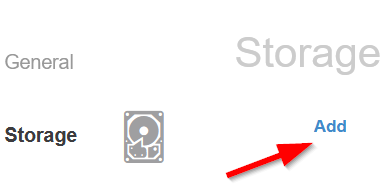
In the Storage menu, click Add, and select Filesystem.
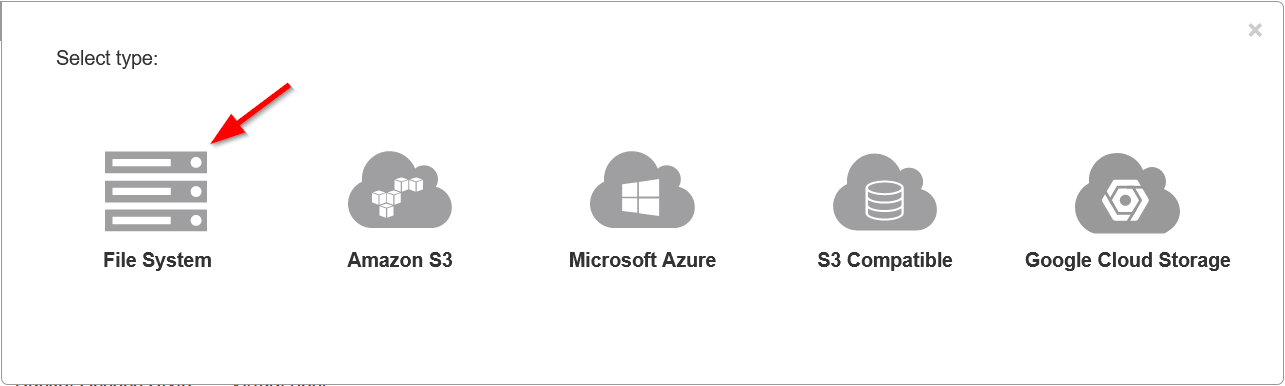
Click the box to agree to the terms of the license agreement, download the Windows or Linux version of the Media Shuttle storage server, and use the unique registration key shown on this page to register it to your account, using the installation instructions provided by Signiant.
Note: Make sure all the required ports are opened, per the Media Shuttle requirements page:
https://help.signiant.com/media-shuttle/general/system-requirements

Step 5.
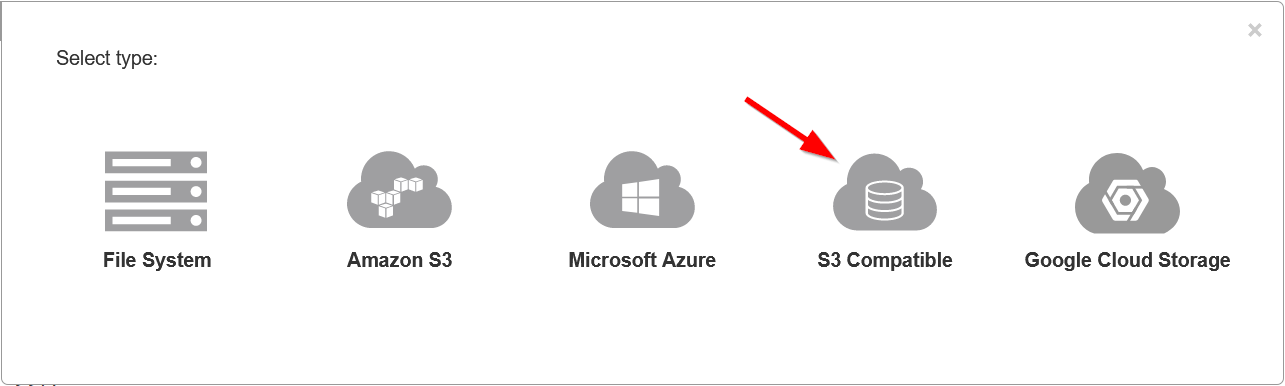
In the Storage menu, click "Add" again, this time selecting S3 Compatible.
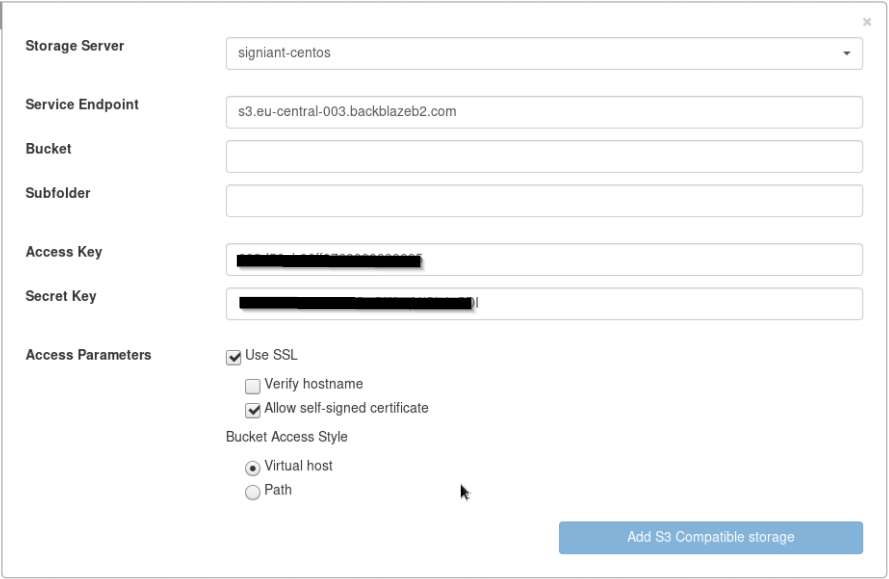
Select the Storage Server you installed from the drop down menu at the top.
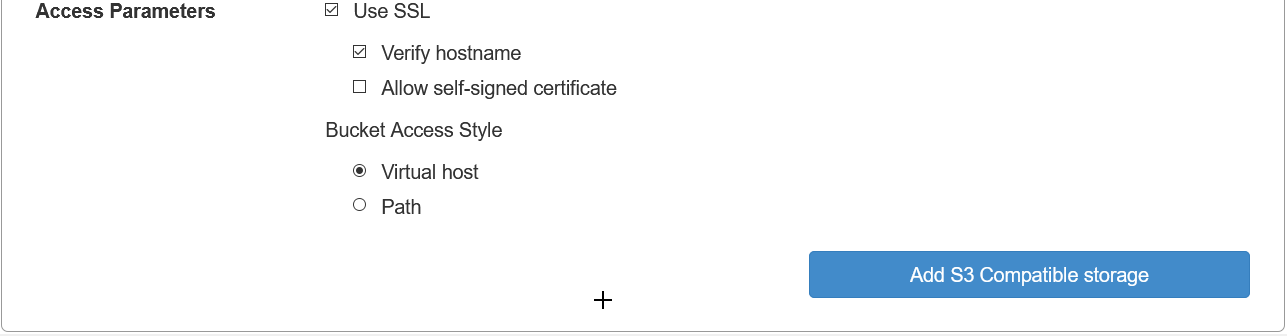
Enter your S3 Endpoint, Key ID, Application Key and Bucket name and optional subfolder into the appropriate fields. Click Use SSL and then click “Add S3 Compatible storage”.
Note: The bucket name must be created ahead of time and then entered on this page.
Step 6:
On the General menu, click Open URL, to go to your account portal page.
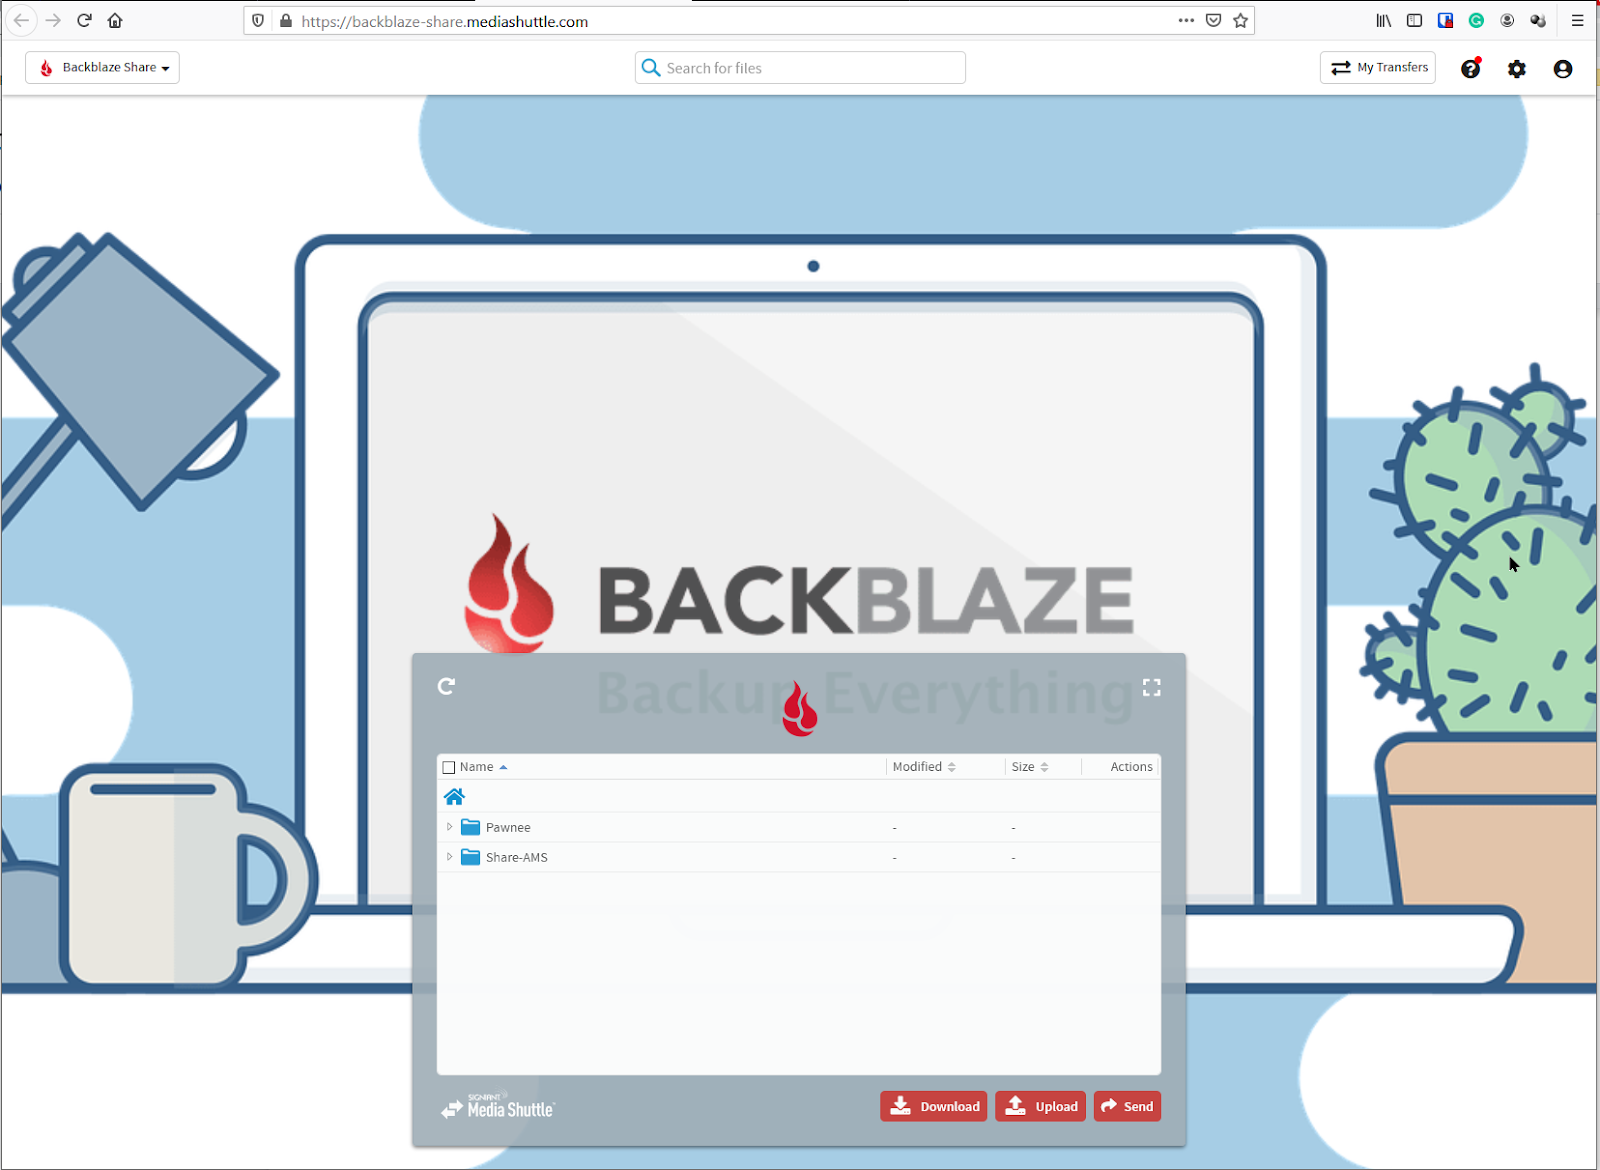
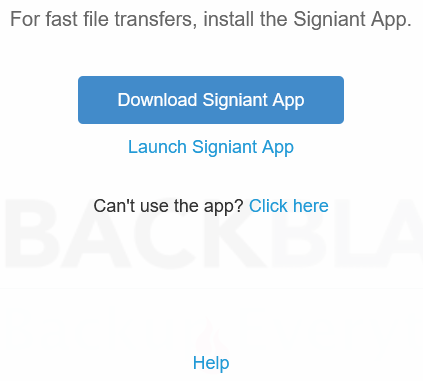
In the bottom file transfer area, click on an existing file to "Download", or "Upload" to upload a new one. When you do this for the first time, you will be prompted to download the Signiant App which enables the fast file transfers. If you have it installed already, then click “Launch Signiant App”.
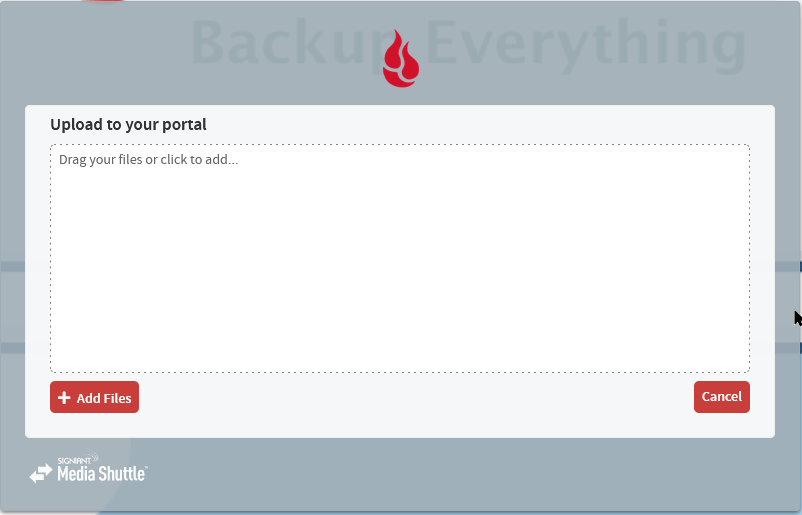
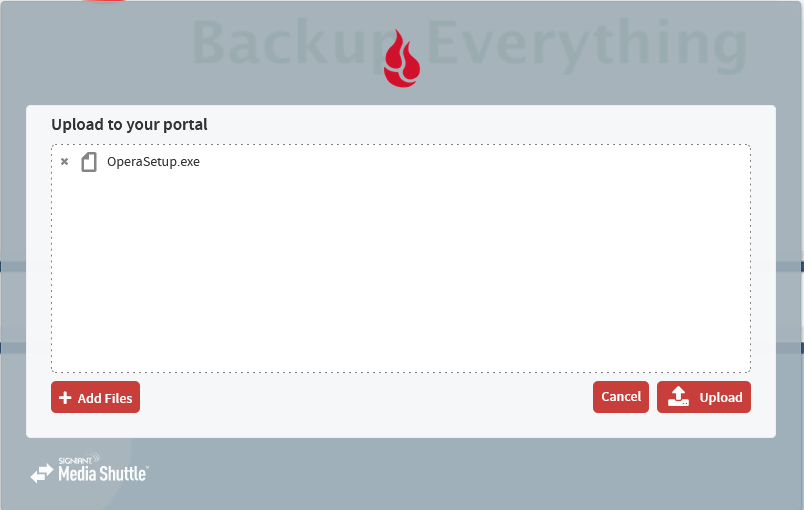
For uploads, you will then be prompted to drag and drop your files into the page, or click "Add Files" to browse your file system to select them.
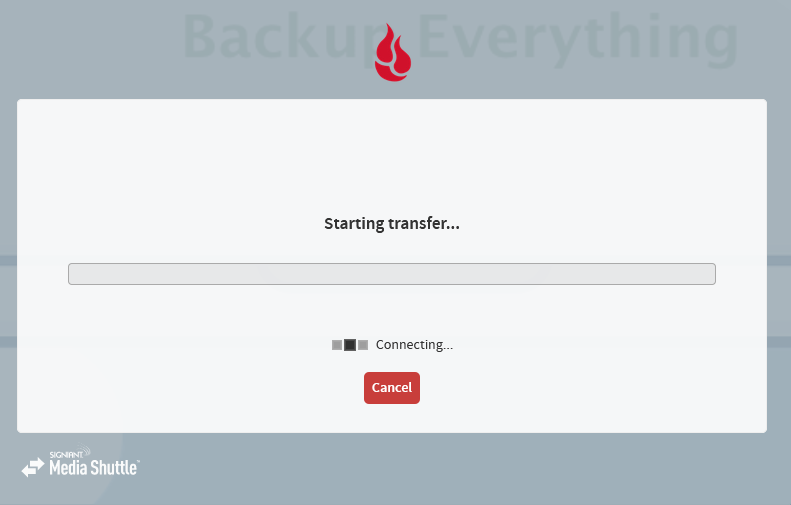
After your file(s) are selected click "Upload" to start the transfer process.
You will then see the progress screen and then a confirmation page that the file(s) are now uploaded.
Step 7.
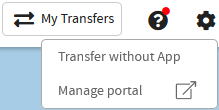
In the upper right corner, click on the settings (gear) icon, and click on Manage Portal.
Step 8.
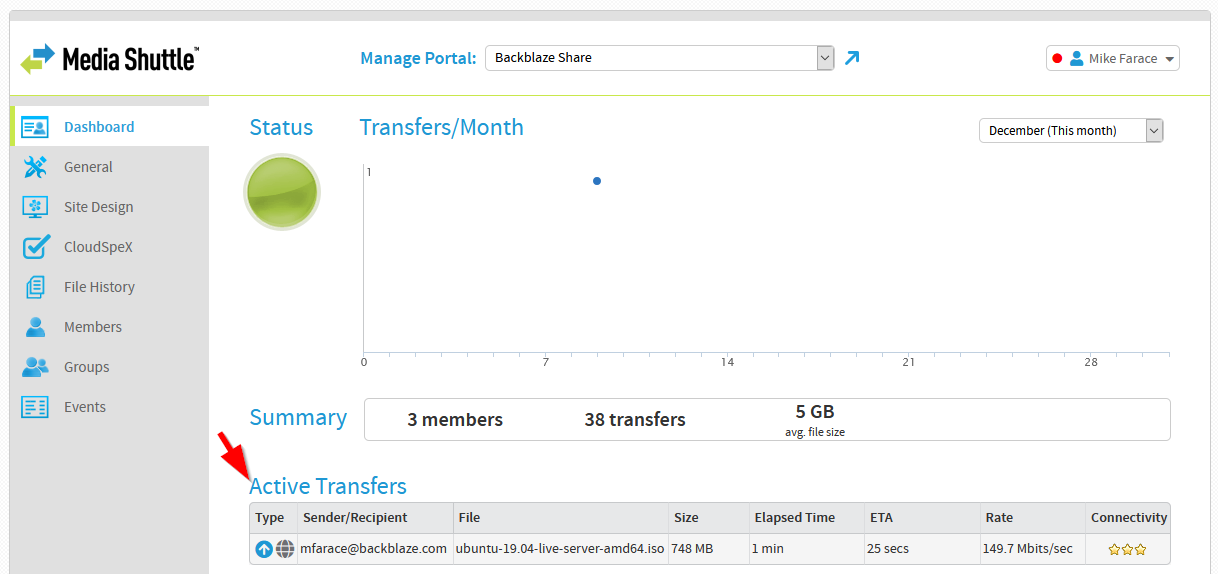
From the Dashboard, you can see a summary of recent transfers as well as see Active transfers that are currently processing.
Step 9.
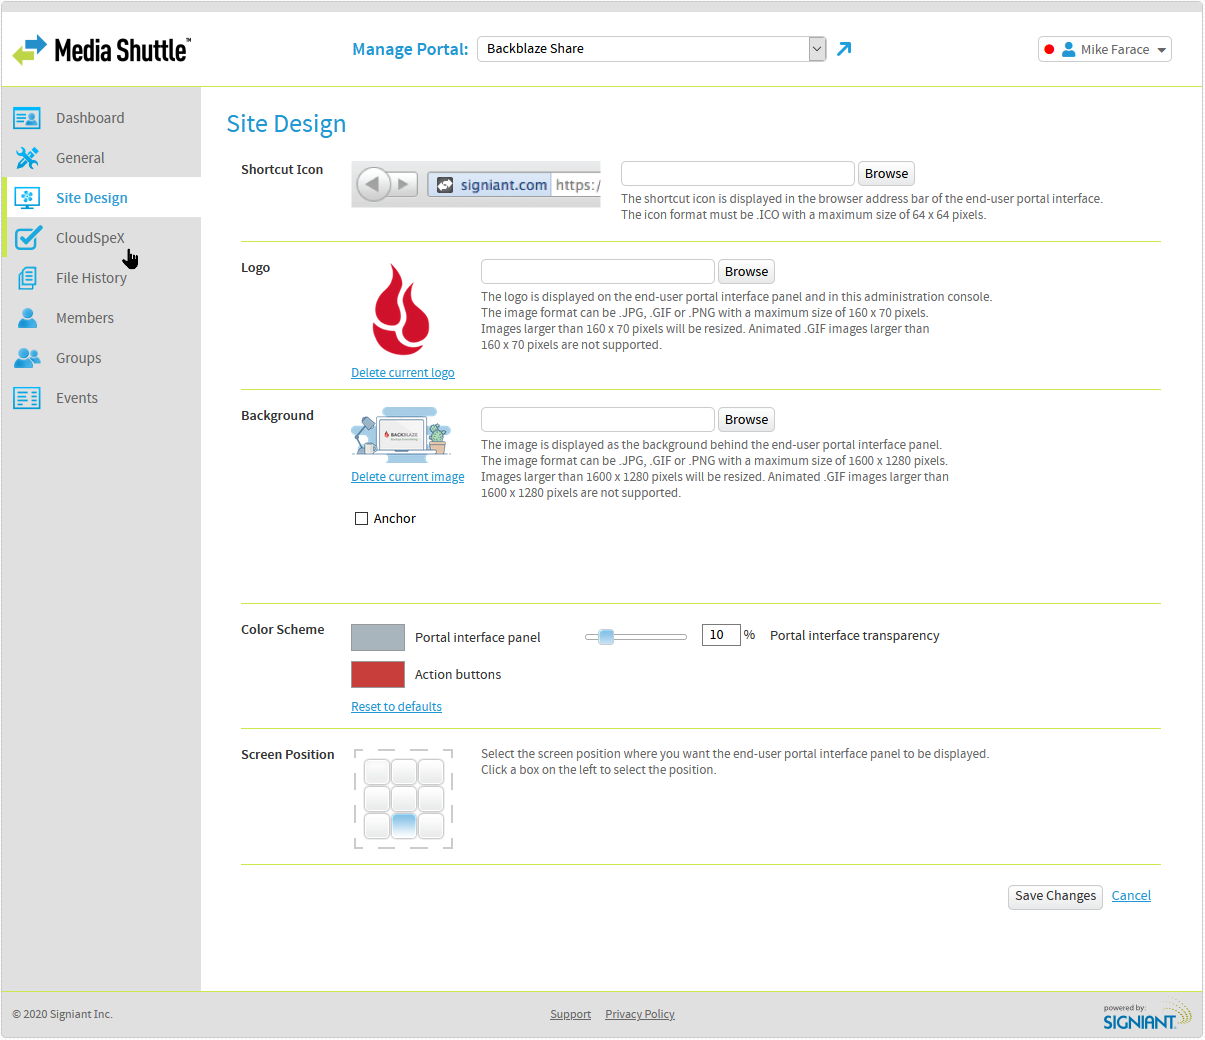
From the Site Design menu, you can customize your portal landing page with company logo, background, color scheme and position of the Upload/Download screen. For other features of the Manage Portal page, please consult the Signiant documentation.
The S3 Compatible API for Backblaze B2 Cloud Storage allows 1000’s of integrations to work with B2 Cloud Storage natively. If you’re new to the S3 Compatible API, please see our Getting Started Guide. If you have any trouble using Signiant Media Shuttle with B2, please let us know by emailing us at b2feedback@backblaze.com.
Articles in this section
- Quickstart Guide for Veeam 12 Direct-to-Cloud Backups to Backblaze B2 with Immutability
- Quickstart Guide for Acronis CyberProtect and Backblaze B2 Cloud Storage
- Quickstart guide for SFTPCloud
- Quickstart Guide for Veritas NetBackup and Backblaze B2 Cloud Storage
- Quickstart Guide for Offshoot and Backblaze B2
- Quickstart Guide for Files.com and Backblaze B2 Cloud Storage
- Quickstart Guide for Encoding.com and Backblaze B2 Cloud Storage
- Quickstart Guide for Mountain Duck and B2 Cloud Storage
- Quickstart Guide for Microsoft 365 Backup with MSP360 and Backblaze B2 (Multiple Instances)
- Quickstart Guide for Microsoft 365 Backup with MSP360 and Backblaze B2 (Single Instance)