Backblaze Restores are simply containers for your requested files. Because of this there is not an automatic function to restore the files to your computer. However, moving the files from your restore to your hard drive is very simple.
For the purposes of this guide, we will be using a downloaded .zip Restore, but the same functionality applies to Hard Drives. If you need help with creating a restore please see our Restore Guide.
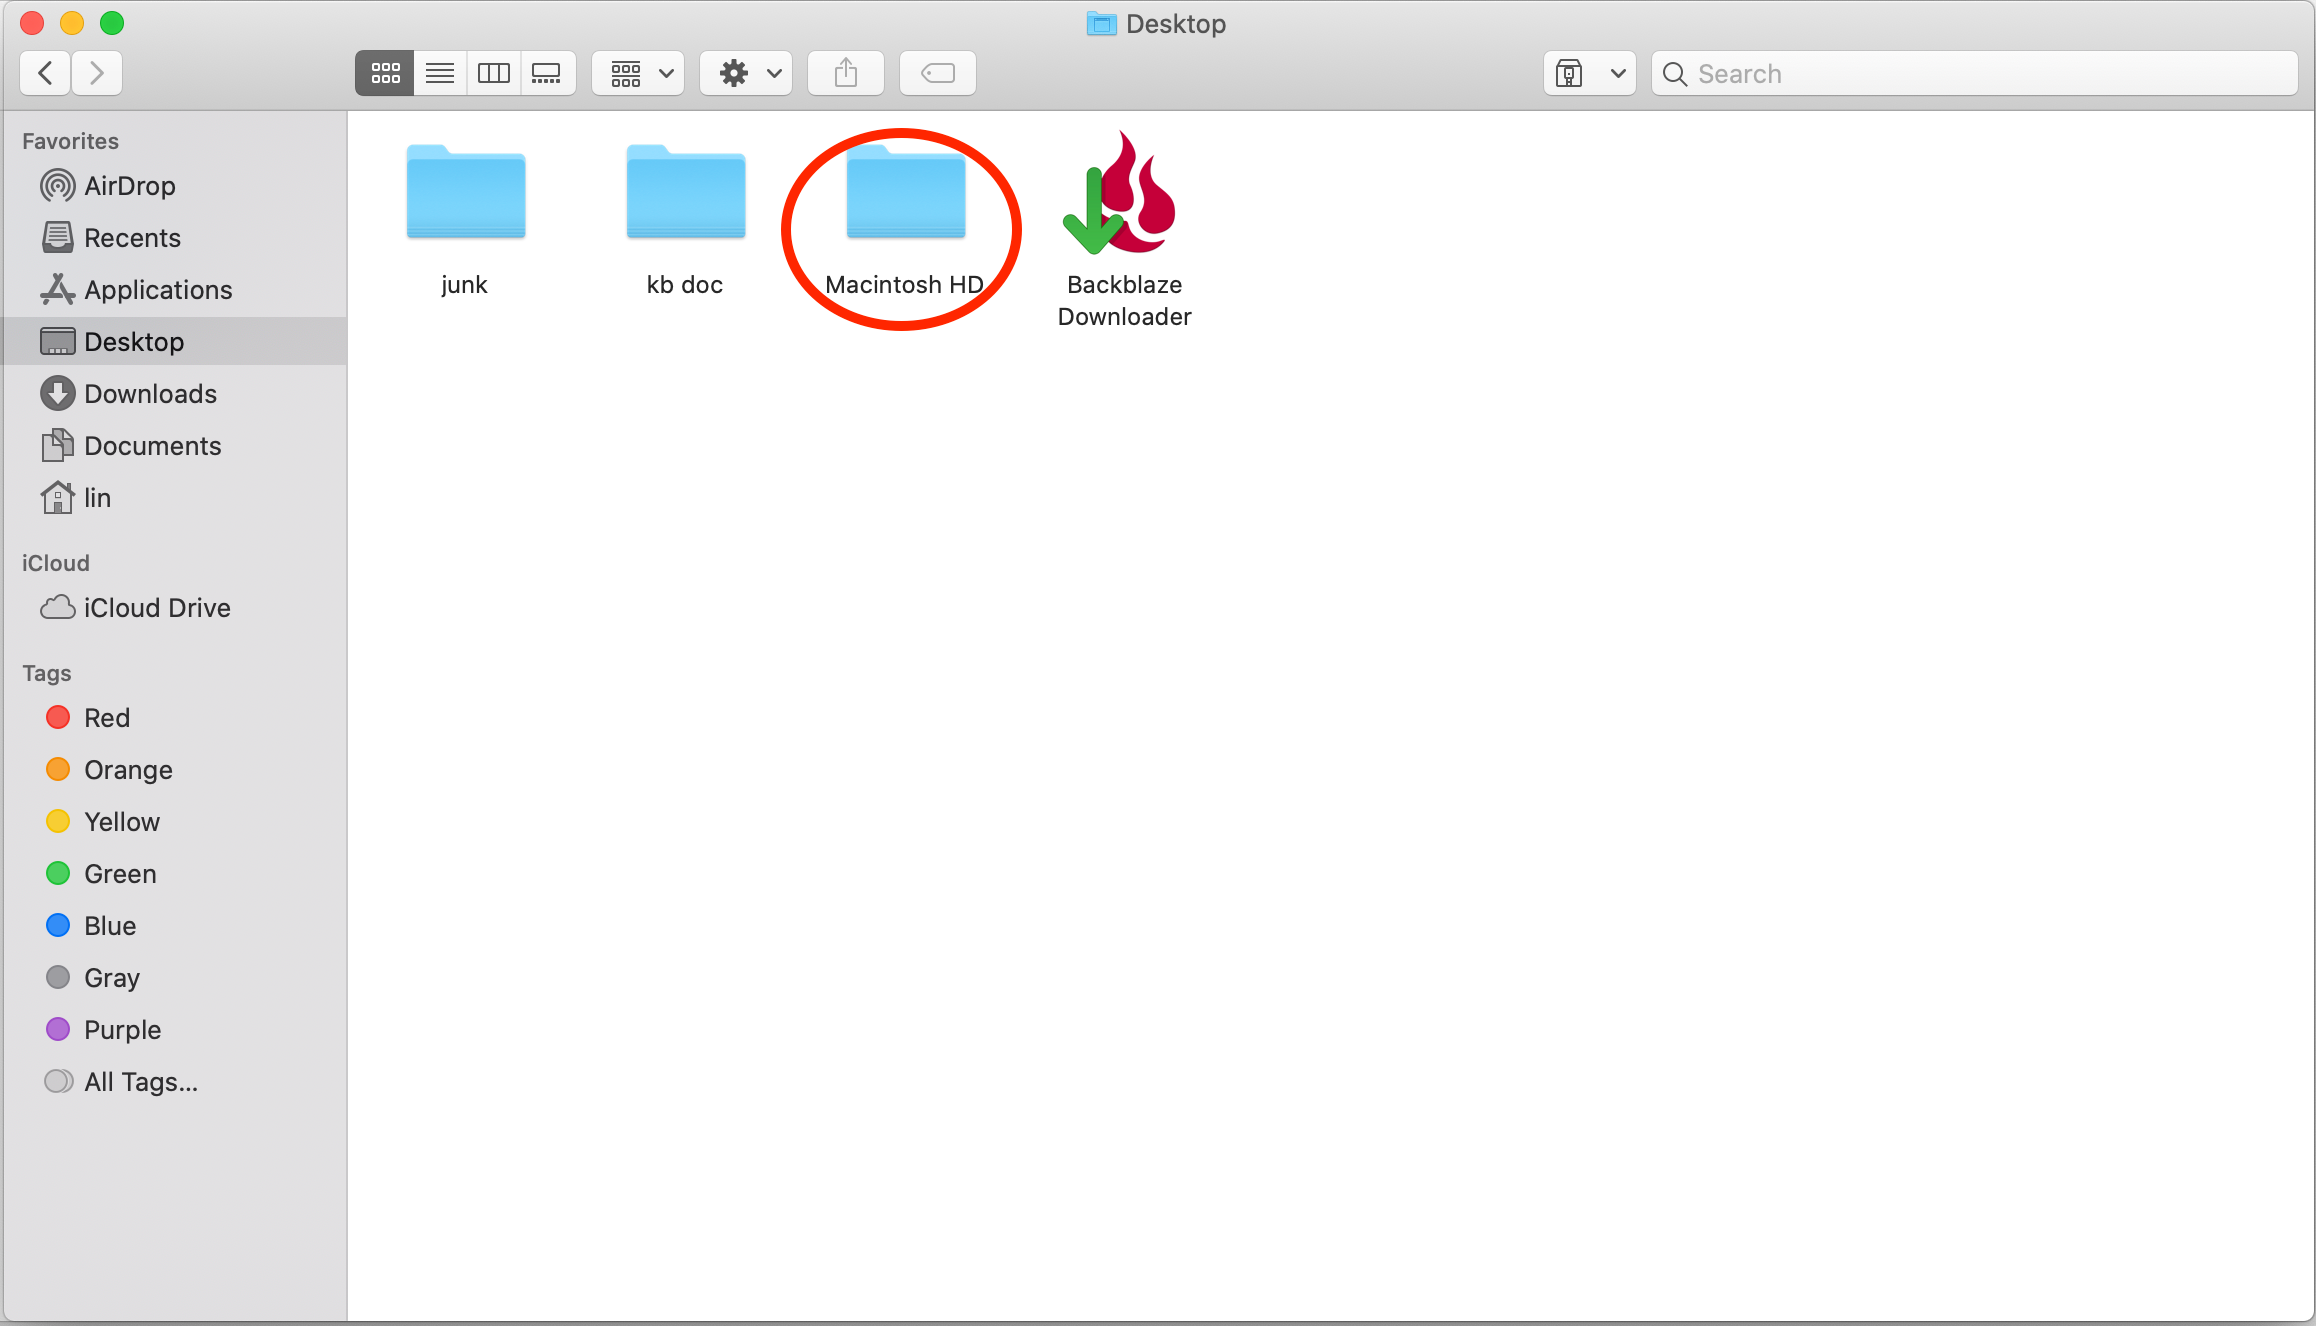
1. Locate the Restored Data, either on the Restore Hard Drive or at the location you had extracted your .zip Restore to.

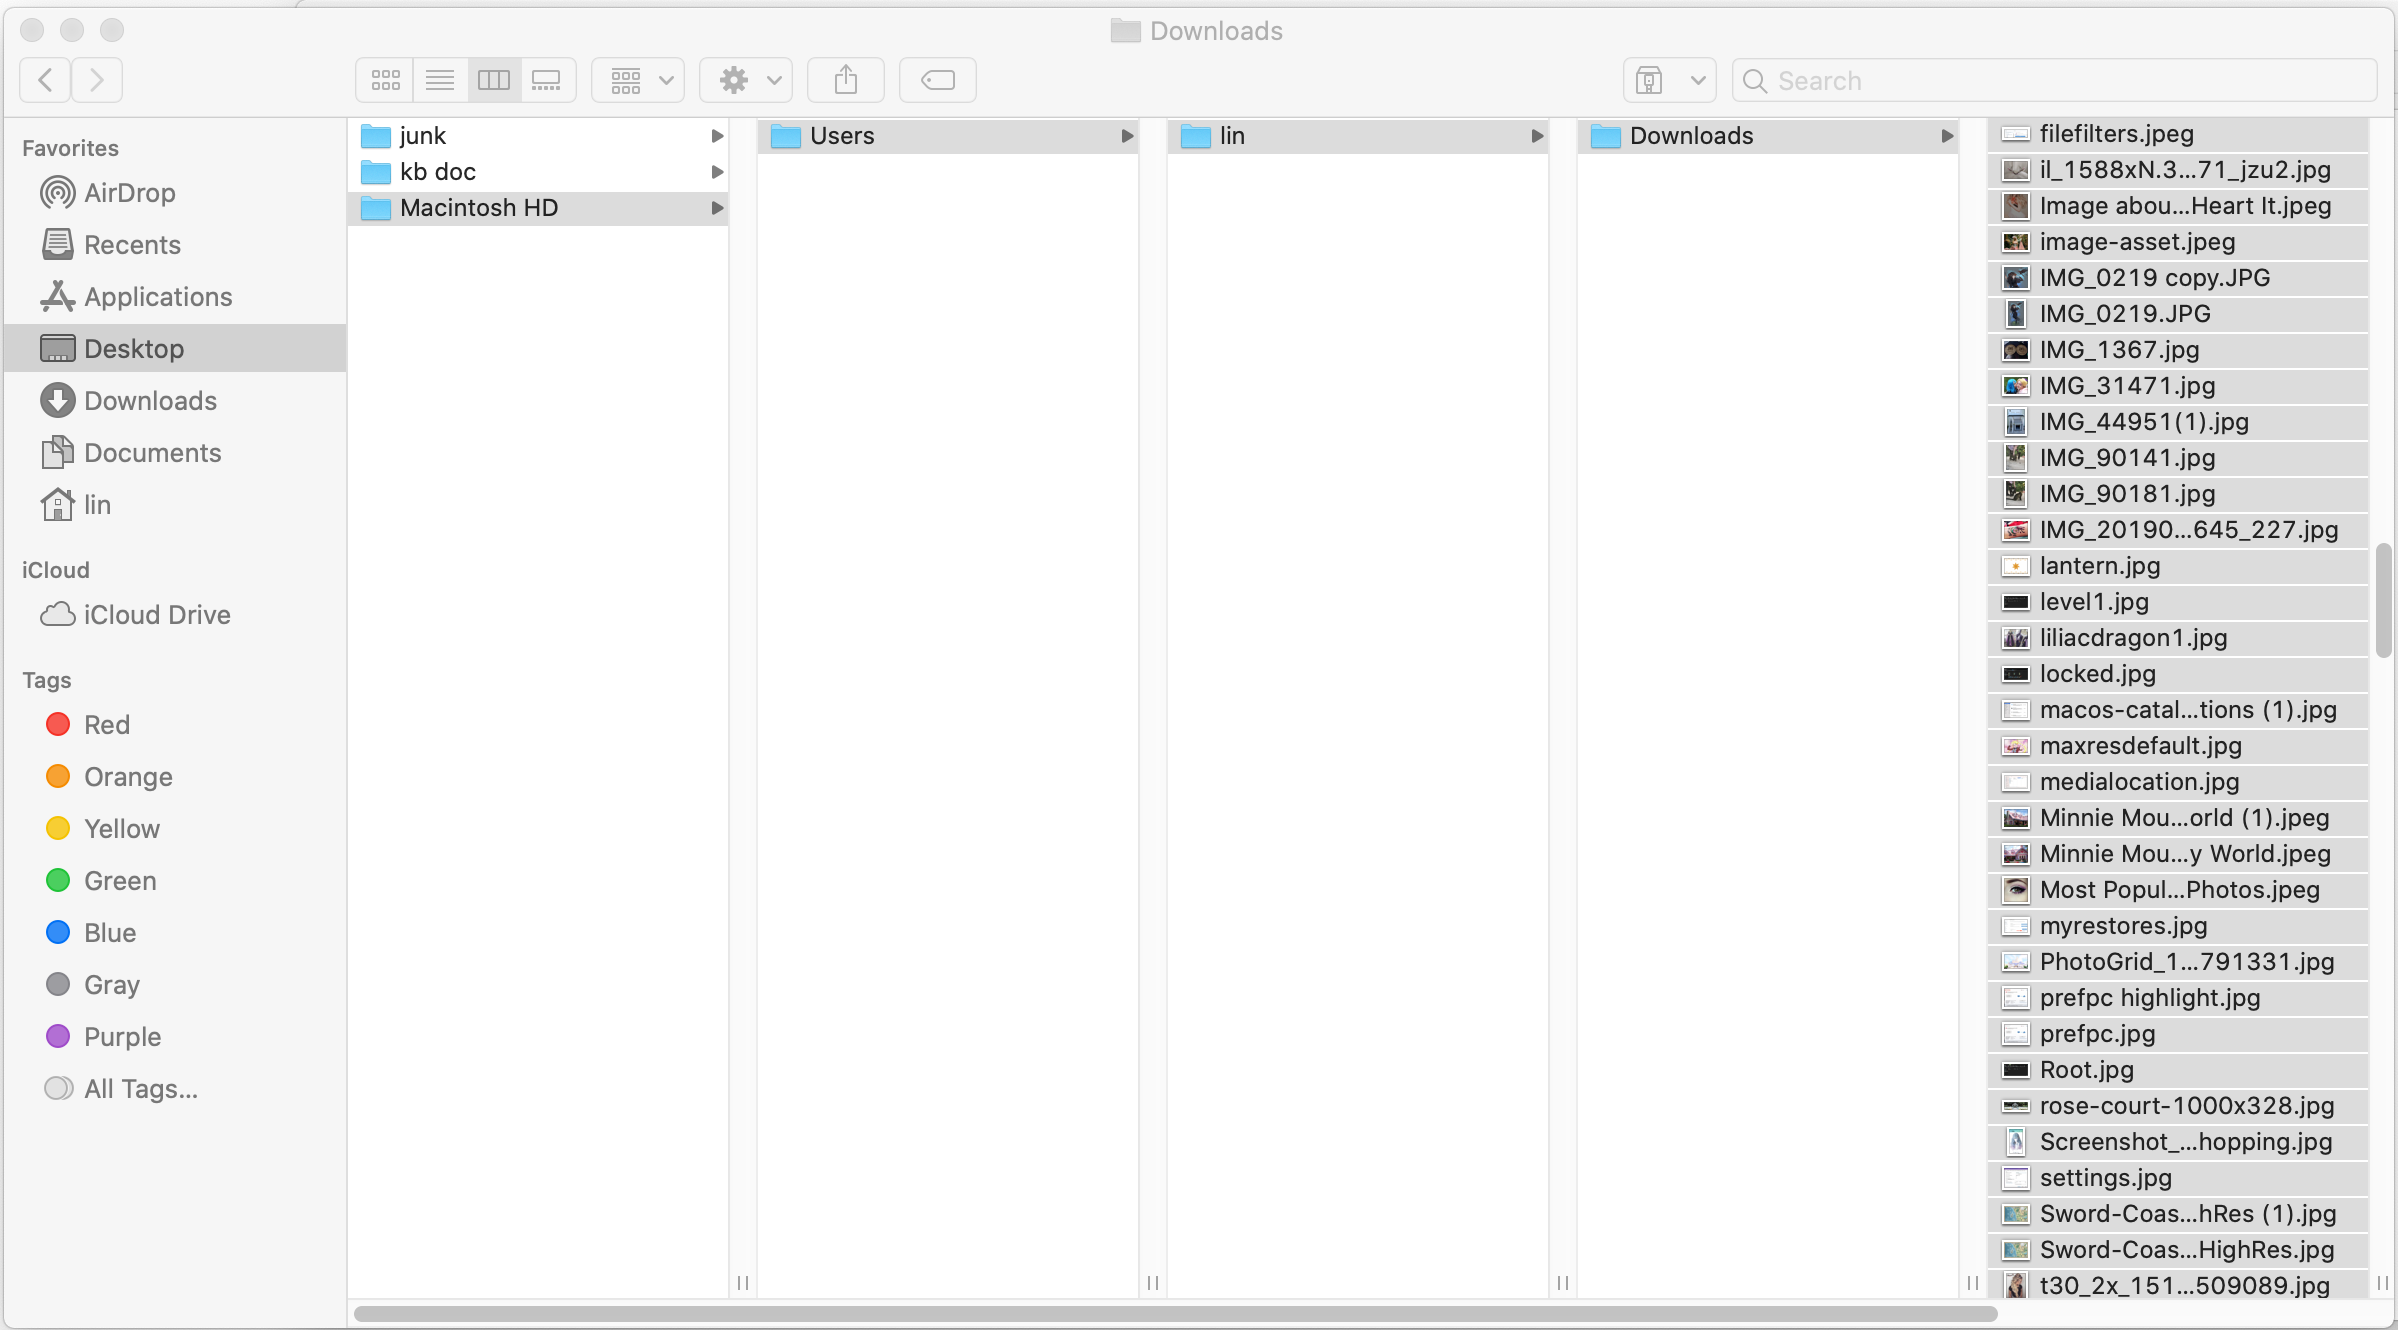
2. Click through the folder structure of your restore to locate your files. Once you have located them, select all the files.

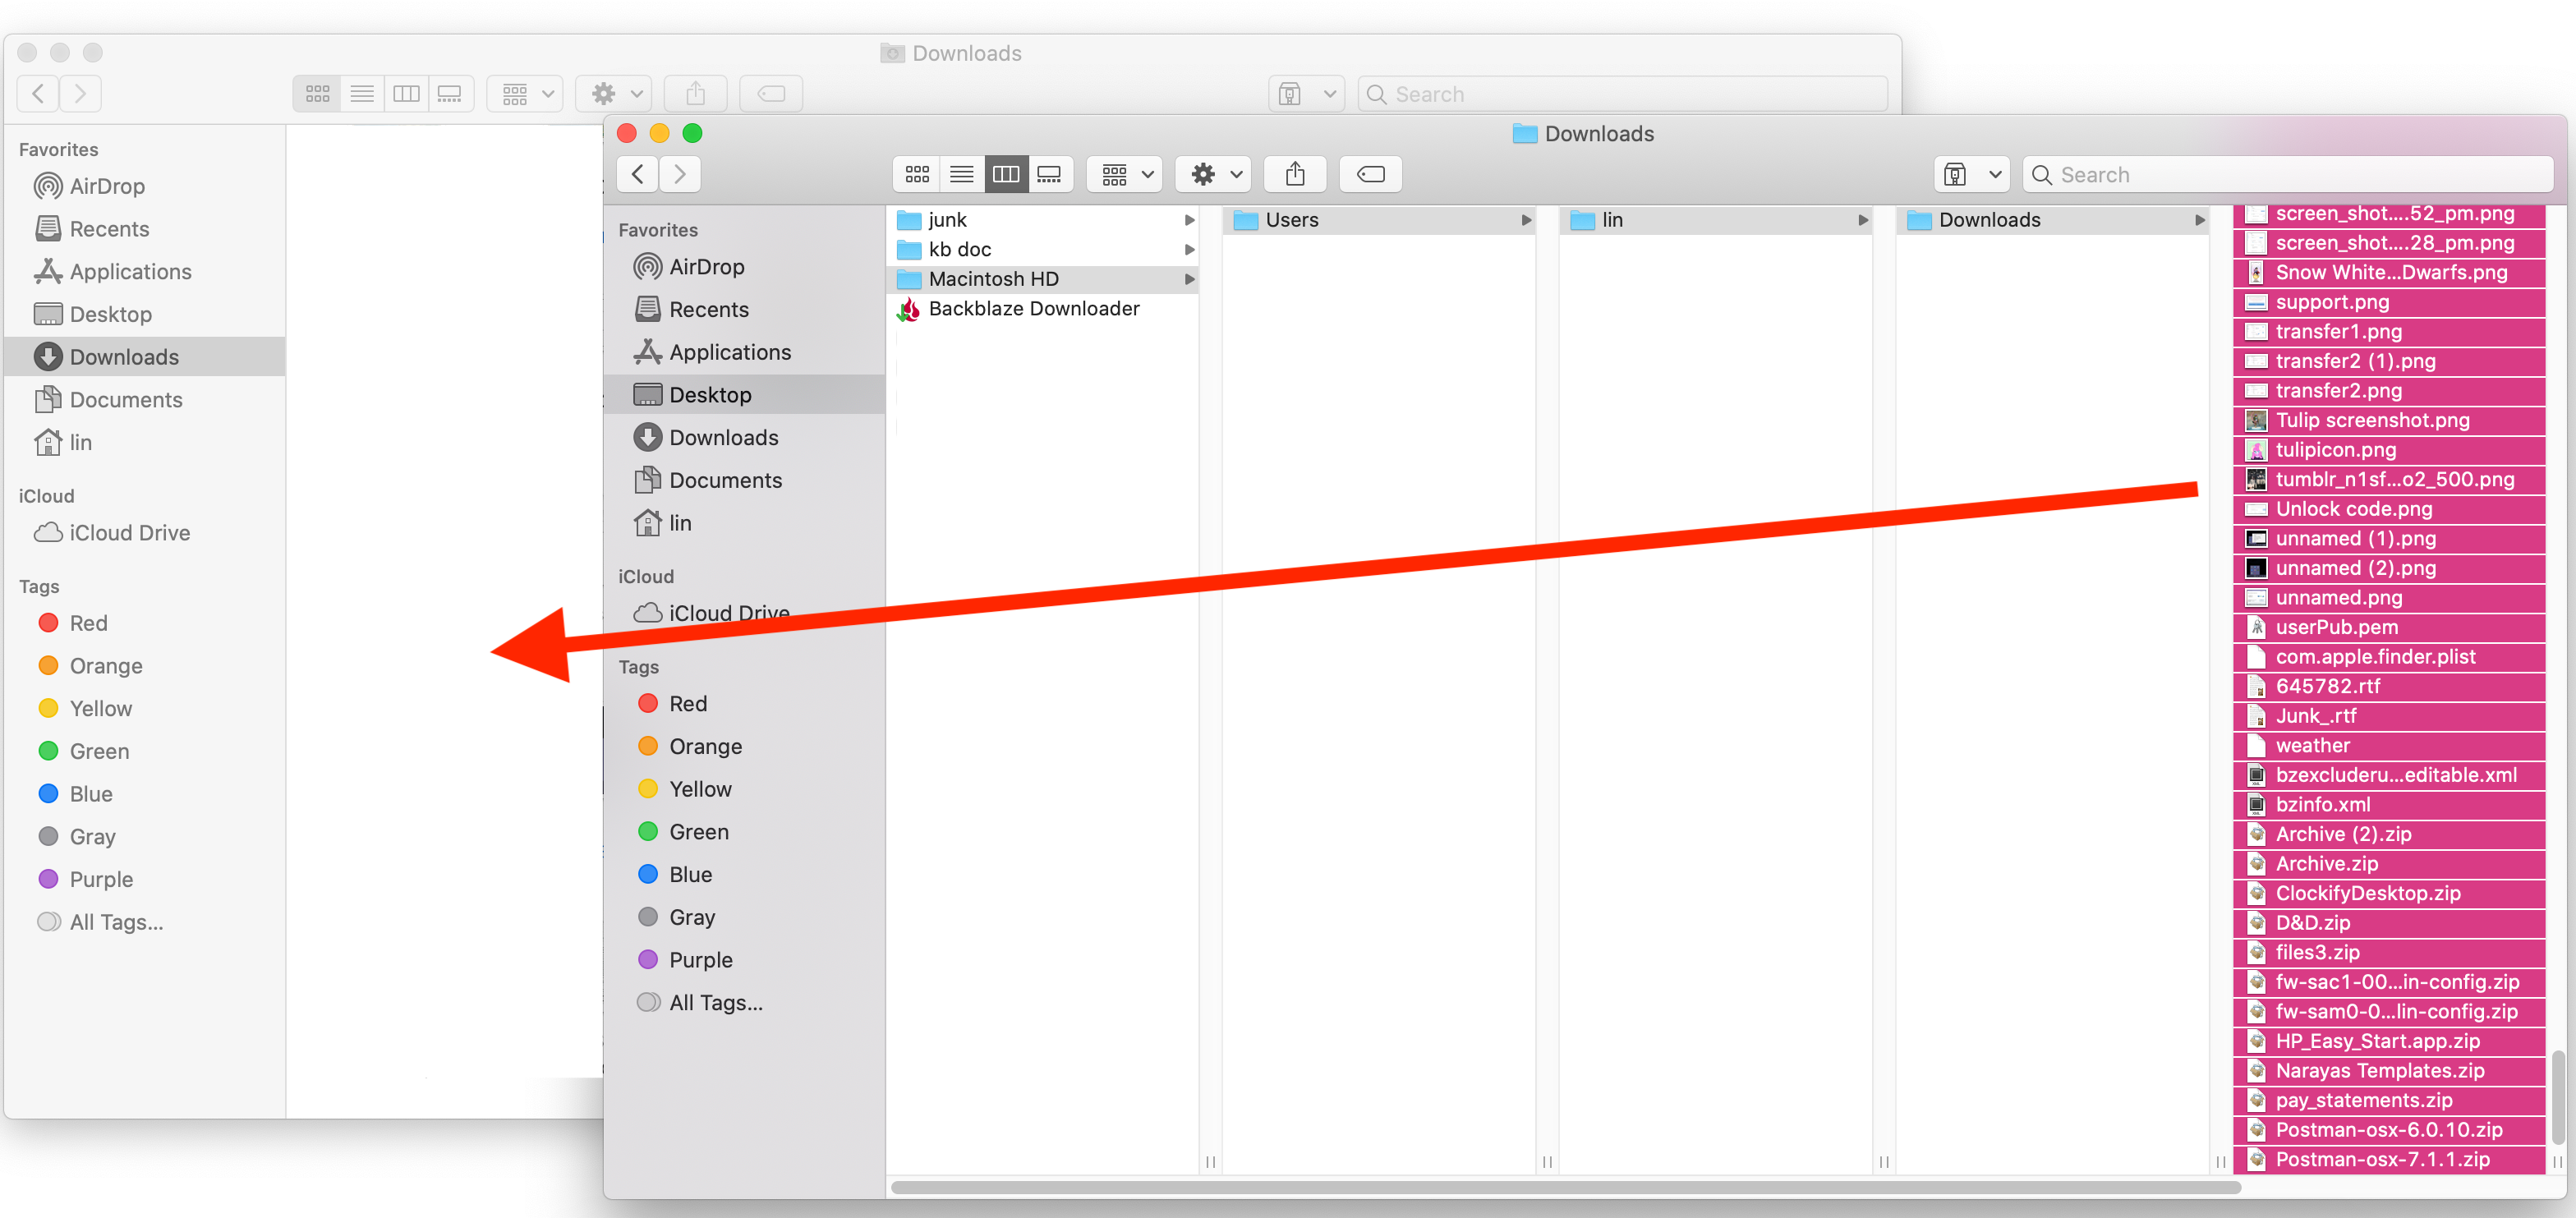
3. Once selected, drag the files from the restore to the desired area of your computer.
(For this example we restored the "Downloads" folder, so all contents were dragged to the "Downloads" folder of the computer.)

5. Allow the files to transfer, and you will see them populate to the desired area of your computer. This will complete the transfer of your Restore.
Articles in this section
- How to Create a Restore from Your Backblaze Backup
- How to use the restore app
- Apple Address Book Restore Guide
- How to Check the Status of your Restore Drive
- Downloading a Restore
- How do I find the Unlock Code/Encryption Key for my Snapshot drive?
- How to move files from your Restore to your Local Hard Drive.
- I have Extended Version History, how can I find my files?
- How to Order a Restore Drive
- How do I delete files from my Restore Drive?